DIY: Twig Craft
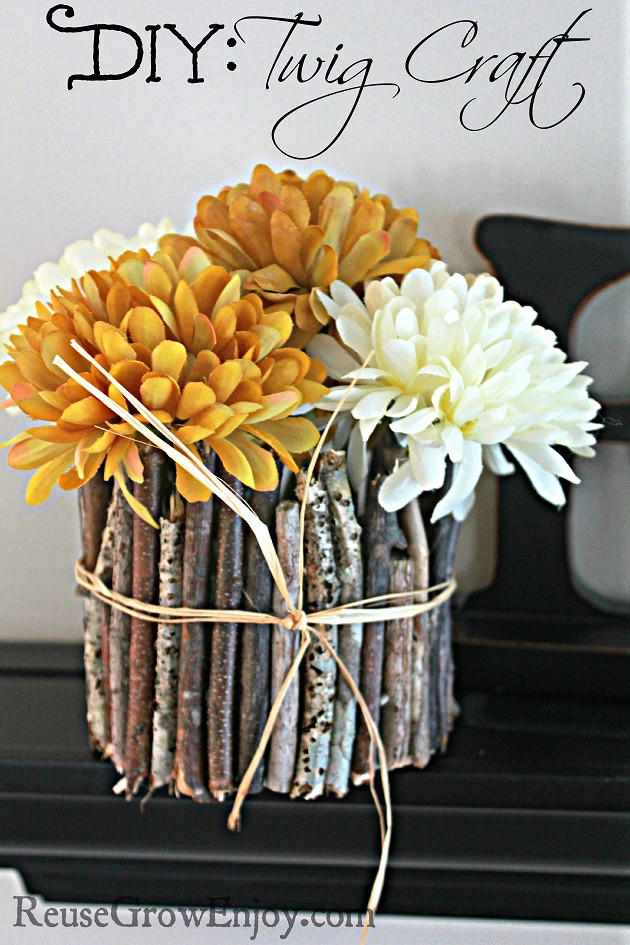
This time of year, homes are often filled with signs and symbols of nature. Weather real or artificial home décor tends to bring in the elements of nature to add class to a modern home. Being inspired by nature, I decided to create my own budget friendly home décor twig craft, using twigs from my own yard. Fall cleanup and Fall décor all in one shot! Love it! It’s easy, it’s cheap and it’s recycling! So here is a little tutorial for this quick and classy project.
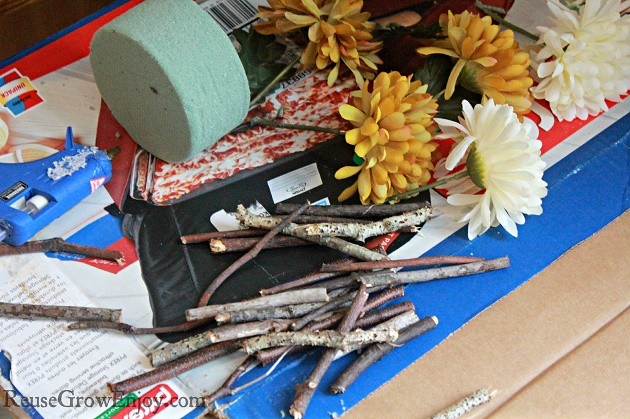
Supplies Needed For Twig Craft:
5-7 Artificial Flowers -(you probably have some lying around, if not ask a friend or run to the dollar store). You can also find them on Amazon.
Floral foam disc (around $0.97) I used the smallest size. (If you do not have this or do not want to buy, you could also use a round container like from quick oats. Just cut to the height you would want and turn it over to put the flowers through the bottom.
Glue Gun
Glue Sticks
Twigs from your yard (I chose twigs around ¼ inch wide)
Twine or Ribbon (optional)
Instructions For Twig Craft:
Step 1- Gather twigs from around your yard. Keep in mind you will need enough to cover the whole circumference of your foam disc (or container). Most of my twigs were about ¼ inch wide, if they were smaller they needed more fill around them to hide the disc.
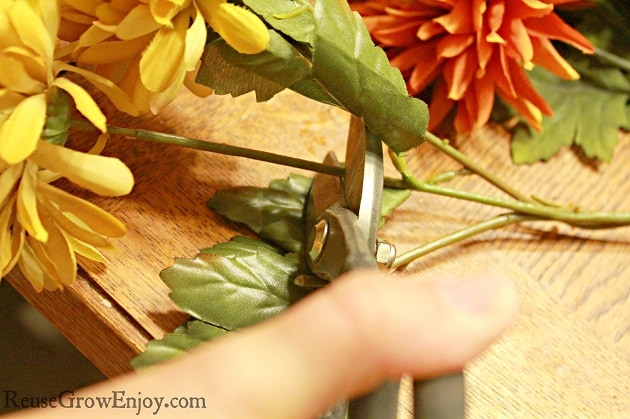
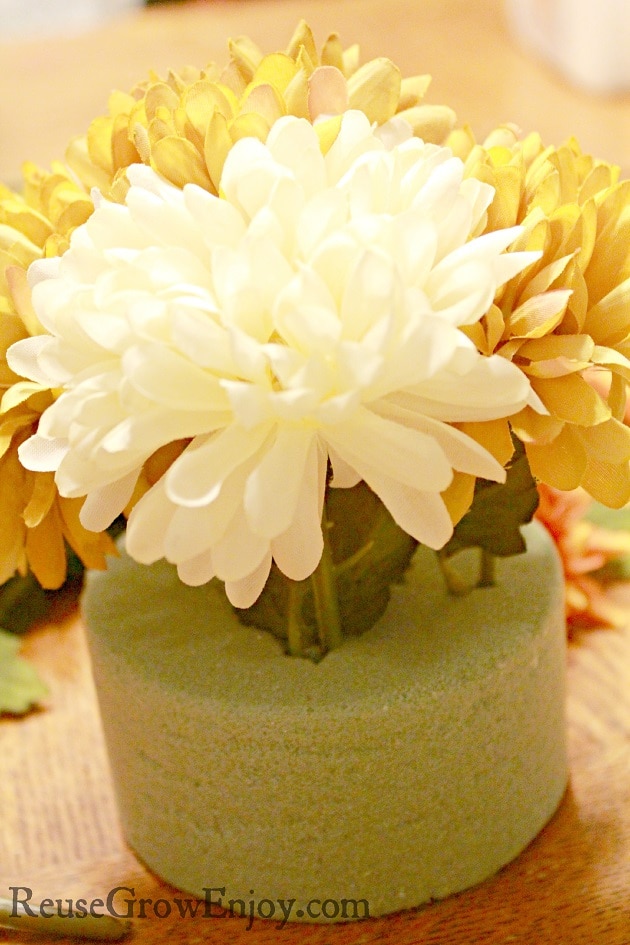
Step 2- Cut your fake flowers to your desired height and arrange them on your disc to be sure you like how they look.
Step 3- While the flowers are in the disc on a flat surface, decide on the best height for your twigs. (Things to consider- do you want more flowers and less twigs, an even match, more twigs etc) I chose to have just the flowers and no stems showing so I decided to have my twigs be about 4.5-5 inches tall.
Step 4- Break your twigs- or cut them (breaking worked fine for me and gave it the more natural look I was aiming for.) Most likely if you are like me you will decide to glue and continue to break twigs as needed but you at least need to break a few before you can go on to the next step!!
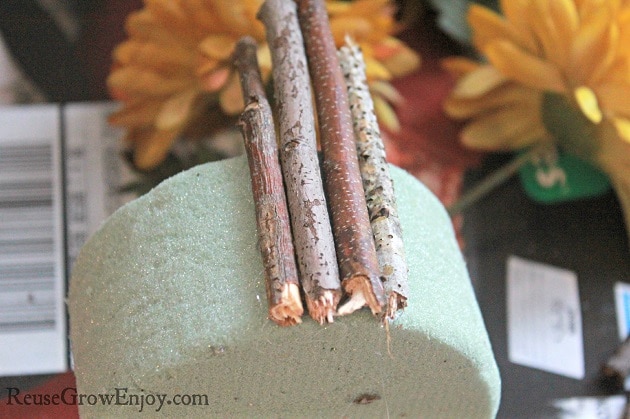
Step 5- Remove the flowers from your foam disc and turn it on its side. Start gluing the twigs to the disc one at a time, be sure they are placed as close as possible. Remember that the bottom of the twig needs to be flush with the bottom of the disc (or a little above) so that it will stand nicely on a flat surface.
Tips: I decided to have a variety of twigs (not all from the same tree) and wanted to spread them around randomly. You also want to make sure that you turn the twigs around before you put glue on them to make sure they will fit very snug next to the previous twig. This will allow less of the foam disc to be visible. You can also use skinny twigs to fill in any gaps at the end or do nothing which is what I did, you can’t notice any of the disc showing. Your disc will become increasingly heavy and off balance as you continue to add twigs, so if it works better putting it upright on a flat surface might be easier for you.
Step 6- If necessary- GET MORE TWIGS! I had to make a few trips outside mid project because I significantly underestimated how many I actually needed!
Step 7- Stand your twig craft vase (if you will) upright and arrange your flowers inside-securely in the foam. Add ribbon, twine or some other accent around the circumference of your vase.
Now find the perfect place in your home for this new creative piece and admire your work.
I love that this twig craft project is so versatile. You can change your flowers with the seasons or change the ribbon to match different rooms in your home. If you are all about quick, easy, done in one sitting projects like me then this is the perfect craft to do right now!


TES says
LOVE THIS IDEA!
Susan says
I love this idea. I’m going to try it.
Reuse Grow Enjoy says
Happy to hear you love it Susan. Let us know how yours turns out.
Daniela says
What is the size of the foam disks?
Reuse Grow Enjoy says
For this one I think we used a 3 inch but you can do it in any size.