Sometimes it can be hard to find yeast for baking. That is when it is handy to have a sourdough starter in the kitchen. Plus it makes for some of the most amazing baking!
How To Start Sourdough Starter & Care For It
Most baking these days is either done with active dry yeast or rapid rise yeast. That is because it is easy to use with no extra work. It also is handy if you need to bake a high rising recipe.
However, it is not the only type of yeast you can use in baking. You can use what is called wild yeast to make your own sourdough starter. It takes a little extra work and care but is well worth it.
One of the reasons that make having your own starter is you don’t have to worry about buying yeast during times when it can be hard to find. Another great reason is it adds amazing flavors to recipes that you don’t get from dry yeast.
You only need two ingredients to start your starter. Flour and water, that is it! While there are many other recipes out there that call four sugar, yeast, fruit and so on to get it started, it is really not needed. I have made mine from just simple flour and water and use it all the time and it works just fine.
Starter can be used in all kinds of baking and cooking recipes. It is great in breads, muffins, pancakes, crackers, and so much more.
How To Start Your Starter:
First, you want to find a glass or plastic container large enough to keep your starter in. You want to use something large enough to accommodate the starter expanding and growing as you will be adding to it two times a day for the first 5-7 days. I like to use a large mason jar.
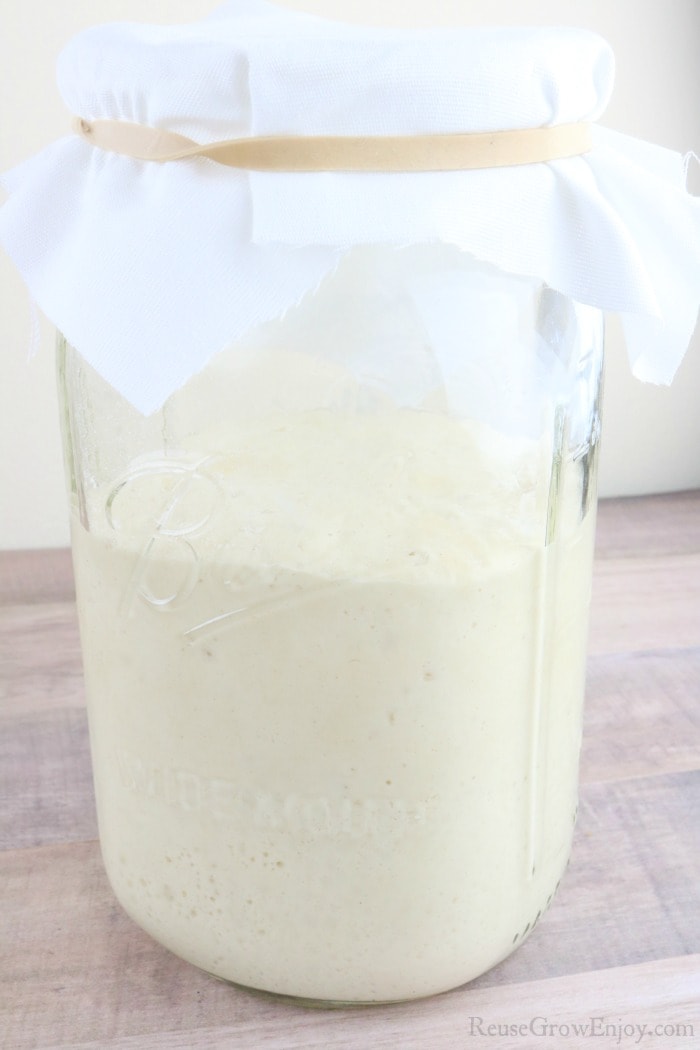
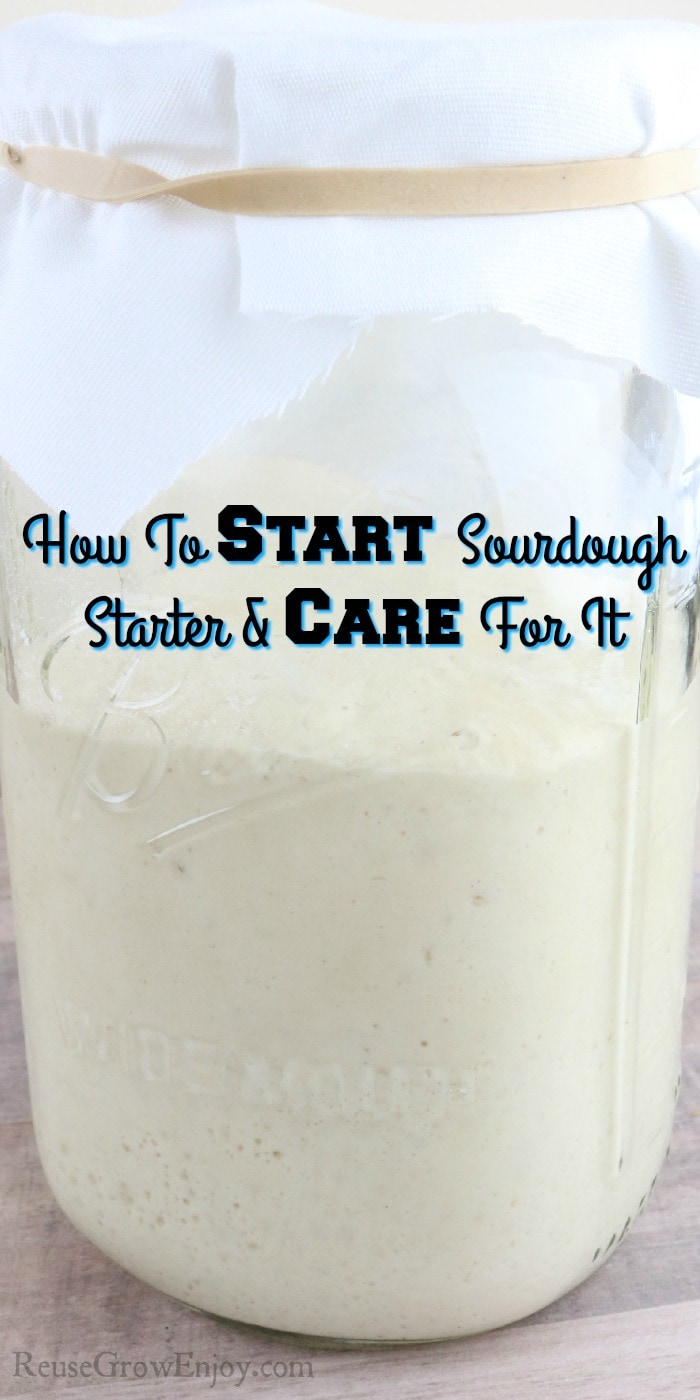
You will also need a piece of cloth and a rubber band to place on top of the container. It can even be a coffee filter or paper towel. It just needs to be able to get air through it as that is important for the fermentation of the starter.
Now for this starter, I keep it at a 1 to 1 hydration ratio. That means you will be using equal parts flour to water. While it can be done in any amount, I use a low amount as I don’t need a super large amount for my family.
The important thing to know about adding the water is it is best to do it by weight, I like to use a small kitchen scale for mine.
Starting Your Starter:
Place your container on the scale and turn it on. Then push the tare button. Then add 30 grams of flour. It can be any flour other than a nut flour. All-purpose will work just fine.
Then push the tare button again and add 30 grams of water. If you have city water I find it best to filter it first. Give it a good mix with plastic, silicone, or wooden spoon. Do not use metal.
Cover with a cloth and hold it on with a rubber band.
Then for the next 5-7 days add that same amount of flour and water twice a day. I like to keep it about 12 hours apart to keep it healthy.
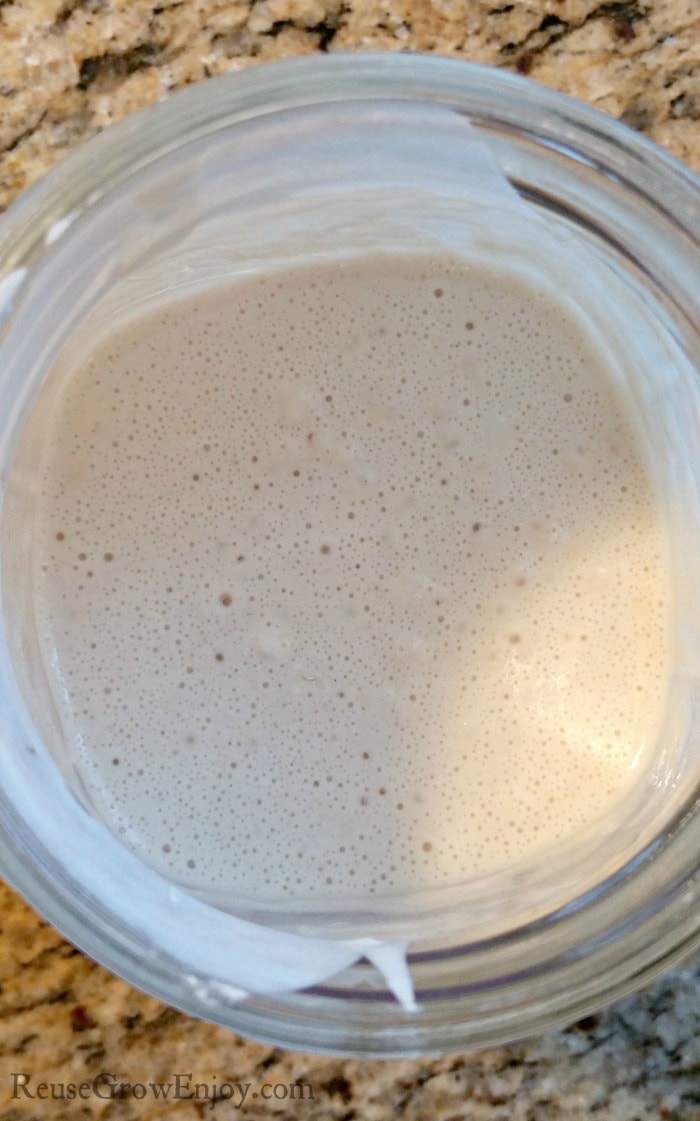
After about 5-7 days it should be ready to start using in recipes. You will know when you start to see lots of bubbles at the top of your starter a few hours after feeding it. Feeding it is when you add more flour to it.
What Is Starter Hydration?
The hydration level of your starter simply means the amounts of water to flour you use. When you use a higher hydration like the 1 to 1 ratio above you will have a liquidy starter.
When you use a lower hydration you will be using more flour than water in your starter and it will be thicker. They both have their benefits.
Lower Hydration Staerter:
Starter will be thicker. This means it makes the bread easier to work with. But it also means you will have to work it more to get everything mixed together and for the gluten to develop. It also takes longer to ferment.
What that means for your bread. Lower hydration will give the bread more of a rise with smaller holes. But it will take longer to rise. The crust will also be harder and thicker. And the “sour” taste will be pronounced.
Higher Hydration Starter:
The starter will be much thinner and more liquidy. That means it will be easier to mix but the dough will be harder to work with meaning it will be more of a sticky dough.
The dough will rise faster with larger holes but may not rise as much.
It will give you a thinner crust and will be less “sour”.
How To Maintain & Care For Starter:
After you have your starter bulked up and started (the first 5-7 days) you will need to start to maintain it.
To do that you simply keep feeding it just as you have been. However, if you will not be baking with it soon, you will need to start removing some each day before you feed it. That is what is called discard.
While it is called discard, you don’t need to toss it. It too can be used for baking or you can give some to a friend that wants to start using sourdough starter.
When you remove it (I normally remove about 60 grams one time per day after string it first) just put it in a container and put a top on it and store in the fridge until you are ready to cook with it.
Taking A Break From Starter:
If you find your self needing to take a break from feeding your starter like maybe going on a trip or something it can be stored in the fridge.
When you want to start it back up simply set it back on the counter and let it come to room temp before starting to feed it again.
If you will be taking a break for a while, I would take it out once a week to let it get to room temp, then feed it and put it back in the fridge.
Troubleshooting Issues With Sourdough Starter:
What if it has a bad smell?
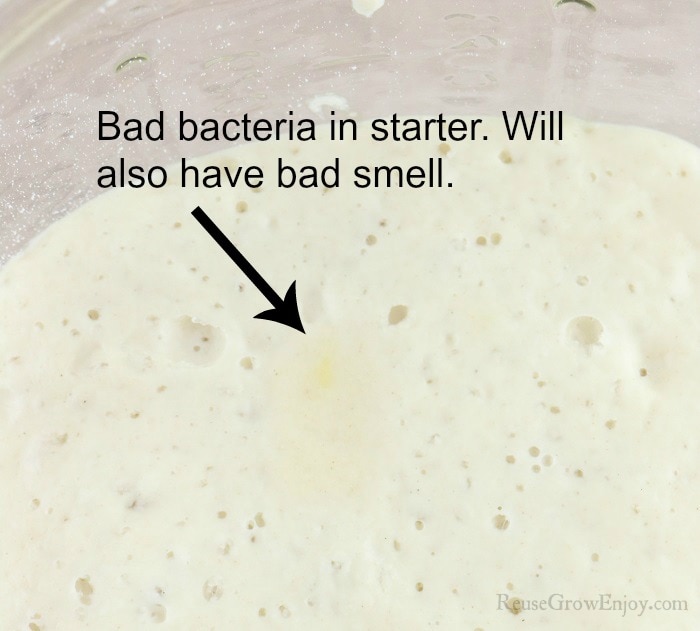
While some say sourdough starter has a bad smell it can depend on the person and or the flours you are using. Most starters will have a yeasty yet slightly vinegary smell to it. However, if your starter starts to smell like spoiled milk, barf, or even parmesan cheese you will need to toss it out and start over.
If it develops those smells that means bad bacteria have contaminated the batch and could make you sick if you use it.
Is my starter still good if it has orangish discoloration on the top?
No. If you start to notice orange or pinkish splotches or streaks on the top of the starter this is another way to tell if bad bacteria has gotten into the starter. When this happens it normally will also be accompanied by one of the bad smells as noted above.
What do I do if there is mold on my starter?
While it is super rare to have mold on your starter it can happen if it has gone too long without care or is just the wrong condition. There are some out there that say just scrap it off and keep going, I always feel that is just too risky to make your family sick. I fell it is better to toss the batch and start over.
Why is my starter not getting bubbly?
This can be due to a few reasons. The most common reason is the room is too cold. While you can keep the starter going in cooler rooms, it does best in-room temps of 75 to 80.
It could also be you are not feeding it enough or going too long between feedings. Or if you are just starting out it may just need a few extra days to get going.
Why is my starter bubbling over?
Depending on the temp of the room starters can become super active. If the room is hot this is most likely the case. To slow your starter down, try moving it to a cooler room.
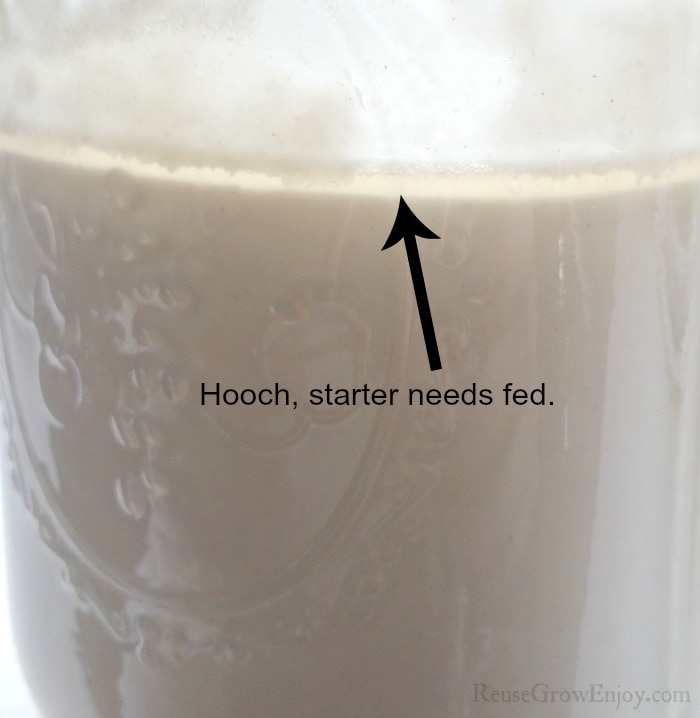
What is the liquid on the top of my starter?
When you see liquid on the top of your starter that is called the hooch. That is the fermented water. What it means is your starter needs to be fed. You can either pour the hooch off carefully not to dump your starter of you can just mix it right in when you fed it. I normally just stir it in.
How To Start Sourdough Starter
Not only does keeping sourdough starter in the kitchen give you an endless supply of yeast, it makes for some of the most amazing baking!
Ingredients
- 30 grams Flour
- 30 grams Water
Instructions
-
Find a glass or plastic container large enough to keep your starter in.
-
You will also need a piece of cloth and a rubber band to place on top of the container.
-
Place your container on the scale and turn it on. Then push the tare button. Then add 30 grams of flour. It can be any flour other than a nut flour. All-purpose will work just fine.
-
Push the tare button again and add 30 grams of water. If you have city water I find it best to filter it first. Give it a good mix with plastic, silicone, or wooden spoon. Do not use metal.
-
Cover with a cloth and hold it on with a rubber band.
-
Then for the next 5-7 days add that same amount of flour and water twice a day. I like to keep it about 12 hours apart to keep it healthy.
-
After about 5-7 days it should be ready to start using in recipes. You will know when you start to see lots of bubbles at the top of your starter a few hours after feeding it.


Leave a Reply