Have you ever made a quilling craft? It is much easier than it looks!
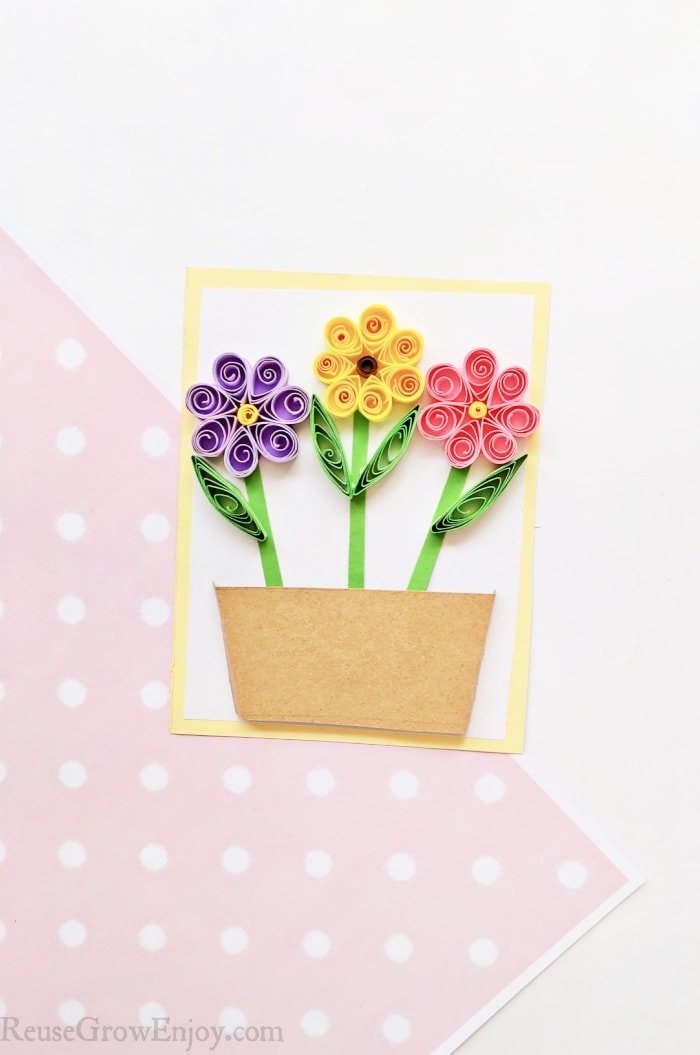
Quilling Craft – Flower Pot Card
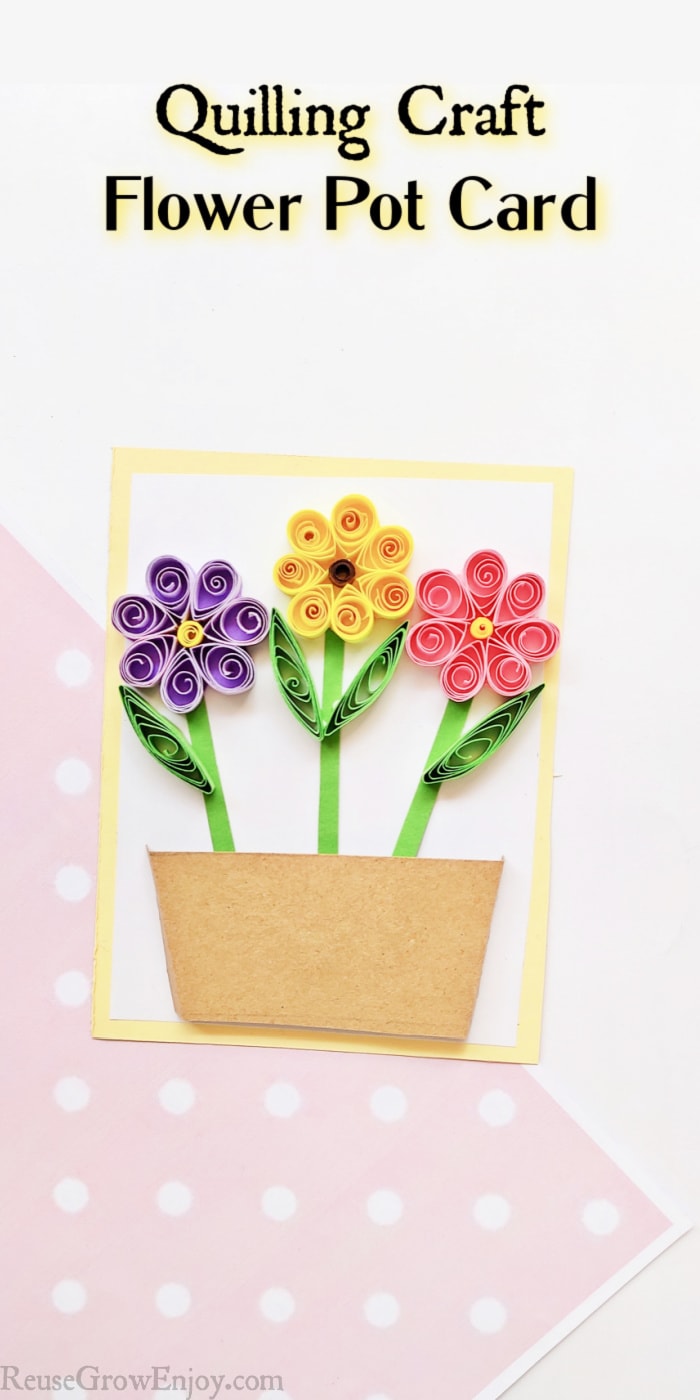
I will show you step by step how to make this flower pot card quilling craft. Such a great craft project for spring or just for any time of year when you want to brighten up someone’s day.
While we made the flowers on this card purple, yellow, and pink, you could make them any color you want.
If you are looking for other quilling projects here are a few others to check out.
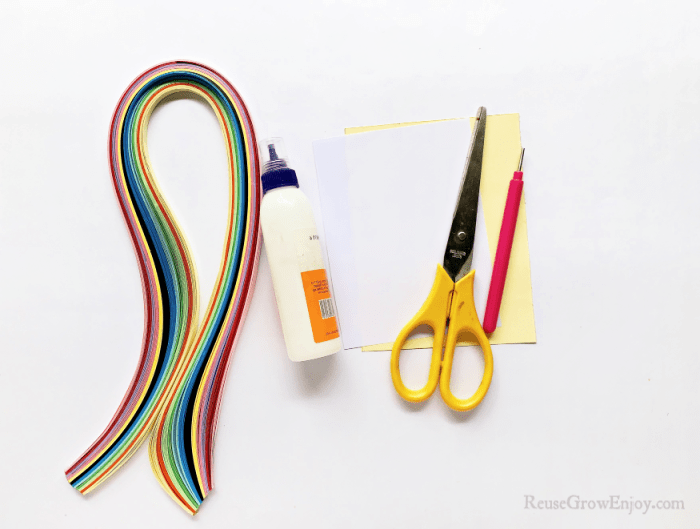
Supplies Needed:
- Glue
- Quilling Paper
- Colorful Craft Paper
- Scissor
- Card-stock Paper
- Quill Tool
How To Make This Card:
The first thing you want to do is select the colors you want to use for the quilled flowers and take a quilling paper strip about 4-5 inches.
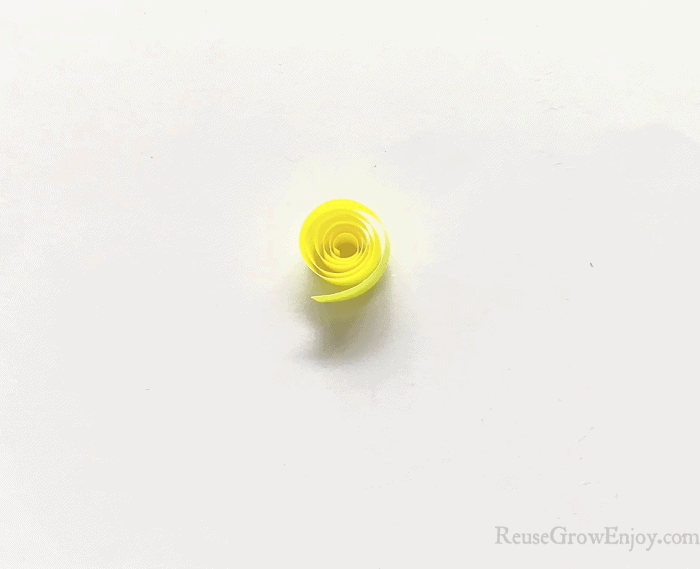
Next, roll the strip into a slightly tight coil using a special tool. Use a dot of glue to hold the end of the rolled paper in place.
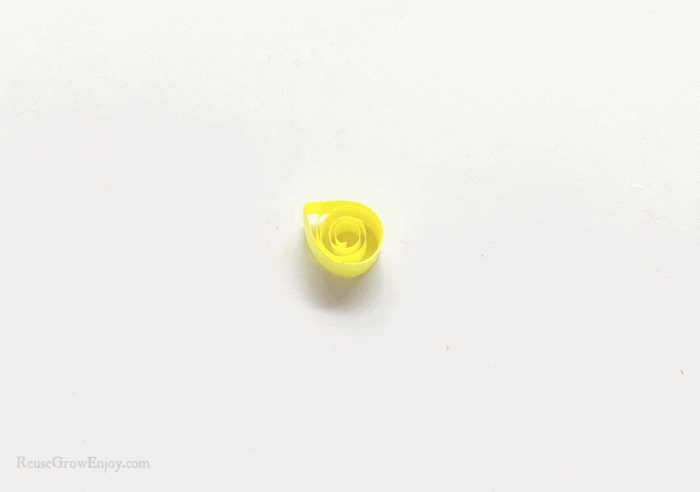
Then press one side of the coiled paper gently to give it a teardrop shape. This will be an outer petal for the quilled flower.
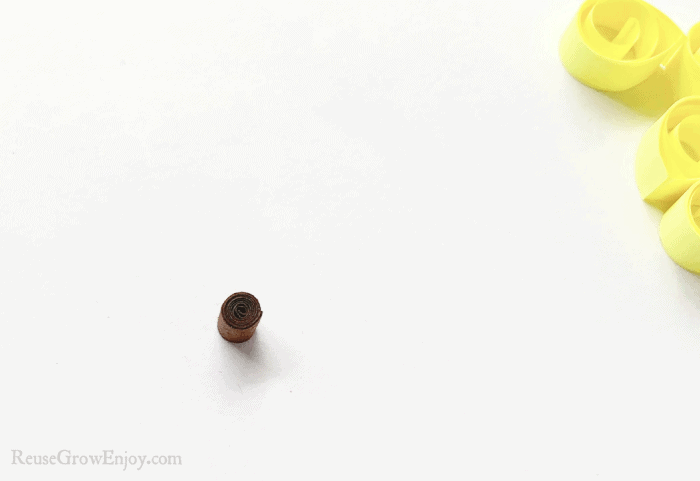
Now take a brown shade of strip paper that is about 4 inches and roll it into a slightly tight roll.
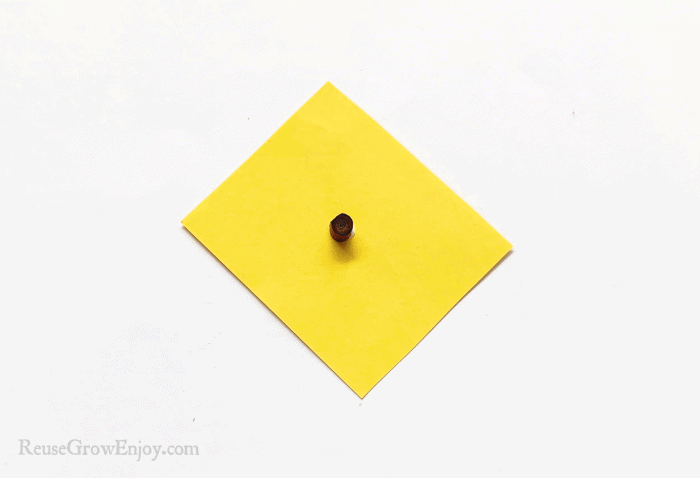
Using a small piece of craft paper in the same color as your quilled flower, glue the brown coil on the middle of the craft paper.
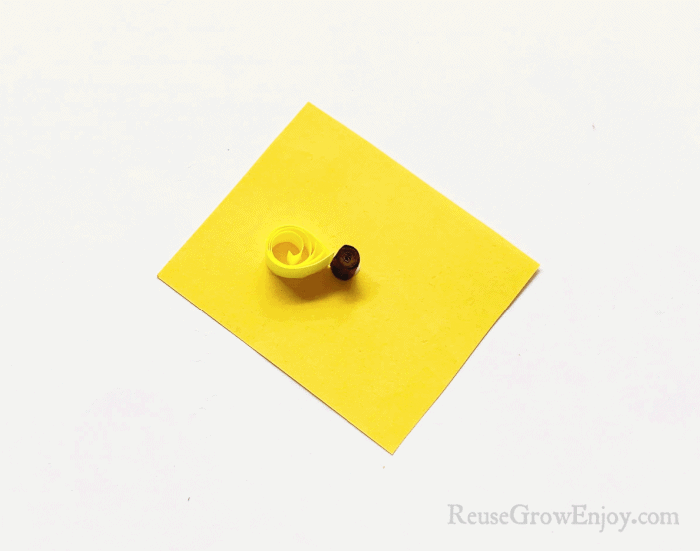
Take a flower petal and glue it on the craft paper so it is touching the brown coil. The point of the petal should be touching the brown coil.
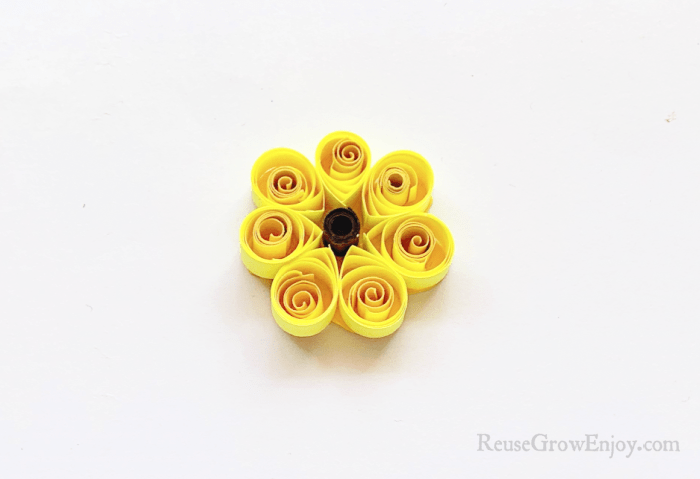
Repeat the steps to make more petals and glue the rest of the petals around the brown coil.
Using scissors trim the craft paper along with the shape of the flower petals.
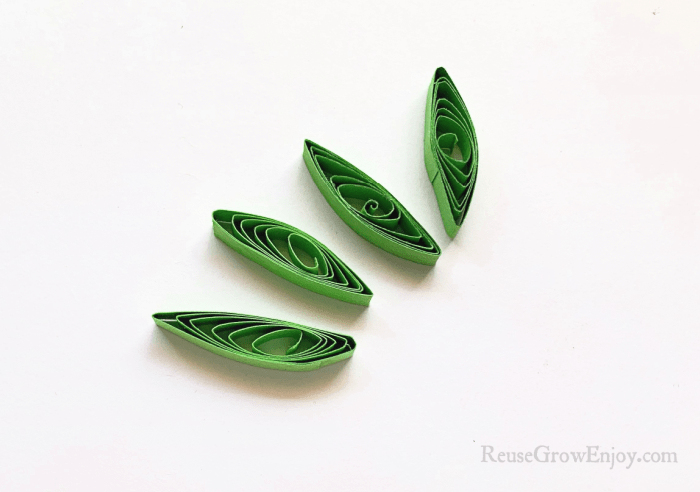
Make some shapes using green quilling strips for the leaves. These are made the same as the flower petals but you will press/pinch each end of the coiled paper to it is pointy at each end.
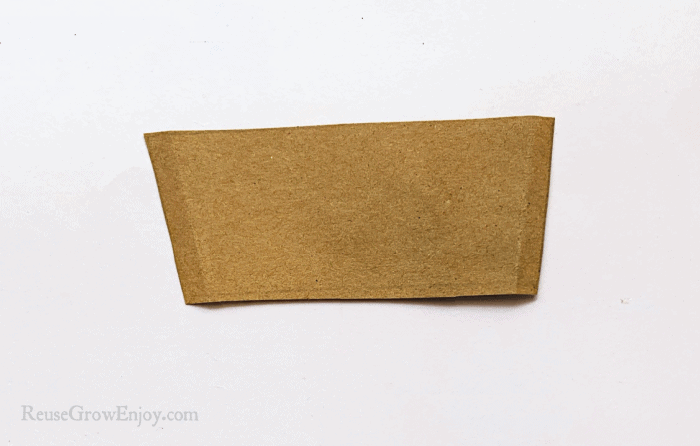
Cut out the flower pot shape using brown craft paper.
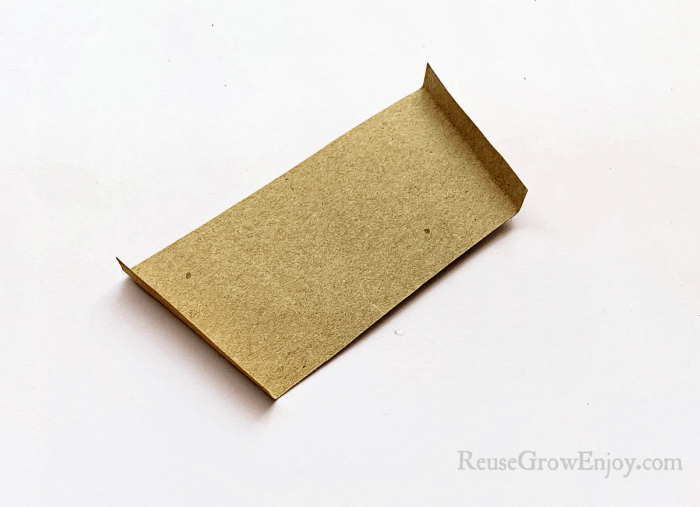
Fold both sides of the flower pot by about 1/4 inch.
Assembling The Card:
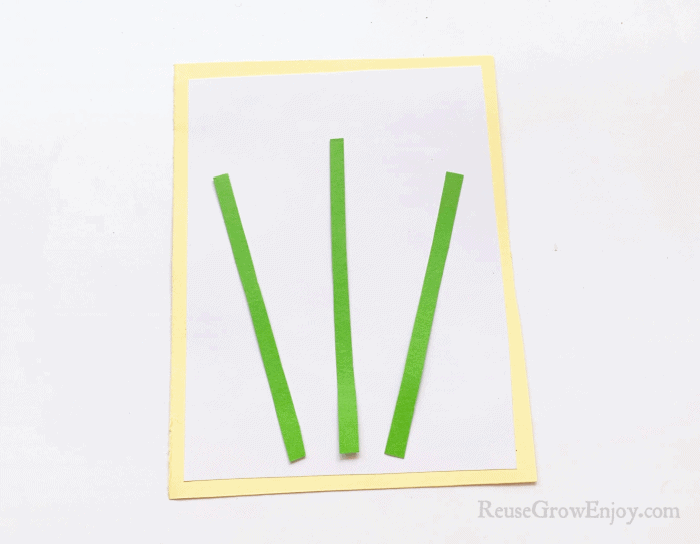
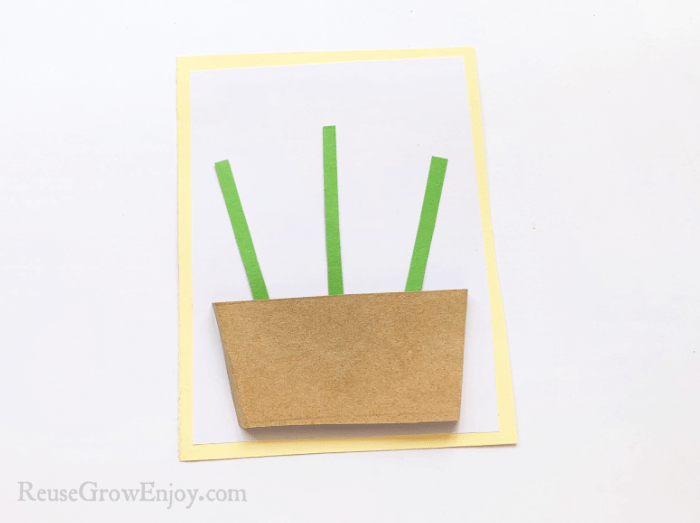
Cut white and yellow card stock to make the card. We made ours with the yellow slightly larger than the white so it shows as a border.
Then glue green paper strips to the card to make the stems. Place them by how you want your flowers to be. We did the middle one straight up and the two outer ones slightly tilted out.
Then glue the flower pot on the bottom of the card so that it is just covering the green stems.
Glue the flowers to the top of the green stems.
Then glue the leaves to the card where you want them and you are finished!


Leave a Reply