Cardboard Garden Kids Easy DIY Craft
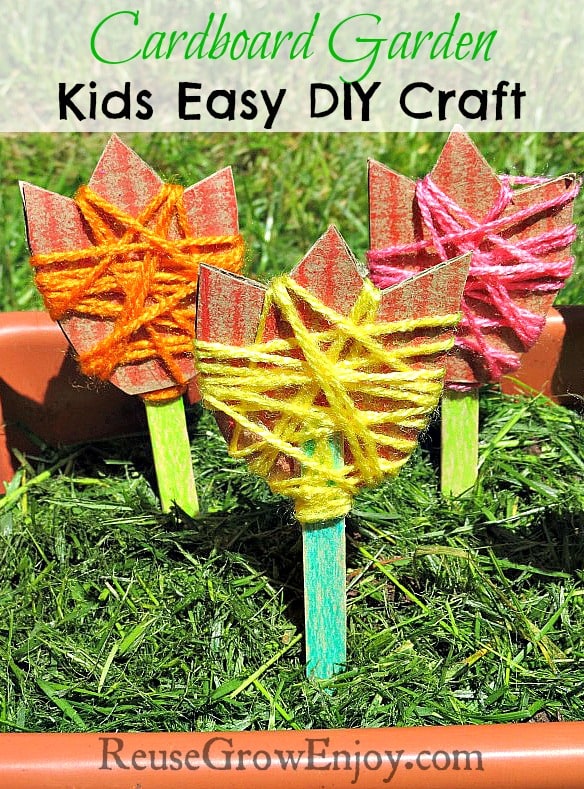
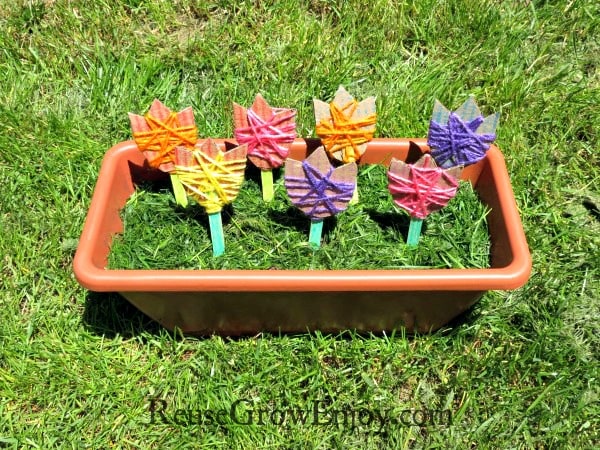
Looking for a kids easy DIY craft? Check this out! Below you will find step by step instructions on how to make a cardboard garden kids easy DIY craft! It is super easy and fun to make and will give the kiddos something to do. These are also really cute to give as a gift to teachers and friends.
The best part about this cardboard garden is it is not only easy to make, you probably already have most if not all the supplies! If you do not have yarn, you can always use any colored string or plastic plarn.
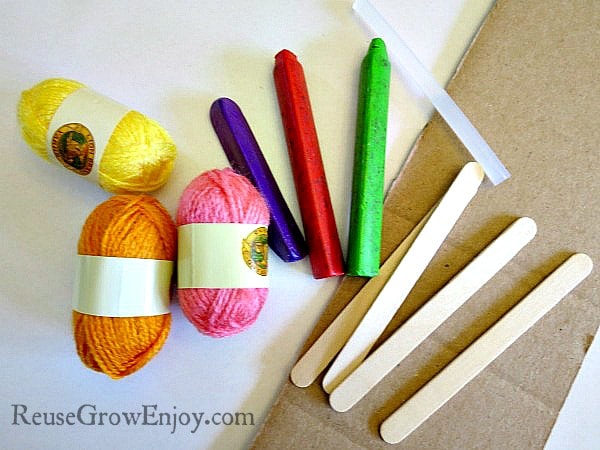
Supplies:
- Colored Yarn
- Cardboard
- Glue
- Crayons
- Popsicle Sticks
- Planter or Flower Pot
- Dirt and Grass
Directions:
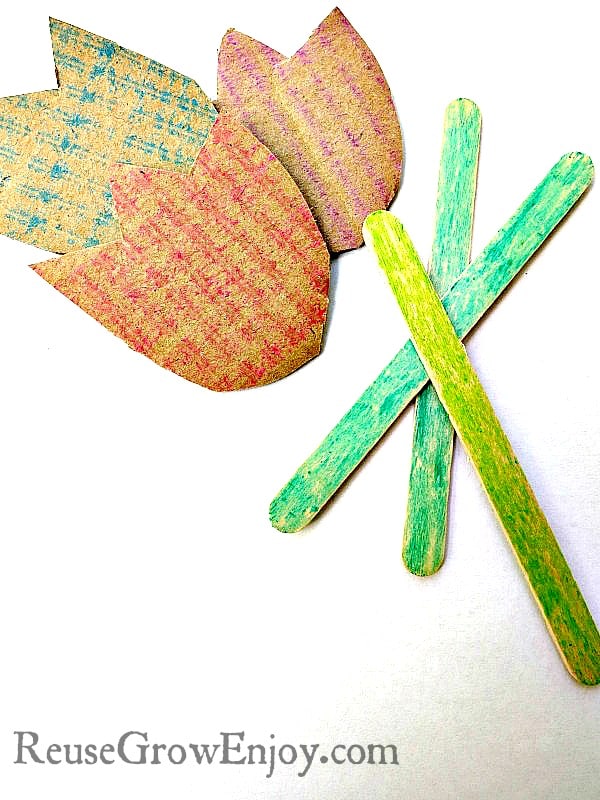
First you want to cut a piece of cardboard into approximately 2″ squares. Then you can cut those squares into flower shapes. I have found that tulip shapes to be the easiest to work with, but you can do any shape that you would like.
Now let the kiddos color the flower cut cardboard shapes and the wood popsicle sticks with crayon or marker.
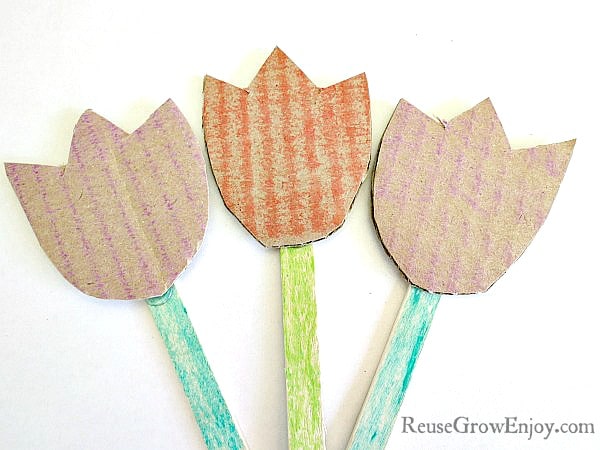
Next you will want to glue the colored cardboard flowers to the popsicle sticks. Be sure to overlap the flower about half and inch on your popsicle sticks.
Now tie one end of a piece of yarn around the popsicle stick. Then start wrapping the flower with yarn. When you have it wrapped / covered to your liking, tuck the end of the yarn under the wrapped yarn on the flower and glue in place.
After you have made all of your cardboard garden flowers, fill the planter, pot or jar with dirt. Then top off with a few grass cuttings. Now simply stick the end of each flower (popsicle sticks) in the dirt. That is it! You now have a pretty cardboard garden!


stella d. says
Oh so cute!