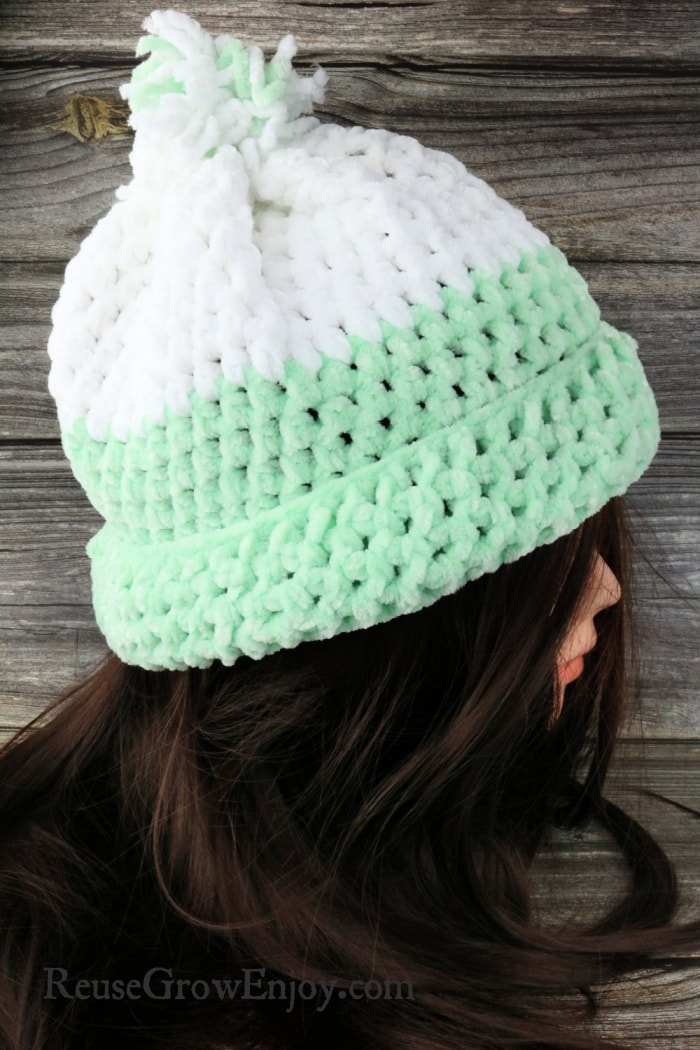
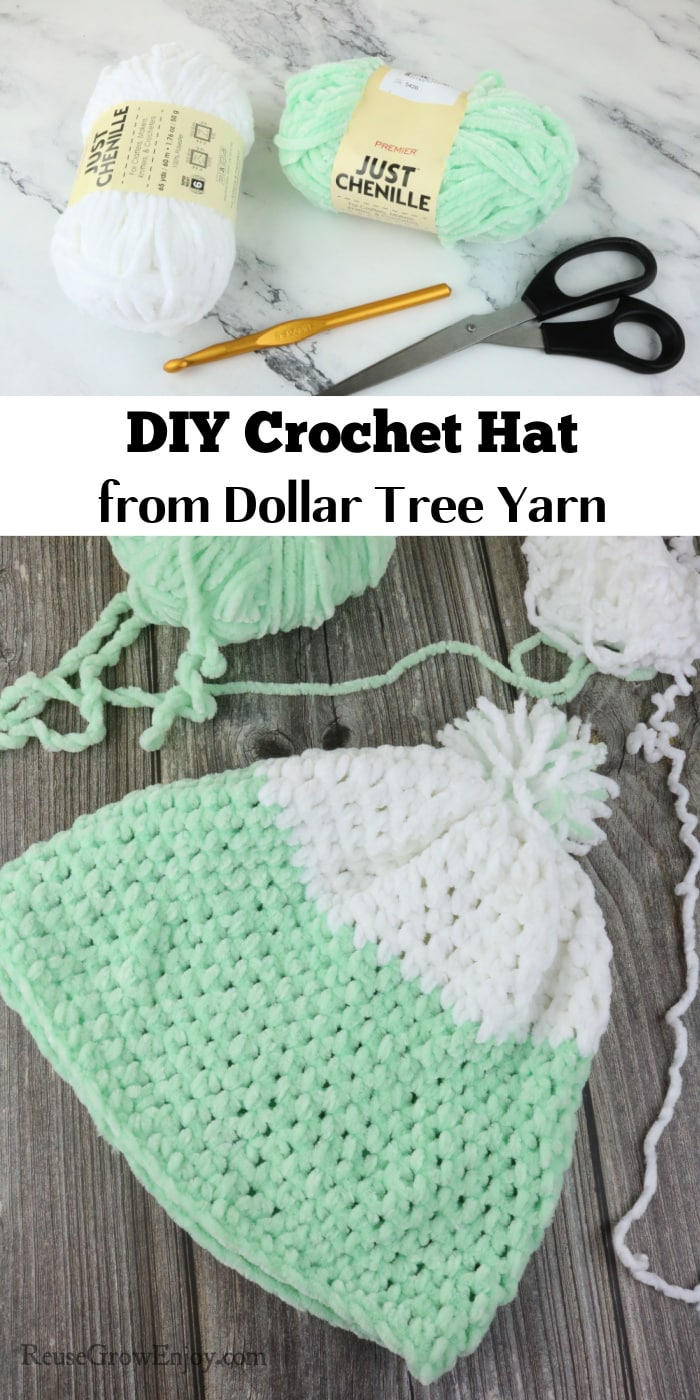
Whether you could use a cozy hat for yourself or need a low-price handmade gift idea, this hat will do the trick! I am going to show you step-by-step how to make this easy crochet hat. The best part is it is budget-friendly!
It only takes two skeins of yarn from Dollar Tree to make it. We used the chenille yarn, but this could be made from any yarn. I do have to say by using the chenille, it makes the crochet hat super soft!
We made this as a two-tone hat, but you could do it as a solid color if you want.
If you want to use chenille yarn but can’t get to Dollar Tree, you can also find it on Amazon here.
If you are looking for other crochet projects here are a few to check out.
- Upcycled Bags Basket Bowl – Crochet Project
- Loop Yarn DIY Pillow Cover (Finger Crochet Project)
- Crochet Upcycled Plastic Bag Flower Earrings
Makes: 1 Hat
Skill: Medium
Time: about 1 hour but depends on how fast you crochet
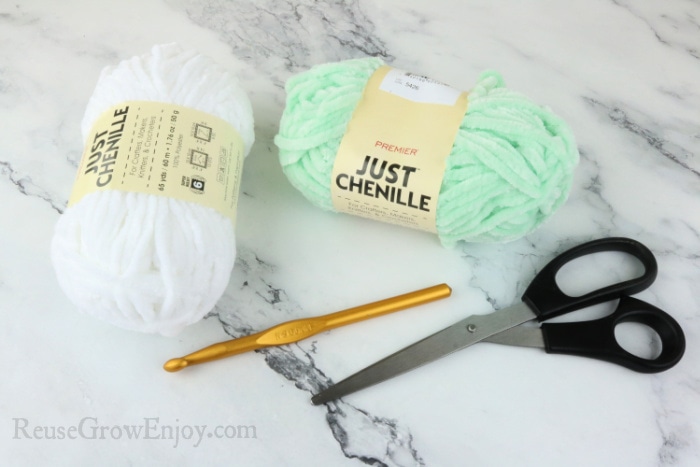
Supplies Needed:
- 1 Skein White Chenille Yarn
- 1 Skein Mint Green Chenille Yarn
- Scissors
- N (or 9 mm) Crochet Hook
How To Make A Crochet Hat
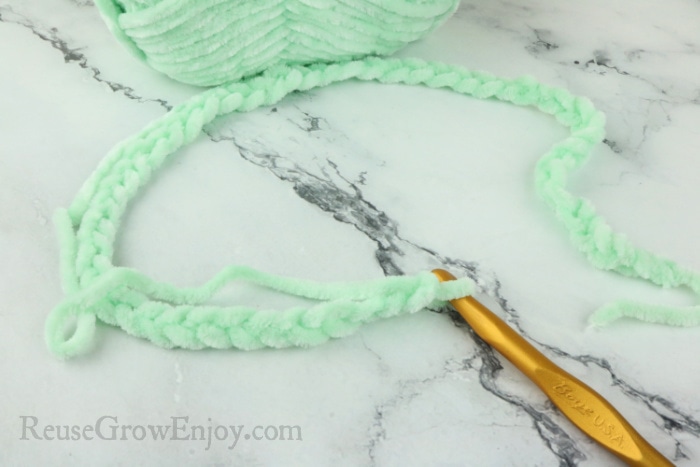
Step 1: Start the yarn and chain 50 loops.
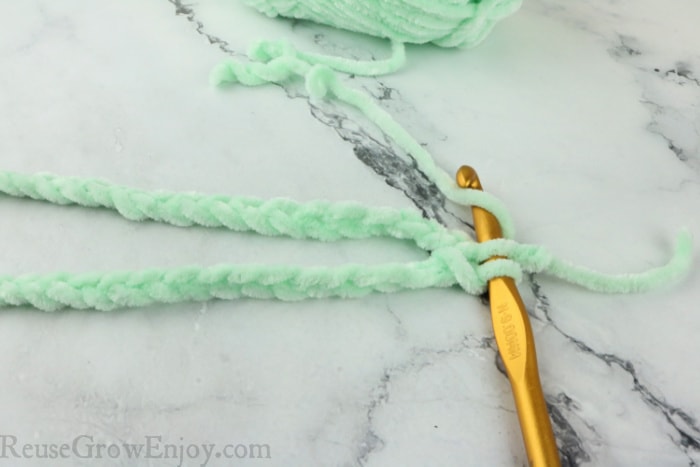
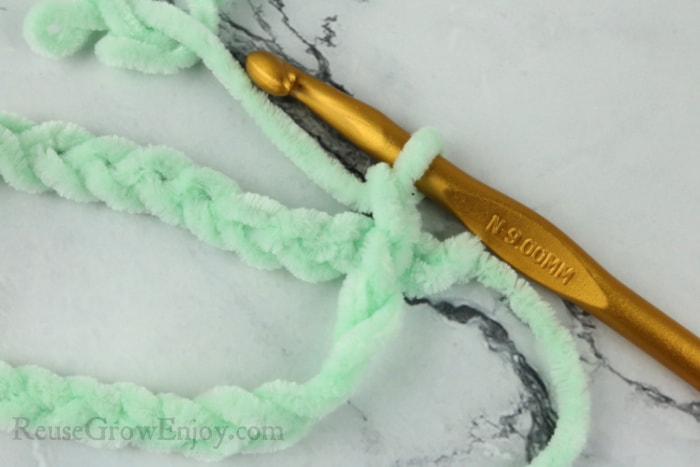
Step 2: After you have your chain of 50. Make sure it is all flat and not twisted. Then join the two ends together. You do this by sticking the hook through the first loop, grabbing the yarn, and pulling it back through both loops.
Step 3: You will have one loop, pull another loop through that one to start the row.
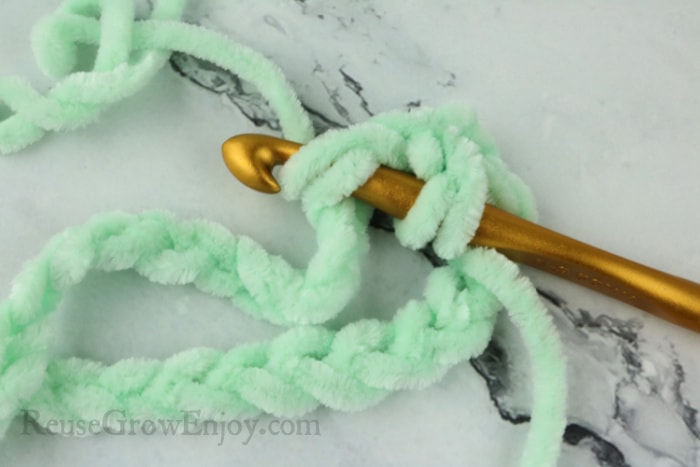
Step 4: We are going to do half-double stitches all the way around. This is done by putting the yarn over the hook, then pushing the hook through the hole on the chain, grabbing the yarn with the hook, and pulling it back through. Then grab the yarn again and pull it back through all three loops. For the very first one on each row, you will start with the second hole on the chain.
Step 5: When you have gone all the way around and are back at the start, you are going to push the hook through the hole right next to that first loop you made. Then grab the yarn and pull it back through the loop.
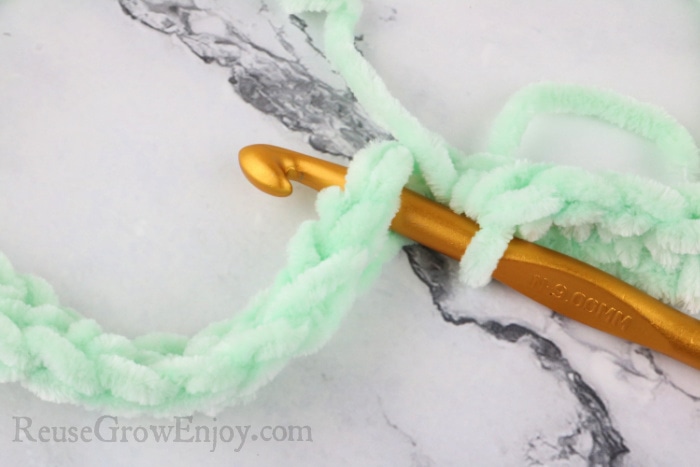
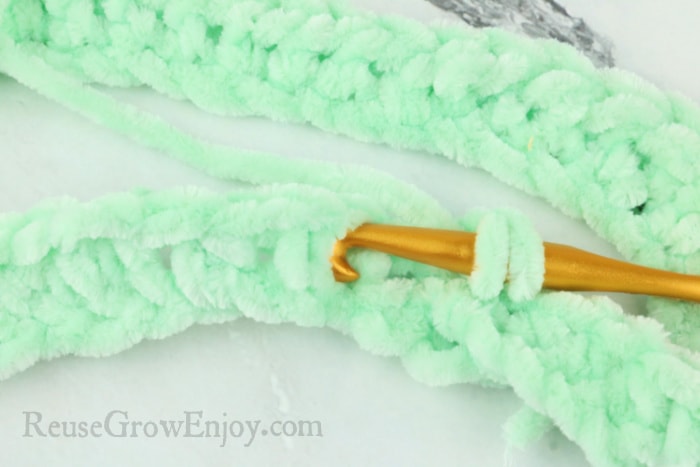
Step 6: Pull another loop so you have a chain of two loops. Then loop the yarn over the hook and push the hook into that second hole again. Grab the yarn and pull it back through. Then grab the yarn again and pull it through all three loops just like you did on the first row of half double crochet stitches.
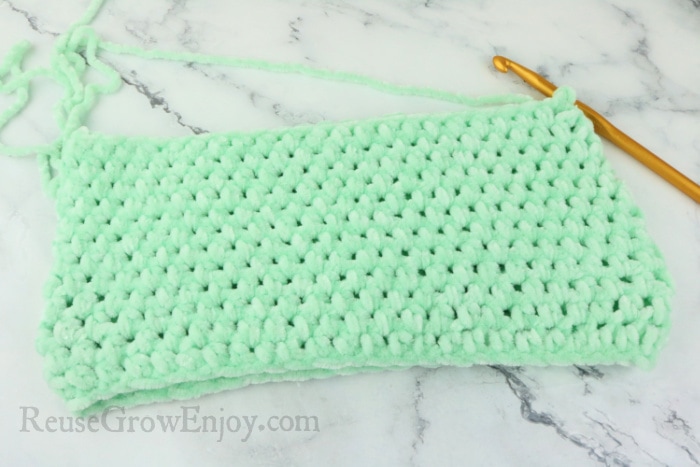
Step 7: Keep repeating steps 5 and 6 until you have a total of 12 rows.
Changing Color:
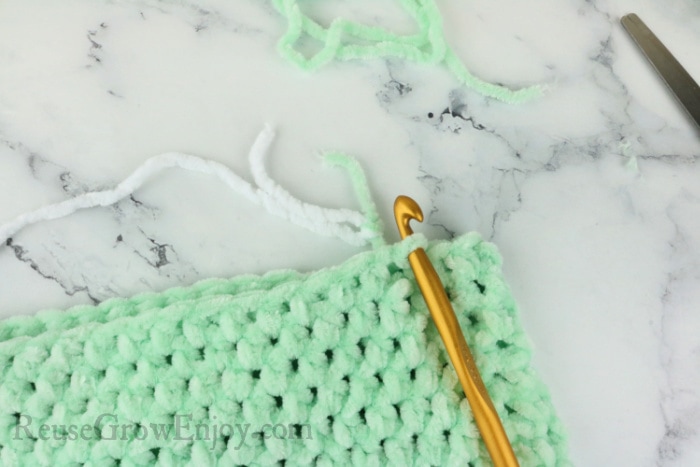
Step 8: After you have 12 rows of the first color, it is time to change to white. At the start of the 13th row, cut the green yarn and tie the white yarn to it. You want to try and get as close as you can so that the 13th row starts with all white and not a loop of green. I try and crochet over those pieces from the tie-off to hide them.
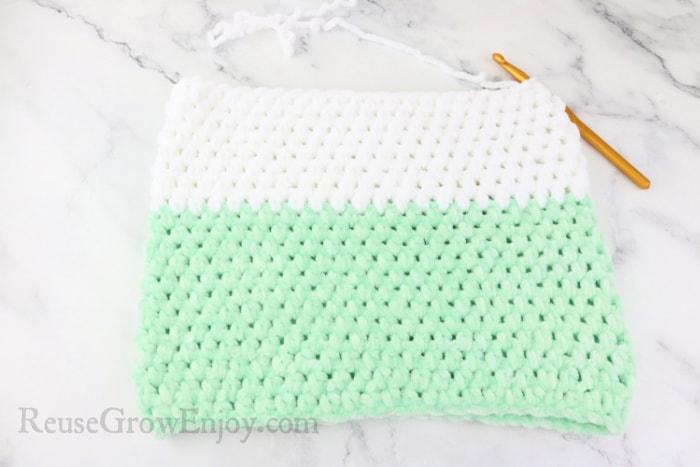
Step 9: Then repeat steps 5 & 6 to do eight rows of white.
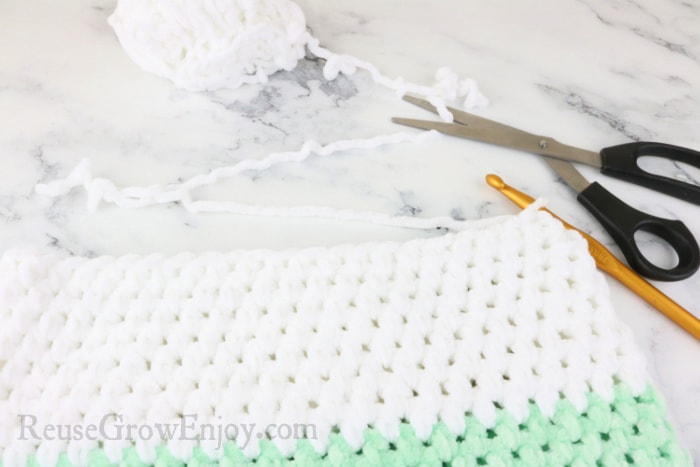
Step 10: When you have finished the 8 rows of white, measure out enough yarn to go all the way around the hat. Then cut it from the rest of the skein.
Closing Top Of Hat & Adding Pompom:
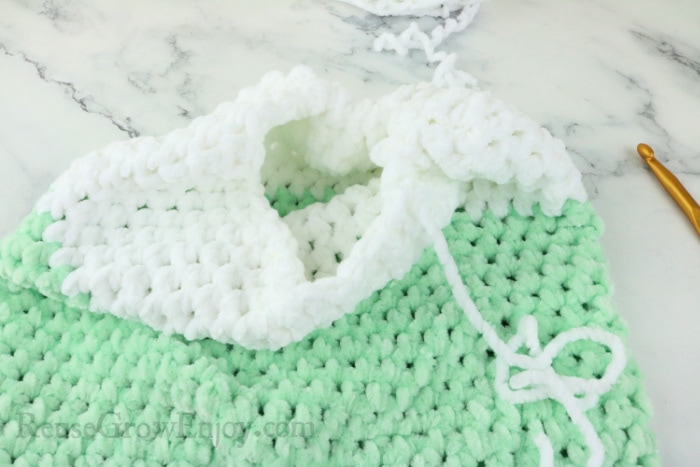
Step 11: Pull the cut piece through your last loop to lock it all into place. Then weave the rest of that piece of yarn in and out the top row of holes.
Step 12: When you have made it all the way around, start to pull that yarn and it will start to close up the top of the hat.
Step 13: When you have it tightly closed up, take that long piece of yarn and tie it off tightly. It needs to be good and tight.
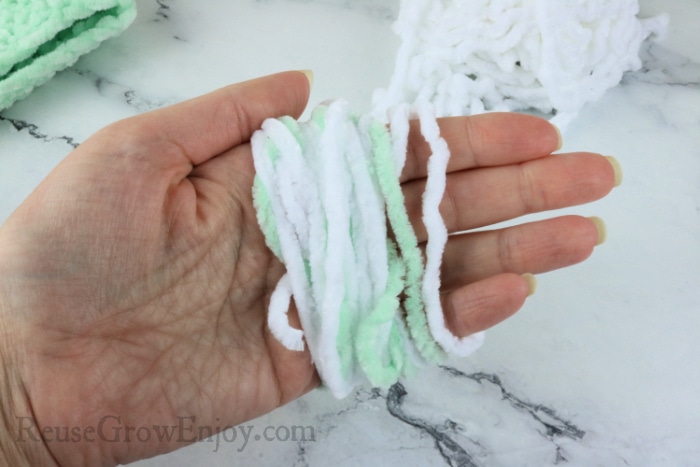
Step 14: Take the white yarn and the green yarn and wrap them around your hand several times. I did mine about 23 times around the hand. Then tie it together with a piece of yarn.
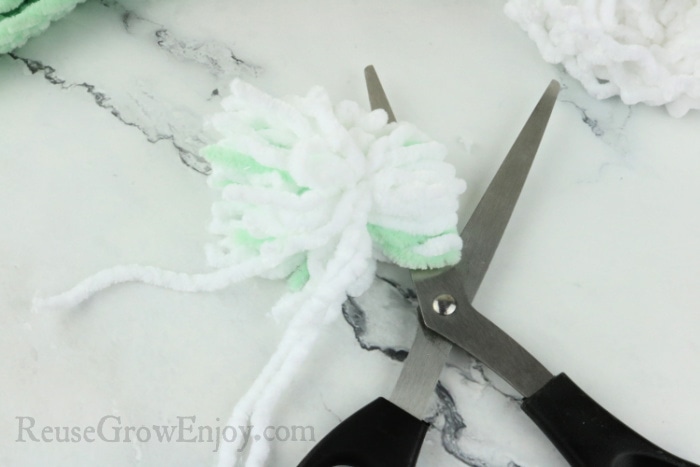
Step 15: Now that it is tied together and off of your hand, use the scissors to cut the ends of the loops. This will form our pompom for the top of the hat.
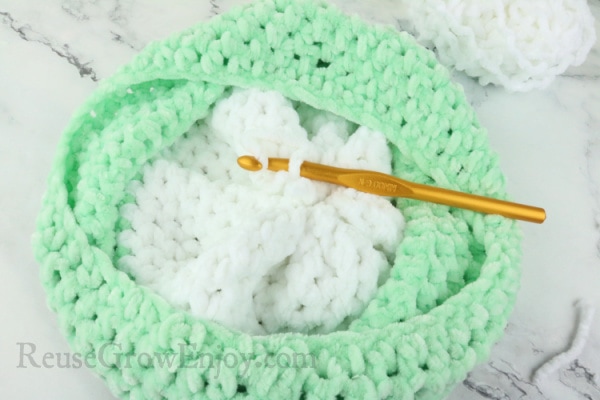
Step 16: Tie that pompom to the top of the hat. I tied it in with the long piece of yarn still attached to the hat. Then run it through to the inside of the hat and tie it off before cutting the rest of the yarn.


Nicky b. says
Pls how much is the yarn and how can I order it
Reuse Grow Enjoy says
It is $1.25 each and you can get it at your local Dollar Tree. You can also use any yarn of your choosing.