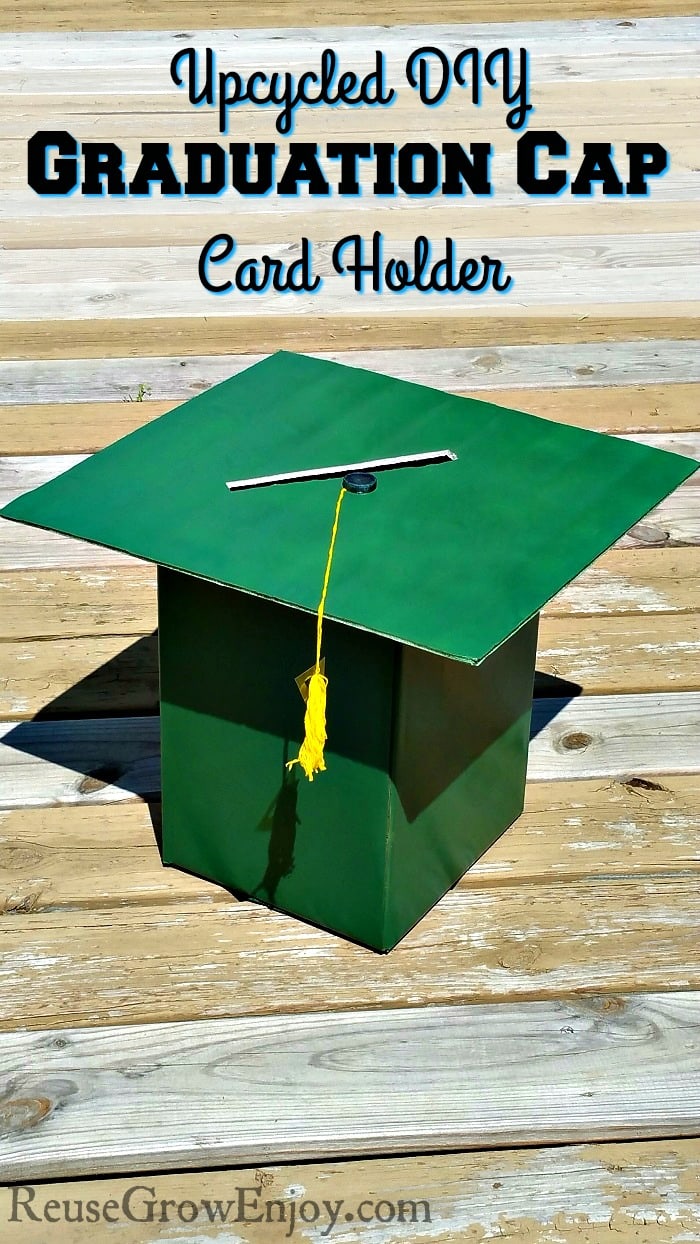
DIY Graduation Cap Card Holder
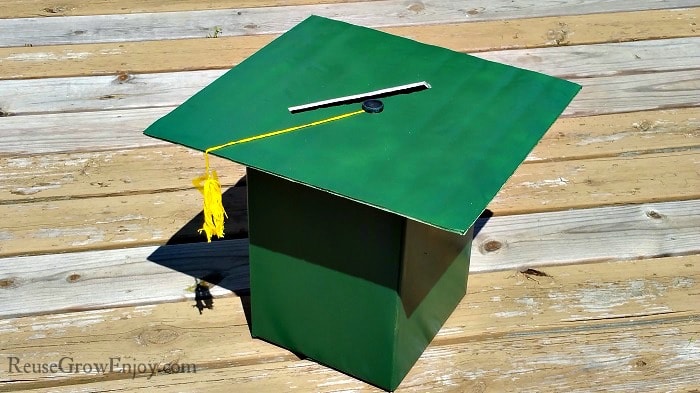
Do you have someone that is graduating this year? Will you be having a graduation party? If so, you may want to check out this upcycle project for a DIY graduation cap card holder.
While you can buy card holders like this already made, they are not always cheap. Plus they can be really hard to find in your school colors. Making this DIY graduation cap card holder yourself will help keep your budget and let it be a one of a kind with your style and colors.
I will show you step by step how I made this one. Feel free to change it up and make it your own. One way to do that would maybe add a layer of glitter if you wanted to.
Also, I made this one using spray paint to get our school colors. If you do not want to use paint, you do have other options. Such as wrapping it in solid color wrapping paper or even a table cloth.
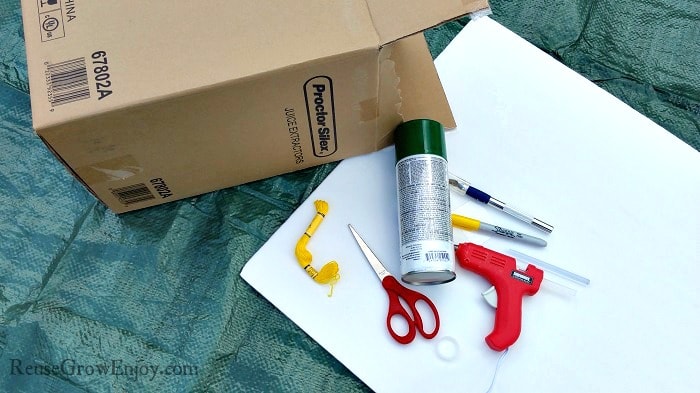
DIY Graduation Cap Card Holder Supplies:
- 1 Square Taller Box
- 1 Flat Piece Of Cardboard or Poster Board (it needs to be larger than the box. about four inches larger all the way around)
- 1 Can Spray Paint (your school color – cheap dollar stuff works just fine)
- Hot Glue Gun & Glue
- X-Acto Knife
- 1 Skein Of Embroidery Thread (your 2nd school color)
- 1 Water Bottle Top
- 1 Permanent Marker (school color)
- Scissors
- Scrap Piece Of Thick Plastic (container tops work well)
Directions:
The first thing you want to do is remove any tape from the box other than the piece on the very bottom. Be careful doing this so you do not rip the box. The reason for this is because the tape does not cover well with the paint. If you are not using paint and will just be covering it in paper, then you can skip this part.
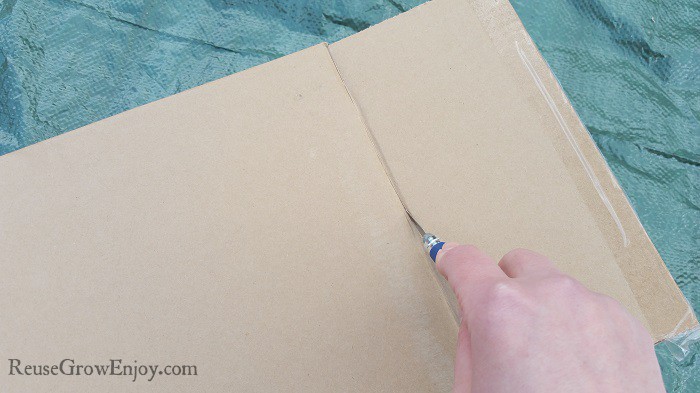
Next, you want to use your X-Acto to cut off the top flaps of the box.
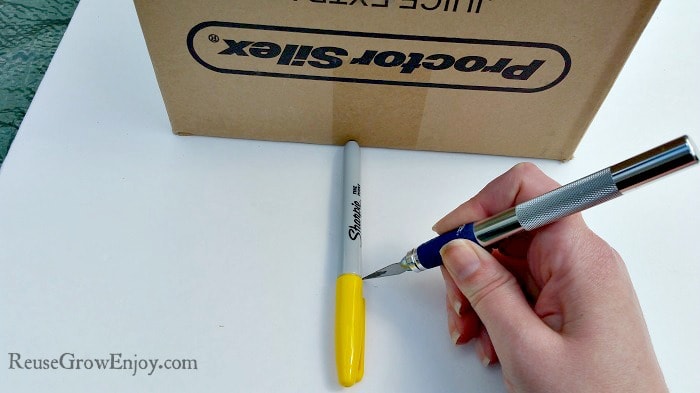
Then take the flat piece of cardboard or poster board and cut out a square. You want it to be about 4 inches larger all the way around the top of the box. I just turned the box over and marked it where the cap fits on the marker. Then just kinda eyed it. After marking it, you can also lay the box down flat to use it as a guide to keep a straight line. Then simply cut it with the X-Acto knife.
After you have the box trimmed and your square cut, now it is time to paint. Using your spray paint, give one side of the square and the box a coat of paint. You do not need to do the inside or the bottom of the box. Allow to dry and then repeat. You want everything to have a nice even coat.
Don’t forget to get the outer edges of the square too. Oh, you also need to coat the outside of the bottle top.
Gluing Together:
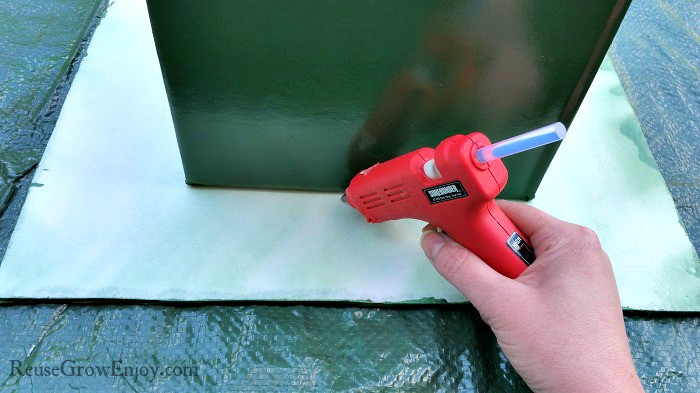
After it is all dry, you can flip the square over with the paint side down. Then flip the open end of the box over on top of it. Use the hot glue to hold it in place. Be sure to get it as centered as you can.
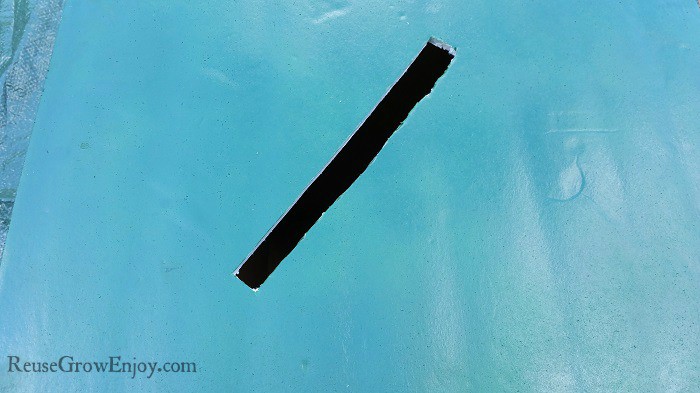
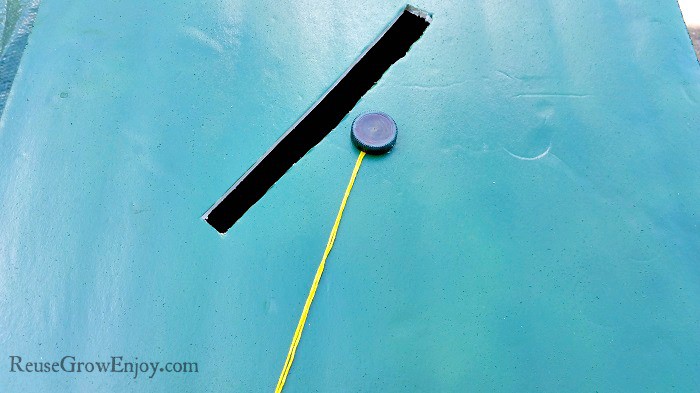
Flip it back over and cut a slit in the center. You want to be sure to make it large enough for big cards.
Making The Tassel:
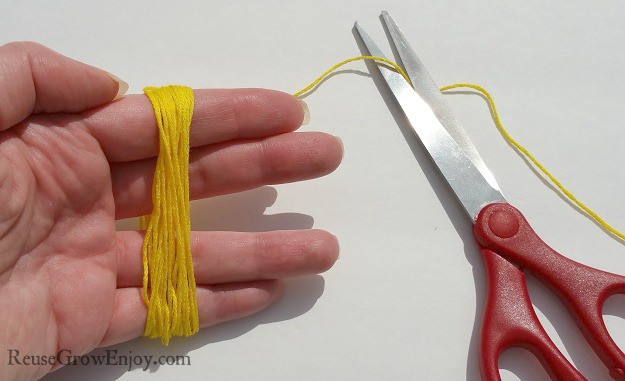
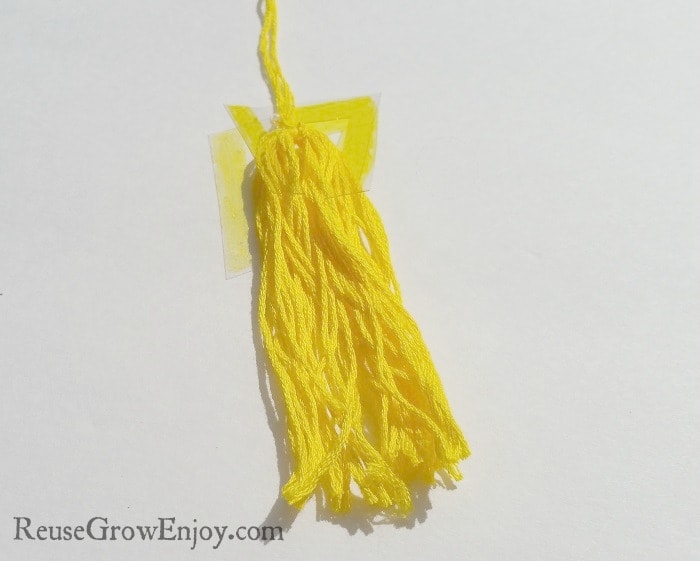
Now, you want to wrap the thread around your hand a bunch of times. Then cut it with the scissors and tie the cut end around the wrapped thread.
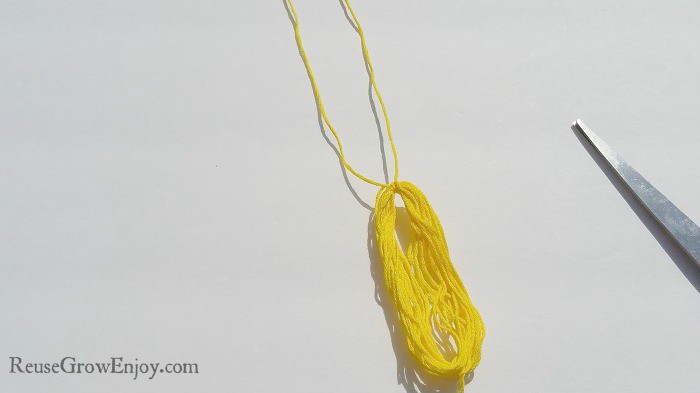
Cut another piece of thread about 20 inches long. Put it through the center of the wrapped thread and tie it in place.
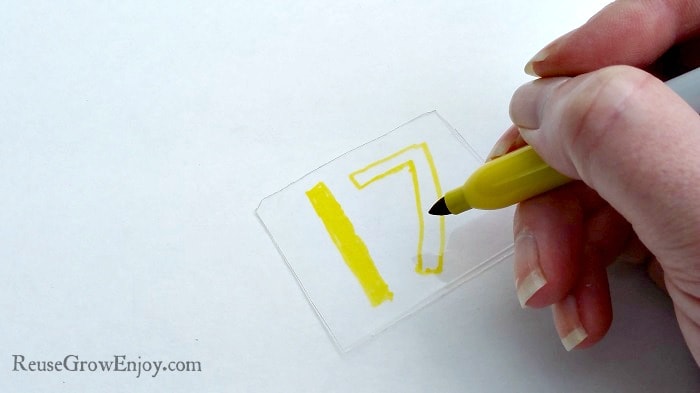
Next, take the flat piece of plastic and write the last two digits of the year on it. Make them chunky and color it in with the marker.
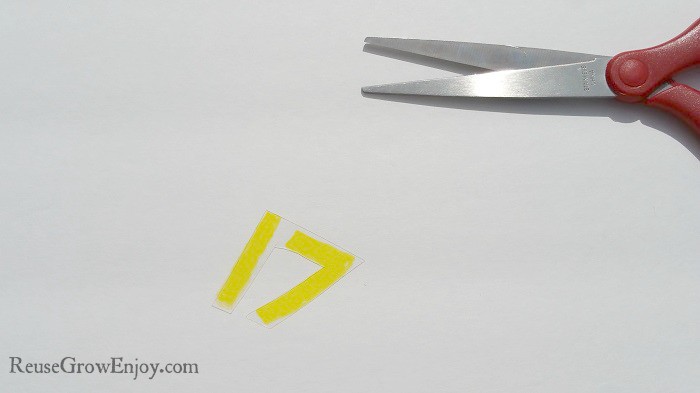
Then cut the number out, but be sure to LEAVE the top center part attached so the number stays together. Then punch a hole in the top area with the X-Acto. Run the long thread through the hole and tie it in place.
Cut the very bottom of the looped thread so it all becomes fringes.
Tie the very end of the two pieces of long thread together. Then hot glue them to the top of the box in the center. Right next to where you cut a slit in the box.
The last step is to hot glue the painted bottle cap over the thread that you just glued. It should now look like the button on the top of graduation caps with a tassel attached to it.
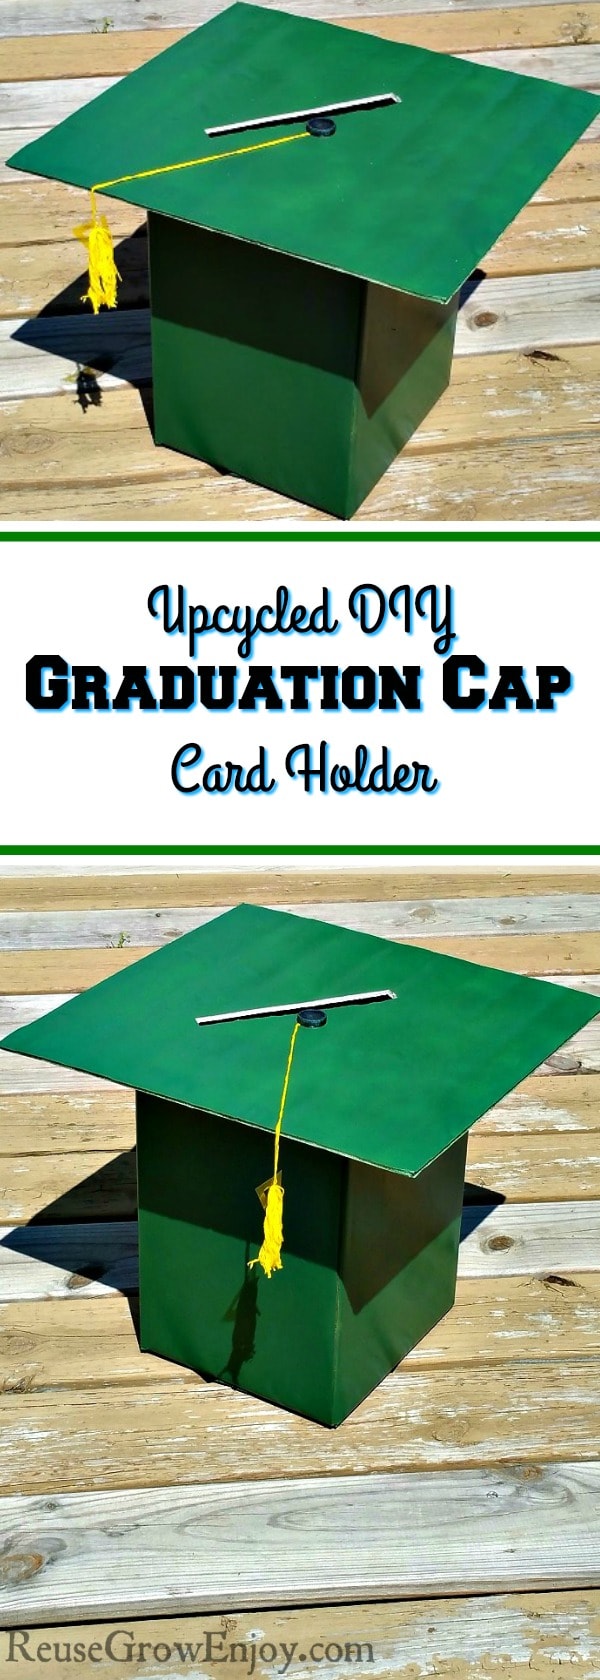
That is it! You just finished making this DIY Graduation Cap Card Holder!



Kim says
What size box and where did you get it at
Reuse Grow Enjoy says
Hi Kim, you can use any box that fits your needs. Mine was from a Proctor-Silex Juice Extractor I had bought. I think the box was about 12 inches by 12 inches and about 15 inches tall. Hope that helps.