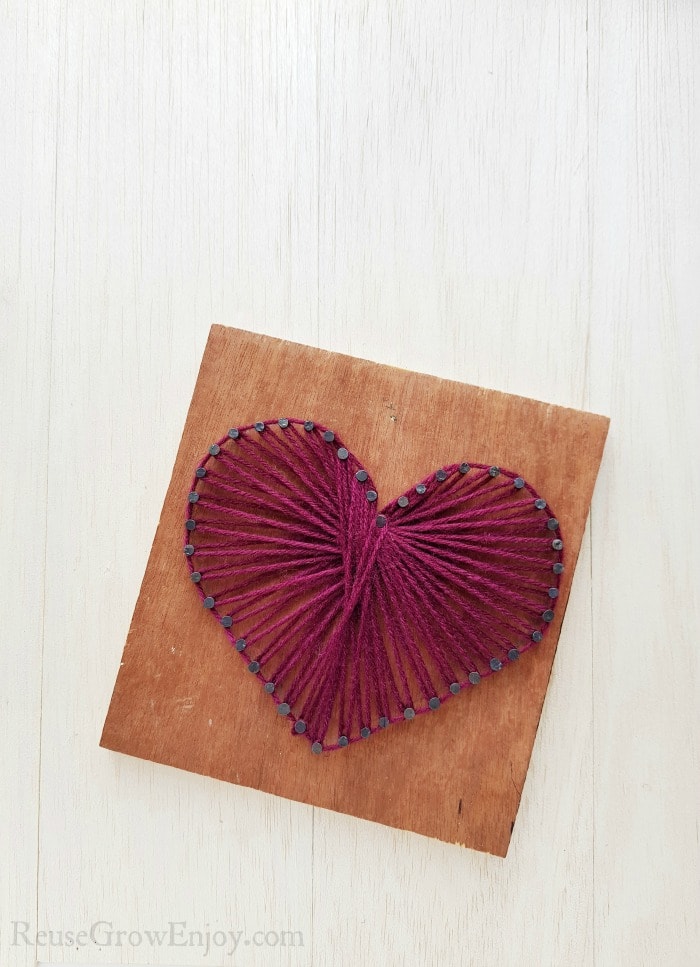
If you have a piece of wood, a few nails and some string you can make this super cute DIY heart string art! You can change these sizes and colors to make it your own.
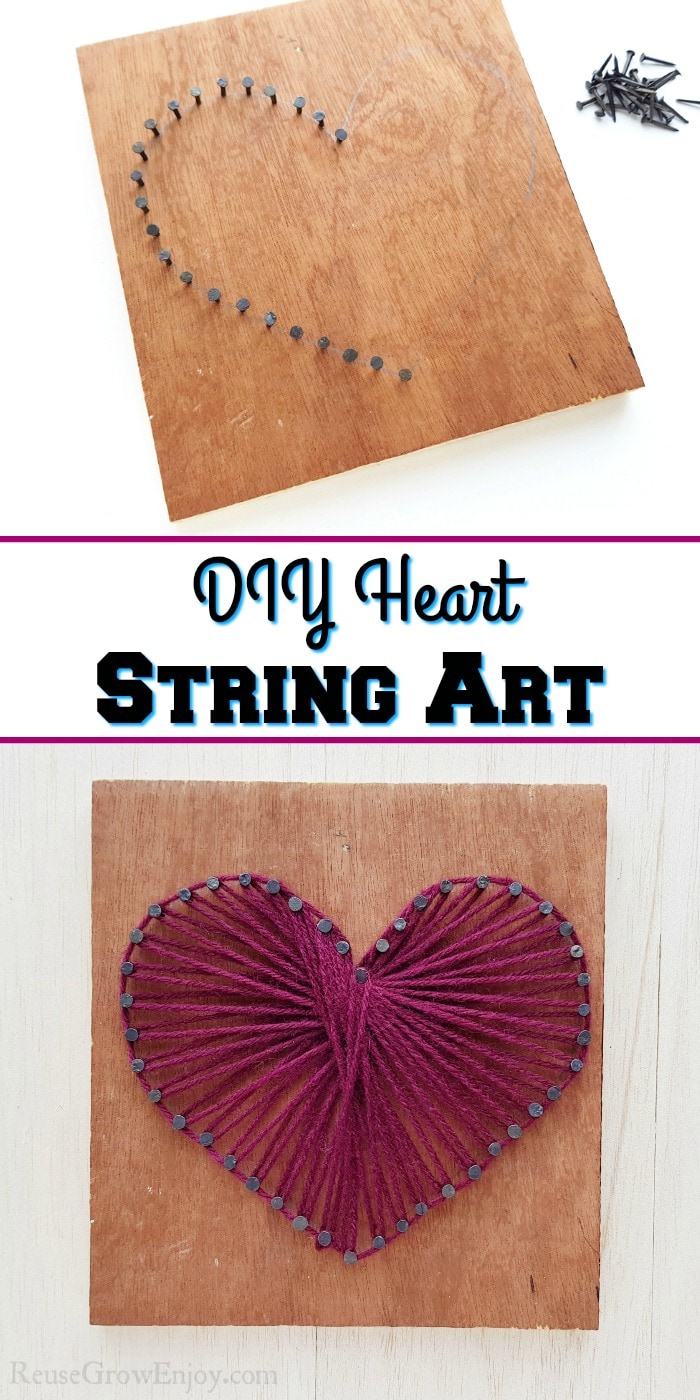
DIY Heart String Art
This heart string art would be cute on its own or you could do a few in different sizes and colors and display them together. Or better yet, if you have a larger piece of wood you could do a few on the same piece.
I think the next one I will do a piece of pallet wood with different size hearts on it. Maybe start with a large heart at the bottom and then work the way up the board making the hearts smaller up at the top.
I love how sometimes the most simple crafts really look like you spent a long time on them.
If you are looking for other string art ideas here are a few to check out.
Supplies Needed:
- Nails
- Hammer
- Wooden board
- Scissors
- Pencil
- Yarn or string
Directions:
Start by getting the piece of wood ready. You can leave as is or stain or paint it before doing this project. Just be sure that it is dry before you start.
We used a square piece of wood for this project. The wood should be at least a half-inch thick so that it holds the nails.
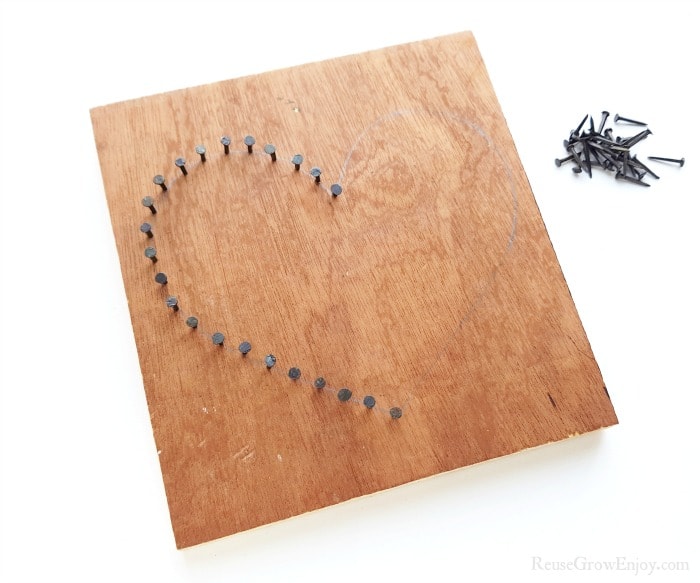
Now you want to trace a heart on to the board using the pencil. If you are not great at freehanding shapes you can use a template. Tip, things that work great for templets are things like these heart cookie cutters!
Next, start hammering the nails to the board on the heart-shaped line you made. Make sure space the nails evenly leaving just a small gap between them. You want to fill the whole heart line in with nails.
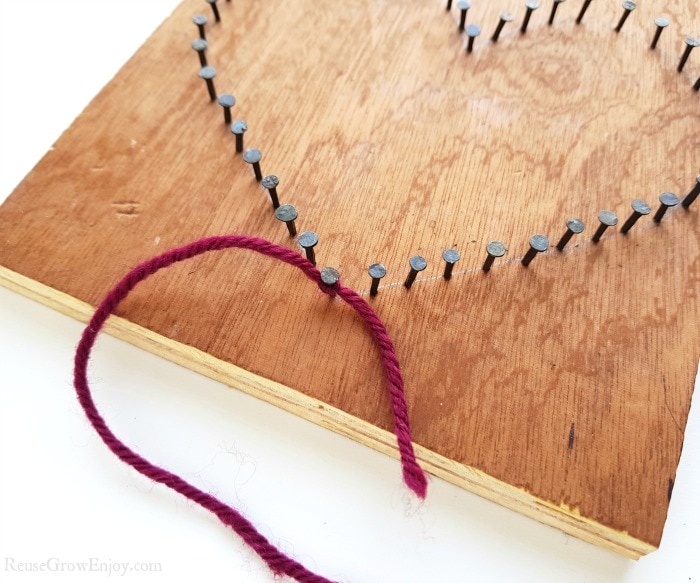
Start the string on the nails by tying a knot around one nail. You can either start from the top nail or the bottom.
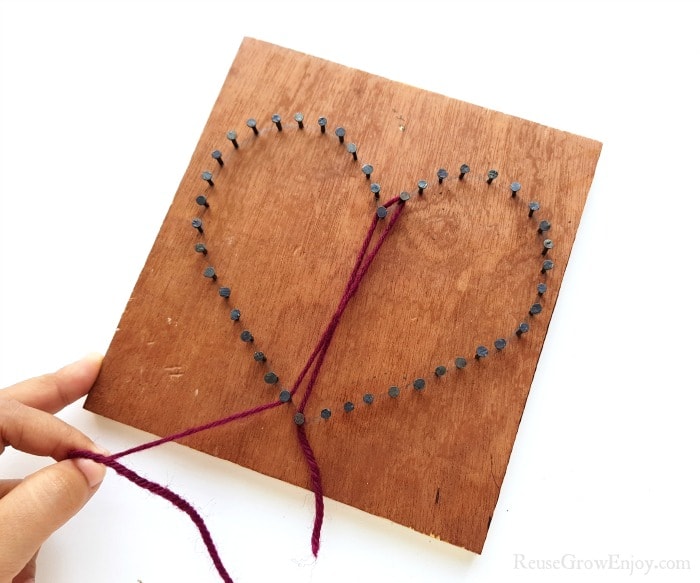
Now pull the yarn towards the opposite nail you tied it to and wrap it around that nail once. Be sure to wrap it tightly.
Then pull the yarn to the next nail beside the one you wrapped the yarn around. Wrap the yarn around that nail once making sure it is tight.
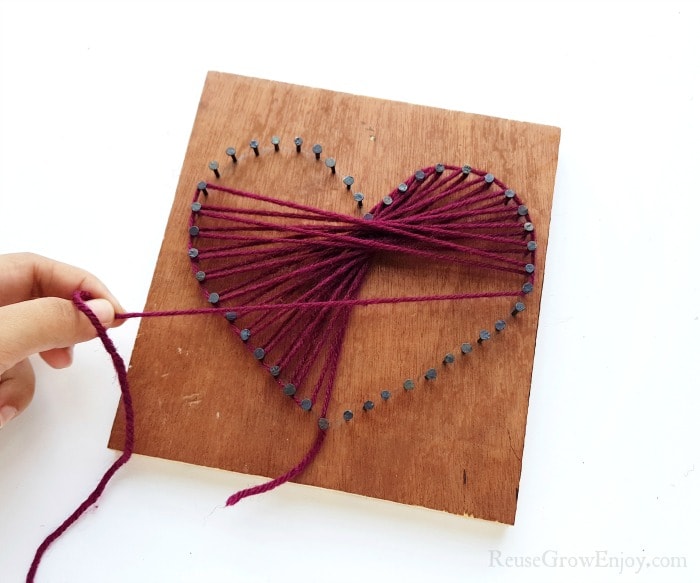
Then pull the yarn back across the heart and to the opposite side of the first nail. So that it crosses the first string. You will be working the direction on the top and bottom of the opposite sides to make the twisted middle look.
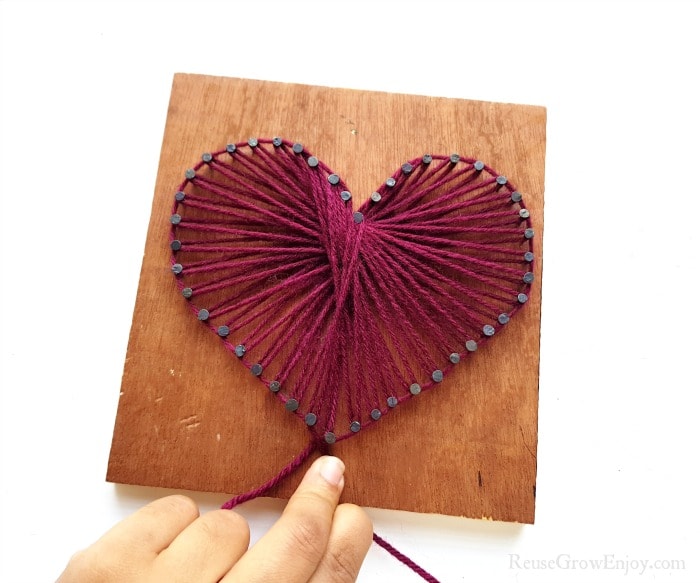
Keep repeating these steps to work your way around the heart. As you work you may need to push the spiral part in the middle, slightly towards the downside when it starts to move upwards.
When the entire heart pattern is filled, tie a knot around the first nail and cut off the extra yarn.
Then display your pretty heart string art and that is it! This could be hung on a wall or use something like a plate stand to display it on a table or mantel.


Leave a Reply