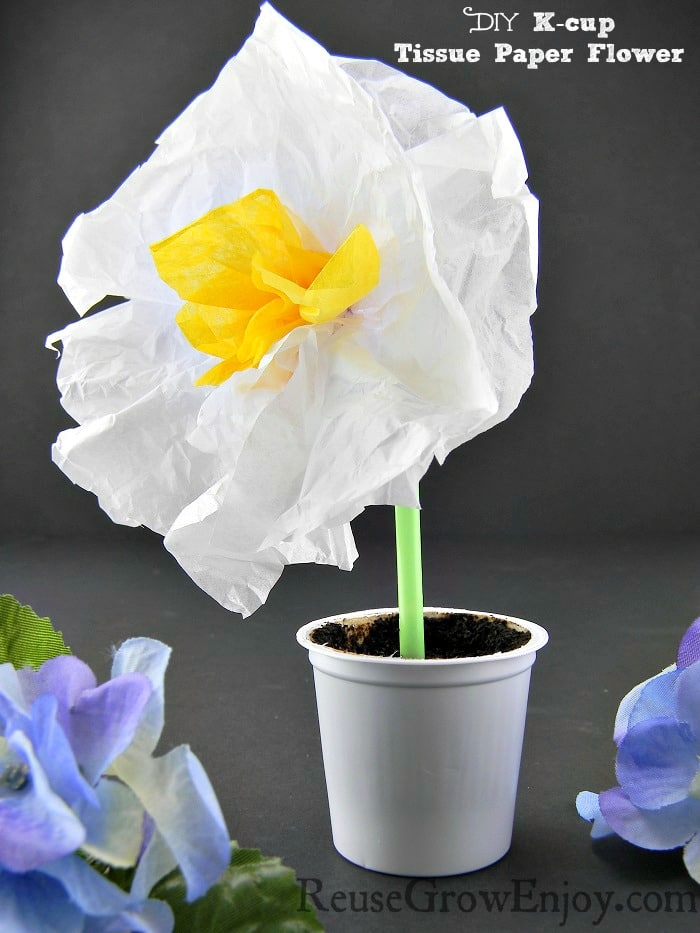
DIY: K-cup Tissue Paper Flower
Looking for something fun and spring like to do with the kids? Well, I have a DIY craft project for you to check out. It will show you how to make a K-cup tissue paper flower. This is pretty easy and fun! Plus I love crafts that reuse products that would normally be tossed out. That also makes it a very low priced craft, as pretty much the only thing you may not have on hand is the tissue paper.
While I used white and yellow tissue paper to make this K-cup tissue paper flower, you can use any two colors you want. This will also work with paper napkins if that is something you already have.
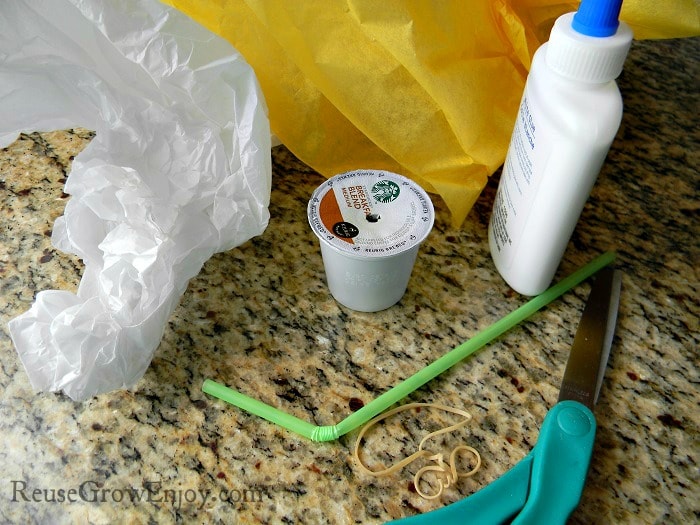
Supplies Needed:
- Two Colors Tissue Paper
- School Glue
- 1 Straw (Green if available)
- 1 Used K-cup
- Scissors
- 2 Rubber Bands
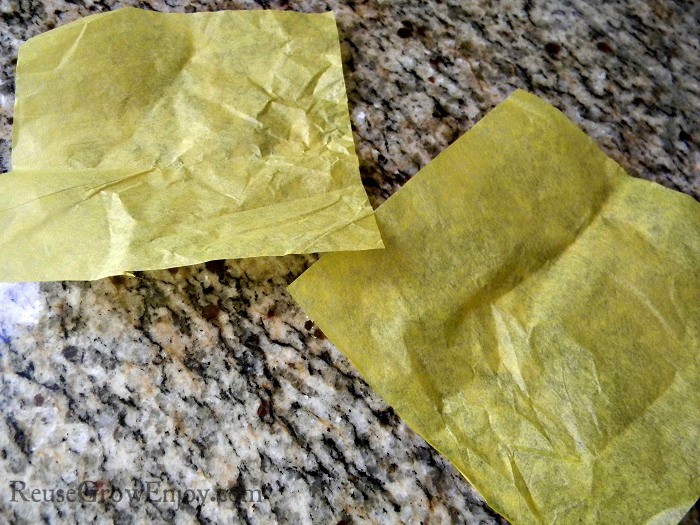
First, cut two 4-inch by 4-inch squares of the yellow tissue paper. If the size is not right on, it is ok to be a little off.
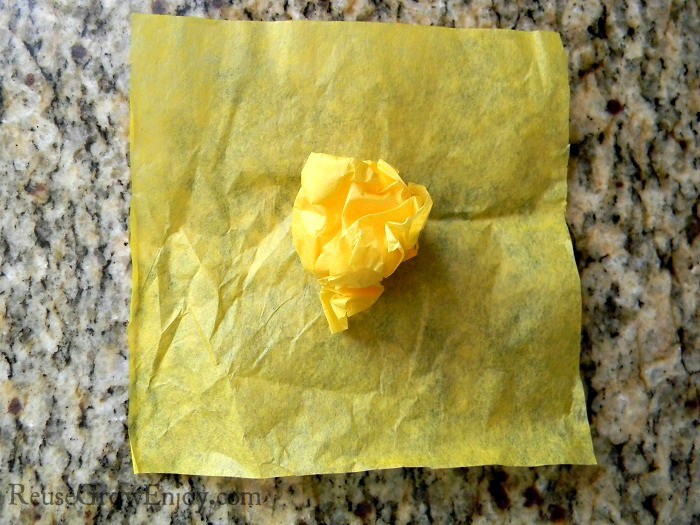
Now ball one of the squares up and place it on top of the other one.
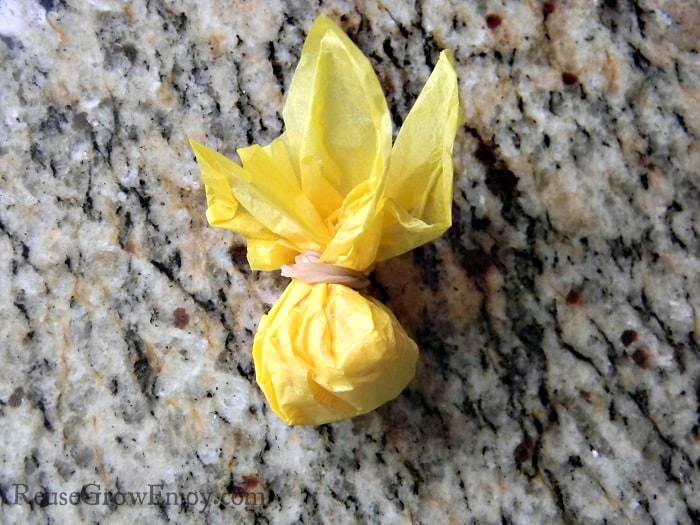
Pull the corners up around the balled up piece. Rap one rubber band around it to hold it in place. At this point, it should look like a little coin purse.
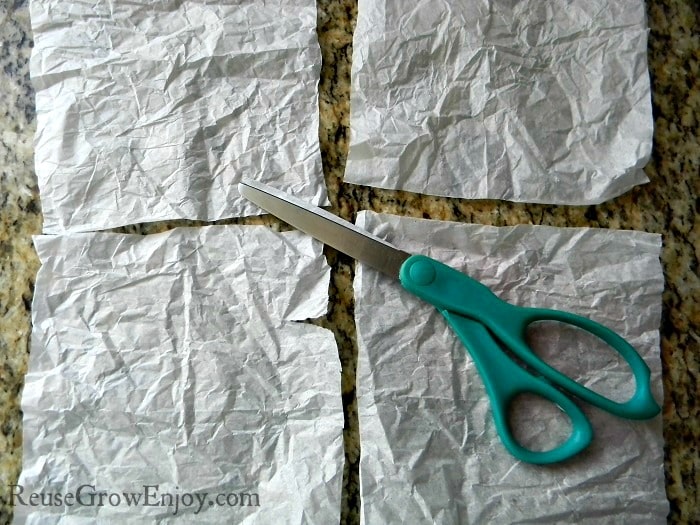
Now cut four white squares about 5-inch by 5-inch. Again it is ok to be a little off.
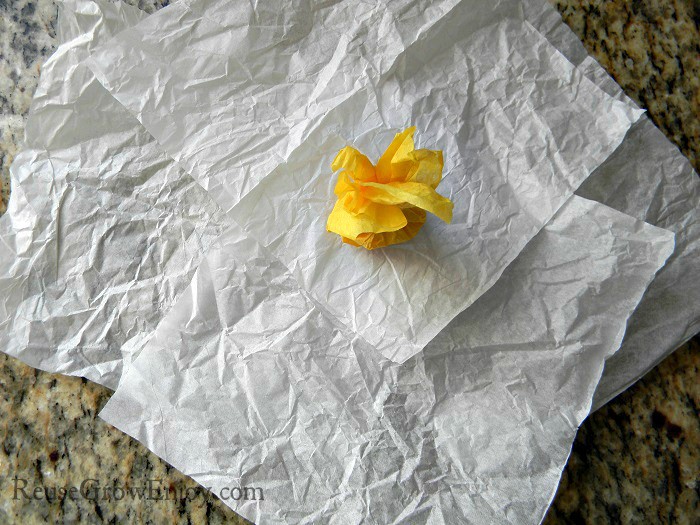
Lay the white pieces out so they kinda overlap each other. Then place the yellow one in the center.
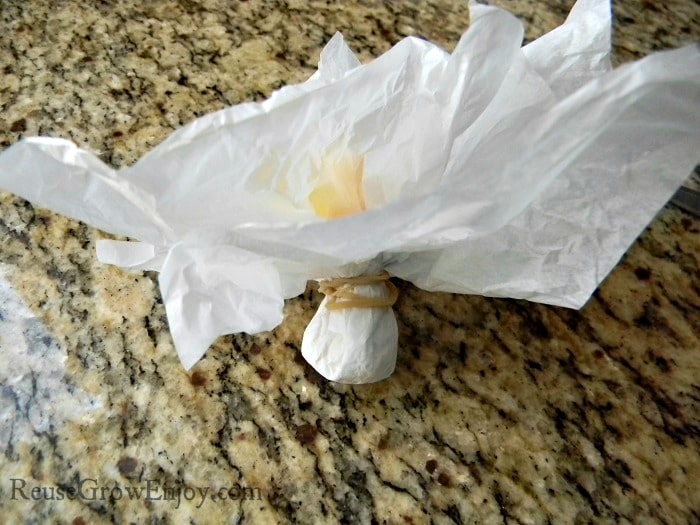
Pull the white corners up around the yellow. Put a rubber band around to hold this in place just like the one before.
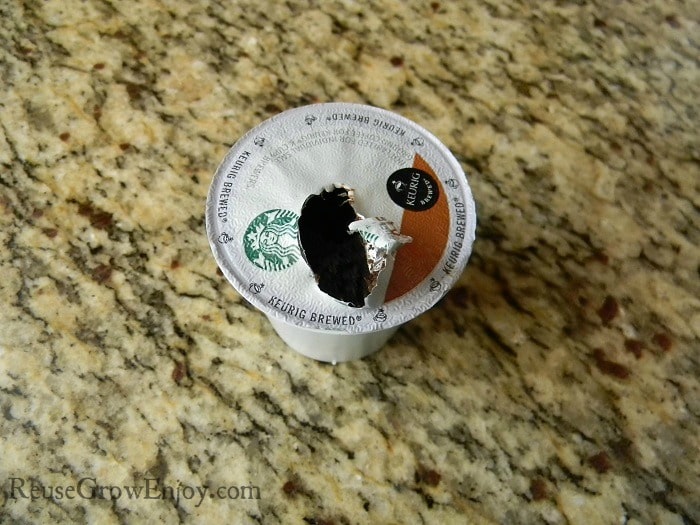
Peel the film off of a used K-cup.
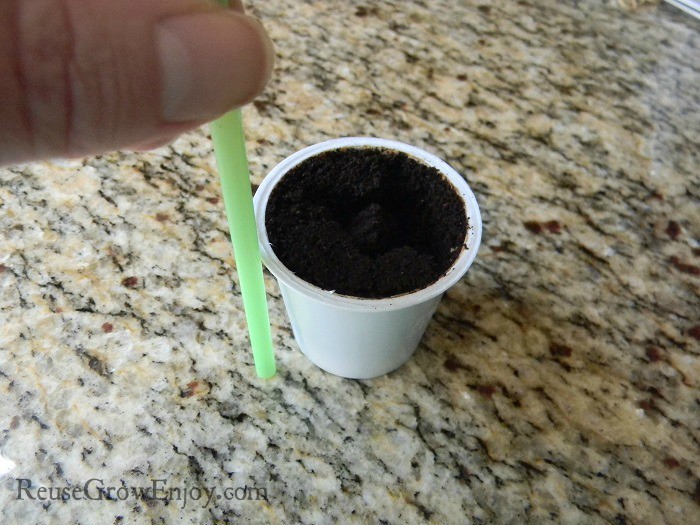
Take your straw and hold it up to the K-cup. Figure out how tall you want your stem to be. I did mine so that it was about 3 inches above the K-cup. Then cut off any extra that you don’t want.
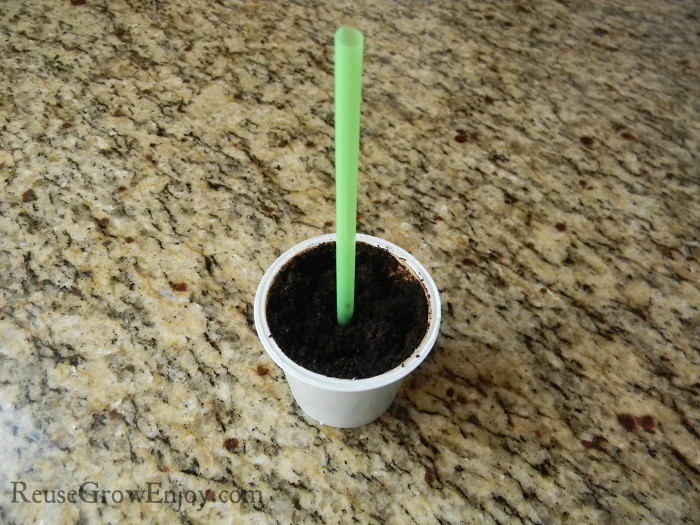
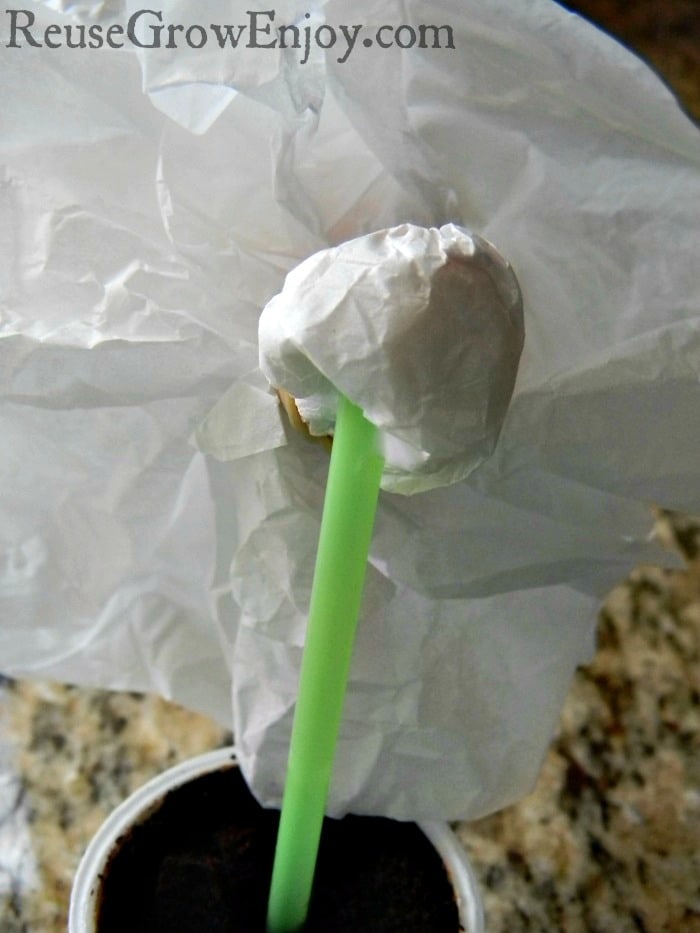
Place your cut straw / stem into the K-cup.
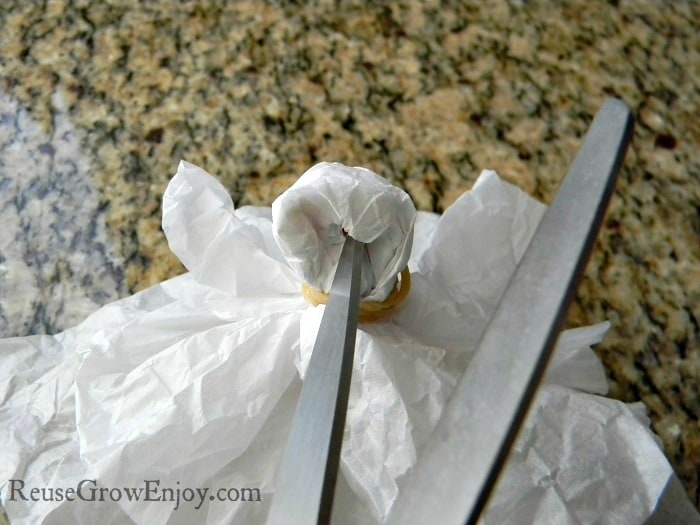
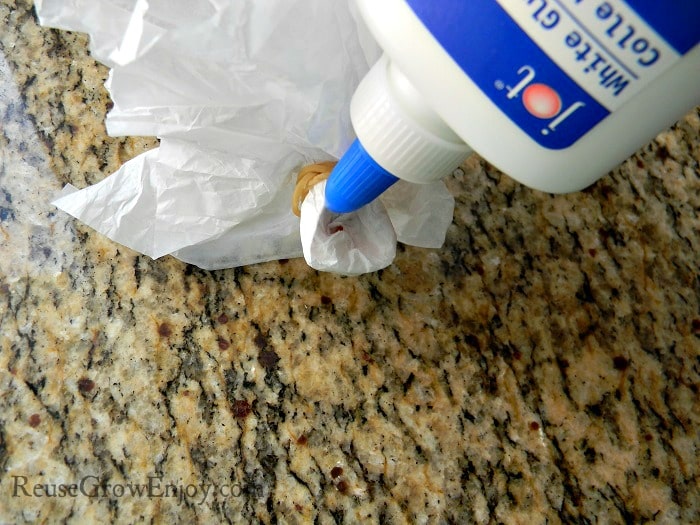
Take the point of one side of your scissors and put a hole in the ball part of the tissue paper. Be sure not to poke all the way through.
Put a little glue in the hole you just made.
Now put the top of the straw / stem in the tissue paper hole.
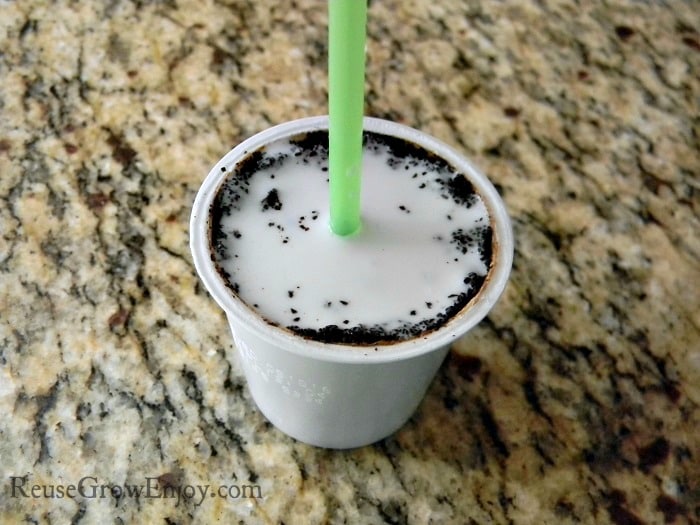
Fill the K-cup with glue so that it covers over all of the coffee. Don’t worry it will dry clear so that the coffee will look like dirt in the pot. Allow the whole thing to dry. Takes about four – six hours to dry. If there are any tissue paper edges that stick out or look funny, you can trim a little with your scissors until it looks the way that you want.
That is it! You now have a pretty spring K-cup tissue paper flower! Fun right!? If you liked this, you may also want to check out my post on Cardboard Garden Kids Easy DIY Craft.


Leave a Reply