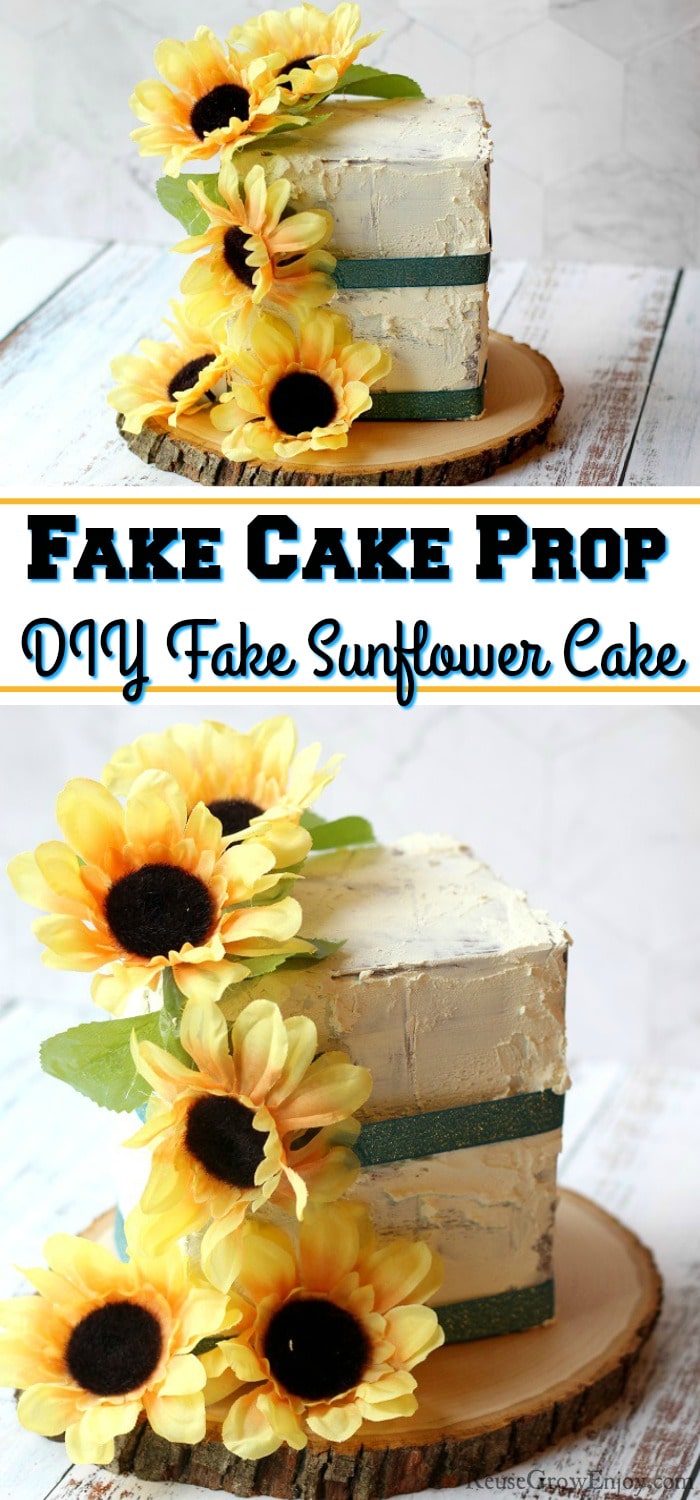
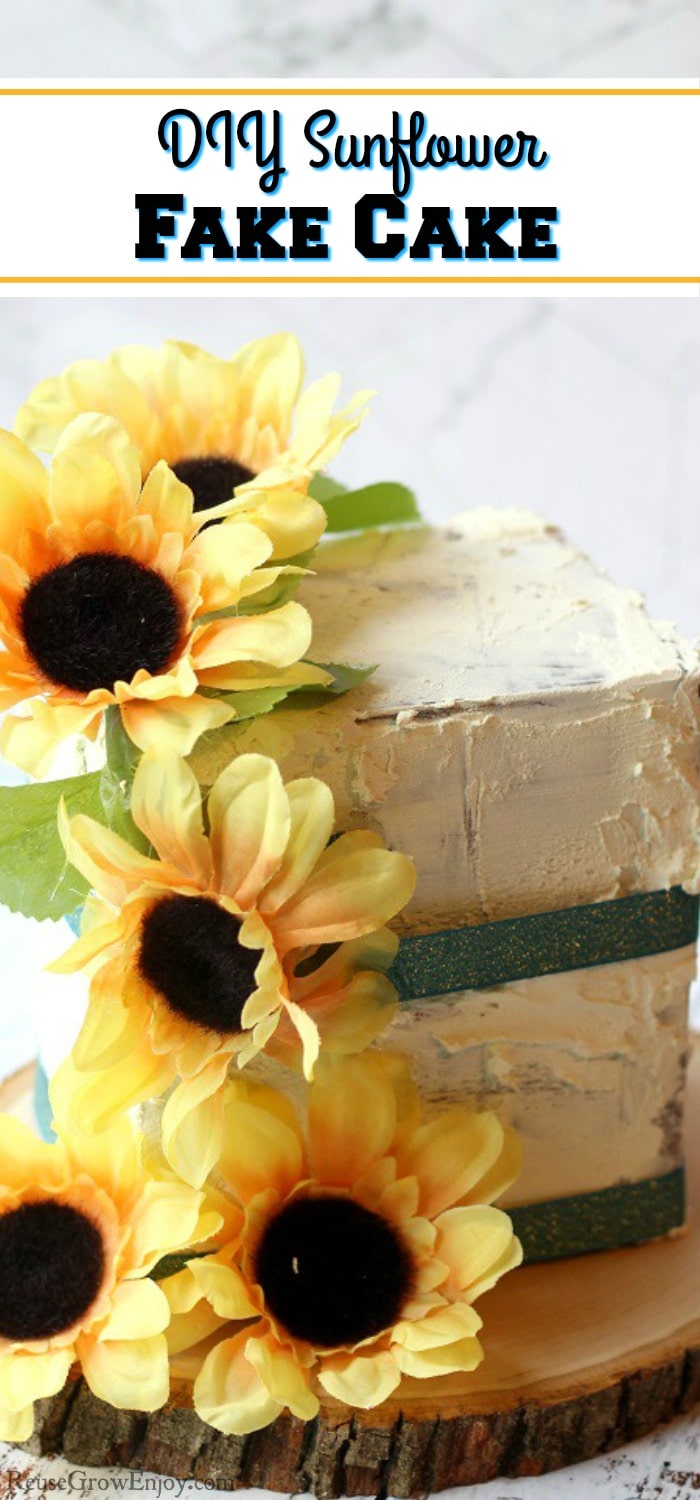
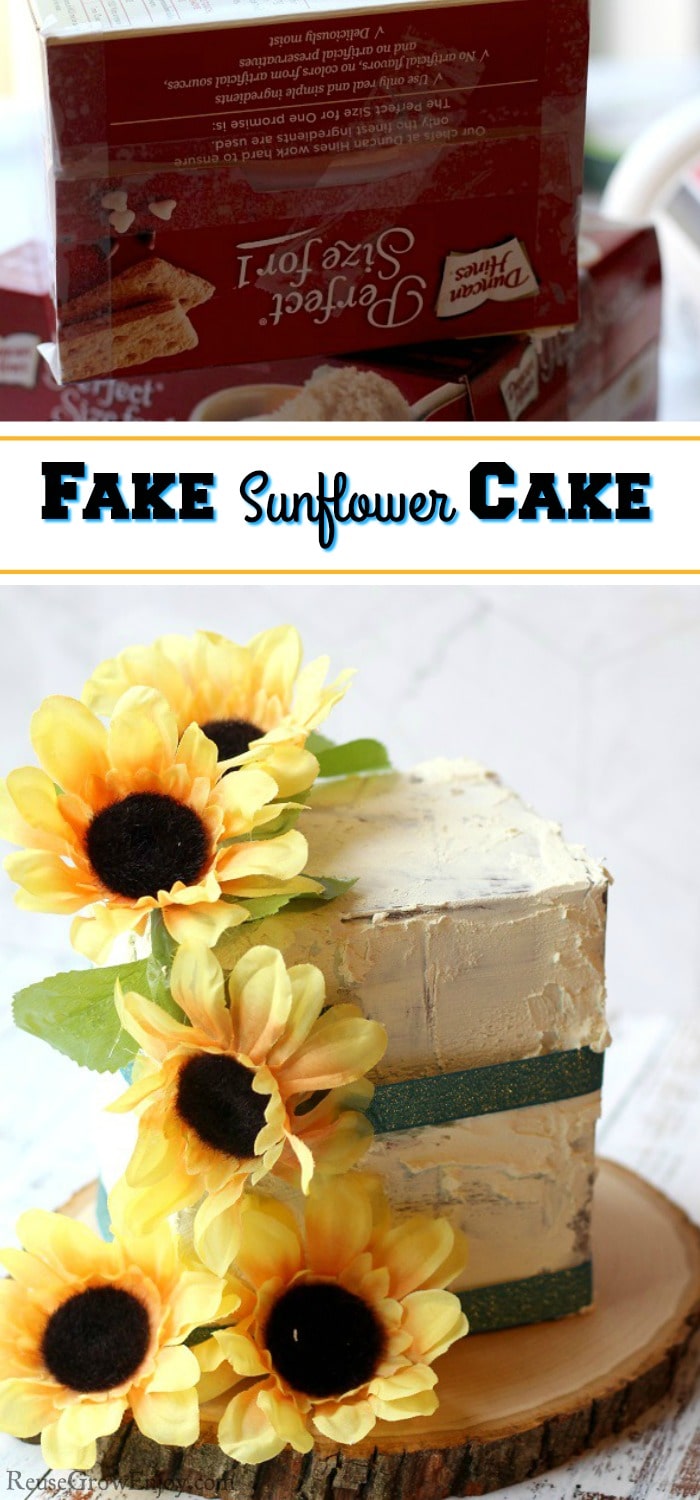
Wedding or a party coming up and looking for cheap decorating ideas? This fake cake prop is so easy to make! You can make this DIY sunflower cake and it looks just like the real thing!
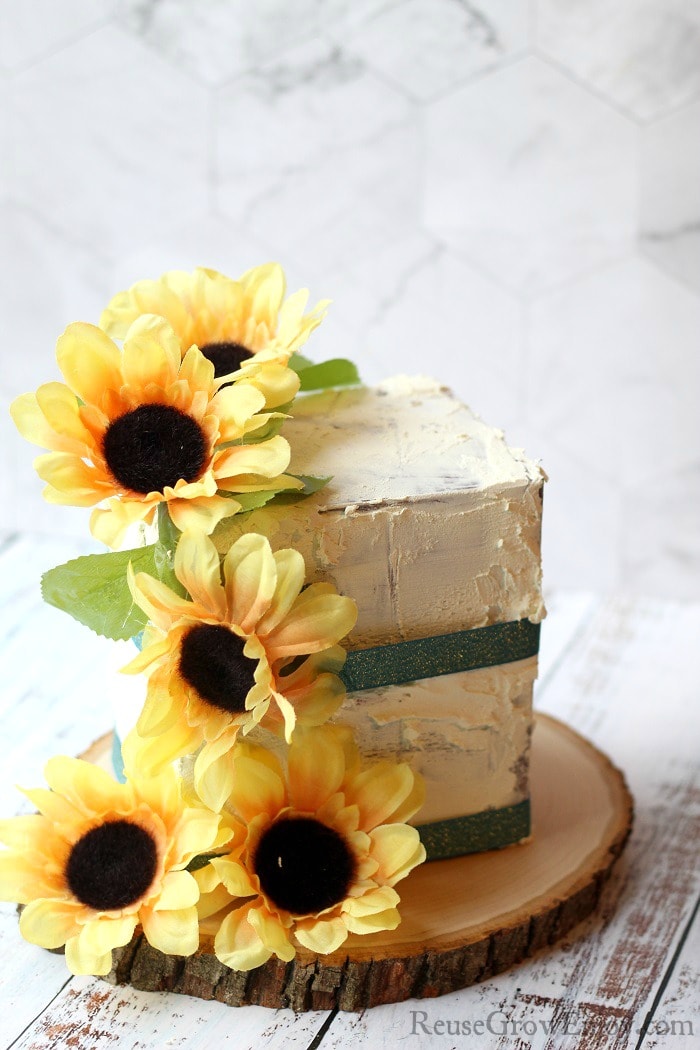
Fake Cake Prop – DIY Sunflower Cake
This fake cake prop is just an easy and budget-friendly decoration idea. Not only is it great for weddings and parties, but it would also be a great display if you run a bakery. This would also be sure cute at a little girls tea party.
It could also be used as photo props at weddings or photo shoots. What is great about them is that they are so incredibly easy and inexpensive to make.
You could also use a fake cake as a great decor piece for your coffee bar, kitchen table, or counter too. A fresh “baked” and decorated cake sitting on the counter just looks so welcoming right?
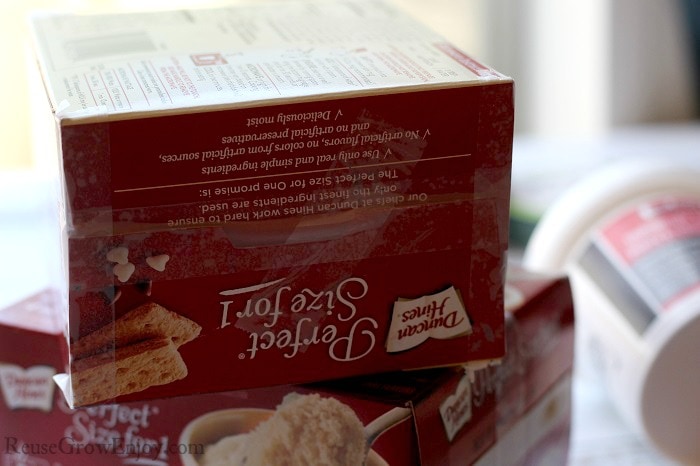
This fake cake, in particular, is an upcycle, it was made with an empty box that would normally be recycled or tossed in the trash. Some paint already on hand and about $3 in other supplies at Dollar Tree.
That is about as cheap as a DIY project can get my friend. You can make your cake round if you like but I love how the square cake is unique! It all depends on what supplies you have on hand.
Fake Cake Prop – DIY Sunflower Cake Supplies:
- Small Cardboard boxes (Amazon, tissue, cake mix will all work)
- Brown paint
- Cream paint
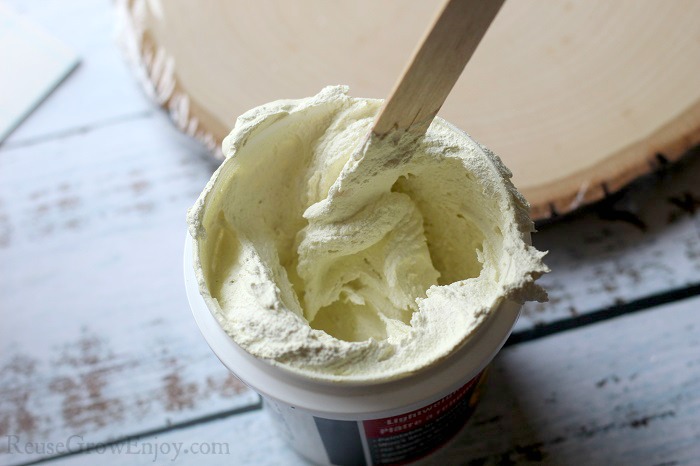
- 6 oz Lightweight spackling (got at Dollar Tree for $1)
- Silk Sunflowers (sunflower or flower of choice)
- ½” Ribbon
- Hot glue gun/sticks
- Wooden craft stick
- Tape
DIY Sunflower Cake Directions:
First, tape any open ends of the box closed. You want it to be as flat and smooth as you can get it and don’t want those ends popping open.
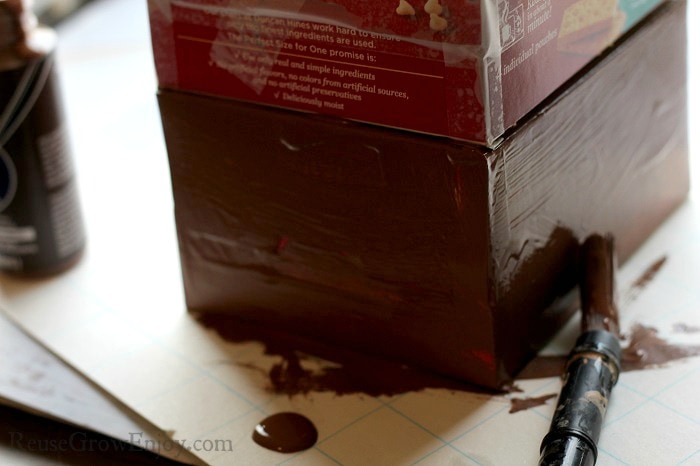
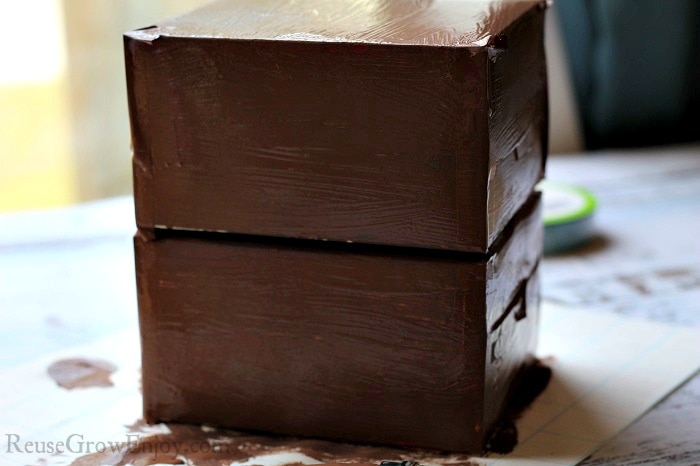
The next step is to paint your box with a light coat of brown paint (if you want it to be chocolate cake), allow to dry and give it another coat to be sure it is well covered.
If you are stacking two it is up to you if you want to paint before hot gluing them together. You can do after and it will use less paint as you will not need to coat one side.
This cake was made using empty pancake/muffin boxes on hand but you can use whatever you have around. So there are a few stacked together to make it the size you see. An empty tissue box would work great as well!
After your boxes are coated well glued together and fully dry mix a little bit of cream colored paint into your spackling.
You want to add enough to reach your desired icing shade. Icing/frosting is normally light so we added a very little cream paint to get that light cream with a yellow tint look. Just make sure it is mixed well.
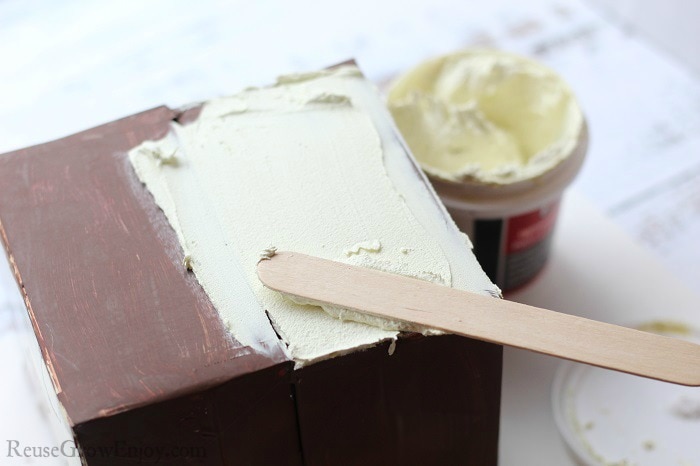
Now, using a craft stick, “Frost” your cake/boxes heavily.
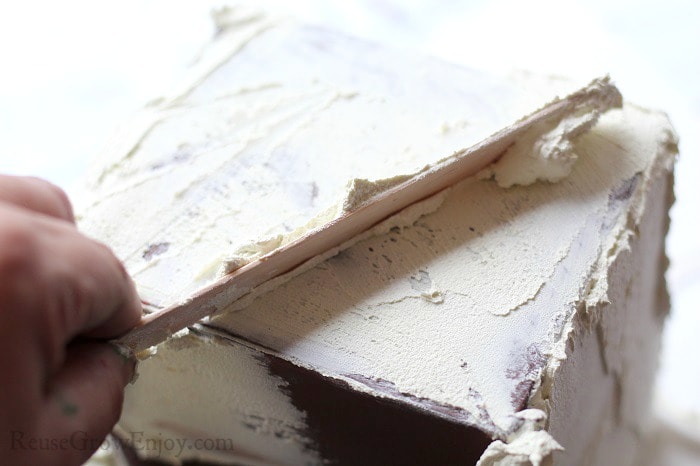
Go back over the entire cake and scrape a good amount off, leave it thicker in some areas and smooth it down to the cake in others, this creates a very pretty naked cake effect.
Give your spackling several hours to dry completely.
Adding Ribbon & Sunflowers:
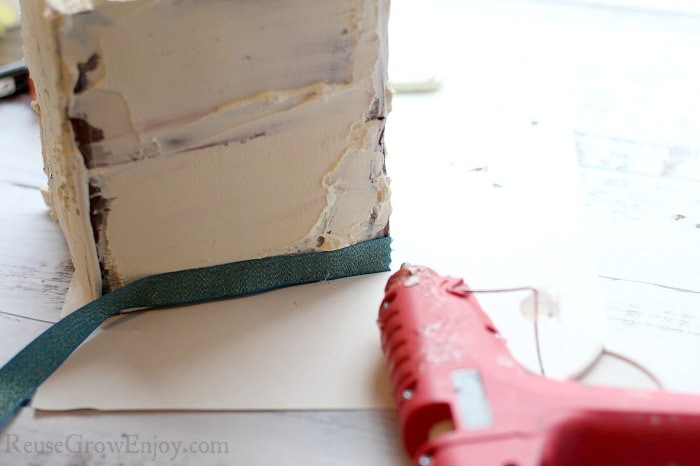
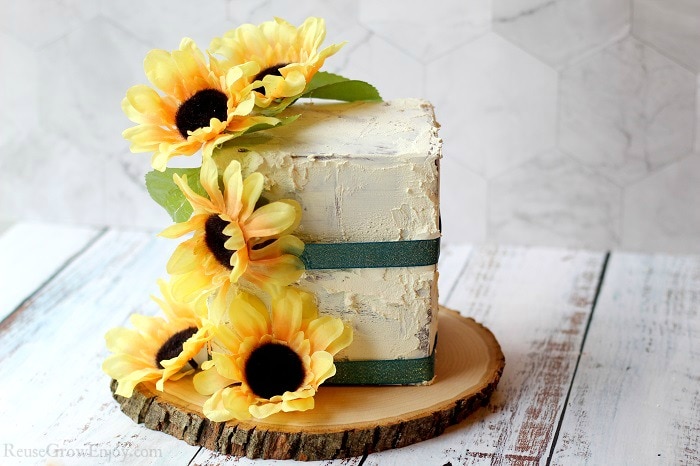
Now you want to hot glue ribbon to the bottom and center all the way around. Overlap just slightly in the back to finish it off cleanly.
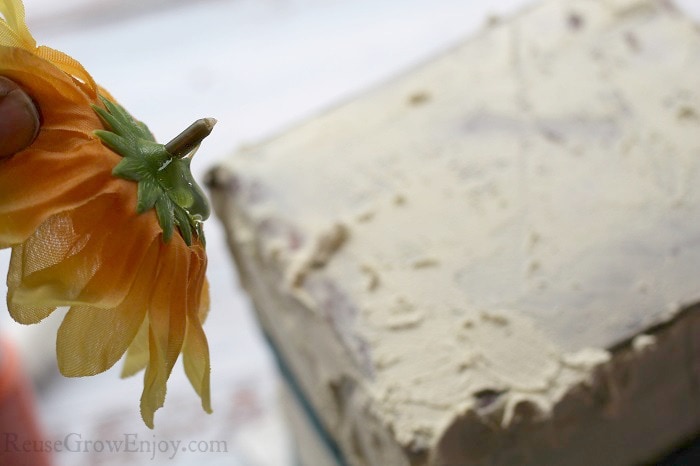
The last step is to add flowers. You want to remove the flowers from the stems (if yours are attached to stems). Then lay out your silk flowers, moving them around until you are happy with the look. Once you know how you want them to sit on your cake you can secure them with a dot of hot glue.
Now simply display on a pretty cake plate wherever you want. I thought this sunflower cake just cried out for a wood slice “cake plate”. If you think so too, you can grab at any craft store or online here.
If you liked this DIY project, here are some others to check out.
- Balloon Craft – Reuse Balloons To Make Pretty Wall Art (Step by Step Video)
- Farmhouse Decor – DIY Wood Farmhouse Beads
- DIY Napkin Ring Place Holder – Using Paper Towel Tube & Burlap
- Upcycled Cork Place Holders
- DIY Upcycled Twine Vase
- DIY Country Bags For Party Favors


Leave a Reply