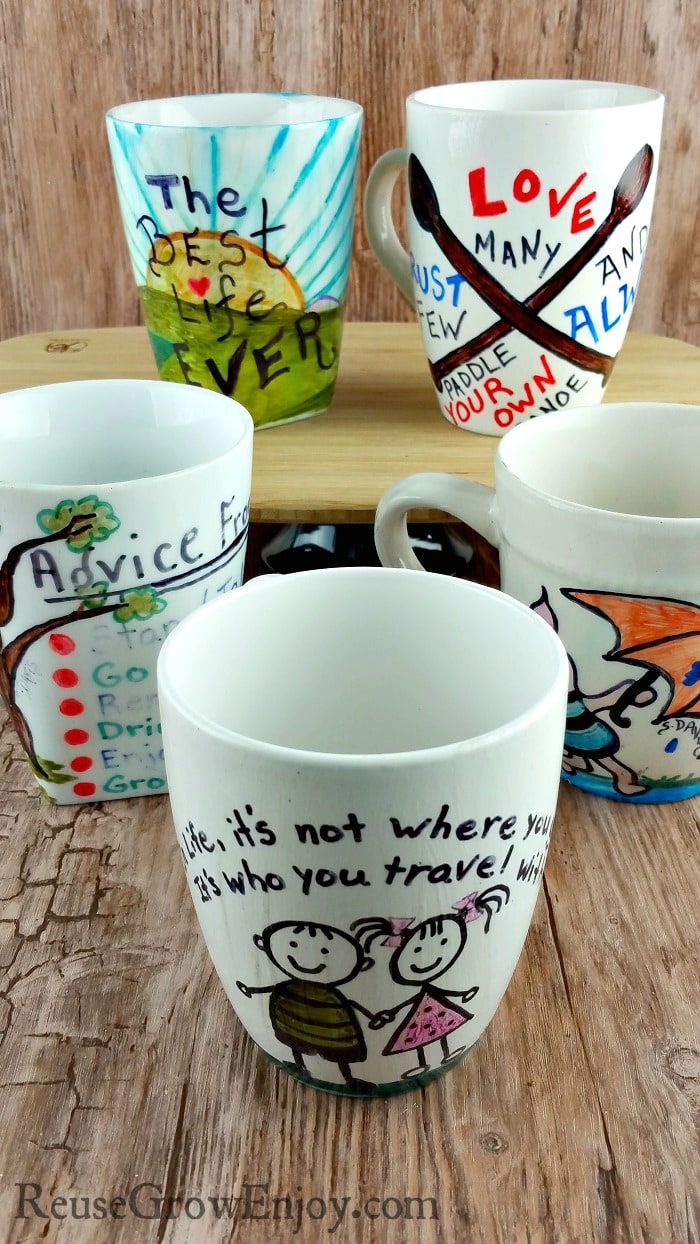
The Sharpie Cup Experiment
Do They Really Turn Out?
Have you seen those beautiful cups, with sharpie drawings on them? If you are like me after seeing them, you said to yourself, what a fantastic idea! That is IF it works as good as they say. But I am someone who has to test things as I just don’t take someone’s word for it…Lol. That is when I decided to do a Sharpie cup experiment.
I set out to discover for myself which Sharpie cup method worked best, and here’s what happened.
First I bought some different white coffee cups, both expensive and cheap. (Although I bought them second hand, some were high quality while others were cheaper grade)
Then I drew designs on each using ONLY Sharpie permanent markers.
Make sure oven is preheated before putting cups in for this next step.
Each cup was treated as follows:
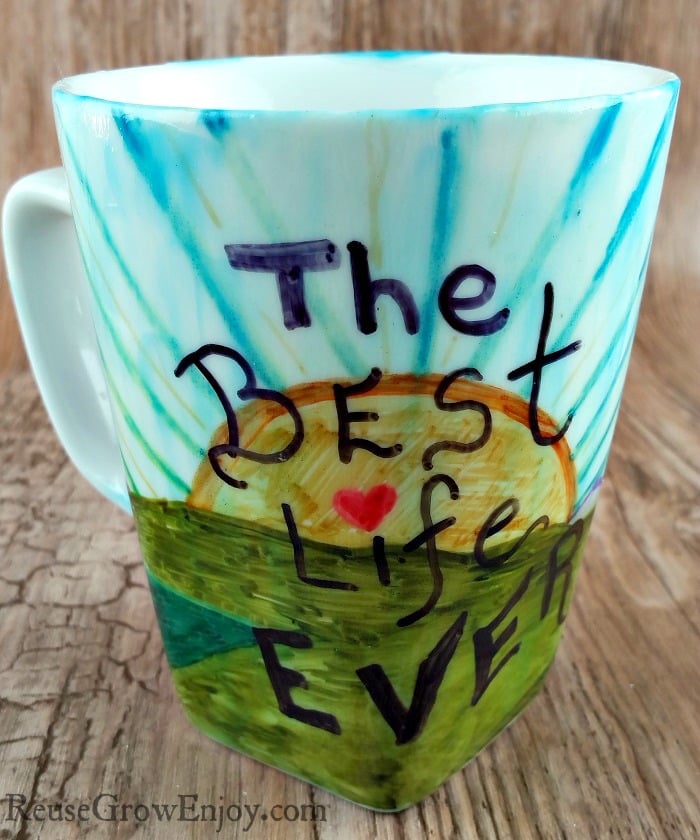
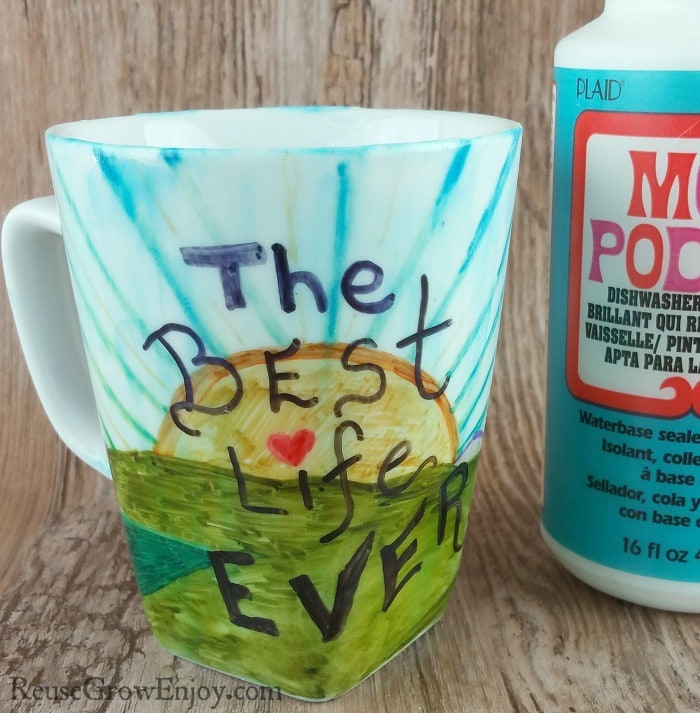
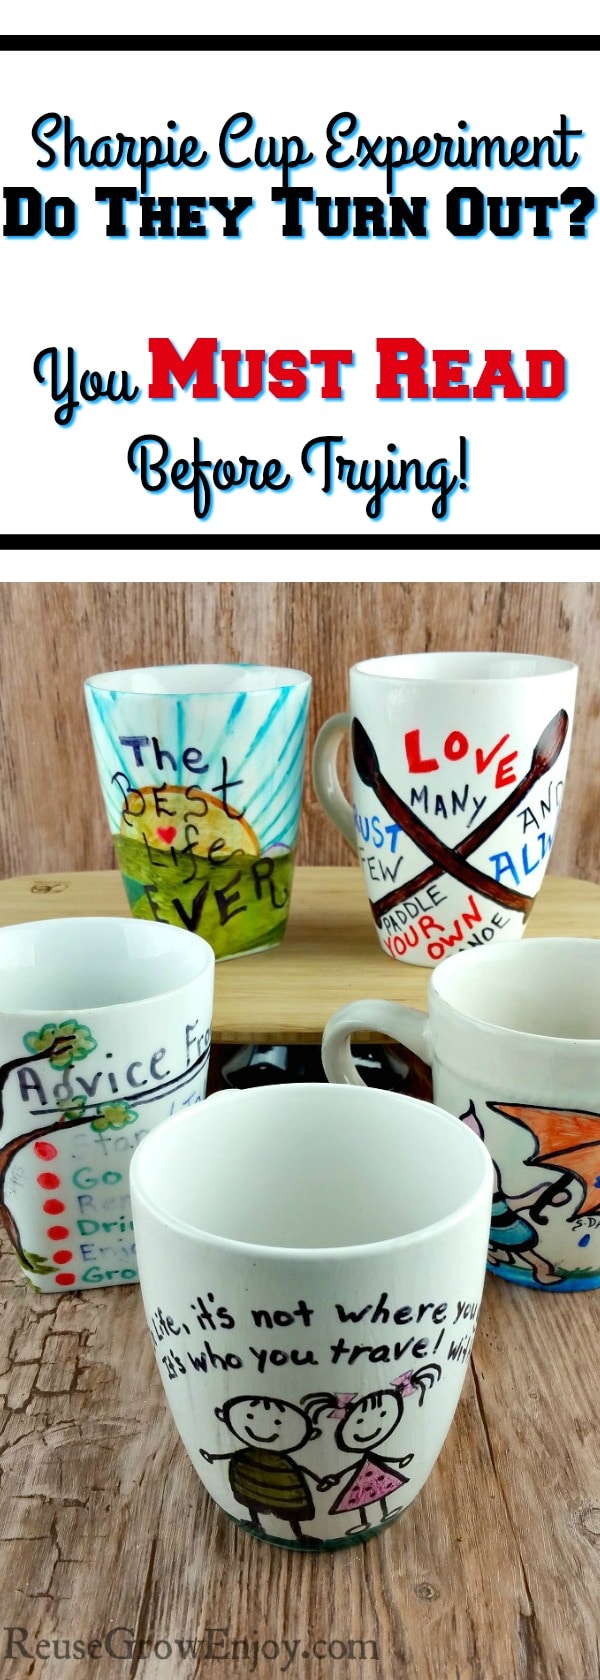
1. The Best Life Ever Cup:
1-Better Grade more expensive cup. I was cleaned with alcohol then placed in the oven for 30 minutes at 350 degrees. Then let cool over night.
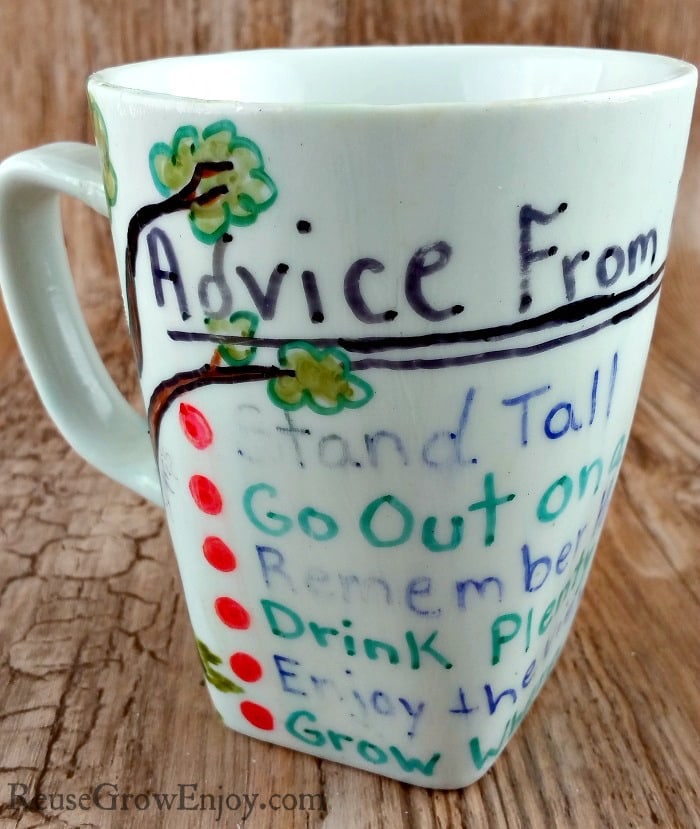
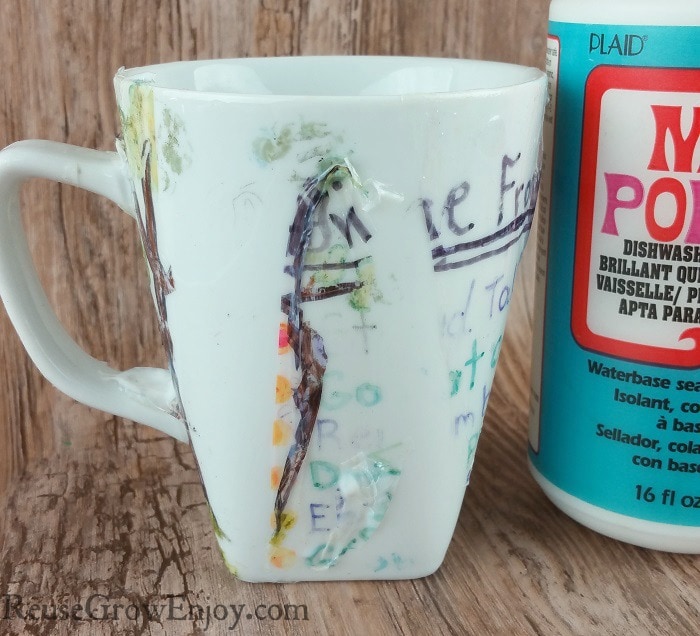
2. Advice From a Tree Cup:
Used a better grade more expensive cup. This one was not cleaned with alcohol and not place it in the oven.
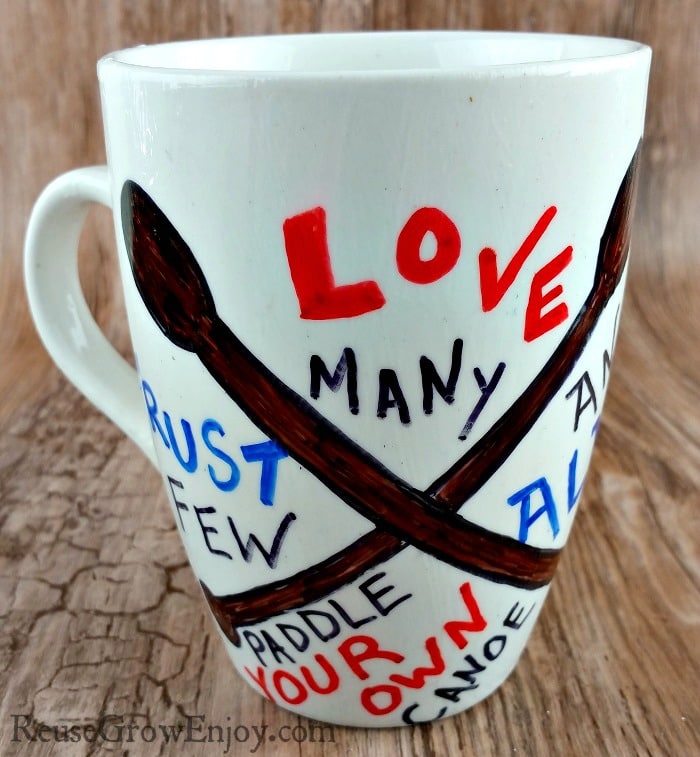
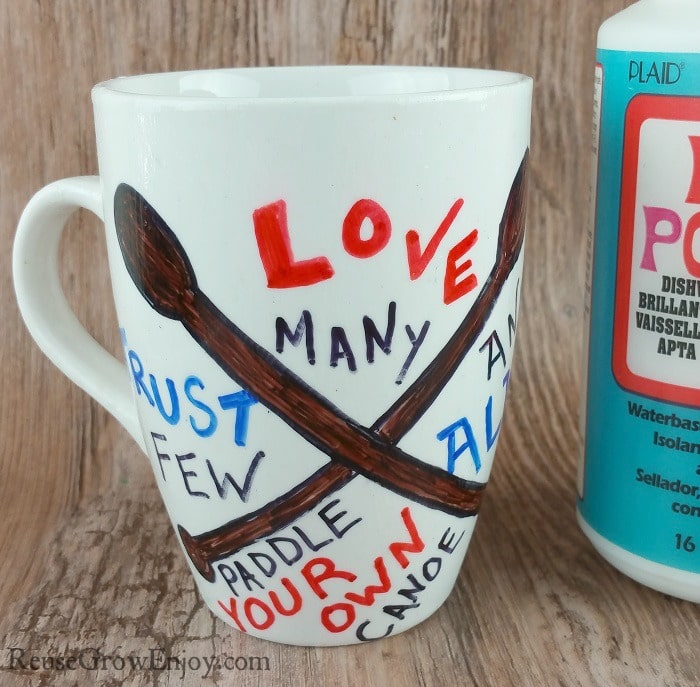
3. Love Many Cup:
Used a better grade more expensive cup. Did not clean with alcohol but did place it in the oven for 30 minutes at 350 degrees. I allowed it to cool over overnight.
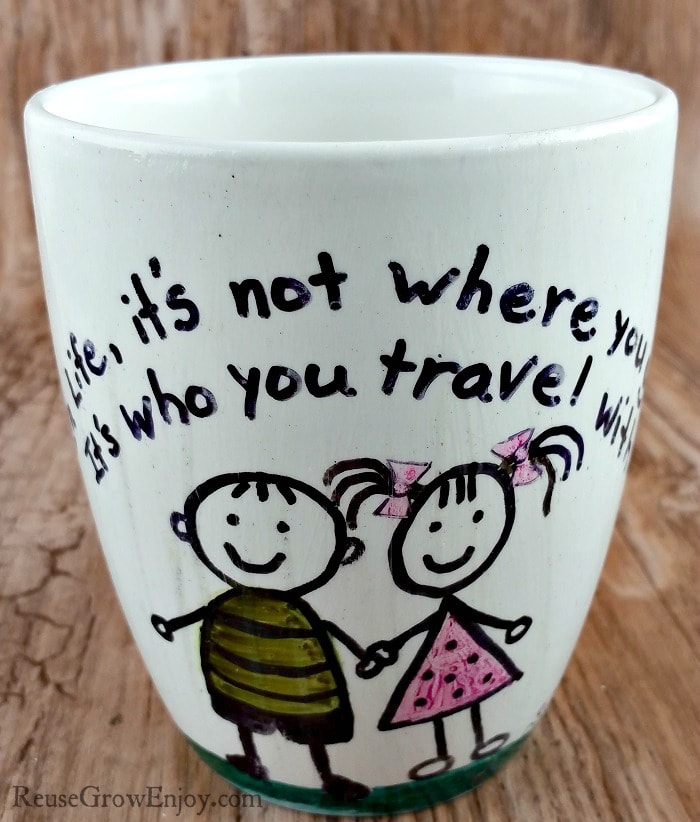
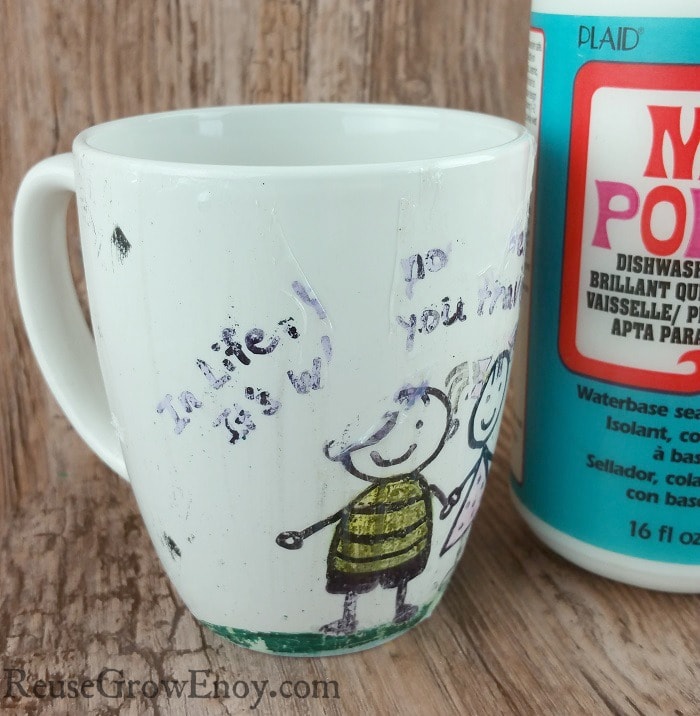
4. Boy and Girl Cup:
This one is a cheaper dollar store cup. It was cleaned with alcohol then placed in the oven for 30 minutes at 350 degrees. Allowed to cool overnight.
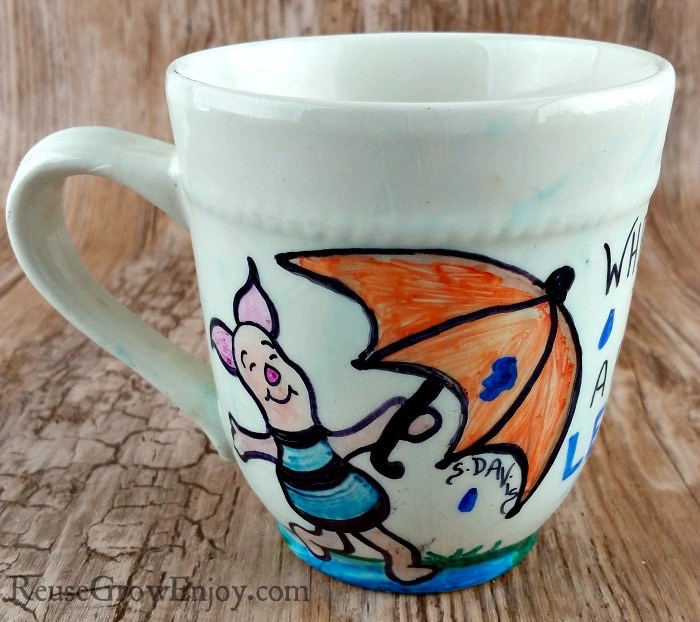
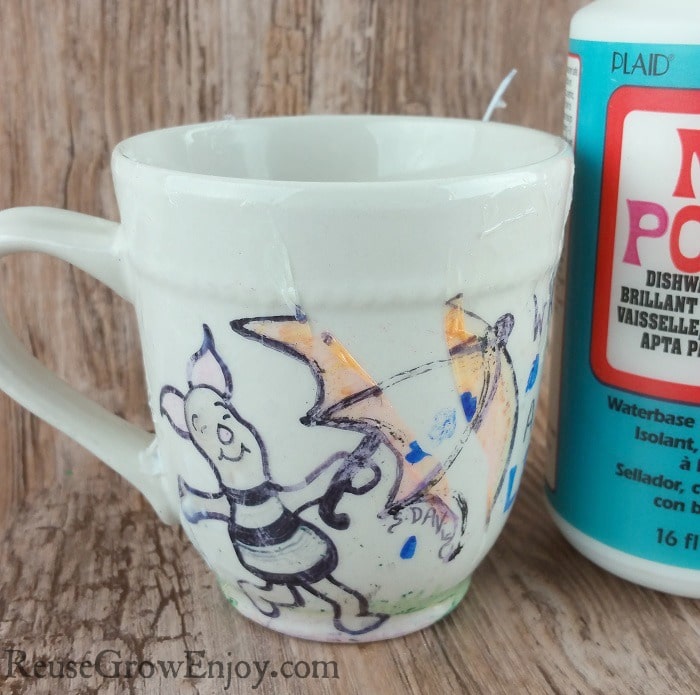
5. Piglet Cup:
This one is a cheaper dollar store cup. Did not clean with alcohol but did place it in the oven for 30 minutes at 350 degrees. I allowed it to cool over overnight.
6. Simplify Cup:
This Sharpie cup broke before a picture was taken. This one was not cleaned with alcohol and not place it in the oven. This one turned out much like cup #1 but I did not get pictures.
Next, I let all cups set for a week. That’s how cup number 6 got broken…it was the sad recipient of a cat, dog, and small child chase.
After the week I used a wet cloth (with water only)to see if the ink would come off. Sad to say none of the cups passed this test. I do have to say darker colors held up better.
Applied Sealer To Sharpie cup:
Then I decided to seal all the cups with Mod Podge dishwasher safe sealer. For my first coat, I tried putting it on with a brush, but I wasn’t at all happy with the outcome.
Using a brush left uneven brush strokes. The sealer also caused the ink to run on ALL cups, with darker inks holding up better than lighter ones, light blue ran the most while red, black and brown seemed to hold up best. The results were pretty consistent regardless of the price of the cup or its treatment.
So the next two coats I put on with my hand, rather messy but evener. Between each coat, I allowed 24 hour drying time. The bottle only calls for 2-3 hours but it was easier for me to just do it each morning for 3 days.
So far I think cup #3 is holding up the best, maybe because it has mostly darker colors which also seemed to hold up better on all the cups in general.
Note: all the pictures above are with the sealer already applied.
The next step was to wait at least 28 days and then wash the cups to see if they hold up to washing. I plan to wait 30 days just because it seems easier. Below are the results of how it was washed and what it looks like after being washed.
Results After Washing:
Cup 1 I washed by hand with soap, hot water, and a sponge. There were no changes after being washed.
Cup 2 was washed on the top shelf of the dishwasher with no heated dry. As you can see the sealer and art are really messed up with big chunks of the sealer hanging off.
Cup 3 I washed by hand with soap, hot water, and a sponge. There were no changes after being washed.
Cup 4 was washed on the top shelf of the dishwasher with no heated dry. As you can see the sealer and art are really messed up with big chunks of the sealer hanging off.
Cup 5 was washed on the top shelf of the dishwasher with no heated dry. As you can see the sealer and art are really messed up with big chunks of the sealer hanging off.
So after all of this, what is my take on a Sharpie cup? Well, it would have to be not to do one! The only way it would be worth doing is if you are simply using it for decorations and not for real use.


nancy says
I’ve done a few of these for gifts and I put a tag on them that says “Gently Hand Wash Only”.
Reuse Grow Enjoy says
Oh that is a good idea to include a little note Nancy! Thanks for the tip =)
Shari says
Regular Sharpies won’t work. We’ve done this on 2 occasions using oil-paint (I think) Sharpies. The package will say if it works on glass/ceramics. We wiped them with alcohol first and baked ours too and they’ve held up well, even in the dishwasher.
Reuse Grow Enjoy says
Oh thanks so much for the tip Shari! I will have to be on the look out for the oil markers and give them a try. So much time and work put in to cups that do not turn out, would be nice for it to really work!
mary s. says
there are certain pens you have to use I bought porcleain pens like paint pens like the paint sharpies but made for ceramics and glass..they hold up!
Reuse Grow Enjoy says
Thanks Mary! I think I may give these another try with a different type or pen/marker.