Water Bath Canning, What It Is And How To Do It
NOTE: You should not can on a glass or ceramic stove top.
Why? Because many glass and ceramic tops have a sensor that keeps the heat (in the glass) from going above a certain point and breaking the top. The sensor will not allow the burner to hold the even high temperature needed to bring and hold a big canner at a full boil. Attempting to can on a glass or ceramic stove top can not only damage the stove top, it can cause food to be under processed allowing microorganisms to survive.
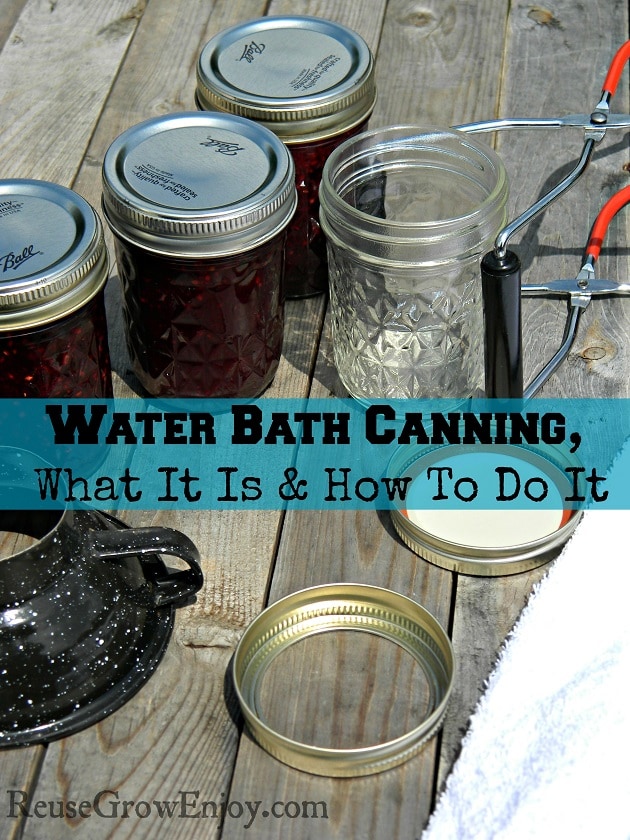
Water bath canning is sometimes known as the boiling water method. It is the simplest way for preserving high acid foods and is great for beginning canners. Water bath canning is a great way for keeping fruits, jams, and pickles. You can also water-can tomatoes, but they have to be acidified by adding a little lemon juice first.
Things You Will Need For Water Bath Canning :
- Water Bath Canner With Jar Rack
- Canning Jars
- Jar lids, and Rings
- Magnetic Jar Lid Lifter/Wand
- Jar Lifter
- Canning Funnel
- Pot Holders
- Pots and Bowls
- Spoons, Knives, etc.
- Fresh, High-Quality Food
- Other Ingredients as called for in Individual Recipes
Water Bath Canning How To
1. To start water bath canning, fill your canner about one-third full of hot but not boiling water.
2. Wash your jars by hand or in the dishwasher. Jars should be kept hot until ready to use. If you have a dishwasher, this isn’t hard. If not you can turn your clean jars upside down in a large pot with 2-3″ of water, bring water to a boil. Turn off heat and leave the jars in the water until ready for use.
3. Place 3-4″ of water in a small pan and bring to a boil, turn off and add jar seal lids. Let lids set in hot water while you prepare and pack food in jars according to the recipe.
4. Use your jar lifter to handle hot jars. Use the canning funnel pack jars making sure to leave the recommended head space.
5. Remove the air bubbles from jars by running a non-metallic spatula around the inside of the jar. I use the handle part of my magnetic lid lifter or wand, designed for that very purpose.
6. After packing the jars with what you are canning, wipe jar rim clean with a damp tea towel or paper towel.
7. Use magnetic lid lifter/wand to remove lids from hot water and place on top of jars. Be careful not to touch seal ring. Tighten rings on jars finger tight.
8. Place jars in the canner on the rack. Racks keep your jars off the bottom of the canner and also keep them from hitting each other.
9. Add more hot water if needed making sure the jars are covered by at least 2 inches.
10. Add about 1/8 cup white vinegar to the water in pot you are using for canning before you start to heat. By doing this it will prevent the minerals present in the water from depositing on the canning jars.
11. Place cover on canner and bring to a full boil. Once a full boil has been reached you can begin processing time. Make sure to check now and then to be sure water is maintaining a full boil. If need be, add boiling water to keep the water level up.
12. When processing time is up, turn off heat and let set 3-5 minutes before using the jar lifter to remove the jars from canner. Next place jars upright in a draft-free area on a thick towel to cool. Make sure to leave space between jars so air can circulate.
IMPORTANT: Leave the jars alone until fully cool. DO NOT press down on lids to check for sealing at this point.
13. When the jars have completely cooled press on the center of the lid to check for seal. The lid should and not pop when the center is pressed down. If you find a jar, that has not sealed, put that jar in the fridge and use within the next few days.
After water bath canning, you can remove the screw caps for storage, but this is not essential. If the screw top is hard to remove leave it in place to avoid breaking lid seal. NOTE: Sometimes screw lids rust while in storage making them harder to remove. Often the outside of the jar will be sticky, this is normal simple wash outside well before storage.
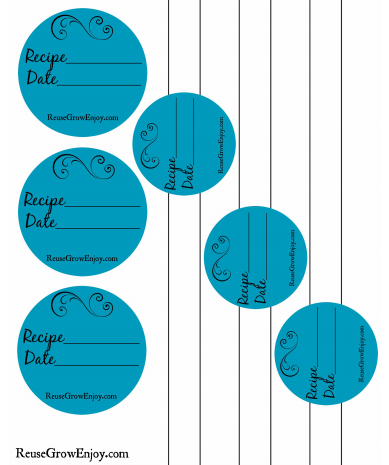
14. Now after you have finished water bath canning, it is time to label the jars with what is in them and the date that you canned them. Or to make it easier, you can download and print our FREE canning jar labels. Then simply use a dab of glue to stick them to the jars.


Leave a Reply