DIY Cabinet Door Organizer & Measuring Cheat Sheet!
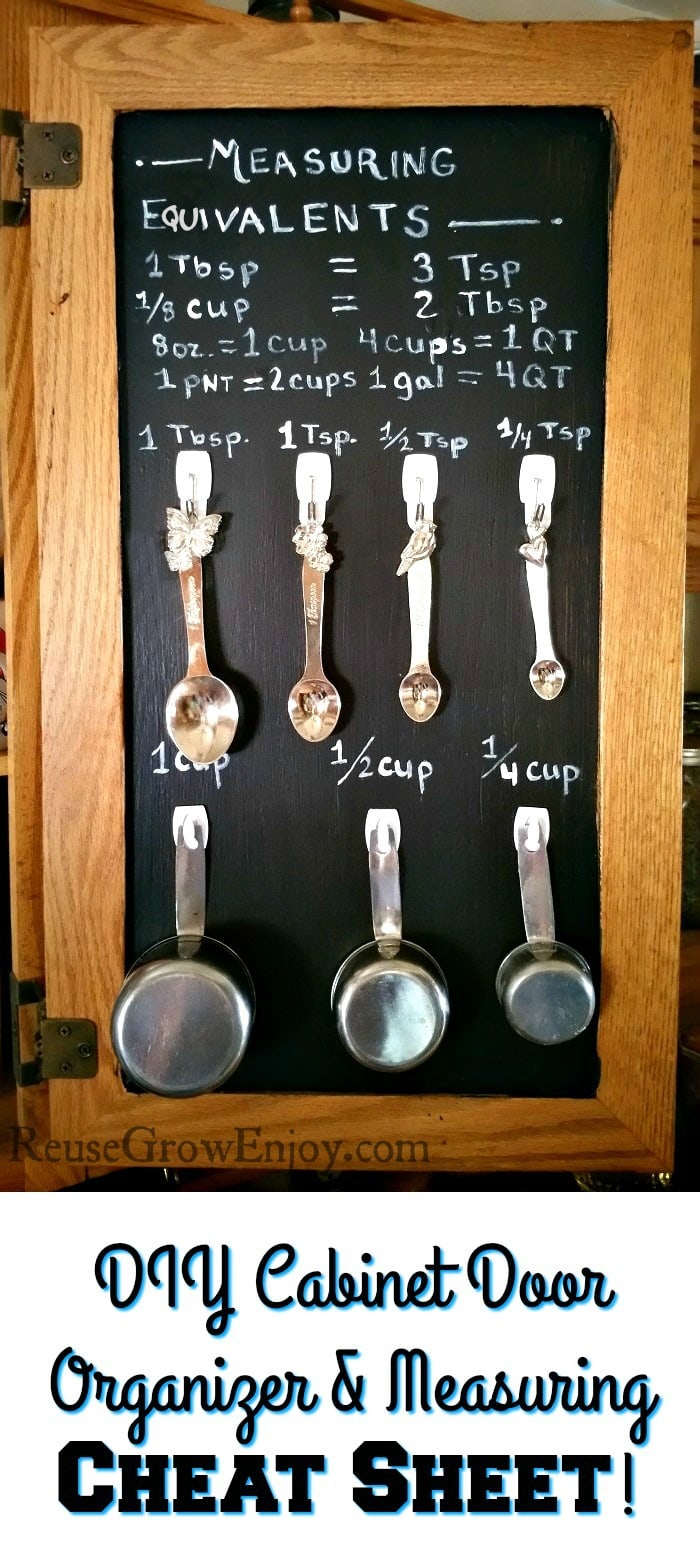
When you go to cook or bake, are you always looking for your measuring spoons and cups? Or maybe you have to look up what amount you can use in place of another? Check out this easy to do DIY Cabinet Door Organizer & Measuring Cheat Sheet!
While you could do this cabinet door DIY by removing it from the hinges so that you can lay it flat, we did ours with it still hanging. Just figured we would cut out a step to make it even more simple lol.
Cabinet Door Organizer Supplies:
- Black Chalkboard Paint
- Command Hooks
- Paintbrush
- White Chalk Marker
- Yardstick Or Measuring Tape
- Hangable Measuring Cups
- Hangable Measuring Spoons
Directions:
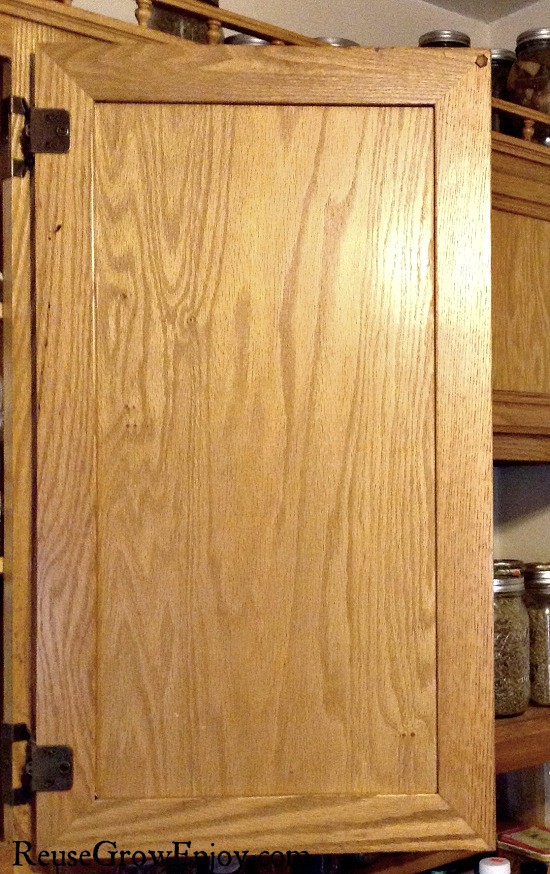
First, you want to start by wiping down the inside of the cabinet door you want to use. You need it to be clean and dry for the paint to stick.
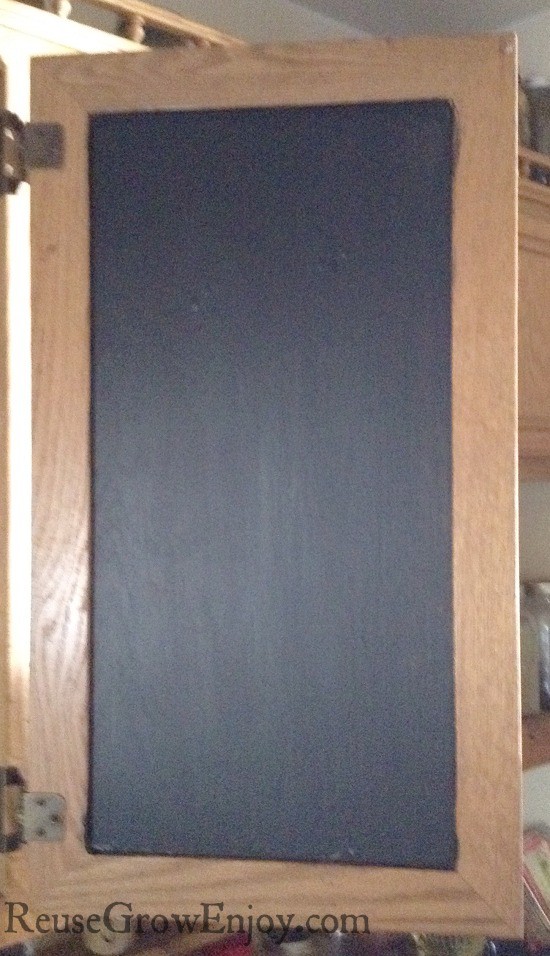
After you have it clean and it is fully dried, it is time to paint. Coat the inside of the door with your black paint. You can leave the outer trim area as is. Allow to fully dry and then coat it again.
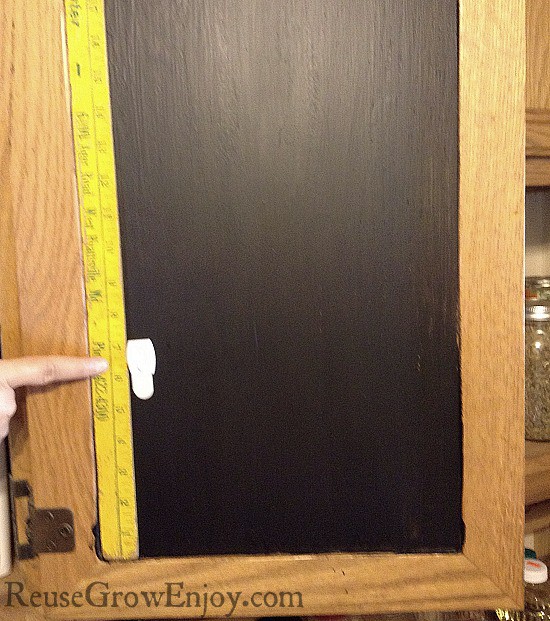
After you have applied two coats of paint and it is dry, you can now add your hooks where you want them to be. You can use the yardstick to place the hooks where you need them. We placed it on the trim edge and then went about seven inches up from that to place the hooks for the cups.
After you have the hooks for the cups in place, you can then move up to the row above to place hooks for the spoons.
After all the hooks are in place, you can take your chalk marker write all your details in. Such as the size or each cup/spoon so it is put back in the same place each time. At the top, you can also add your cheat sheet with measuring equivalents. That way when ever you need them, you can just open the door and look!
If you liked this post, here are a few others to check out.
- DIY Upcycled Umbrella Flower Arrangement – With Video
- Dresser Fix – Cover Scratches Without Painting
- How To Flush Hot Water Heater – Electric Hot Water Heater
- How To Change A Outlet
Thanks, Mom!


Leave a Reply