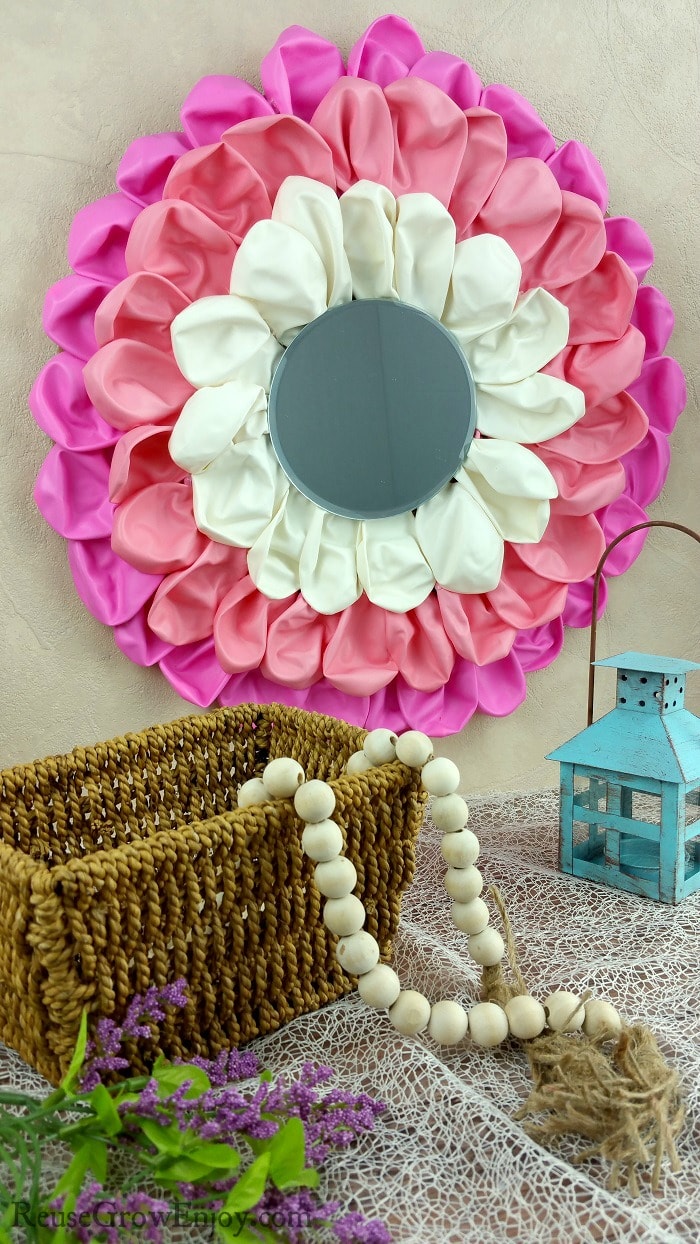
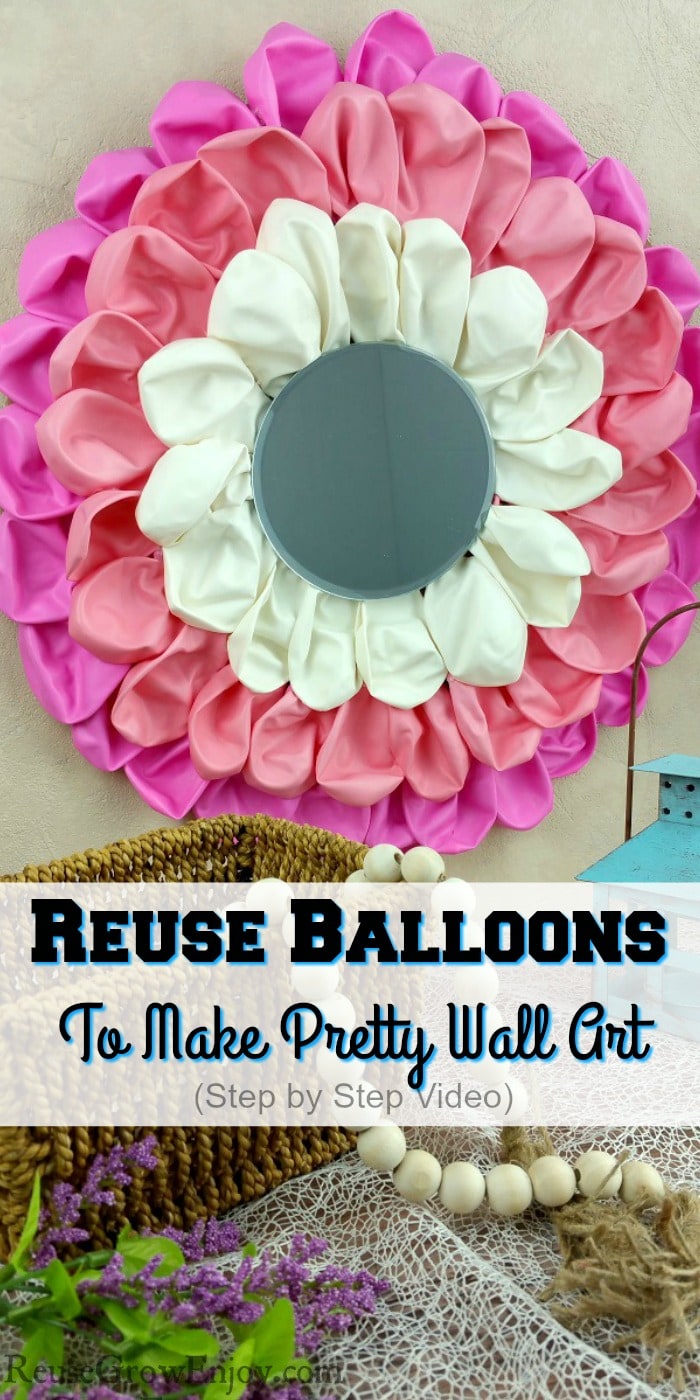
Ever have a party or go to one with tons of balloons? Don’t throw them away, I am going to show you how to make this pretty balloon craft wall art that will blow you away!
Balloon Craft – Reuse Balloons To Make Pretty Wall Art
Having balloons at a party is a pretty way to celebrate the occasion. However, after the party, they always get thrown out. They take forever to breakdown in the landfill and sometimes even end up in oceans. Birds and fish have been known to eat them and then die. So the next time you or someone you know is using balloons, don’t toss them out! Make this balloon craft instead.
This balloon craft is pretty easy to make and pretty much uses recycled/upcycled items. What I used for the mirror in the middle was a mirror candle holder plate. If you don’t already have one, you can normally find really cheap at thrift stores.
For the backing, I used a large piece of cardboard. I got mine by reusing a top of a large pizza box. Just be sure that it is clean and did not get touched by the pizza. You don’t want to have rotting grease and cheese hanging on the wall. I am sure that would not smell good after a little while.
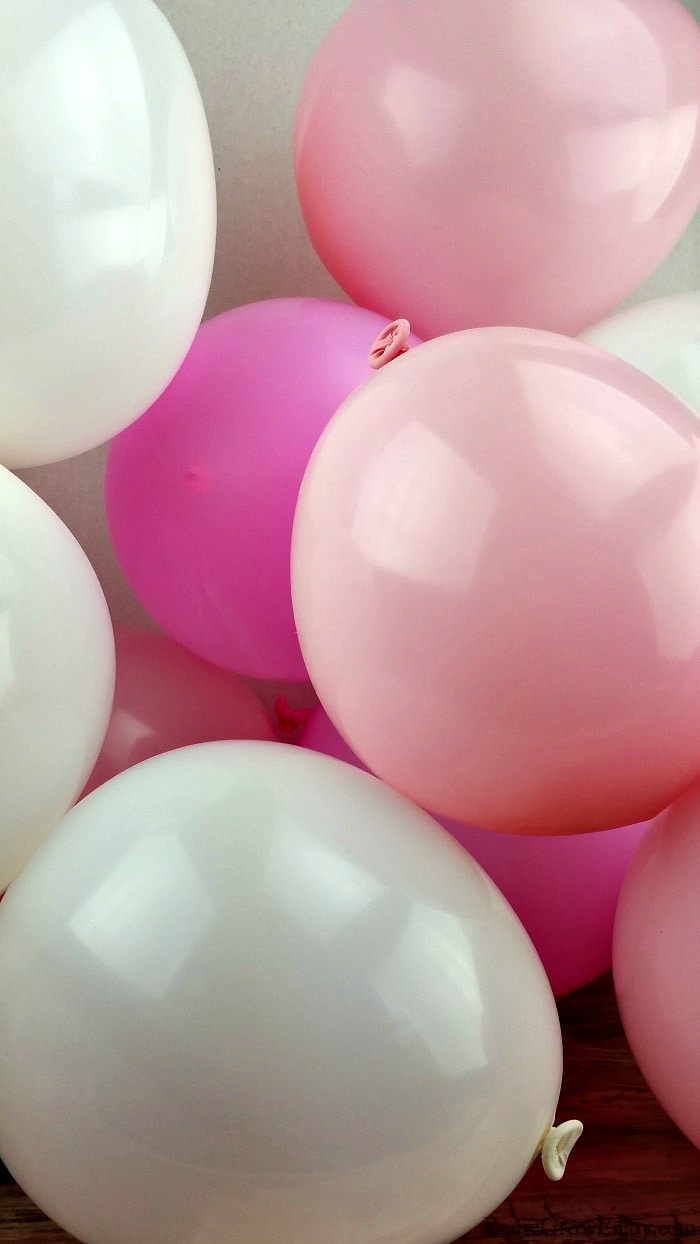
Get creative with the balloons. You could do it all in one color if you wanted or do as I did and use three different colors. Could also use smaller or larger balloons if you wanted and it would give it a slightly different look.
For this project, the balloons are a 12-inch latex balloon. It took about 66 balloons to make this wall art. It is about 14 and a half inches wide. The mirror in the middle is five inches wide.
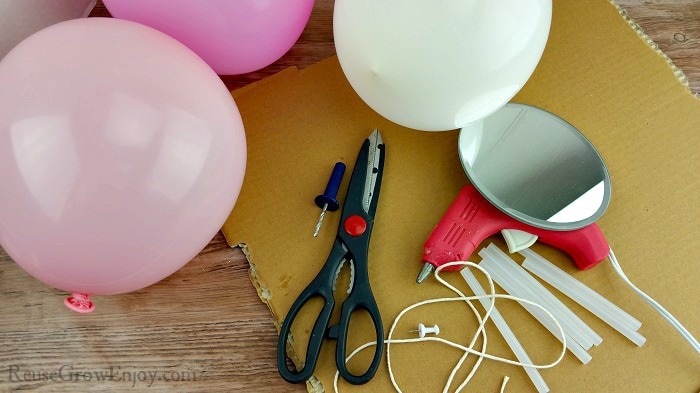
Balloon Craft Supplies Needed:
- 66 12-inch Balloons (more or less if making another size from what I did)
- Hot Glue Gun & Glue Sticks (you will need about 5 sticks)
- String
- Large Piece Of Cardboard (used pizza box top)
- 5 inch Round Mirror
- Scissors
- Pen
- E6000 Glue
- Pushpin
- Thumb drillbit (or something to make a small hole)
Cutting The Cardboard Into Circle:
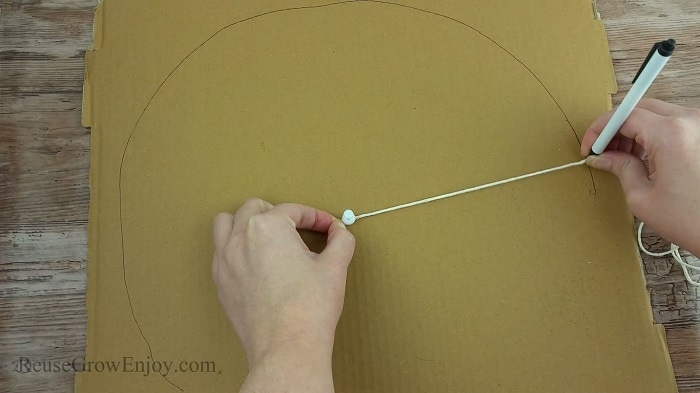
The first thing you need to do is put a push pin in the center of the cardboard with some string attached to it. Cut the string to that is just stops just before the edge of the box. Or to what size you are wanting your back piece to be.
I did mine at 14 and a half inches wide. So that would measure out to be about 7 1/4 inches from center to outer edge.
Then take one hand and hold the pin and string in place at the center. While using the other hand to hold the ink pen at the other end of the string and run it around the cardboard to make a circle line all the way around. If you get it a little off it is ok. You are just using it as a guide to cut the cardboard into a round pice.
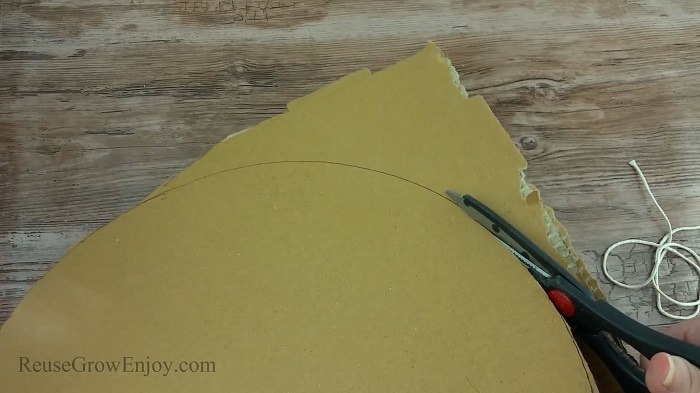
After you have made a line all the way around, use some sharp scissors to cut the cardboard on that line. Try and keep it as round as you can. If you have a few small areas where it is off, it will be hidden by the balloons, but if it is overly large, it will not work.
While I did this as a circle shape for my balloon craft wall art, you could do it in other shapes as well. Change it up to fit your style.
Adding The String To Hang From:
Now, just a little above the center of the cardboard, you want to make two small holes. You want them to be about an inch and a half to two inches apart from each other.
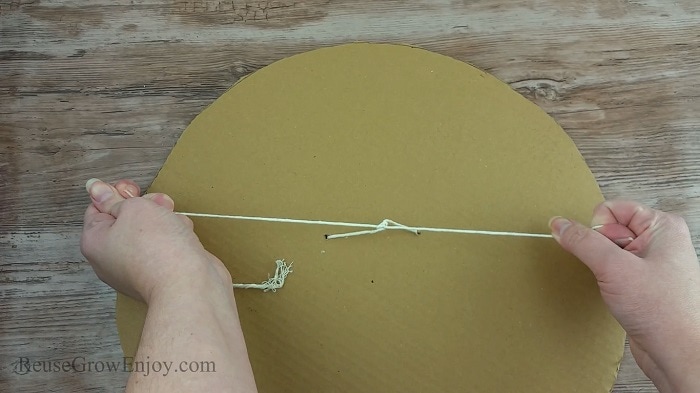
Push an end of the string (can use the same piece you used to make the lines on the cardboard) through each hole. Then tie the ends together so that it is tight on the cardboard with just a little hint of slack. You do not want it to be crimping or bending the cardboard.
Make sure you tie a knot so that it will not come loose. As this will be what your wall art hangs from. If you have any extra string dangling after you have tied it, you can trim off with the scissors.
Letting Air Out Of Balloons:
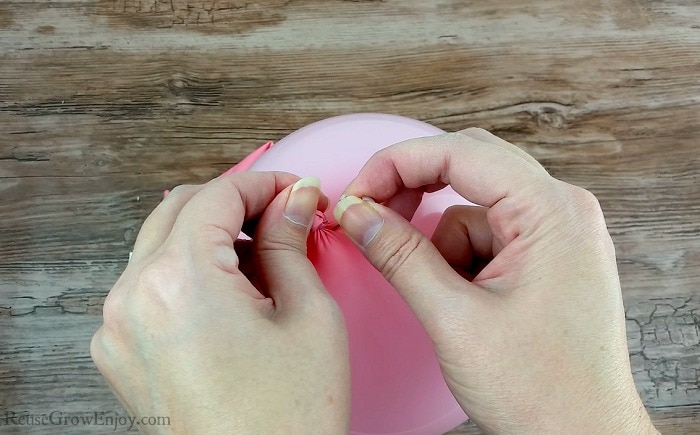
When letting the air out of the balloons you want to do this carefully as you do not want them to pop. Simply take a pushpin or a needle and make a small hole around where the balloon is tied.
Depending on how fast you want to make your balloon craft wall art will depend on how fast you need to get the air out. If you will not be making it for a while, you can simply leave and let the air leak out slowly on its own.
If you are in a rush you can help it leak a little faster by giving it a little squeeze while stretching the area you made the hole. You can also put a few holes in it around the tied off area to help rush it along. Just be super careful when doing the squeezing. If you try and squeeze to hard and make it go too fast, it WILL pop and then it will not be able to be used for this project.
Attaching Balloons To Cardboard:
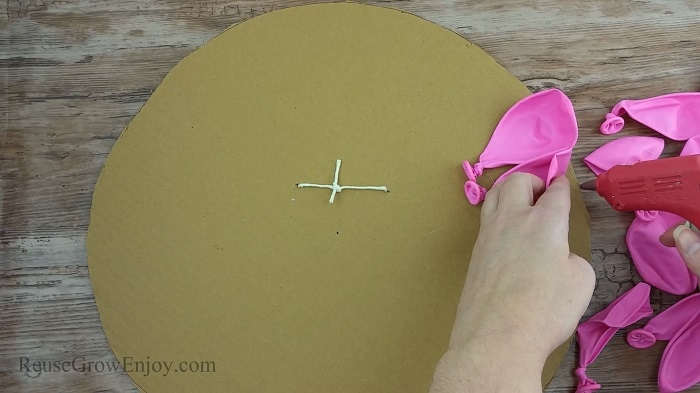
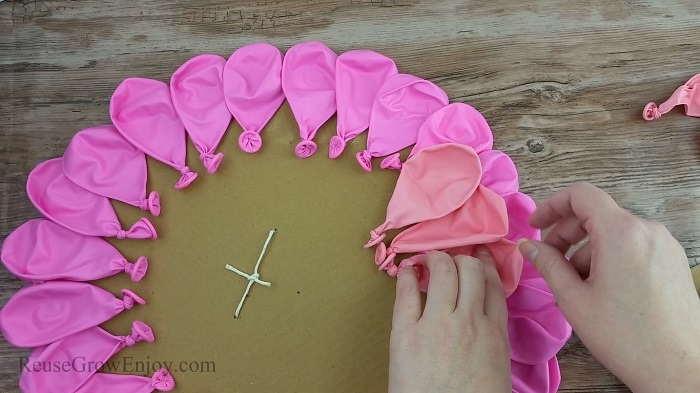
Pick which color you want to be on the outer edge. I used the darker pink first. Smooth the balloons out as best as you can. Then start hot gluing them to the cardboard. You want them to slightly overlap each other and use a dot of hot glue to hold them there if needed. You also want them to be slightly hanging off the edge of the cardboard by about a 1/4 inch.
So you will put a dot of glue that glues it to the board then another dot that glues the next balloon to the last balloon (if needed).
A few things to note about using the hot glue. I found it had to be on the HIGH temp setting. The low temp just did not hold well and kept coming off. But while you are using on high temp, you also have more of a risk of burning your fingers when pushing the balloons in place.
One thing I found for a workaround for not burning my fingers, was to use a small piece of cardboard as a space between my finger and the balloon. You can use a piece from the area you cut off to start. That way it had a little padding so it did not burn me.
After you have made it all the way around with the first color, you can start on the next row. This will be just like you did the first. Slightly overlapping each other and also overlapping the first round of balloons so that it hides the knots. When done with the second row, move on to the last row and do it just the same.
You should now have all the balloons attached to the board with the center area still uncovered.
Attaching The Center Mirror:
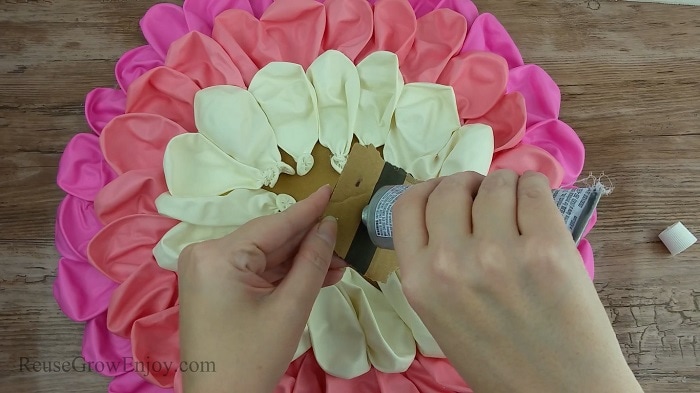
Because the balloons have the knots in them, you will need to make a spacer to bridge the gap to the mirror. Just rip another small piece of cardboard off the extra that you cut off at the start.
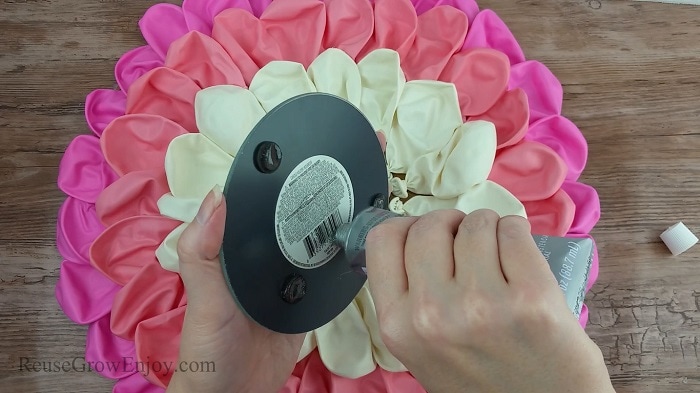
Using the E6000 glue, glue that piece of cardboard to the center area where there are no balloons. Then put a good amount of E6000 glue on the back of the mirror and press it in place over that piece of cardboard.
Now it will need a few hours to dry and it needs to be weighted down while it is drying. Find something flat to lay over the mirror that is heavy enough to weigh it down but not break it. You could use a few heavy books to do this. Like maybe a dictionary would work.
After it is totally dry and the glue is set, you can hang on the wall to display by using the string on the back of the board! You now have a beautiful new piece of wall art made from things that normally get tossed in the trash!
Pretty cool way to reuse balloons, don’t you think?!
If you are looking for more ways to reuse items, check out this post on Ways To Reuse Everyday Items.


Leave a Reply