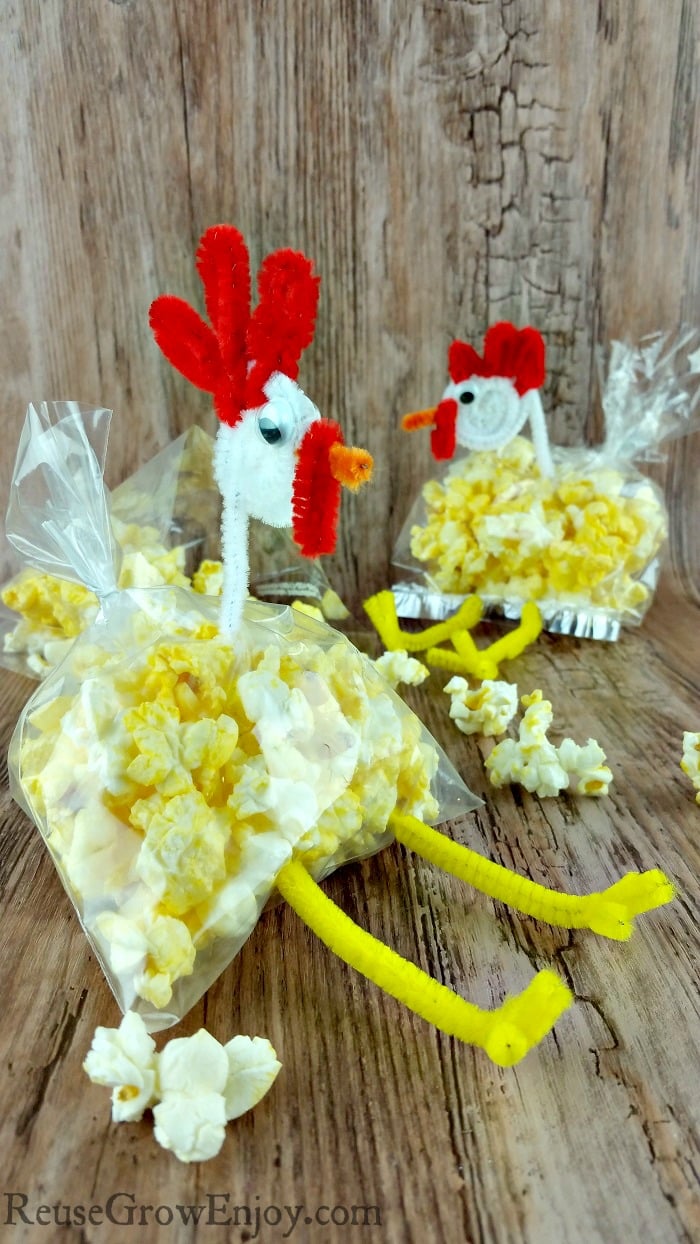
Cute Kids Chicken Snack Bag
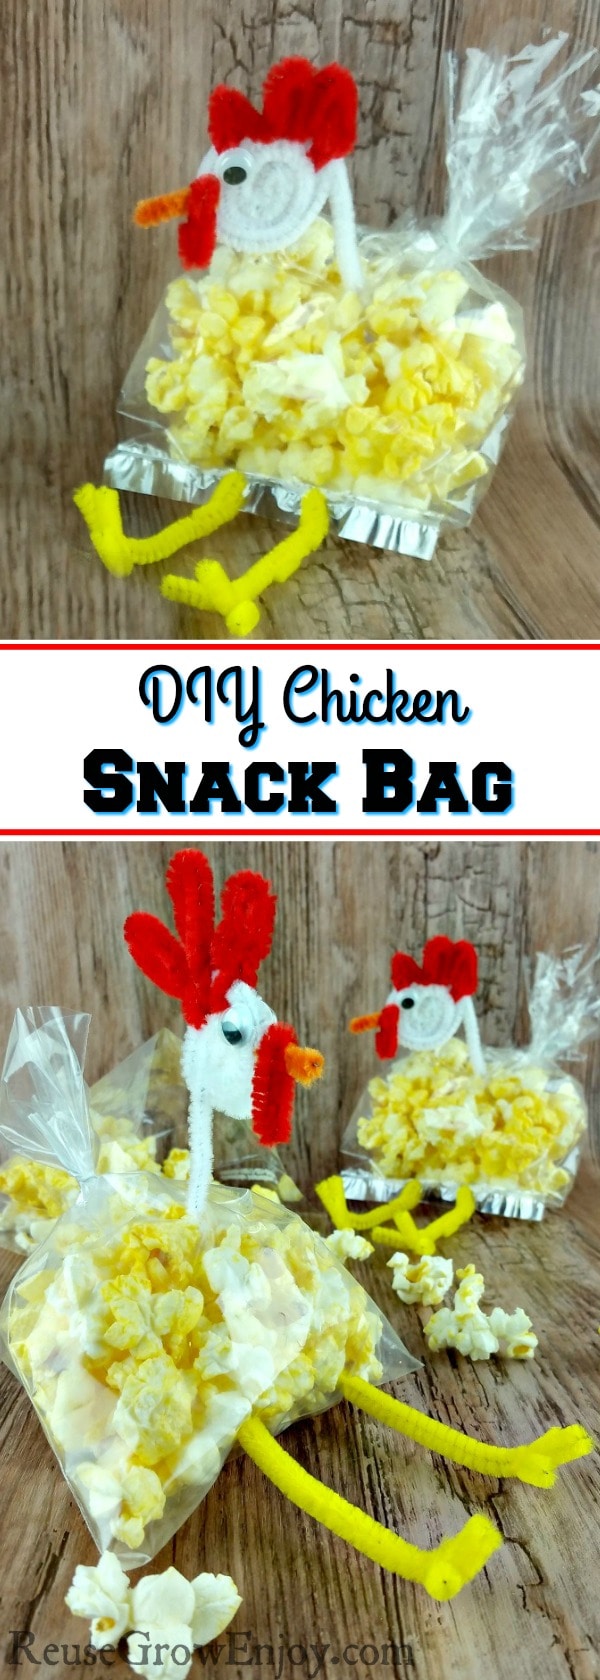
If you have kids or are having a party for them, here is a cute idea to check out. I am going to show you how to make this cute kids chicken snack bag. These would also be a cute way to put a smile on their face when they open their lunch box.
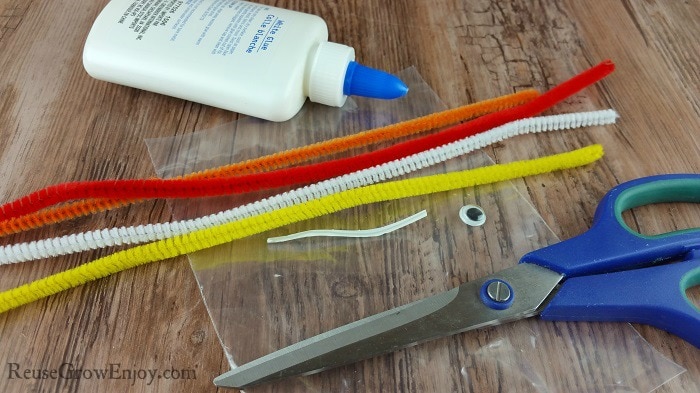
The supply list below is to make one bag. If you are making more then one, just be sure to times the supplies by how many you need to make.
Chicken Snack Bag Supplies:
- Plastic Snack Bag with Twist Tie (if you don’t want plastic, you can use organza or Muslin bags)
- Scissors
- Glue (if in a rush use hot glue)
- 1 White Pipe Cleaner
- 1 Orange Pipe Cleaner
- 2 Googly Eyes
- 1 Red Pipe Cleaner
- 1 Yellow Pipe Cleaner
Directions:
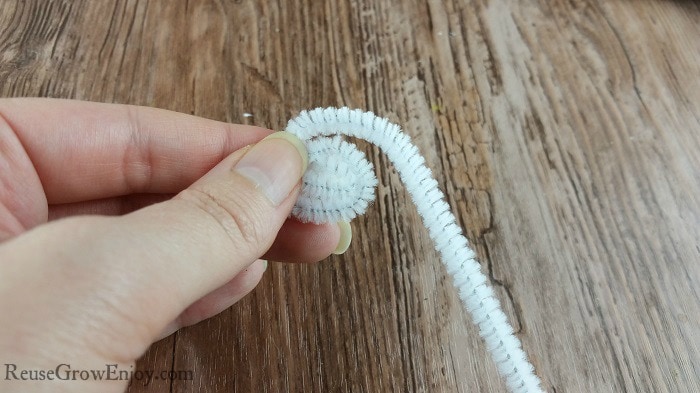
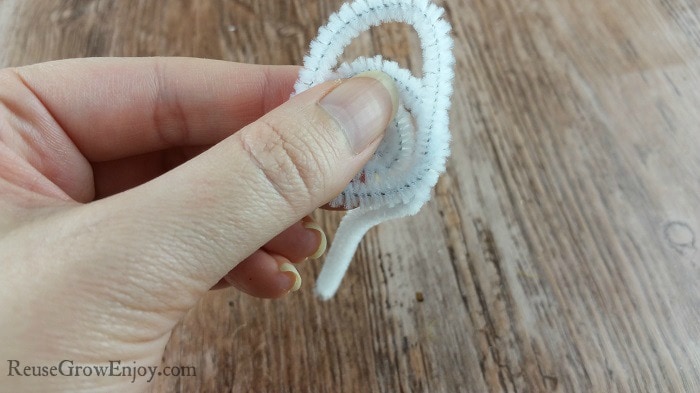
The first thing you want to do is spool one end of the white pipe cleaner. You only want to do it about half the way down.
Then tuck the tail through the last spooled round and twist it in place.
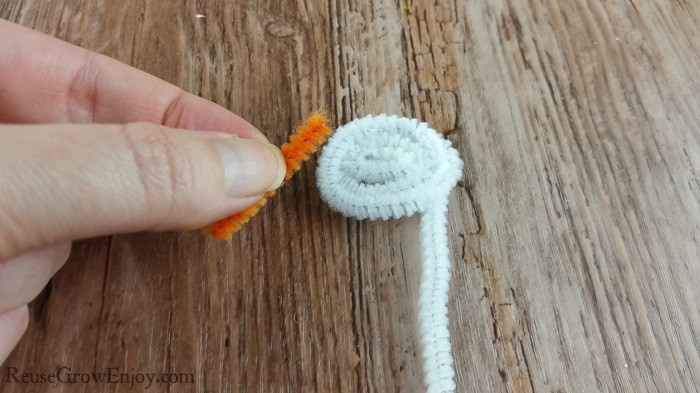
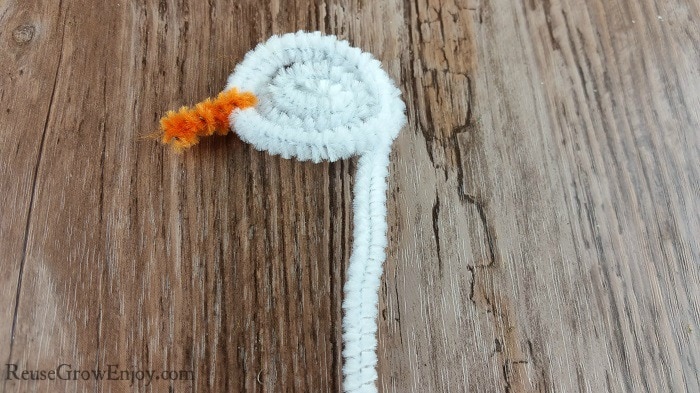
Cut about on inch of the orange pipe cleaner off. Then push it through the front middle of the spooled white pipe cleaner. Twist it together.
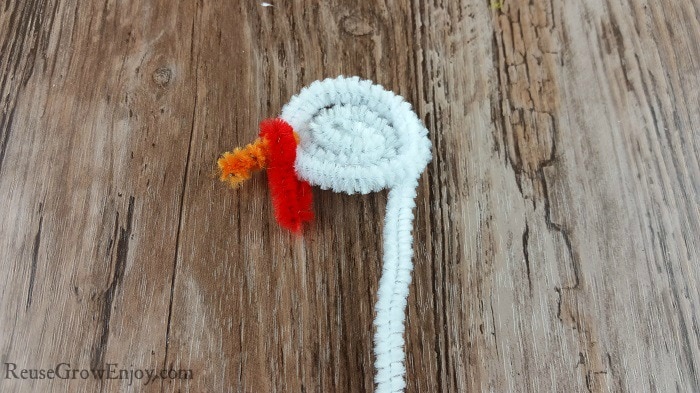
Now cute about one inch of the red off and wrap it around the orange close to the white. Twist it together to hold it in place.
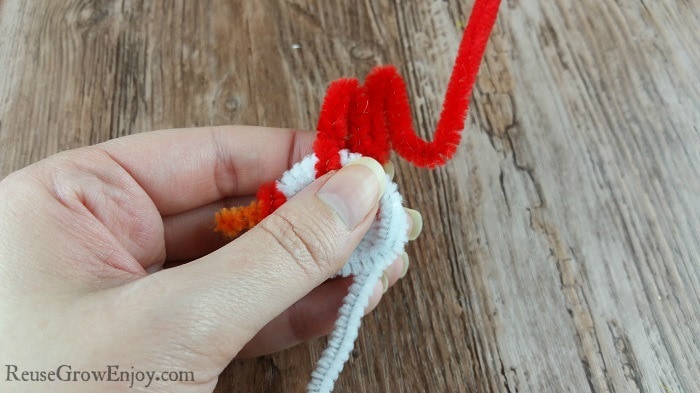
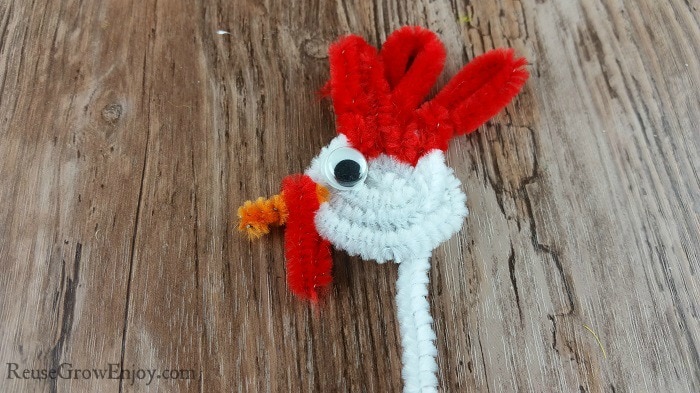
Using the rest of the red pipe cleaner, twist one end around the top of the white. Then make a few zigzags to form the comb of the chicken. When you get to the end, twist the other end around the white to hold it in place.
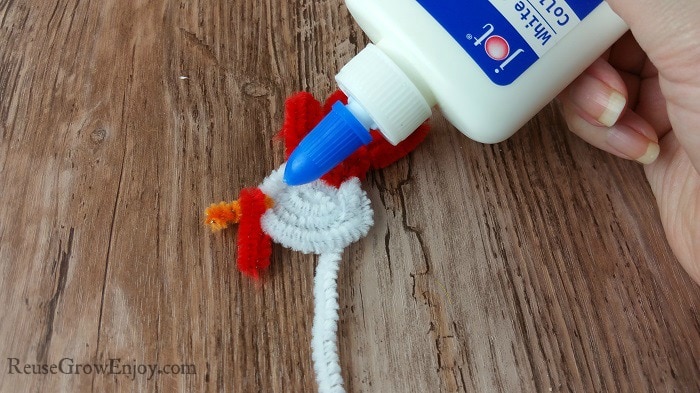
Place a little glue on the white just above the red/orange beak area. Then place your eye on the glue. Then flip and add one to the other side as well.
Forming The Legs:
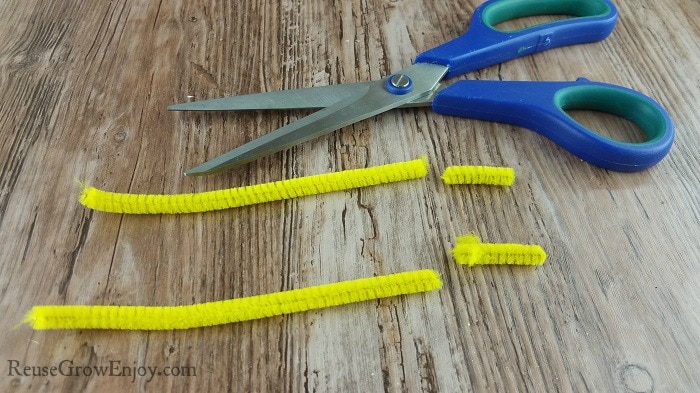
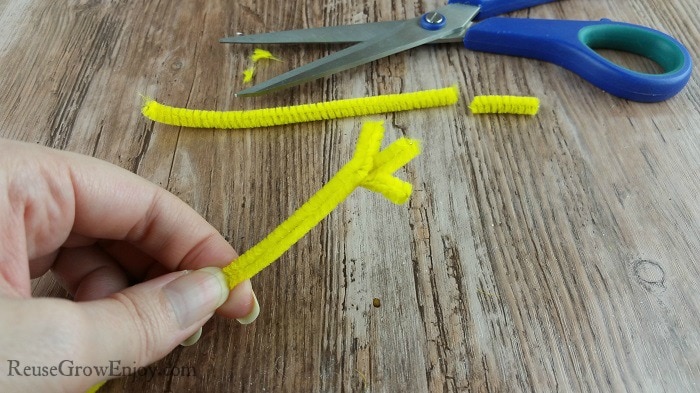
Now grab your yellow pipe cleaner and fold it in half and cut. Then cut about one inch off each piece.
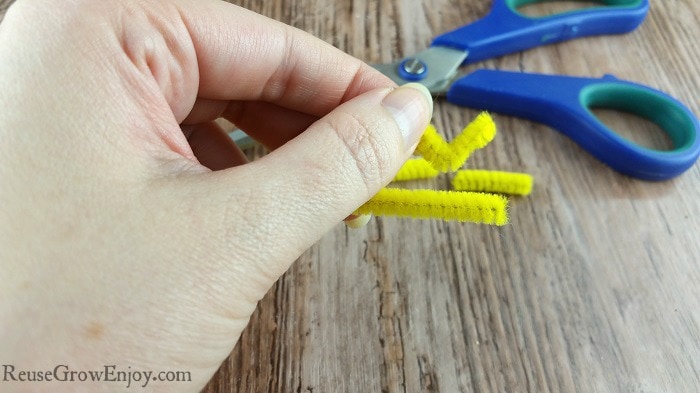
Take those inch long pieces and fold them into a V.
Now use the longer yellow piece and twist it around the V making sure to let it overhang a little so that it forms the third toe. Do the same thing to make a second one.
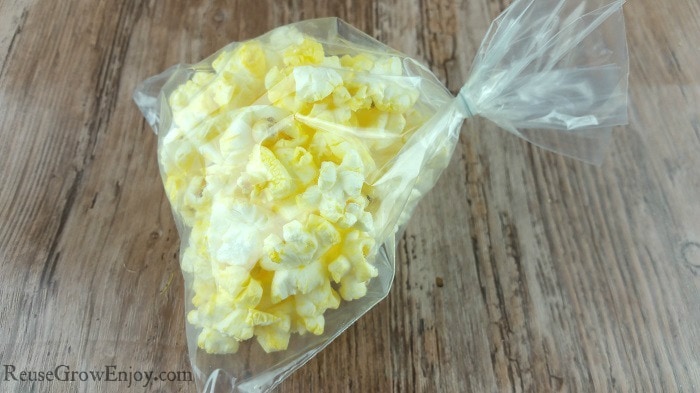
Next, stuff your bags with your treat (we used popcorn) and twist it closed with the twist tie. Be sure not to overfill it as you want the end to form a tail.
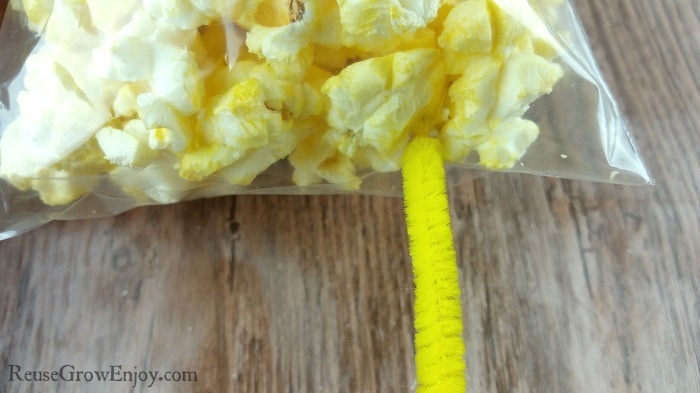
The last step is to simply poke the yellow feet into the bottom of the bag. Then poke the white one into the top of the bag leaving the twisted end at the back to look like the tail.
Cute right? I am sure these will be a hit with the kiddos!
If you liked this craft, here are a few other ones to check out.
- DIY Country Bags For Party Favors
- Apple Gem Coaster Craft
- DIY Bug Habitat Made With Upcycled & Reused Items
- Plastic Bottle Fish Craft


Leave a Reply