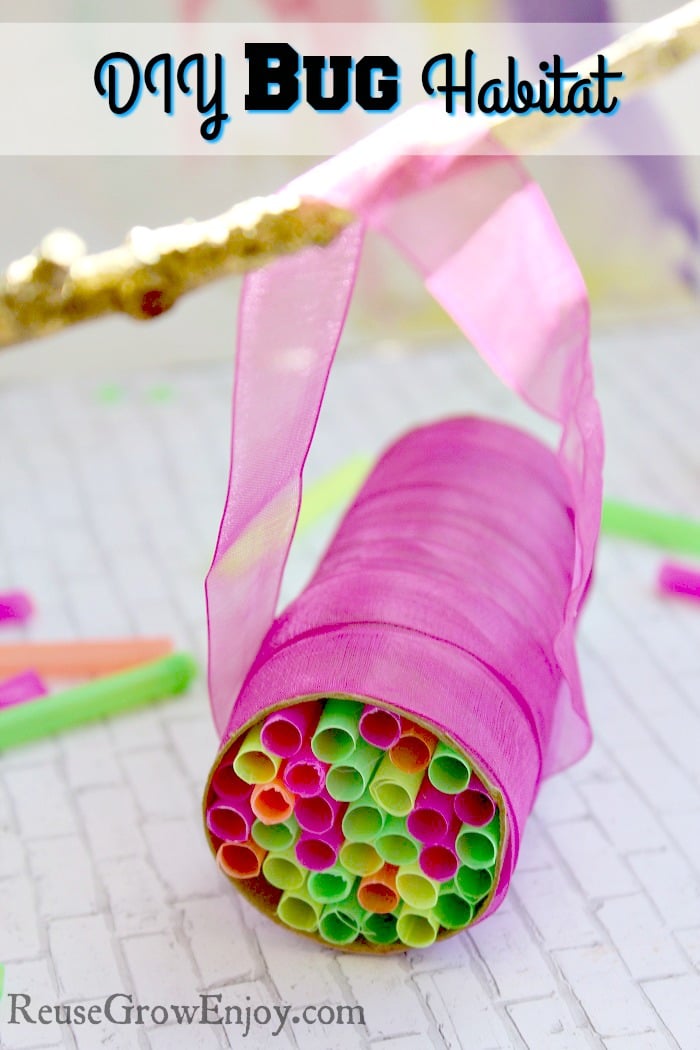
DIY Bug Habitat Made With Upcycled & Reused Items
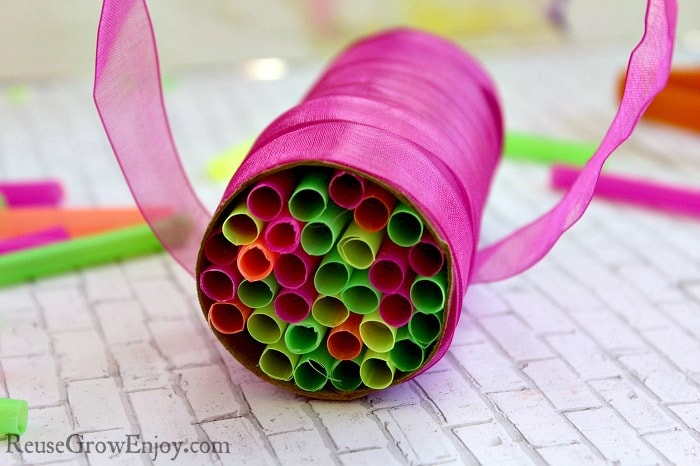
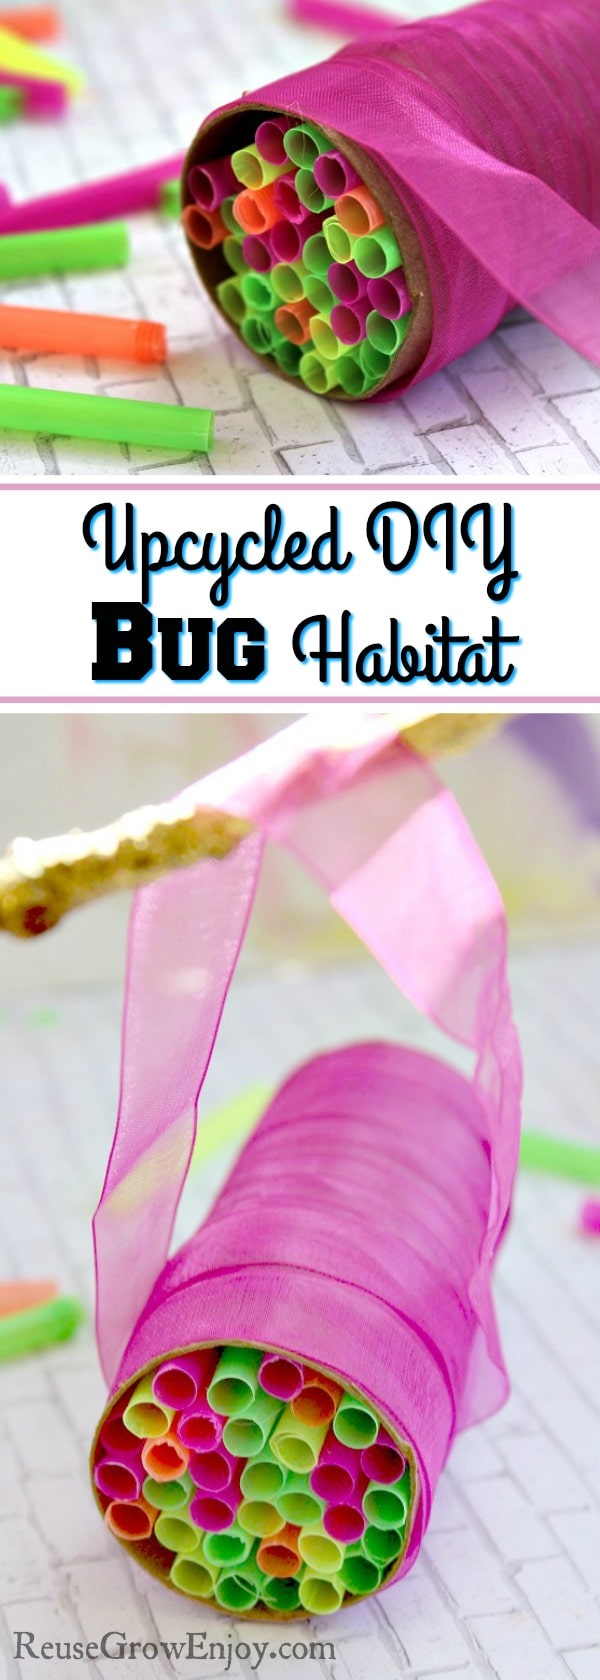
Are you looking for a project to do with the kids? Or maybe you are wanting to teach them about habitats? If so, I have just the project for you! It is a DIY bug habitat made with upcycled and reused items.
This habitat was made using a TP tube. If you are worried about the tube falling apart too fast you can reuse plastic bottles to make it. You would just cut each end of the bottle off. Try to stick to bottles or the area of a bottle that is all the same size and not really narrowed out.
Now get your supplies together and let’s get started!
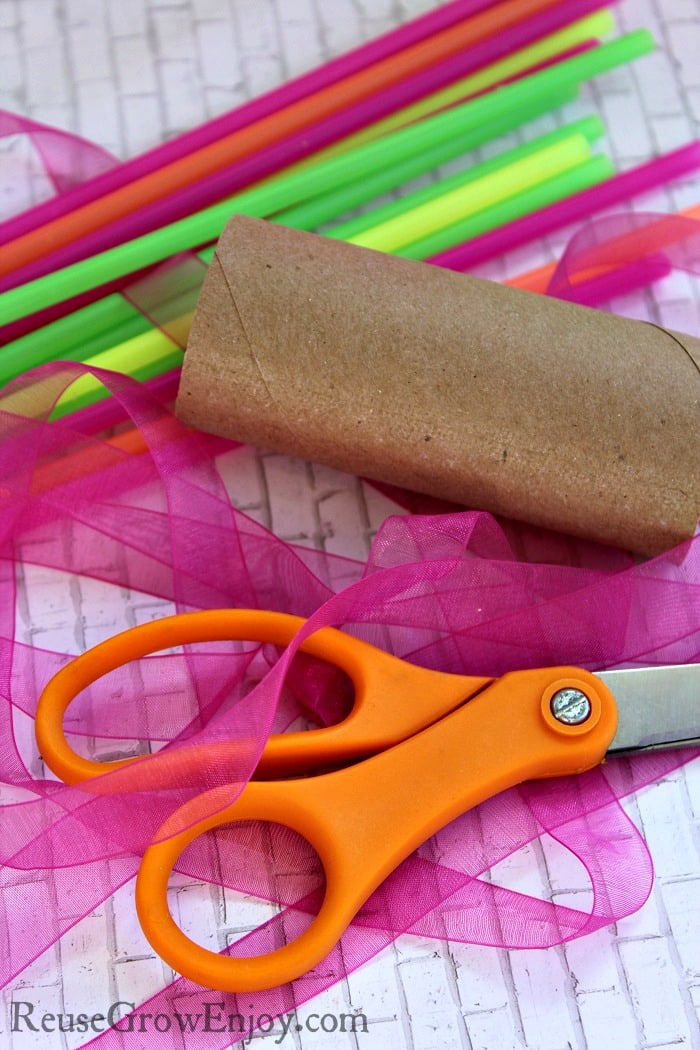
Bug Habitat Supplies needed:
- Cardboard toilet paper tube (or plastic bottle)
- Assorted plastic or paper straws
- Scissors
- Ribbon or twine
- Glue
Directions:
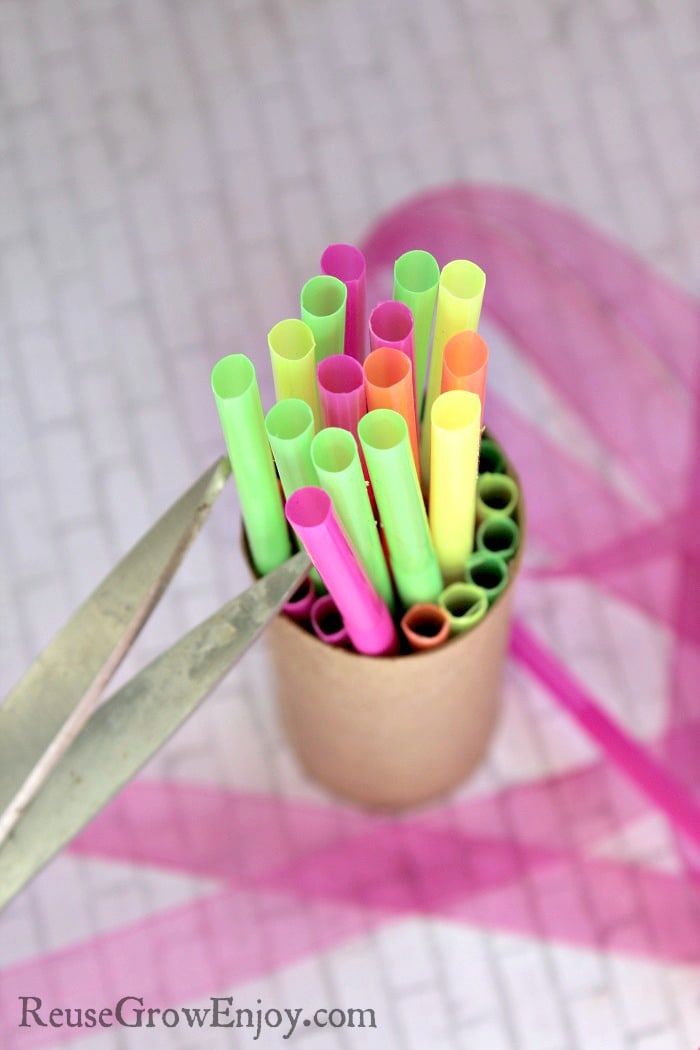
The first thing you want to do is take a handful of straws and place them inside the cardboard tube. You want them to fill the inside of the tube up nice and tight.
Next, you want to take your scissors and start cutting the straws down to size. You want to cut right where the top of the tube and straws meet. The idea is to have the top become a flat surface.
Keep cutting until all of your straws are cut down to size and even. Then remove the straws and add some glue to the inside walls of the tube. When you replace the straws back in, this will help them stay secure. Remember that packing them in tightly will also help them stay in one place.
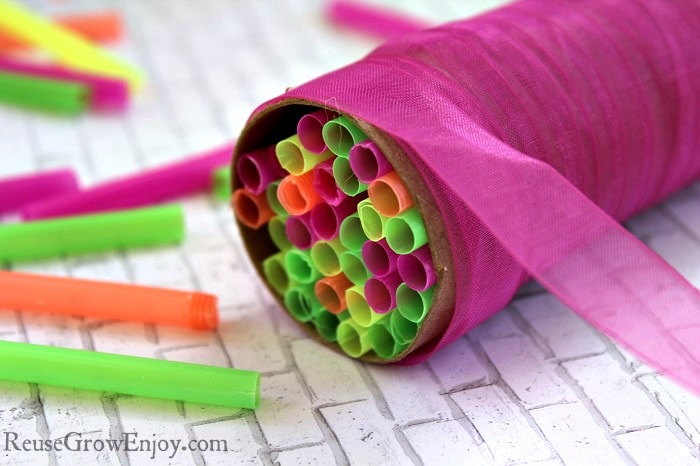
You can now start wrapping the outside of the tube with ribbon or twine. You can remove the straws if you wish, or leave them in. Add a dab of glue to the end of the ribbon and press it to the top of the tube. Start wrapping.
You will continue wrapping until the tube is covered. Also, add a dab of glue to the end of the ribbon and press it to the tube.
Now you want to create a hanger for the bug habitat by running some ribbon under the tube and tying up at the top. After you are done, go back under the tube and add some glue to hold the supporting ribbon in place.
Your bug habitat can now be hung and enjoyed.
If you liked this craft, here are a few others to check out.
- Plastic Bottle Fish Craft
- K-cup Craft – Apple Made From Reused K-cup
- Ladybug Craft With Upcycled Plastic Spoons
- Plastic Spoon Craft Yellow Jacket
- DIY: K-cup Tissue Paper Flower


Leave a Reply