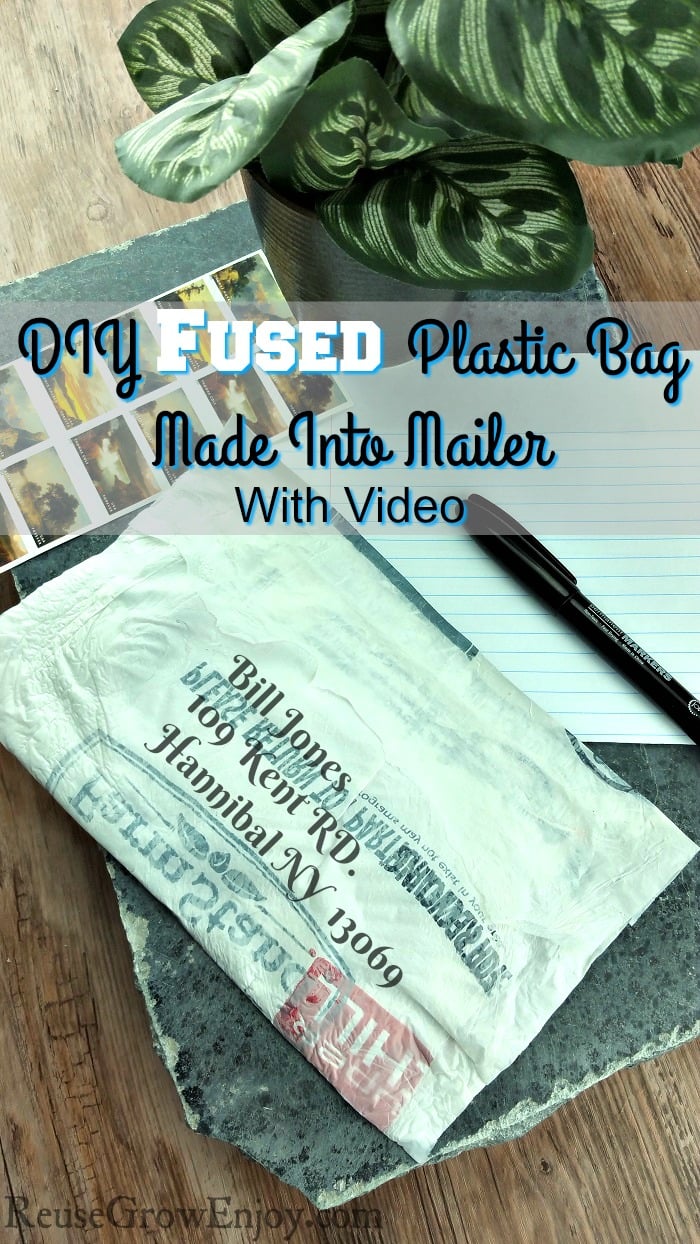
DIY Fused Plastic Bag Made Into Mailer
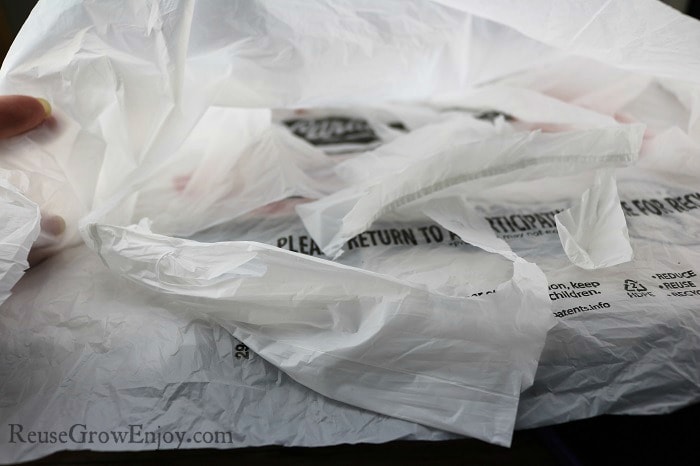
Did you know you can reuse a plastic bag to maker mailers? That means no more having to spend money on mailer envelopes! You can make them for free using plastic bags!
It is not as hard as one might think either. You can make one in just a matter of minutes. Plus I am pretty sure you already have everything on hand to make it!
You could do a bunch of these plastic bag mailers up at a time and have them ready for when you need them. Then just pop your letter or what you need to mail in the mailer, seal it up and toss in the mail.
While you can use the iron you have, just be really careful not to touch the plastic with it. If you do, it melts to the iron. Then when you use it on your clothing, it will make a spot on the clothing.
I do fusing and crafting a lot, so I have two irons. On for my crafting and then the other for clothing. That way if I do happen to miss, it is not a big deal.
Supplies Needed:
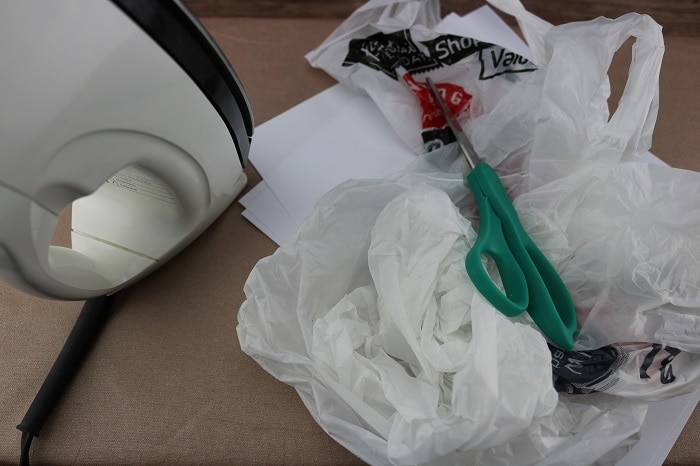
- Scissors
- Iron
- 3 Sheets Paper (nothing with ink on it)
- Plastic Bag (How many depends on the size mailers you need. Small letter size takes one normal size shopping bag.)
- Ironing Board
Plastic Bag Mailer Directions:
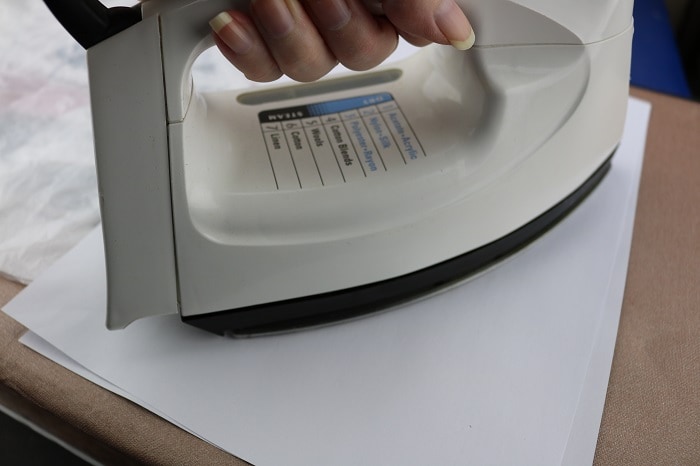
First, plug in the iron and so that it can heat up. Set in on about 4. You want it to be on high heat but just below where it starts to steam. You DO NOT want the iron to steam when you are fusing your bag.
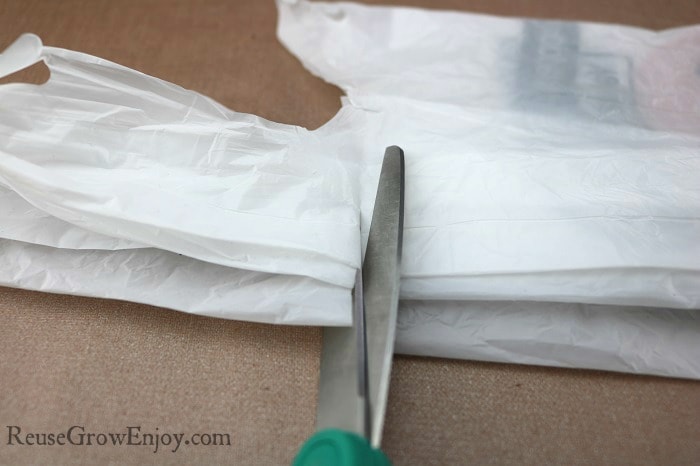
Now, while the iron is heating, you can get the bag or bags ready. Lay it flat and fold it over a few times. Then cut off the handles and the end seam. Depending on the size mailer you are using, I like to keep the cut-off pieces and use them to strengthen the larger mailers.
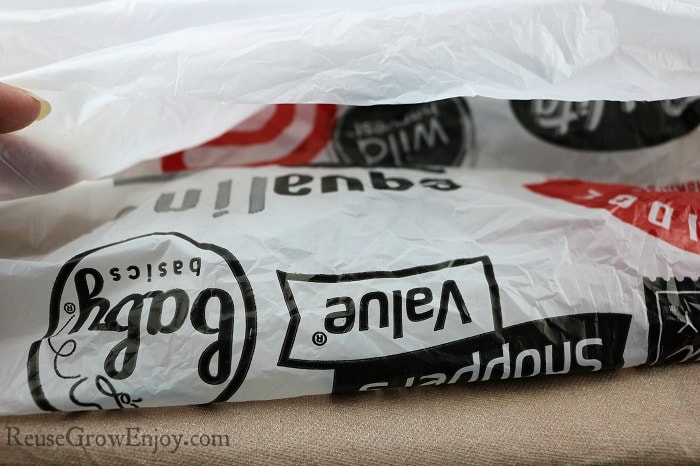
Next, turn the plastic bag inside out. You ALWAYS want to be sure to have the ink of the bag on the inside. If you don’t then the ink sticks to the paper when the heat is run over it.
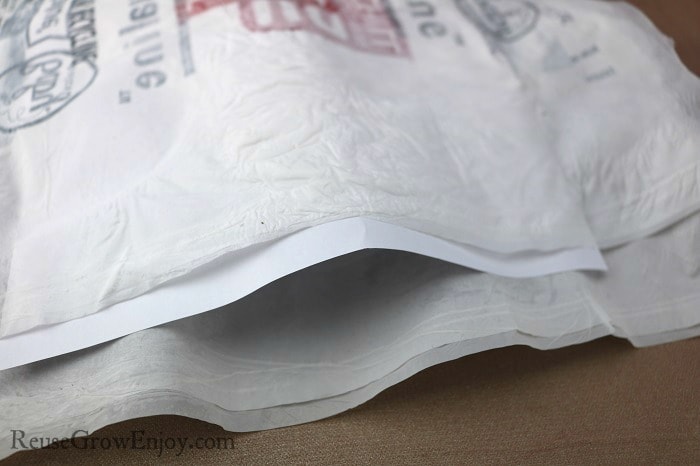
Lay the inside out bag on the ironing board. Put a piece of paper under it and on it. Be sure the bag is flat and between two pieces of paper. If you are making a larger mailer, you can toss in those cut-off pieces in-between the bag (where the ink is).
Always make sure paper is over the area you are ironing. If not, the plastic bag will melt to the iron or to the board. Depending on the size paper you are using, you may need to move it a few times to get the whole bag fused together.
Now, run the iron over the paper a few times to fuse the plastic. Be sure you do not stop in one place too long as it will melt a whole through an area.
Iron To Fuse Together
After you have the whole plastic bag fused it is now like a sheet of fabric. You can use it to make your mailer, or you could even use it to sew with. I have made many things including reusable shopping bags by sewing them together.
Now we need to shape it and make that mailer pocket. We do this by folding a piece of paper to the size pocket you need.
Lay the paper down on top of the fused plastic bag. Then fold the bag over the top of it. You want one end to overlap the other. That way it makes that lip to seal it up when you need to use it.
Be sure that middle piece of paper also hangs over one side. We want to be sure one end does not fuse to the other, do we have an open pocket.
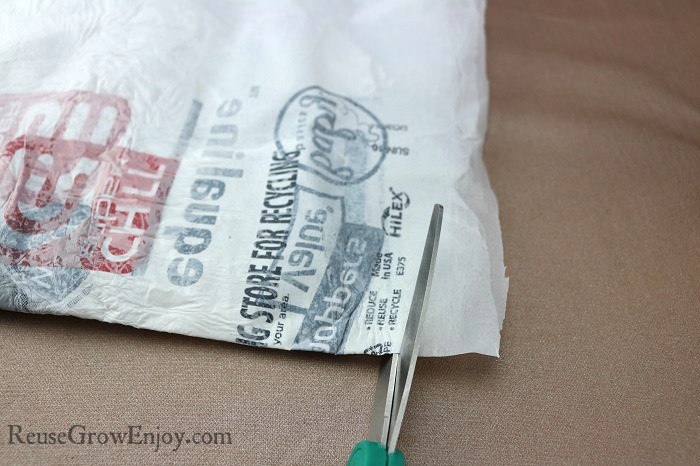
Now run the iron over it a few times to fuse those edges together. After edges are fused, you can use the scissors to trim off the very outer edges to they smooth.
Seal & Address
Remove the paper from the inside of the mailer. Then when you are ready to mail something out, put it in the mailer. Fold the edge over, place paper on it and then iron over it to seal it up.
To address it you can either put a label on it or use a permanent marker to address it. I have found pens do not work well to write on the fused plastic bag.
If you liked this plastic bag craft, here are a few others to check out.
- Upcycled Plastic Bag Flower Earrings
- DIY Napkin Ring Place Holder – Using Paper Towel Tube & Burlap
- DIY Bookends Made From Upcycled Kids Boots
- Star Wars Canvas Art – Made With Upcycled / Reused T-shirts



Ashley says
What a great idea! I mail a lot of books, so this is perfect for paperbacks. No extra waste of using packing tape.
Reuse Grow Enjoy says
Happy you found this idea helpful Ashley!
Autumn says
Can I do this with cellophane wrap? Not bags but the rolls of cellophane wrap? I’m trying to make bags from that at home. Double sided tape is the only thing I’ve tried so far
Reuse Grow Enjoy says
I have not tried fusing cellophane. I would just take a few small pieces and layer them on top of each other. The put paper on each side then apply the iron to see how it works. Just be sure you have the paper on each side so that it does not melt the the ironing board or the iron.
Anna A. says
This is exactly what I was looking for. I’ve already spent almost an hour trying to get this exact information.
Thank you so much for sharing your tips, I really appreciate it!
Reuse Grow Enjoy says
Happy to hear you found it helpful!
Jackie W. says
This sounds perfect as I am trying to sell hundreds of sewing patterns!
But how do I print these instructions out?