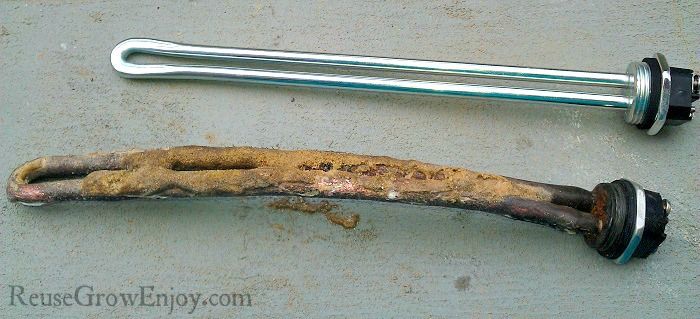
DIY Water Heater Repair – How To Change Heating Elements
For those of us with an electric water heater, sometimes it can be a source of frustration. Have you ever had times when your water just isn’t that hot, even after a decent amount of time? Well, you may not need to run out and buy a new heater right away. You may just be able to do a water heater repair. One thing you can try is flushing your unit. You can check out our step by step on how to flush it here. It may be pretty clogged up with hard water debris and silt.
If that does not work. It probably is your heating elements that are burned out. Most larger units have 2 heating elements. They are relatively inexpensive and not bad to change. Most will run you between 10 to 25 dollars, each. It is a good idea if you feel one has gone bad, just change them both. With the repair you must do, you don’t want to repeat this in a few months to change the other one.
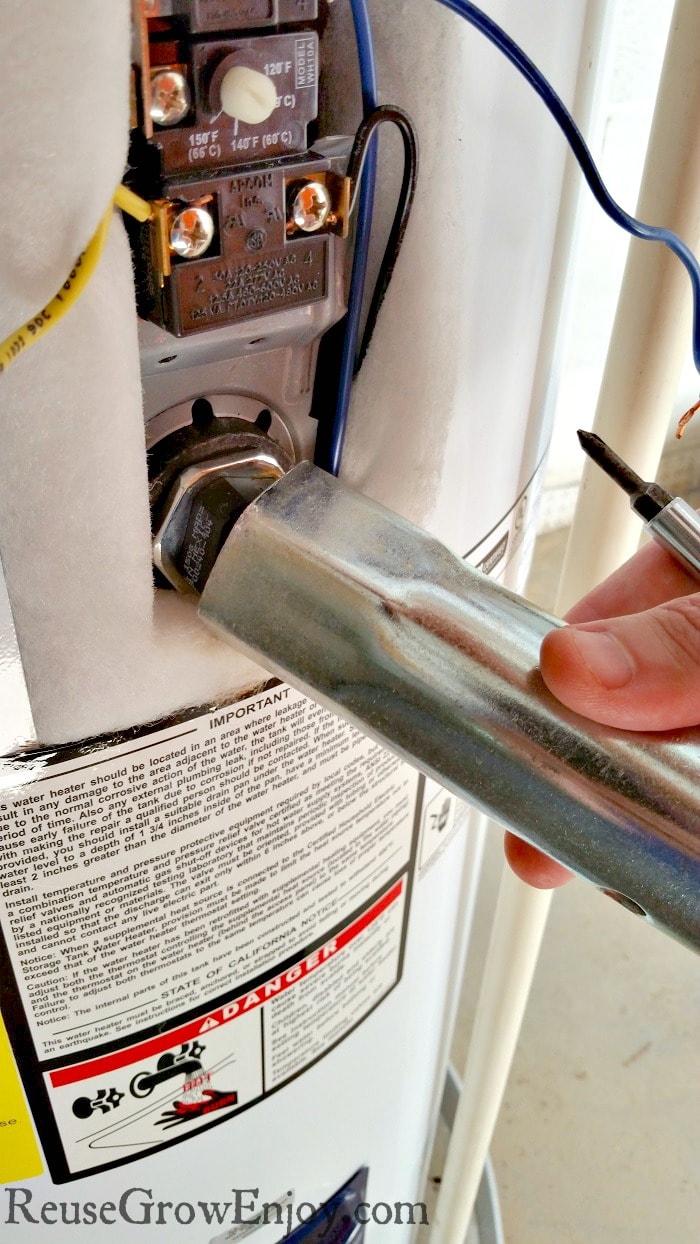
You need to find the label on your heater. It will tell you a number of volts and watts your heating elements must be. Mine was 240 volts and 4500 watts each. Some are a screw in and some are bolt on. For the screw in type, a good tool to have is an element socket. You can find them at all the big home improvement or hardware stores or places like Amazon. They will simplify your removal of the bad heating elements immensely.
How To Change Heating Elements:
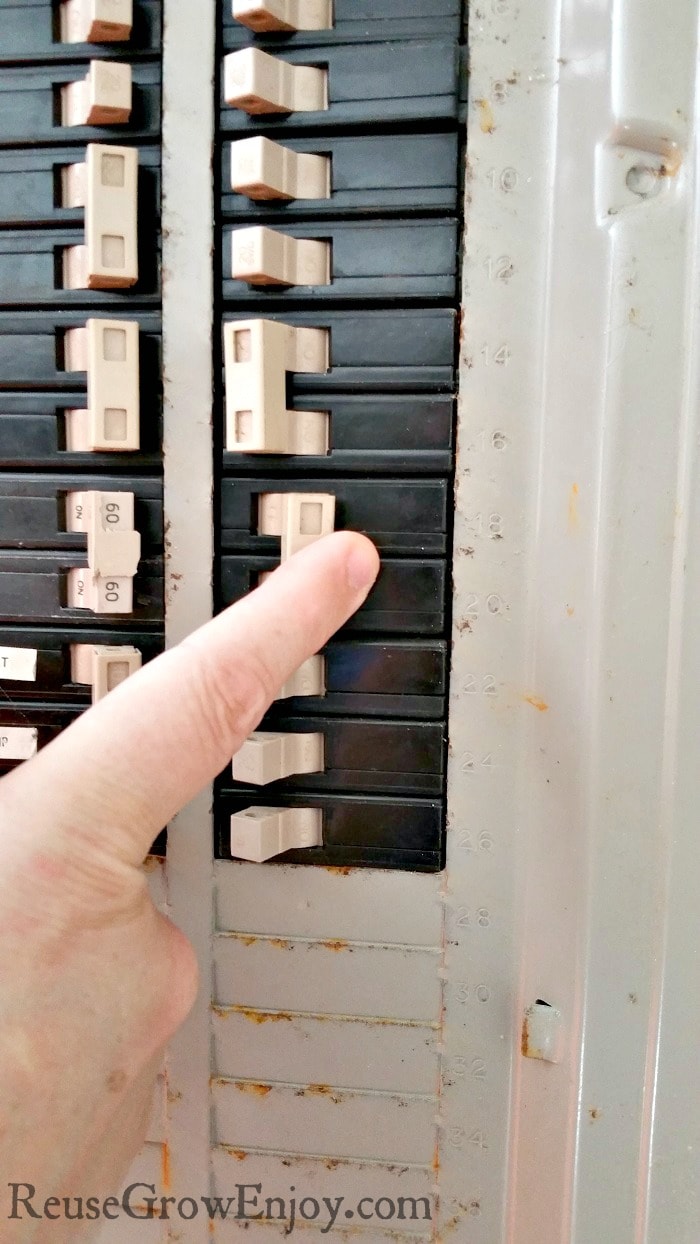
The first thing you want to do is turn the power off to your water heater. That is VERY important as you will have to connect a couple wires on each new element.
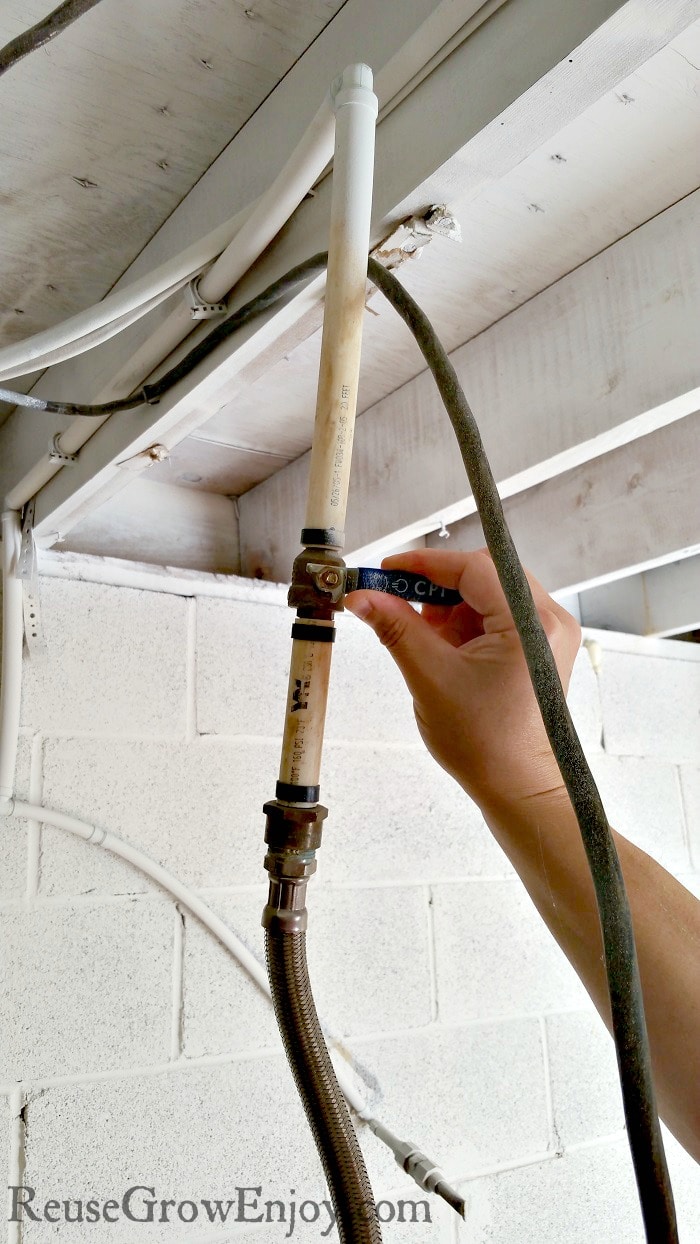
When you are sure the power is off, close the cold water valve so it won’t try to refill. This is normally just above the tank.
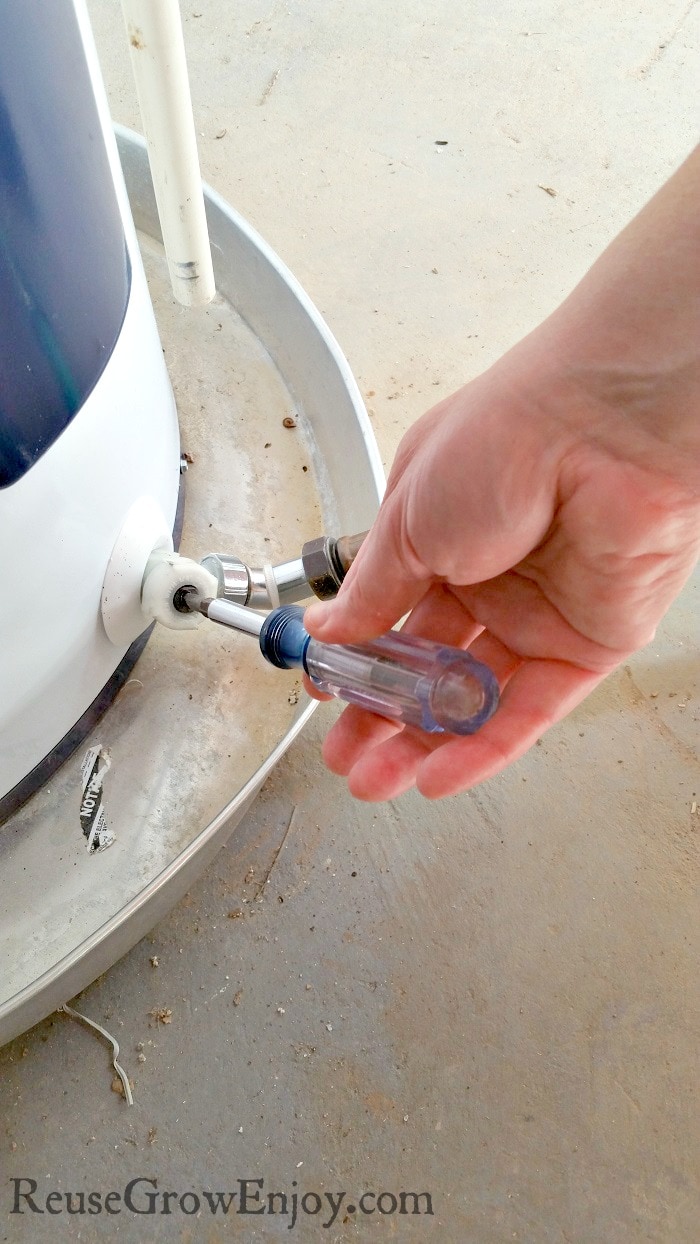
Now, open your drain on the bottom of your tank, with a hose attached and ran to a drain. Then turn on the hot water in your kitchen or bathroom. It will help the tank to drain better.
When you are sure the tank has now emptied you can begin the replacement.
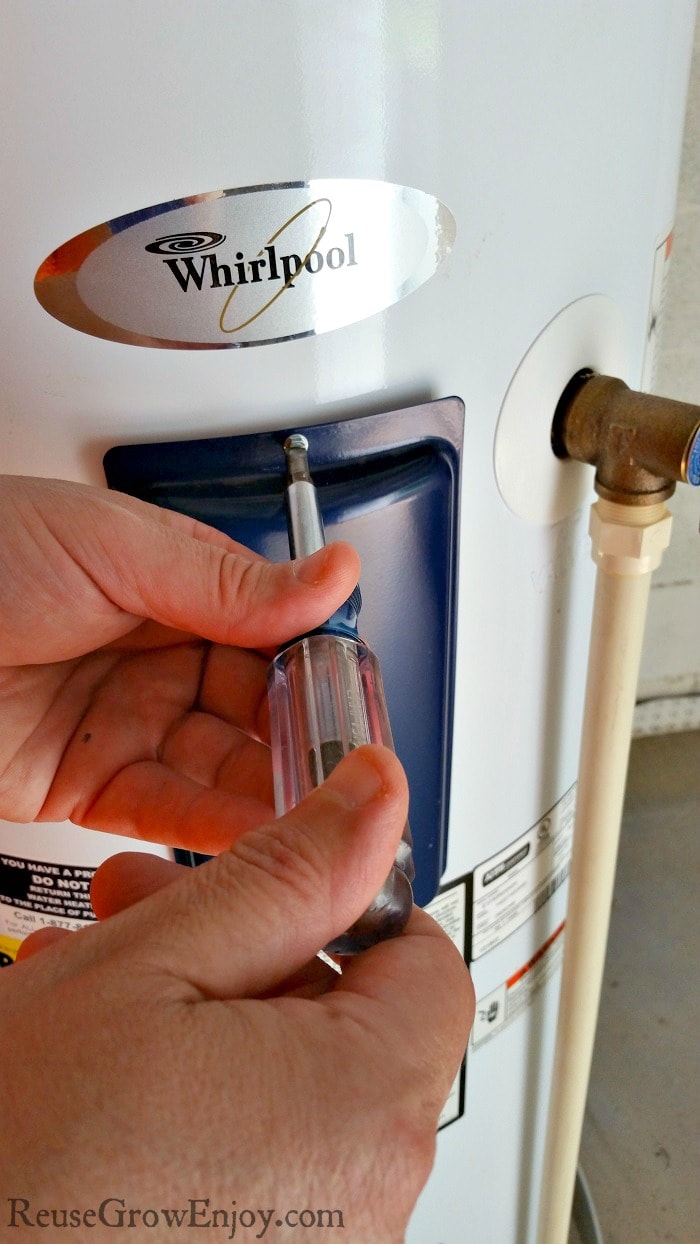
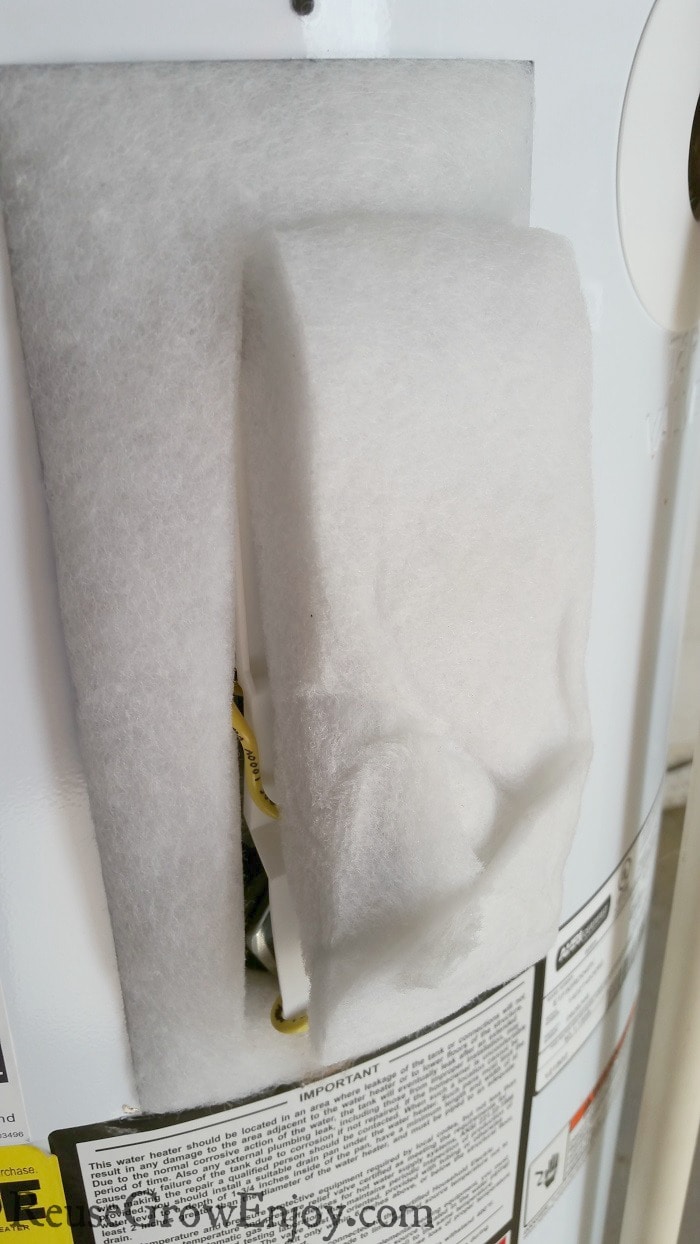
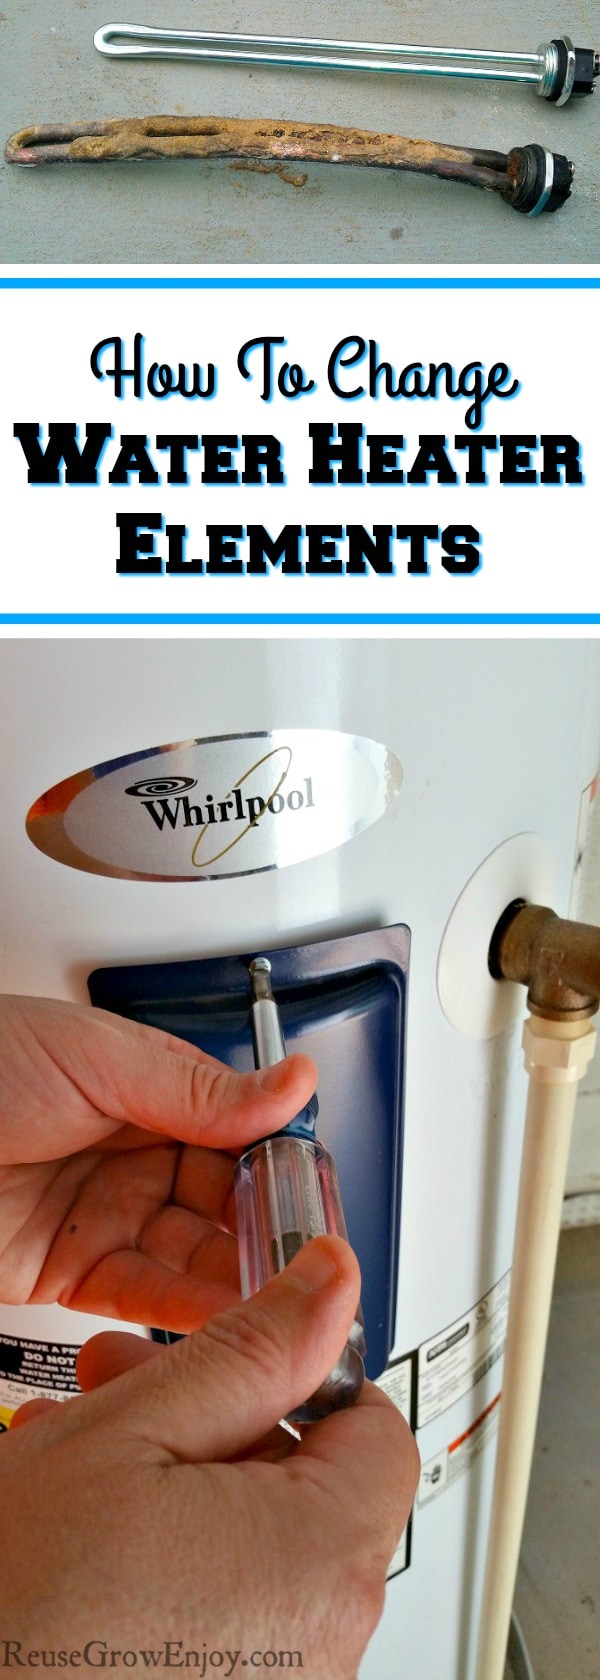
Again, when you are sure the power has been completely cut, open the small door on the side of your tank. Most tanks will have 2 of them, I recommend starting with the top one.
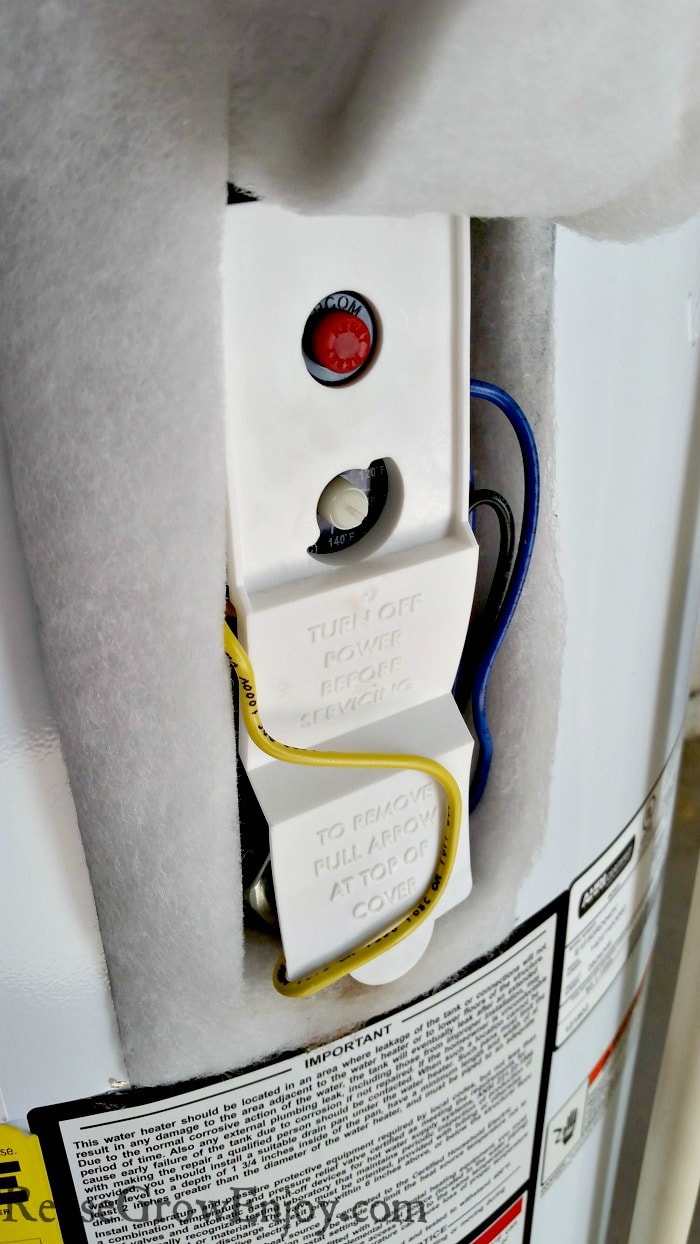
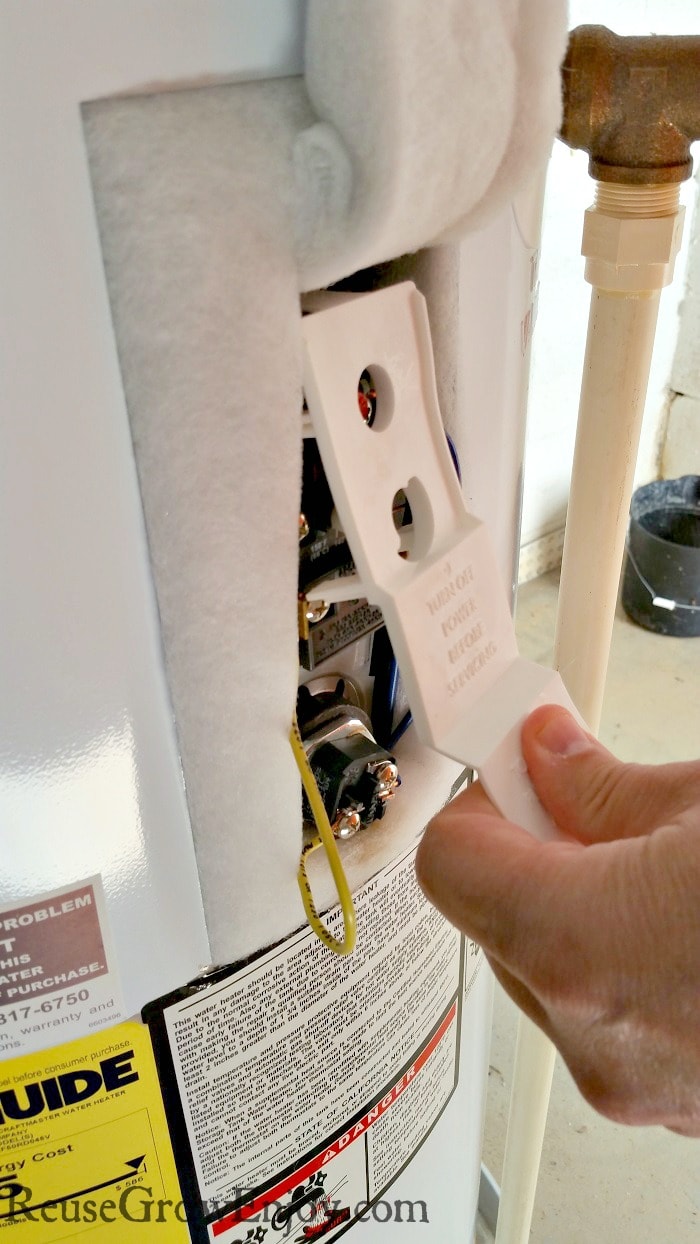
It may have a plastic cover or some foam under it, that can also be removed. From here you can see the element and its style. If it’s a screw in, its will have a hexagon shape around it. If it’s bolt on, it will be larger with a metal plate. Note the wires attached to this, and where they are connected.
Remove Elements:
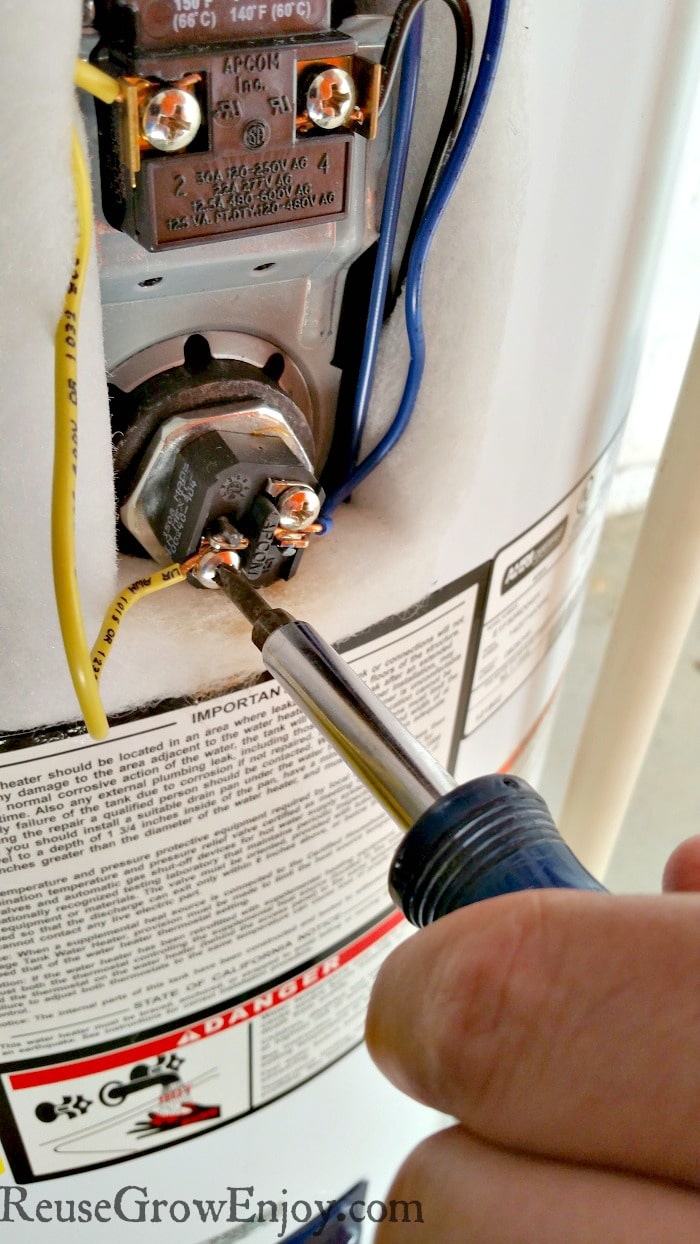
Now remove the wires with a screwdriver. Then you are free to remove the heating element. With your element removal wrench, turn the element counter clockwise and pull out. If some water comes out with it, particularly with the lower element, just soak it up with a towel or two. The element will probably be fairly dirty or even broken.
Take your new heater element and install just the opposite of how you removed the old one. Reattach the wires like you saw earlier and replace the cover. If your heater is a unit with 2 elements. Repeat this for the second one just as you did with the first.
Refill Tank:
When you are sure both elements have been secured tightly, and properly rewired and covered back up, you can refill the tank. Turn off your faucets you used to drain the tank then turn on your water supply to fill your tank.
It is VERY important to NOT turn on the water heater power at this time. It will quickly burn out your new elements you just replaced if there is no water in the tank. The water keeps them cool, so it’s imperative that they are submerged in water before you power them on. If you are not sure how to determine if it is full or not, turn on any hot water in your sink or tub. When steady water comes out instead of air, your tank is full.
Now you can go turn on the power to your hot water tank. You will notice within just a few minutes, your water is heating up. It shouldn’t take more than 20 minutes for your tank to be nice and warm.
You just did your own water heater repair and replaced your own hot water tank elements. It should now run like new again! Enjoy those long hot showers!
If you found this DIY Water Heater Repair helpful, here are a few other handyman posts to check out.
- How To Patch Drywall
- How To Flush Hot Water Heater – Electric Hot Water Heater
- Simple Air Conditioner Repair and Maintenance Tips
- How To Change A Outlet
Please note while these are tips to help you save money, I am not an electrician or a plumber and can not be held responsible for your use therein.


Tankless Water Heater says
I have read all your article and it was very relevant for me as I am using electric rod water heater. This article will help me to replace the rods of my water heater. Thanks for sharing and I would like to read more from you. keep writing.
Reuse Grow Enjoy says
Happy you found it helpful.