How To Dry Herbs
Frugal trends are on the rise with more and more homes finding ways to become resourceful and stretch their dollars. One of these ways is growing and drying fresh herbs. With minimal materials needed, drying herbs is cost effective and requires little steps on your part. Here are six ways how to dry herbs straight from your garden.
Preparing The Herbs For Drying:
Before you can learn how to dry herbs, you need to know how to prepare them. Be sure to remove any damaged leaves or bugs after cutting the leaves from your garden. The best time of the day to pick herbs is during the early morning hours. Once you are done, thoroughly rinse and pat dry taking care not to damage or tear the leaves.
Hanging Indoors:
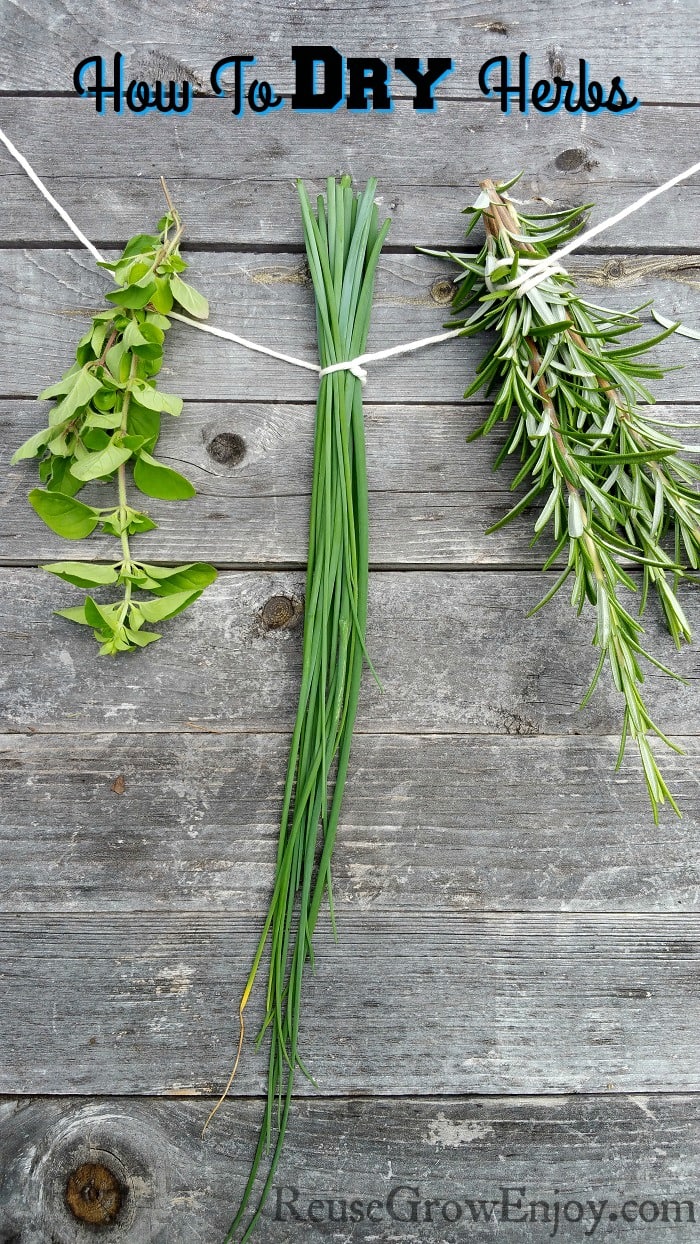
Hanging your herbs indoors is the longest method, but preferred by many homes as they add a natural fragrance to the air. To hang dry herbs, secure the stems with a rubber band or piece of string (I like to use string). Hang the bunches upside down in away from direct light, dry, warm area that has good air circulation in your home. This process takes 2-4 weeks to fully dry out the leaves. Once the herbs are dry enough to crumble by hand, crumble and properly store.
If you are concerned about dirt or other foreign airborne particles, you can hang the herbs in the protection of a paper bag. To do this, get a paper bag and make a few holes in the bag to ensure air circulation. Place the branches in a paper bag leaving the stems exposed. Wrap the stems and paper bag together with a piece of string or rubber band. Hang to dry. This adds a few days or weeks to the drying process, but will ensure the leaves are free of dirt and debris. It will also catch any leaves that may fall during the drying process.
Oven:
The fastest method to drying herbs is using the oven. The oven is the most popular method for drying out herbs next to the hanging method. However, this way requires the oven door to be opened while hot, so please use precaution.
Turn the oven to its lowest setting. While the oven is preheating, place the herbs in a single layer on a baking sheet. Once the oven is finished preheating, place the baking sheet of herbs on the middle rack. Leave the oven door cracked open while they are drying (this is done to prevent fully baking which removes their natural flavors). It should take 2-4 hours for the leave to completely dry. When they crumble using your fingers, they are done.
Microwave:
Using the microwave is the second fastest option, and is similar to the oven method, but should be used with more precaution as the leaves can easily burn. I myself do not like this method because more often then not, you will get some burnt herbs. However if you are very careful, it can be done.
Place a paper towel on a microwave-safe dish, lay the herbs on top, and cover with another paper towel. Microwave on high for 30 seconds, then continue with additional 30-second increments until they are dried to the touch. Be sure to check on them after each 30 seconds to prevent burning. Once they are dry enough to crumble using your fingers, they are done.
Food Dehydrator:
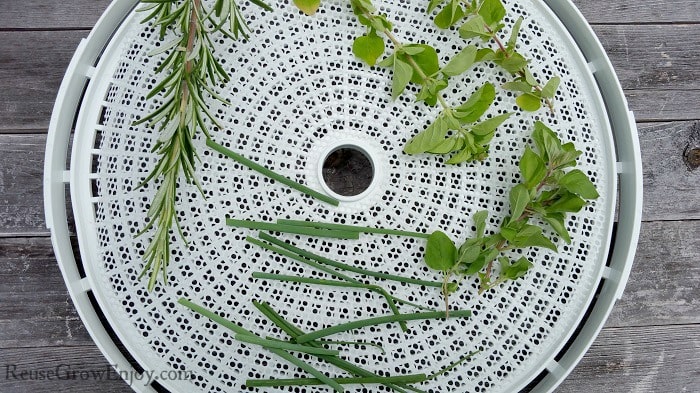
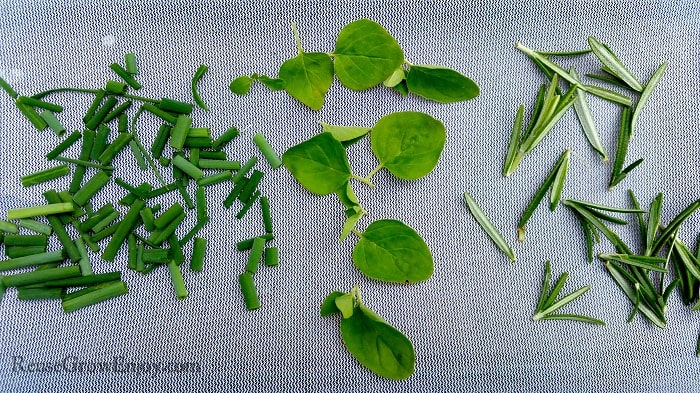
After you have washed off your herbs and toweled dry, place them on the food dehydrator trays. Be sure to place them in a single layer. Then dry for 2 – 4 hours. The drying time will depend on what type of herbs you are drying and how thick they are. If you are doing tiny leaves, you may want to use a mesh liner over the tray.
How To Dry Herbs On The Countertop:
If you have space on your kitchen countertop and a drying rack, this is a great air drying method. Simply place a paper towel on the cooling rack, lay the herbs on top, and cover with another paper towel. It takes 2-3 days for the herbs to be dry enough to crumble by hand. Drying herbs on the countertop has some pros and cons, but nevertheless, it is an option.
Hanging Dry Net:
If you are liking the idea of the countertop method but do not have enough space, the hanging dry net may be the way to go. It is much like drying them on the counter, but you will place the herbs laying flat in the nets. Then you will find a nice dry place to hang it up. Should take about 2-3 days to dry them. This is such a great method as you can hang many layers from the same spot.
How To Properly Store The Dried Herbs:
Now that you know how to dry herbs, you will need to know how to store them. Once the herbs are fully dried, the leaves can be left whole on the stem or can be pulled off the stems and crumbled. Put the dried leaves in an air tight container. Containers can be plastic or glass, but glass is preferred. Canning jars are the best choice because they keep out the oxygen which is essential to getting the herbs freshness to last. To stay frugal, reuse glass jelly or other condiment jars. Store containers in a cool, dry place out of direct sunlight and has consistent, low humidity (avoid basements). If stored properly, they can be kept for 6-12 months.
Which Is The Best Method:
Which method is best is up to you and your preference. If you like the look and smell of herbs hanging in an area of your room, this would be a good choice. Maybe you are short on time and need a quick way of drying your herbs. The oven or microwave method would be the fastest route for your time crunch. Countertop requires room on your kitchen counter and takes several days to dry. If you don’t mind either of those factors, then choose this method.
If you found this post on how to dry herbs helpful, here are a few others you may want to check out.


Leave a Reply