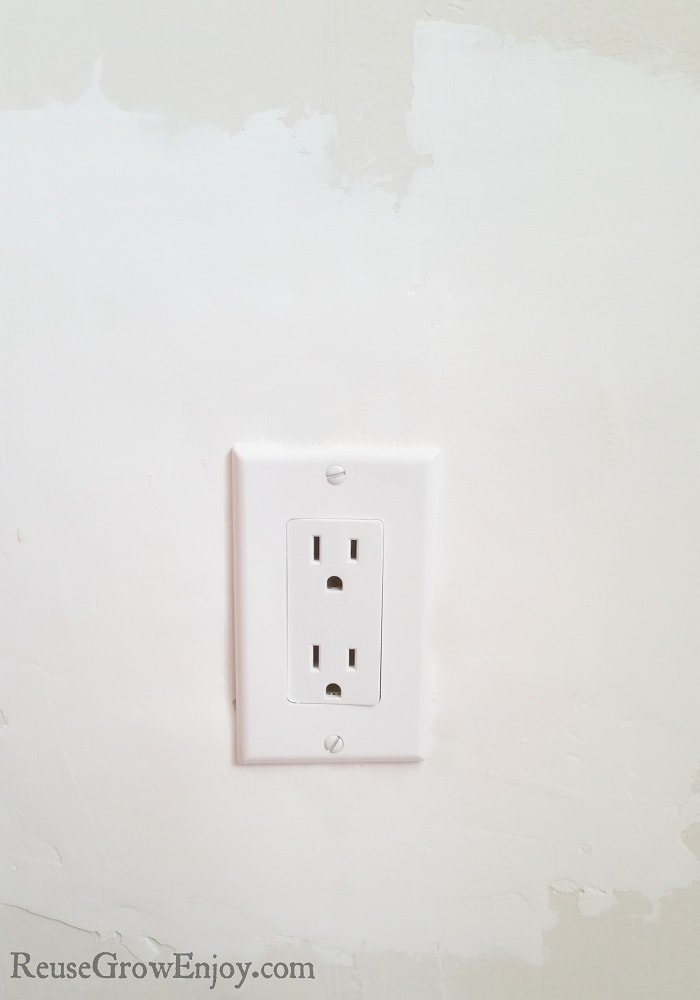
How To Patch Drywall
Do you have some holes in your walls that need to be fixed? Do you know how to patch drywall? If it is a little nail hole it is super easy as you just fill it in with some spackling. But what do you do if it is a large hole? I am going to show you just how to patch drywall.
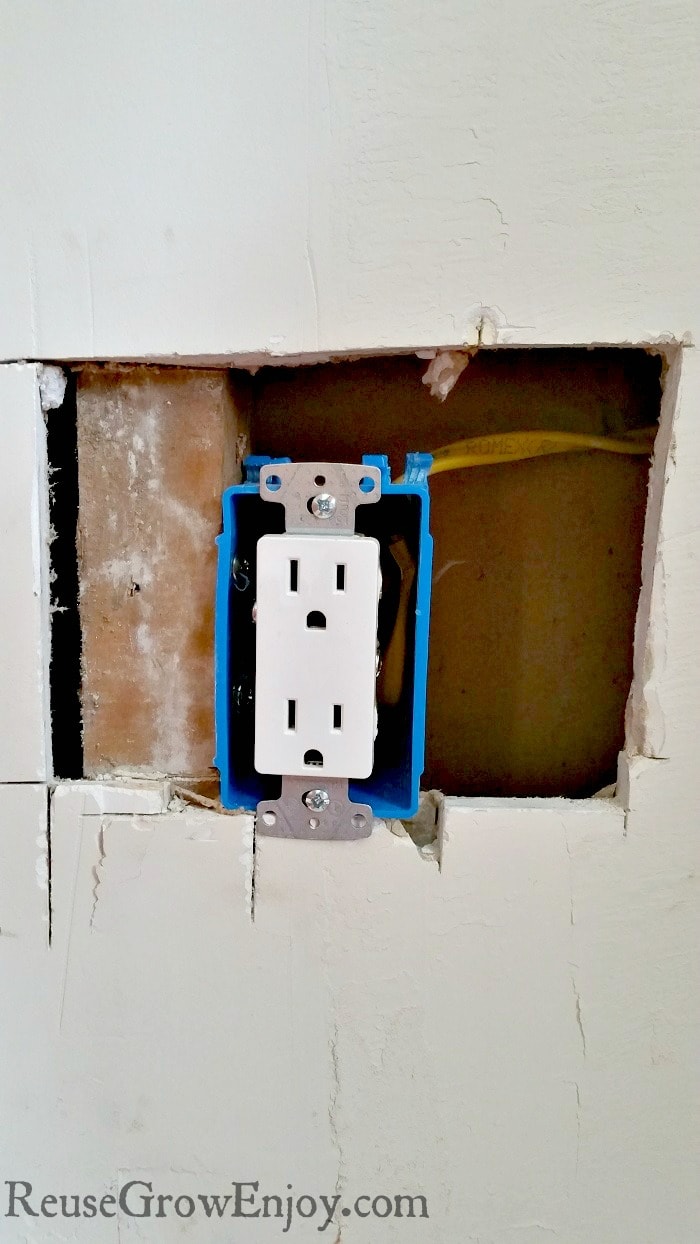
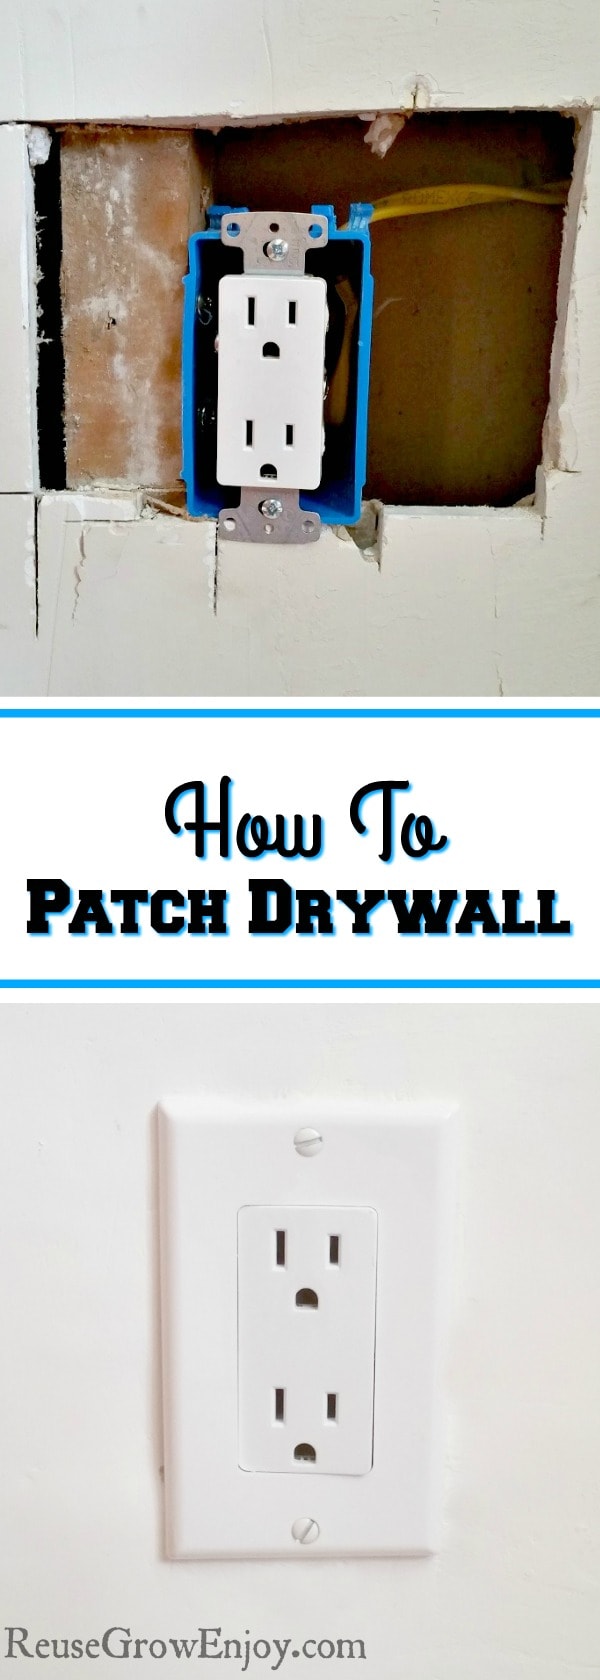
We had an outlet in our kitchen that had to be moved over. It was where we had to move our counter to a new spot for a new fridge. Anyways, in the middle when my husband was moving it, I thought to myself, this may be some handy info for those that do not know how to patch drywall. So I figured I would grab some pictures as I did it and share the steps with you.
Oh, if you are wondering how to change an outlet, be sure to read our post How To Change A Outlet.
Supplies You May Need:
- Drywall Screws
- Drill
- Putty Knife
- Drywall
- Spackling
- Wood Shims or Small Piece Of Wood (paint stick works too, you just need to be sure it is larger than the hole)
- Pencil
- Fine Sandpaper
- Drywall Tape
- Utility Knife
Steps On How To Patch Drywall
If you have a hole that is too big for just a simple fill of spackling, this is what you will need to do. This will work for replacing a spot due to moving something or fixing a spot that got damaged somehow.
Step 1:
The first thing you want to do is use a utility knife and carefully smooth the edges as much as you can. After you have them pretty smooth (no it does not have to be perfect) you can move on to the next step.
Step 2:
Now you need to decide if you can use pieces that came out of the hole or if you need to start with new. In my case, we saved it as we made the cuts because we simply had to move an outlet and the drywall was not damaged. My pieces did end up being a little smaller than you normally would want. But I made it work as I did not want to buy a new piece.
If your drywall is damaged say from mold or if it is just missing from being punched in, you will need to get a new piece. Hardware stores sell small sheets (you don’t need a full size) that you can start with. Simply measure the hole you need to fill in and then cut a new piece from the new sheet that is slightly smaller.
You need it to be slightly smaller as you need it to go in the hole and also be filled with spackling.
Step 3:
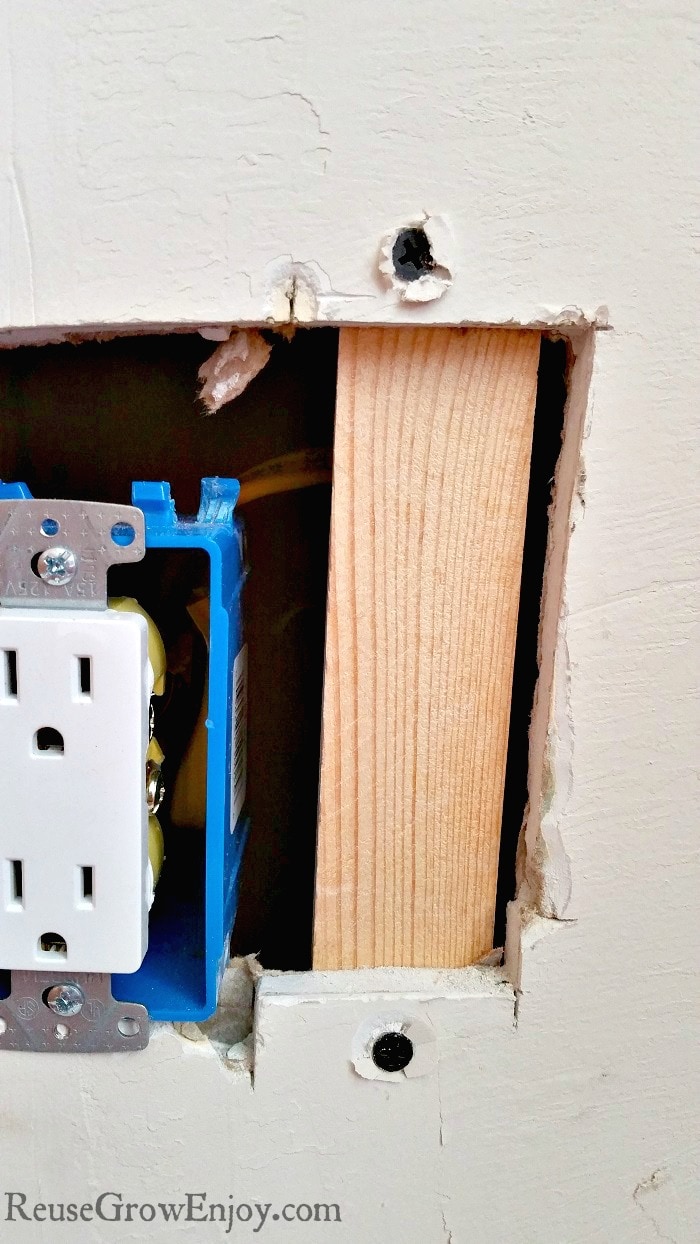
Screw a shim to the back side of the hole in the wall. You want it to be about the center of the hole. Put one screw at the top and one at the bottom. So you need to be sure that the shim or wood you are using is about two inches longer than the hole that needs to be patched.
Note: you only need to do this step if you are adding a piece to the wall where there is no studs/boards. If you are covering a stud, you do not need to add the shim to the back. You will just screw the piece right to the stud.
Step 4:
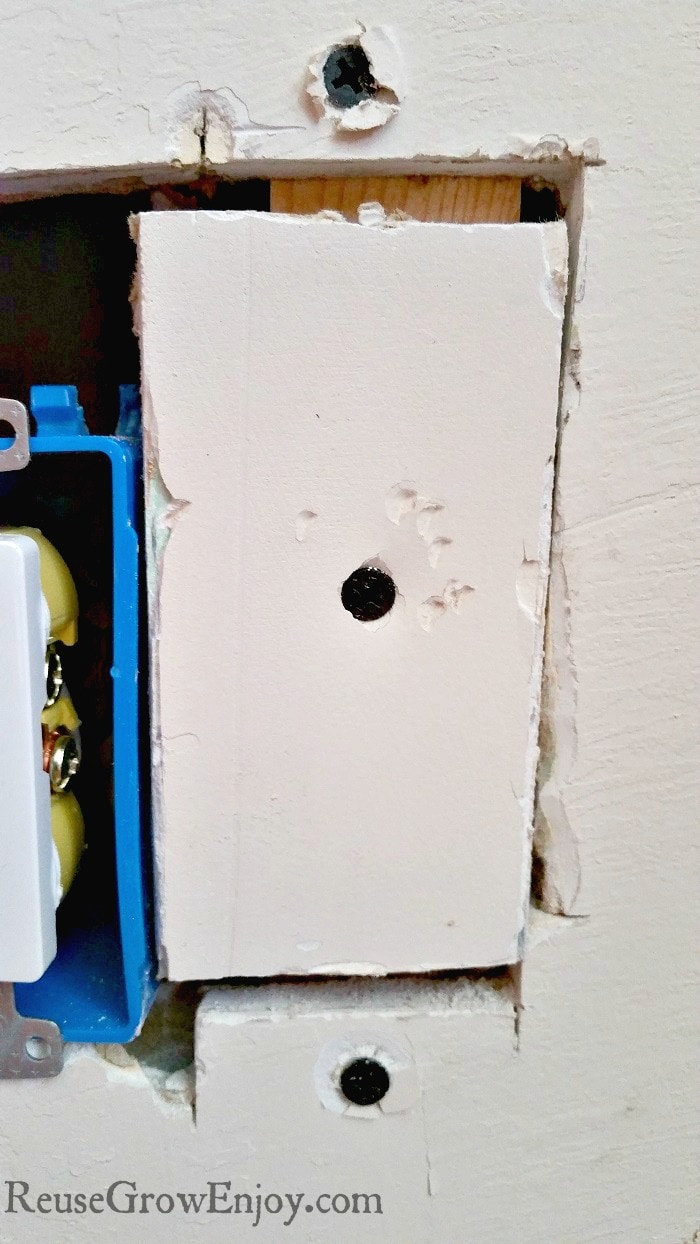
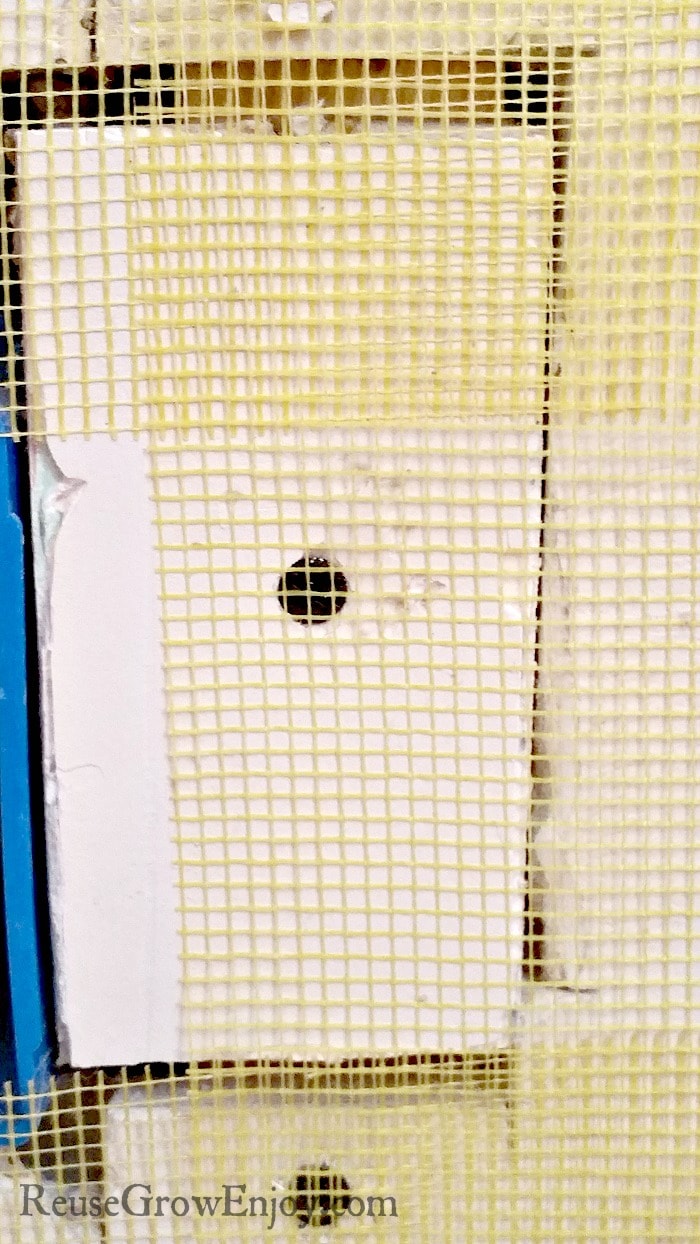
Now take your piece of drywall and put it in the hole. Put a screw right in the center of the piece so that it screws into the wood you just put in the hole. You should only need one screw to hold it unless you are working with a large piece then you can put a few. Just be sure they all screw into the wood and are not too close together.
Step 5:
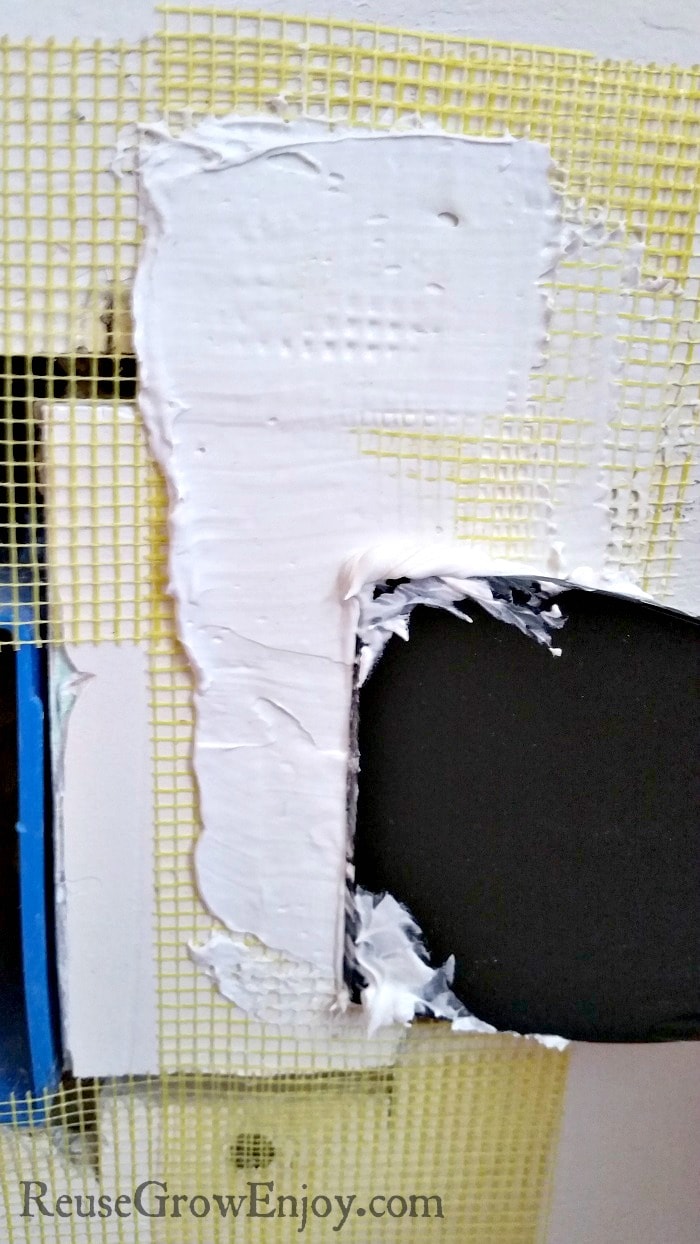
Next, you want to cover the cracks with drywall tape. Be sure to cover all four sides. The ends of the tape will slightly overlap. After the tape is on, you can use your putty knife to apply the spackling or joint compound. Cover all of the crack areas as well as out and in from the crack. You want it so all of the tape is covered with a nice smooth (smooth as you can) layer. Then allow it to fully dry.
When it is dry, go over it again with the spackling.
Step 6:
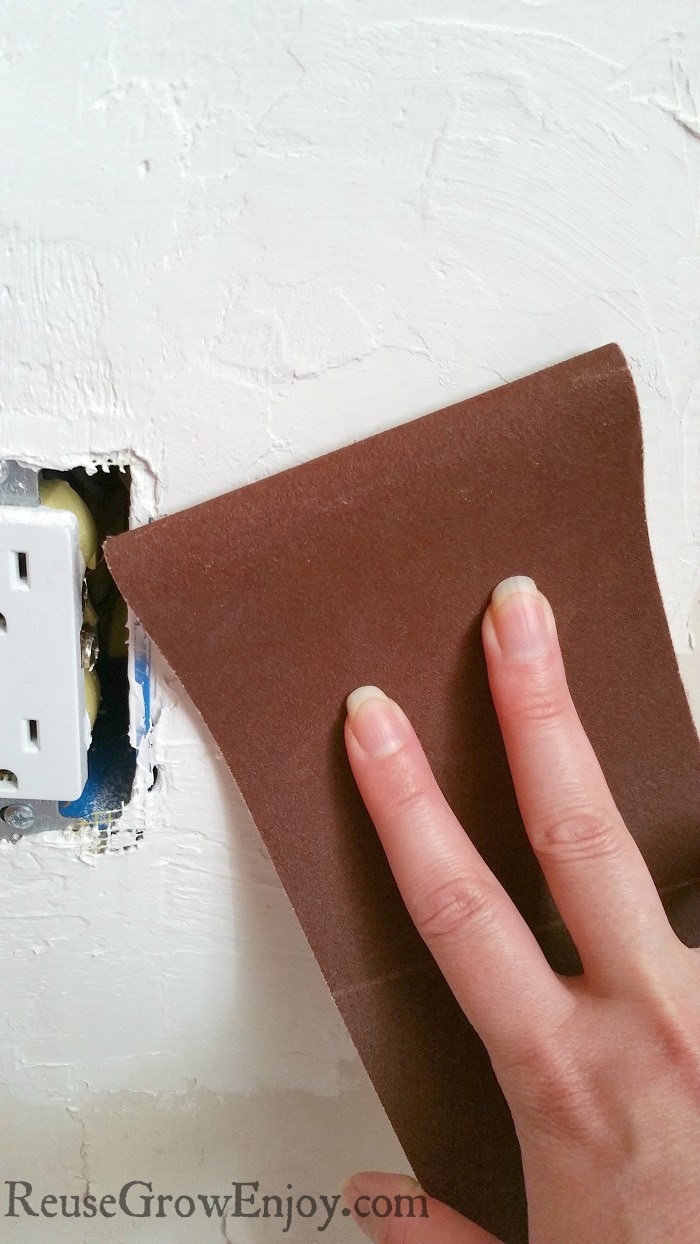
After it is totally dry, you can lightly hit it with sandpaper to smooth it even more. Just be sure not to sand too much as you do not want the tape to show through.
When you are done sanding and happy with how it looks, you can go over it with paint to match the wall.
If you liked this handyman post on how to patch drywall, here are a few others to check out.
- How To Flush Hot Water Heater – Electric Hot Water Heater
- How To Change A Outlet
- Simple Air Conditioner Repair and Maintenance Tips
- Fan Fix & Maintenance Tips


Leave a Reply