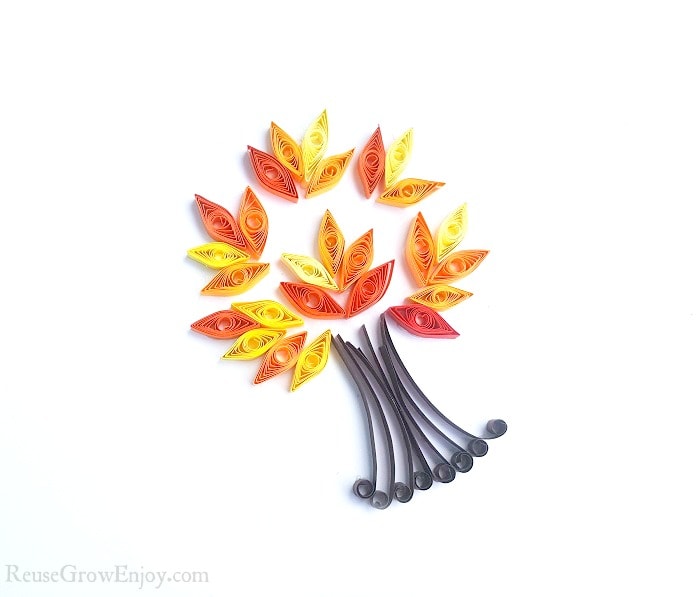
How To Quill A Fall Tree
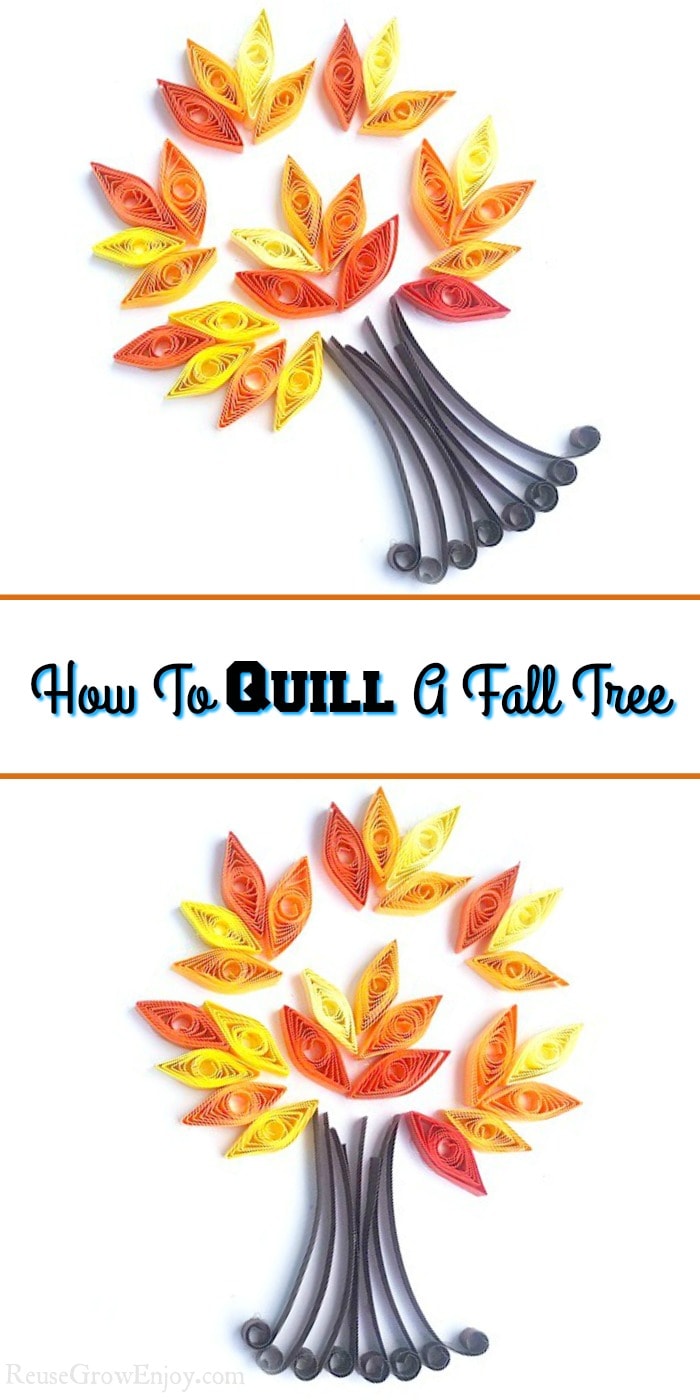
Looking for a fun fall craft to do? I have just the thing! I am going to show you how to quill a fall tree. This is one you can do by yourself or you could also have the kids do it too.
Quilling looks hard but it really is not. It is pretty easy to do, just takes a little time to do because you have to do one piece at a time.
While this shows you how to quill a fall tree, you can easily make this into a normal tree for summer. Simply change out the fall color paper for shades of green.
Supplies Needed:
- Scissors
- Quilling paper strips (or scrap paper)
- Craft glue
- White stationary paper
- Slotted quilling tool
Directions To Quill A Fall Trees:
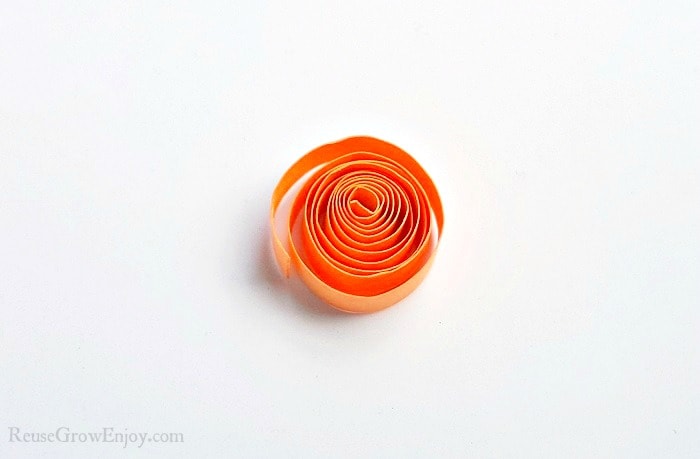
The first thing you need to do is select 3-4 fall colored quilling strips. Take a 10-inch long piece of quilling strip and coil the entire strip with the help of the slotted quilling tool.
Now take the coil you just made out of the slotted tool and allow the coil to loosen up a little. Then glue the opened end of the coil to secure it in place.
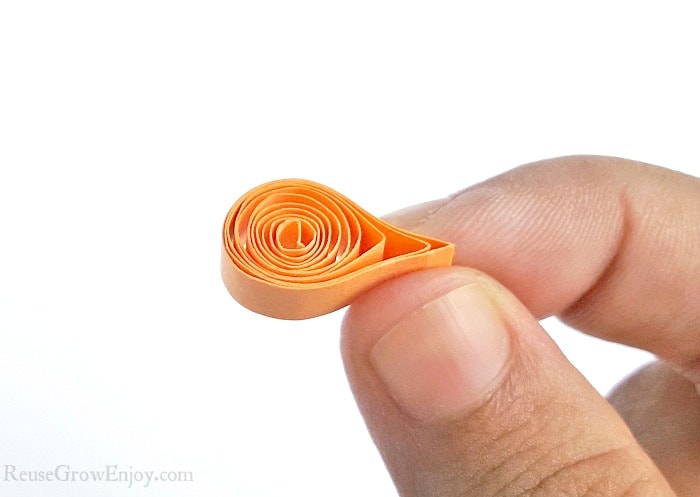
Now you want to press one side of the loose coil that you made to create a teardrop shape.
Now press the other side of the coil to create a basic eye shape. If it has come unglued, glue the open end of the strip to secure the shape.
Create more of these basic eye shapes using different fall colored paper strips. These will make up the leaves of your tree.
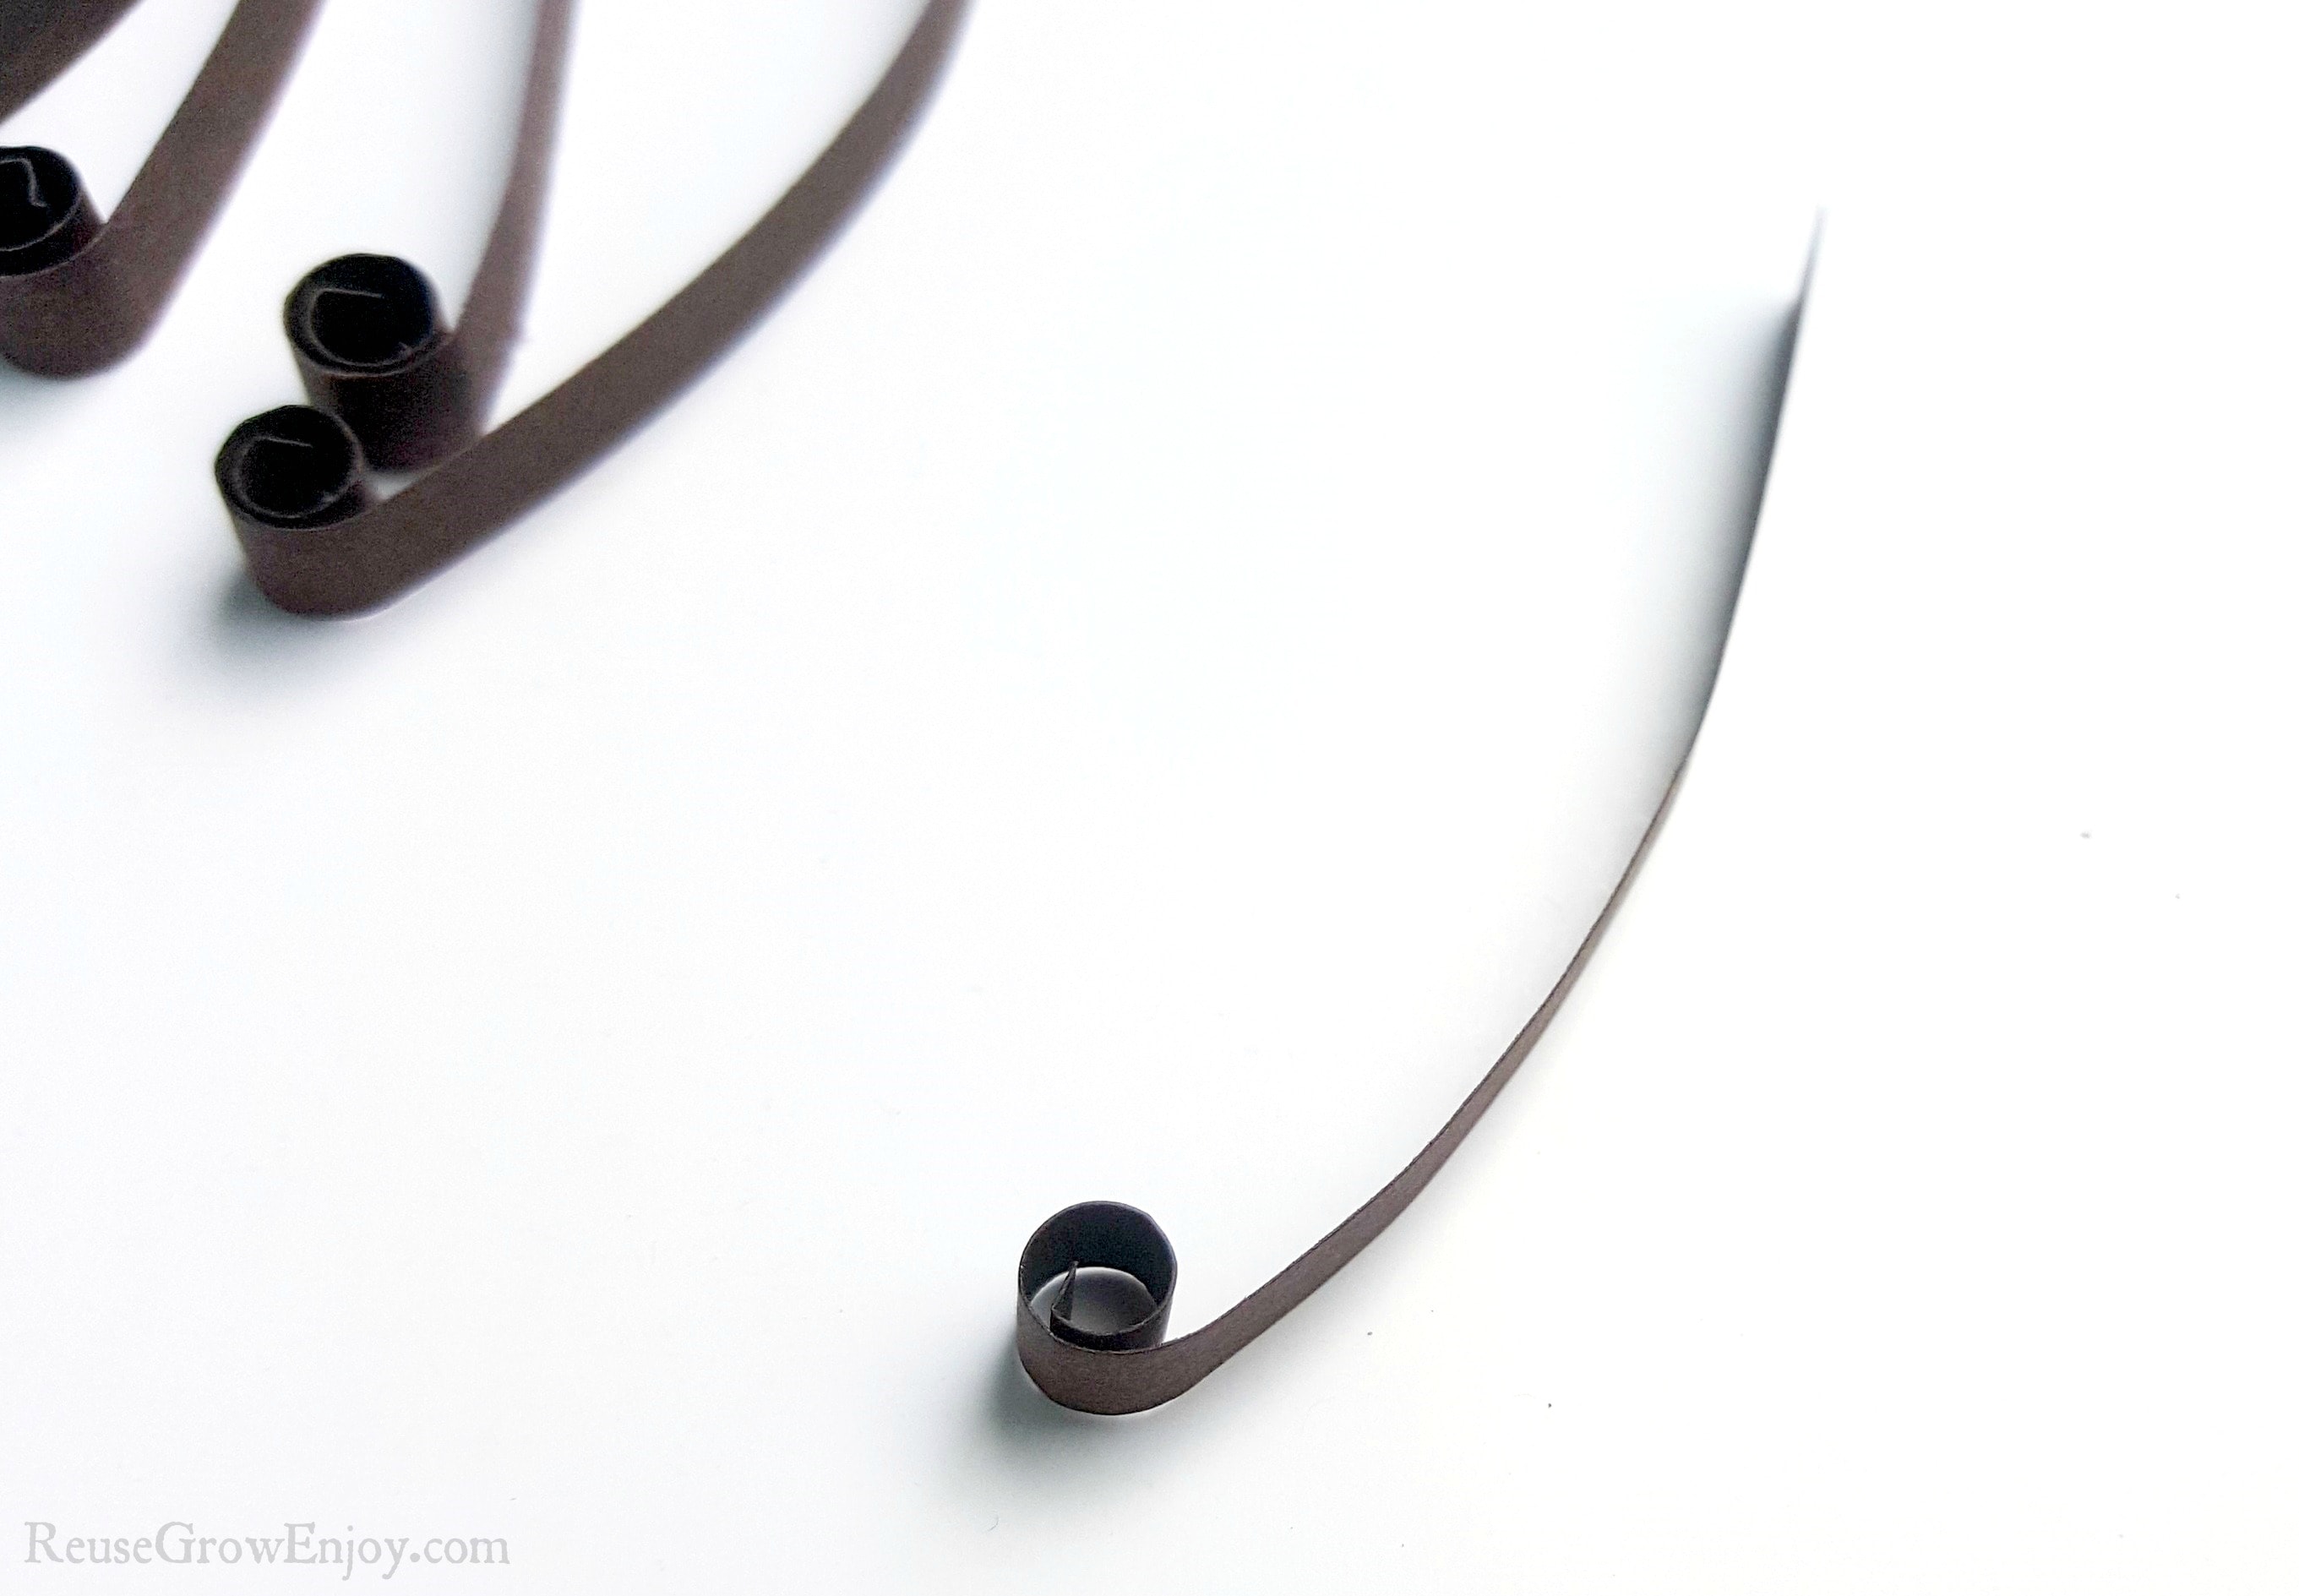
Now using the brown colored paper cut them into any customized size you want. These pictured was 5 inches long. Use the slotted quilling tool to coil about 1 or 1.5 inches of the strip from any one end. Make about 6 to 8 more strips like this.
Get a piece of white (or any color you want to use) stationery paper. Glue the brown strips on the paper. This will create the trunk of the tree.
Now take the basic eye shapes (the leaves) and stick them above the trunk pattern. When you are doing this try to stick to a nice pattern combination. Glue 3 to 4 basic eye shapes in groups over the trunk.
You can stop once you are happy with the look of your tree. Allow the glue to dry before you display.
If you liked this craft, here are some others to check out.







Leave a Reply