How To Repair Old Wheelbarrow Handles
& Other Issues
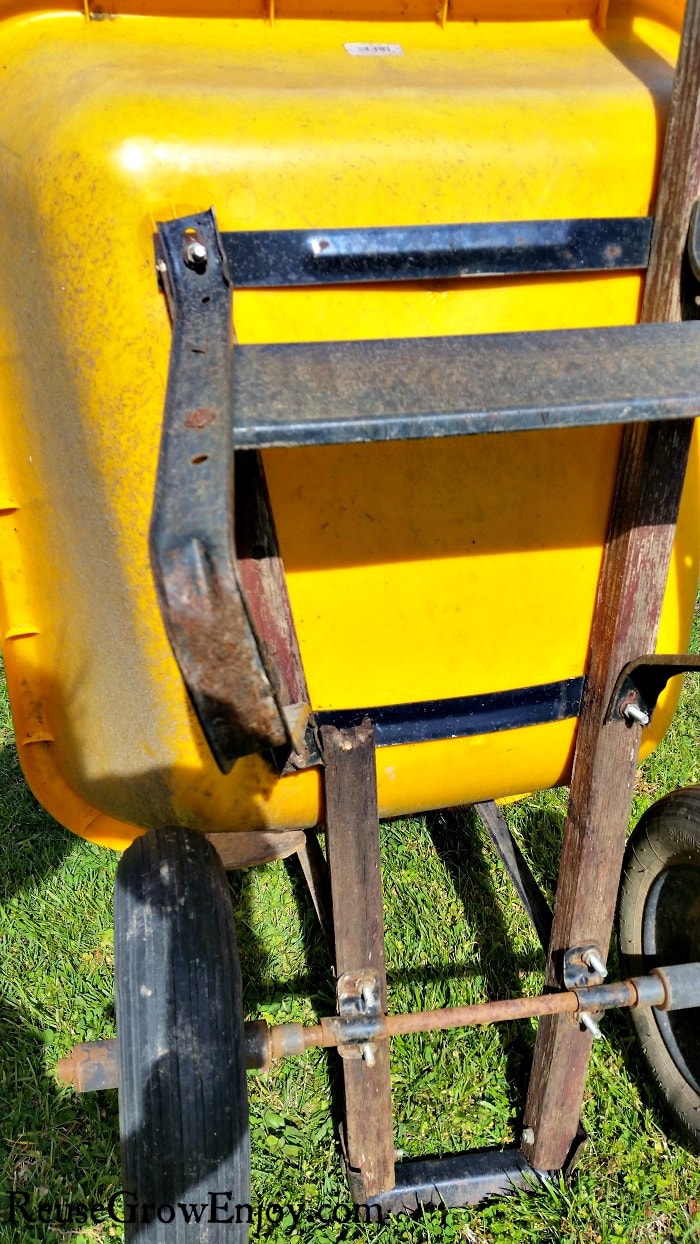
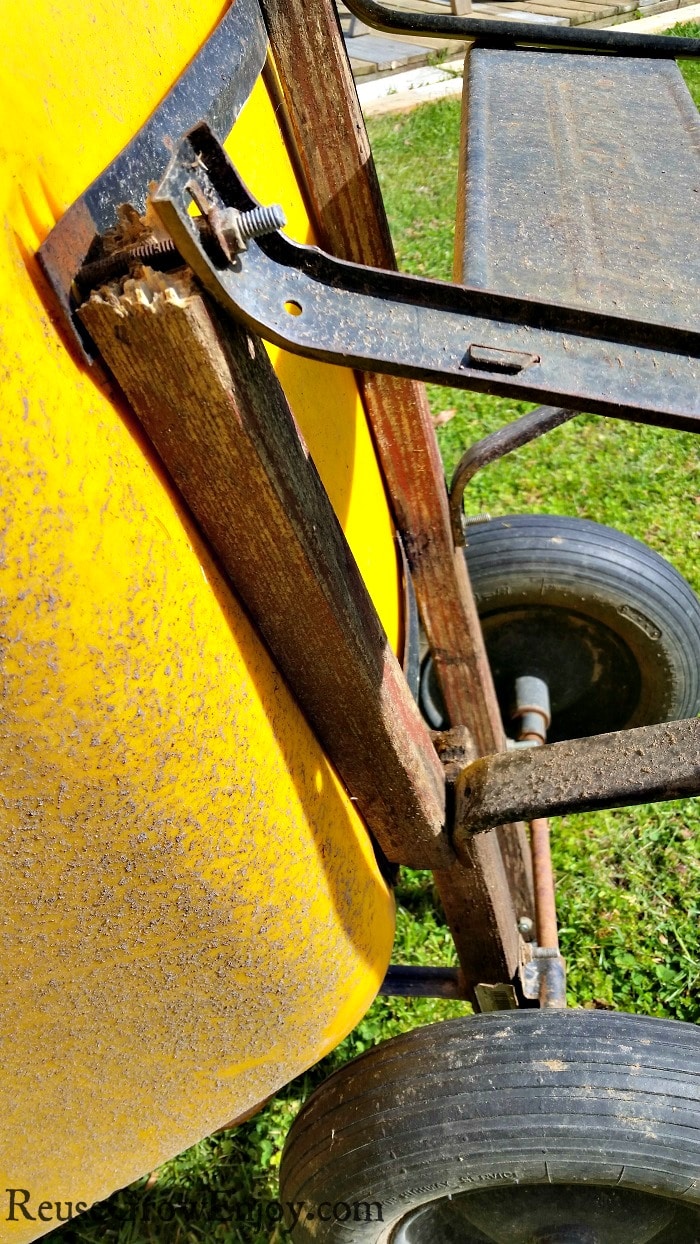
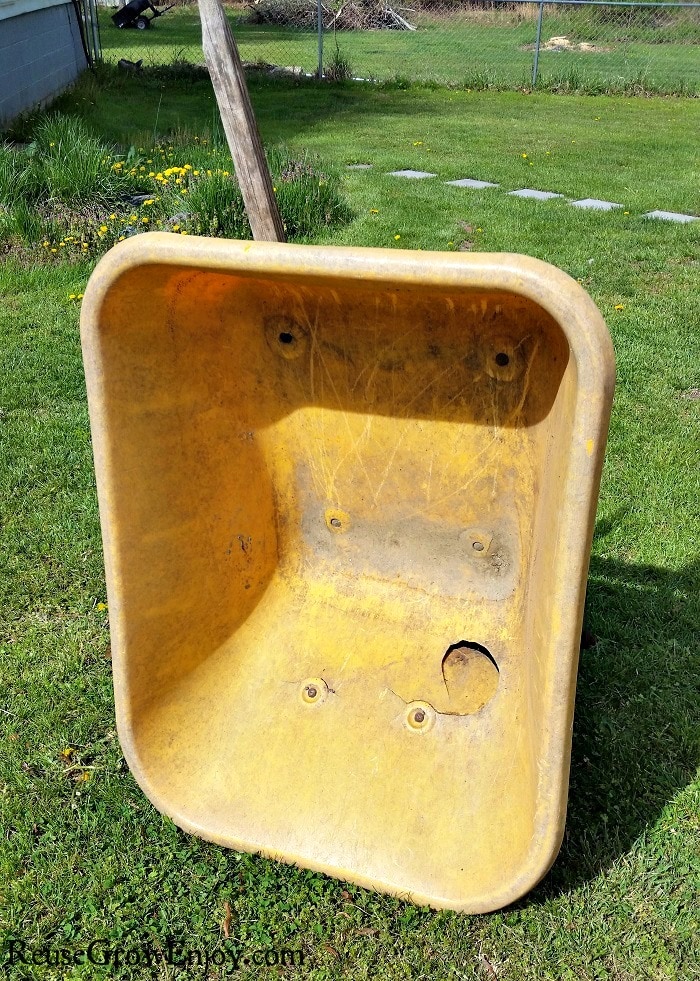
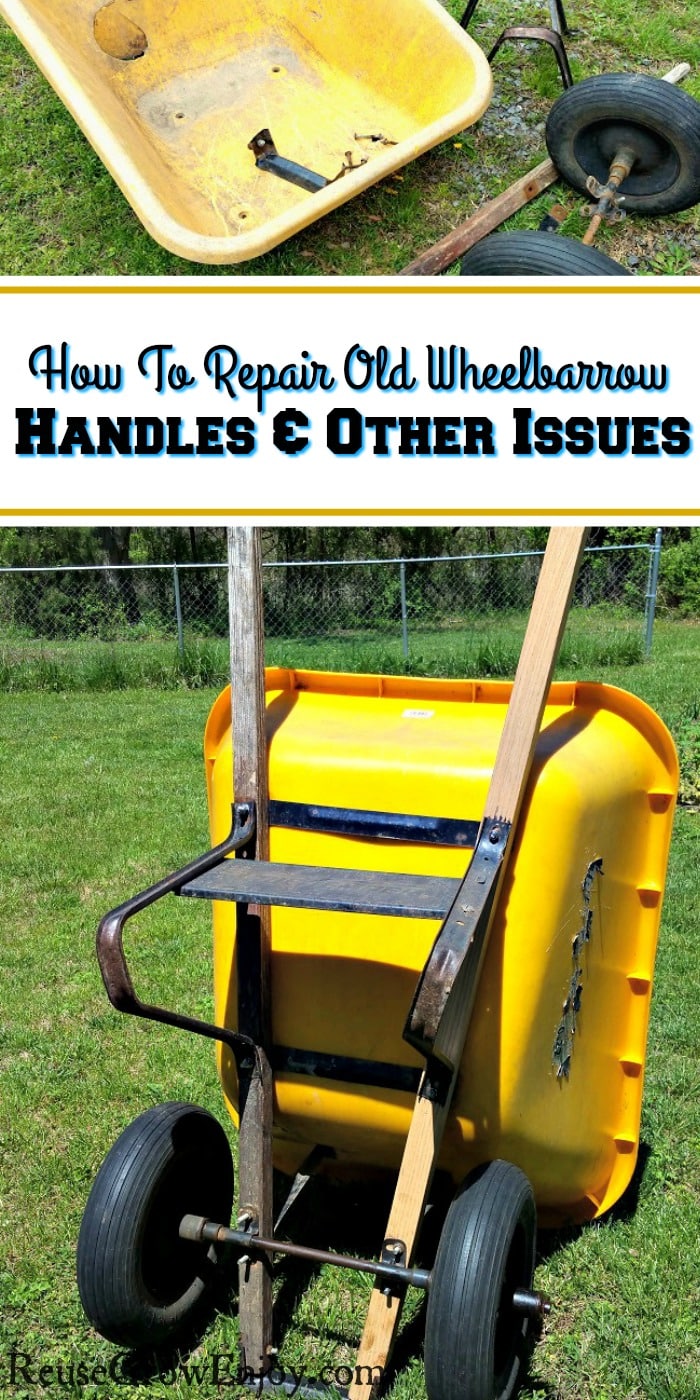
Have you looked that the price of a new wheelbarrow lately? Wow, have they gone up! Are they making them out of gold now?? I had not looked at them for a while until the other day our handle busted. It had been giving us trouble for a while with some cracks in the tray but we just kept using it. After we looked around at the prices for an 8 cubic foot double wheel, we figured we would try and repair ours.
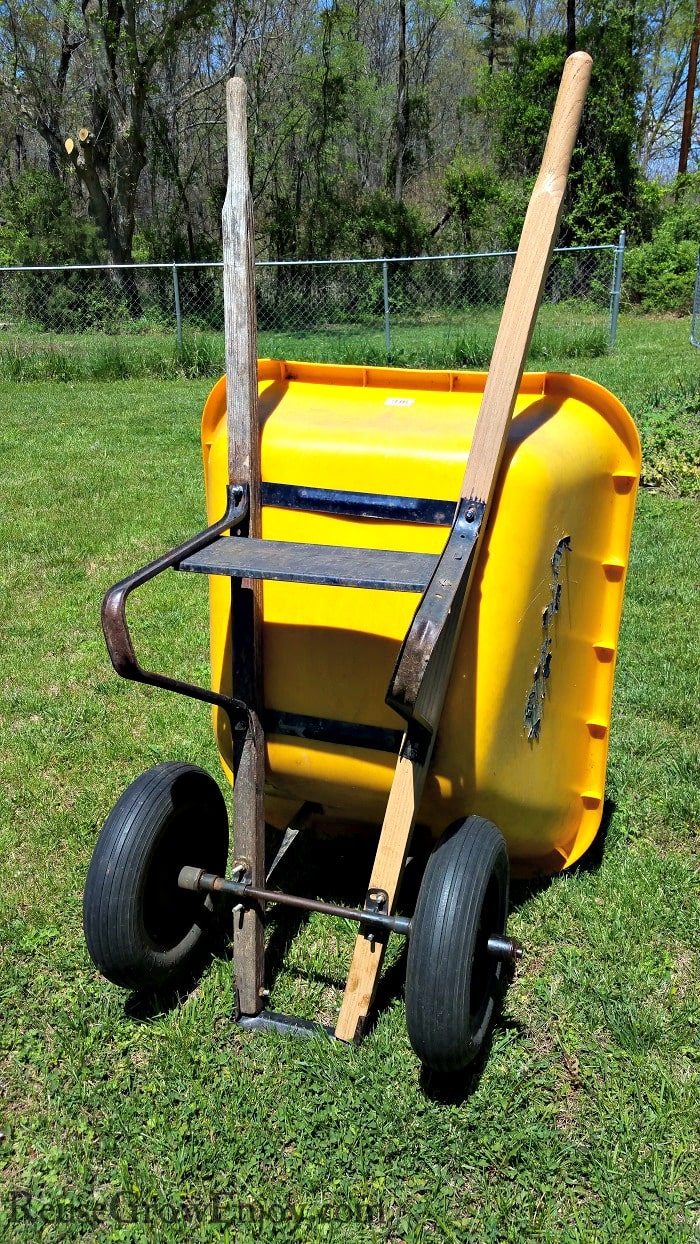
I am happy to report that it turned out really well! No, it may not look like new but it works just like new. So we just gained years more use on this old wheelbarrow by simply replacing and patching a few things and I am going to share with how we did it so if yours needs some repair, hopefully, this will help.
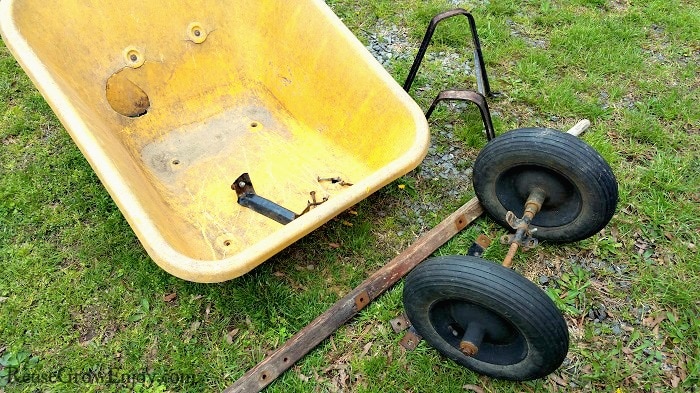
Taking It Apart:
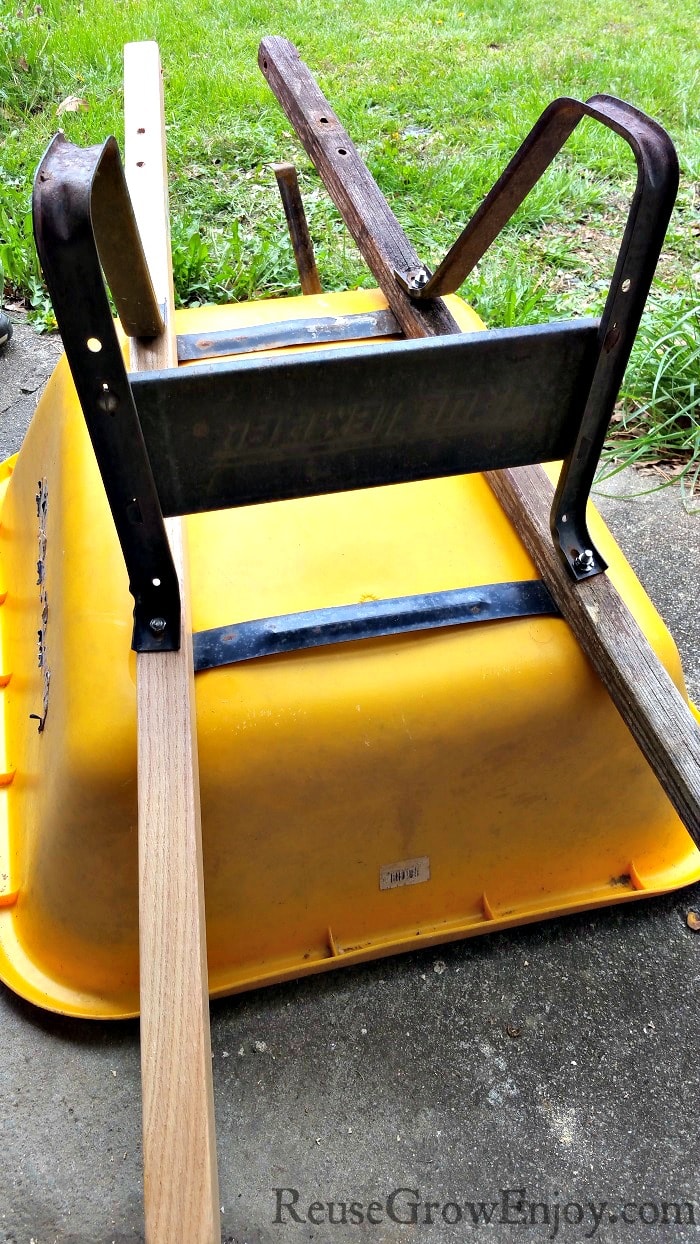
The first thing we did is take it all apart. Be sure to save all the pieces as you will be reusing them when you put it back together. That is unless you need a few new bolts like we did. We had to replace just a few as they had just about rusted through.
After you have it apart, take note of what you need fixed. For us, it was a new handle (only one as the other is still usable for now) and that was only about $13 at Lowes. We also needed a few new carriage bolts and four large washers. We also got some epoxy to repair the cracked tray. I have tried a few different epoxy brands and recommend using 5-minute Loctite or Gorilla Glue epoxy.
Here is a list of the supplies we bought.
- 1 Wheelbarrow Handle
- 4 3 Inch Carriage Bolts & Nuts
- 4 Large Washers
- 1 Epoxy
Putting It Back Together:
Now the first thing we did is used the old handle to mark the new one where the holes need to be drilled. Then drill the holes using a drill bit that is just slightly larger than the bolt you will be using.
While we had everything apart we figured we might as well use a little sandpaper and sand the axle and then grease it up before putting it back together. It is not something that had to be done, but we figured while it was apart we might as well.
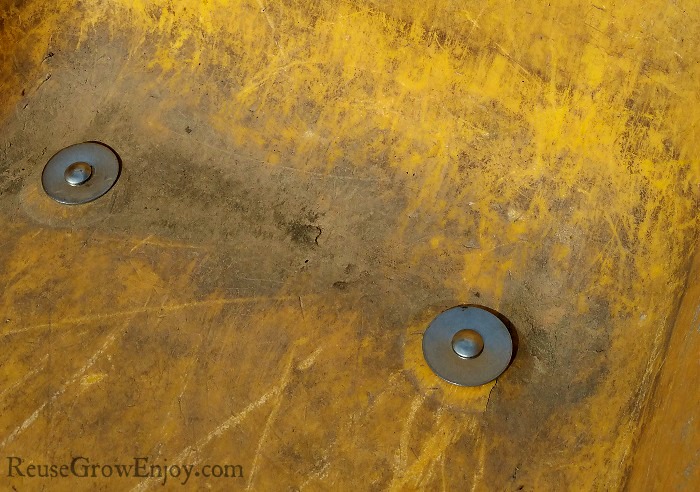
Next, you can start putting it back together just as it came apart. The only difference for us was, we added in those large washers to the bolts that hold the tray on. This was because our bolts had started pulling through the plastic tray. This way they will stay in place for a while.
After it is back together, you can epoxy the cracks. I guess this could also be done when apart, but I just wanted to be sure the epoxy did not mess anything from going back together right.
Epoxy Cracks:
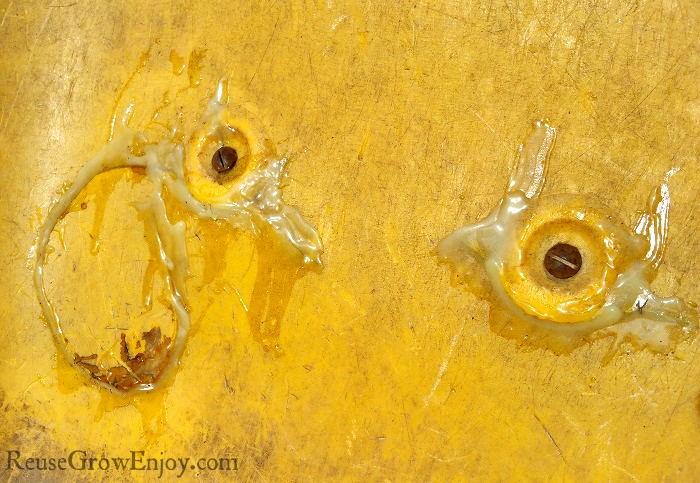
Depending on how large your splits/cracks are you may run into issues with the epoxy dripping through to the other side before it sets up. One trick I found to stop this was to put a piece of tape (I used Duck Tape) on the outer side of the crack. Yes, it is hard to get the tape off after, but I did not care if a little piece stayed stuck, I just wanted my crack to be sealed.
Before you apply the epoxy, you need to clean the area really well. Then allow it to fully dry before applying the epoxy.
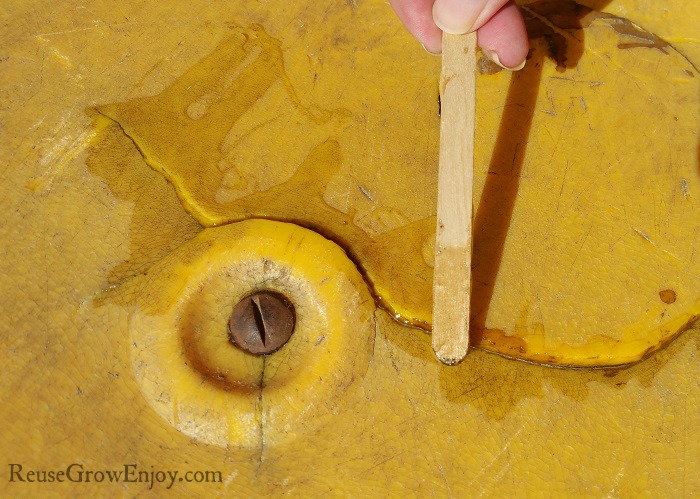
Mix the two parts of the epoxy on a paper plate or something else that can be tossed away. I used a popsicle stick to mix it all together. After it is mixed, use the same stick to apply it to the cracks on the inside tray of the wheelbarrow.
On big cracks, you may need to leave it thick and not smooth it so that it bonds. It will harden in about 5 to 8 minutes but needs to be left to fully harden before using for 24 hours.
That is it! That is what we did to gain years more life from our sad little wheelbarrow and we saved a ton by doing this!
If you are looking for some other handyman tips, here are a few to check out.
- Frugal DIY Bathroom Remodel
- How To Patch Drywall
- DIY Water Heater Repair – How To Change Heating Elements
- How To Flush Hot Water Heater – Electric Hot Water Heater
- How To Change A Outlet



Leave a Reply