I am sure we have all had a puzzle or two that has lost some pieces but we hate to toss it out. Well, I am going to show you a great way to reuse those puzzle pieces!
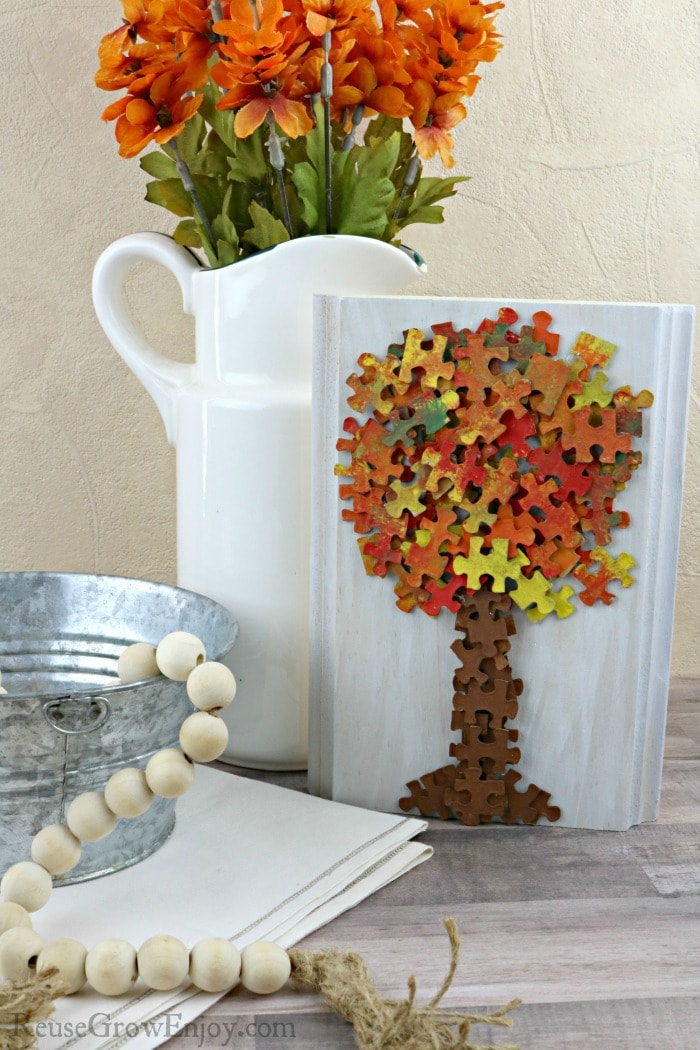
Reuse Puzzle Pieces To Make A Cute Fall Craft
There is nothing worse than spending hours putting together a puzzle just to find out you have puzzle pieces missing. But what do you do with that puzzle now that is no longer good for putting it together?
Most would just toss it in the trash. But when you get a little crafty, puzzles make wonderful crafting supplies. There are tons of different ways you can reuse them.
Below I am going to share my fall craft idea for a fall tree made from puzzle pieces. You can either put it on a piece of craft wood that you can get just about anywhere, or make it on a piece of upcycled pallet wood.
You could also glue the pieces to glass like a small picture frame too. That way it will look like a framed picture.
The number of pieces you will need will depend on a few things. First, it will depend on what size the puzzle pieces are. It will also depend on what size display you are making. I made mine on a small scrap piece of wood that was about the size of 5 inches by 8 inches.
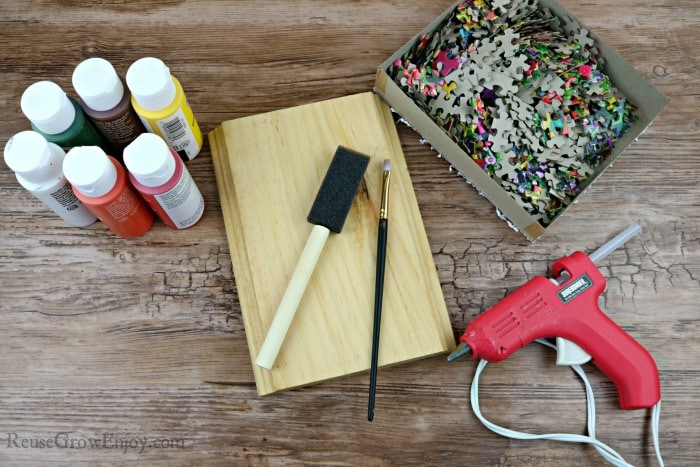
Fall Tree Supplies Needed:
- Puzzle Pieces
- Paints (I used brown for the tree trunk and then other fall colors for the leaves)
- Piece Of Wood or Picture Frame With Glass
- Hot Glue Gun & Glue Sticks
- Paint Brush
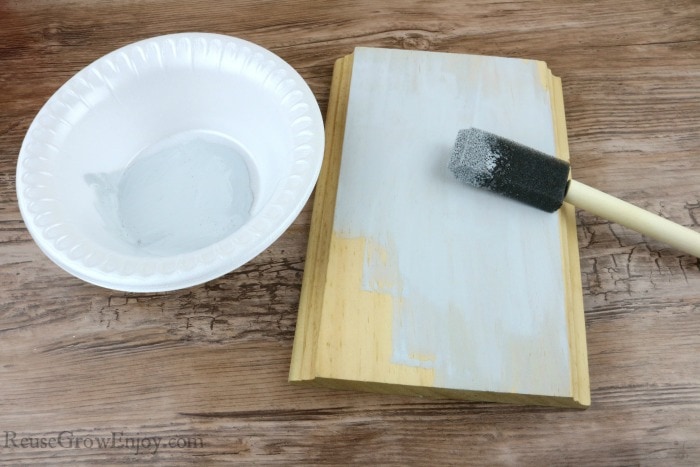
Start by painting the front and sides of the wood a light grey (or color of your choice). I liked the grey as I was going for that weathered wood look.
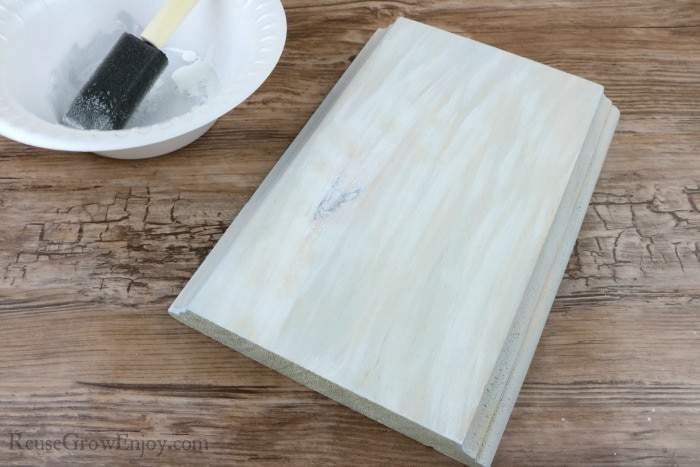
Then I went over with streaks of a much lighter shade almost a white. You don’t do a full covering, just streak it across a few times. Then allow it to dry.
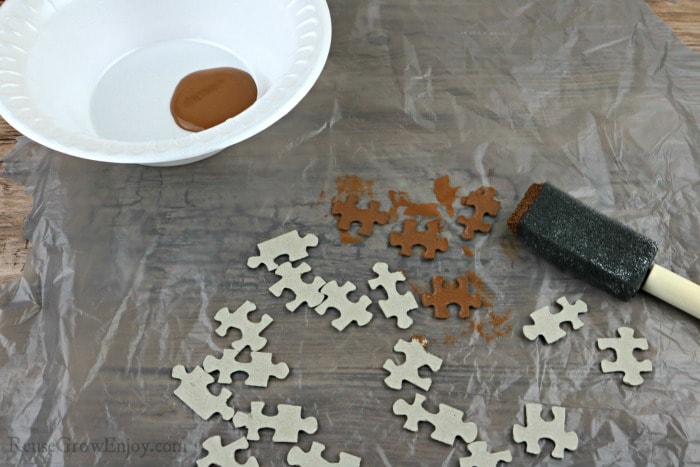
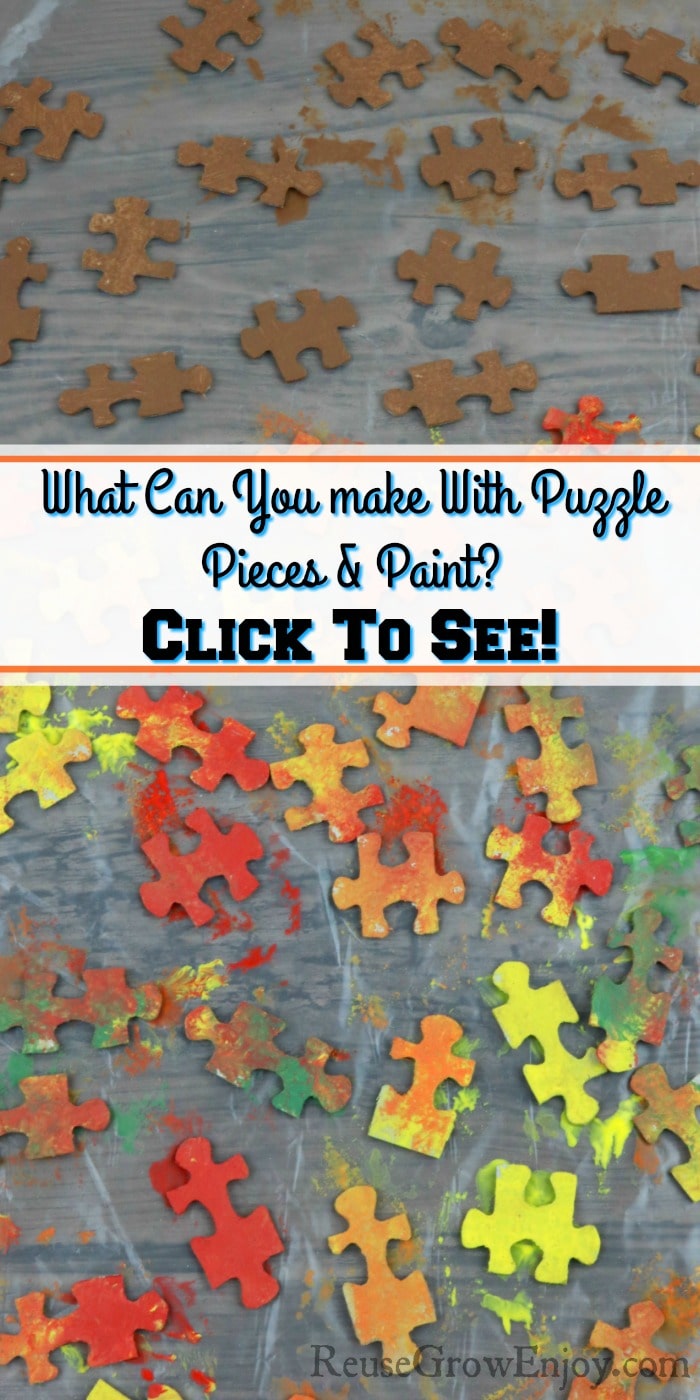
While the wood is drying you can start painting the pieces of puzzle. I pained a few small handfuls brown. You only need to paint the backside of them.
It can make a mess, so be sure you lay something down over your work area. I like to reuse plastic bags for projects like this.
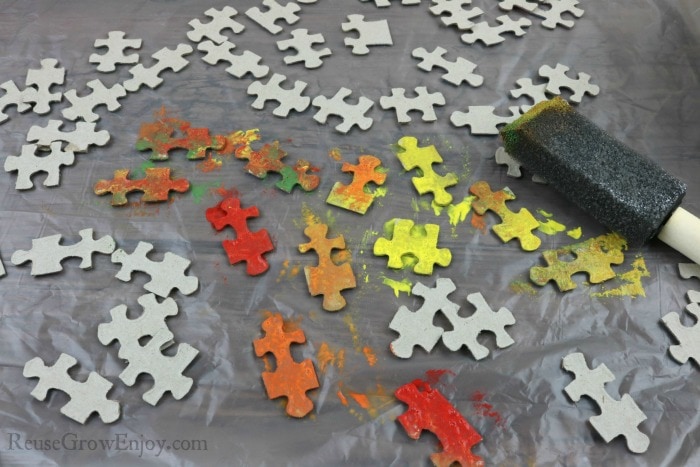
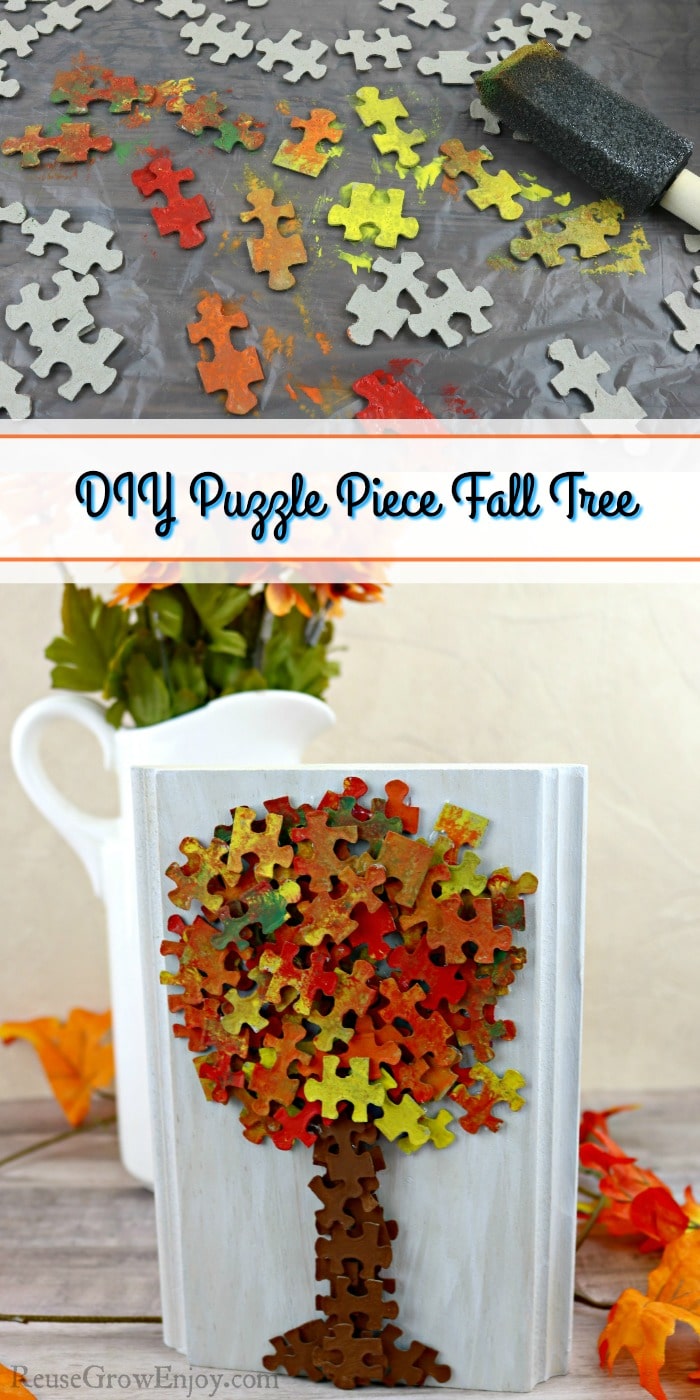
Then paint a bunch of pieces in bright fall colors. I did some in solid colors like red, orange and yellow. Then I also did some with mixed colors and also added in a touch of green here and there.
I like using the sponge type brushes for the mixed colors as it gives it a really nice blotting look so that it looks more like nature.
After you have all the pieces painted, allow them all to dry before you start gluing it together.
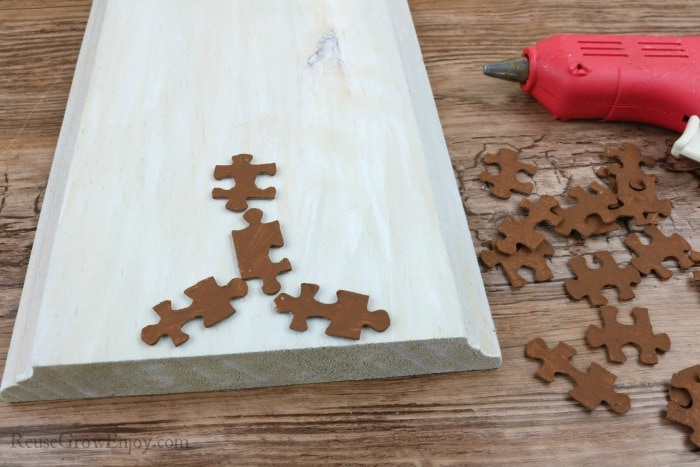
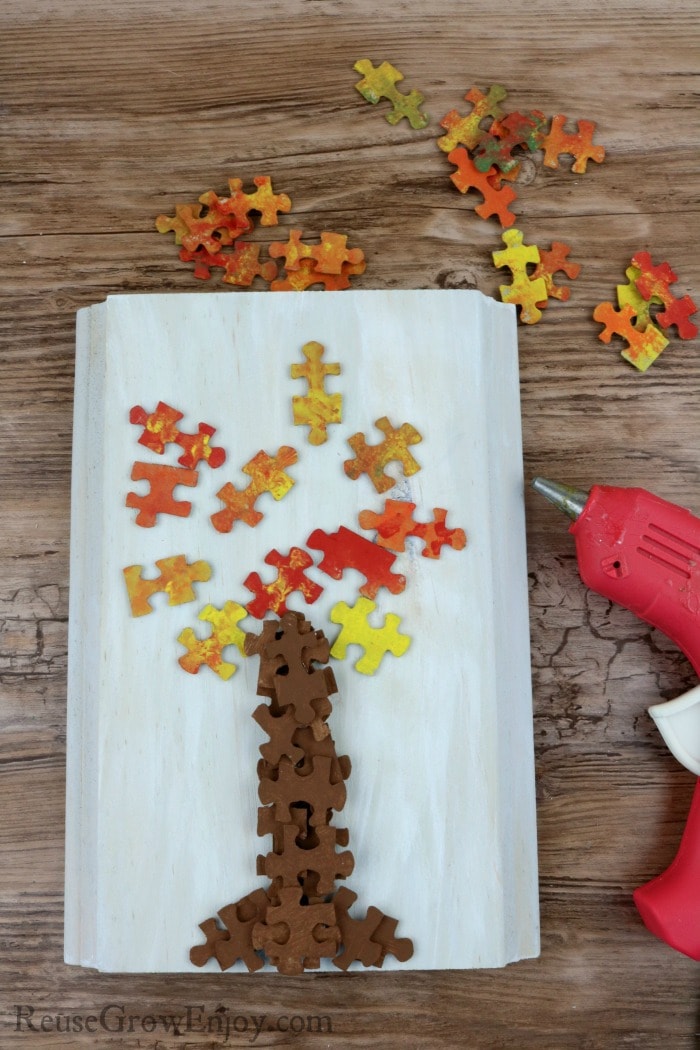
Now that the pieces and wood are dry, we can start making the tree take shape. First, glue some brown pieces to the wood at the base to make it look like the bottom of a tree trunk.
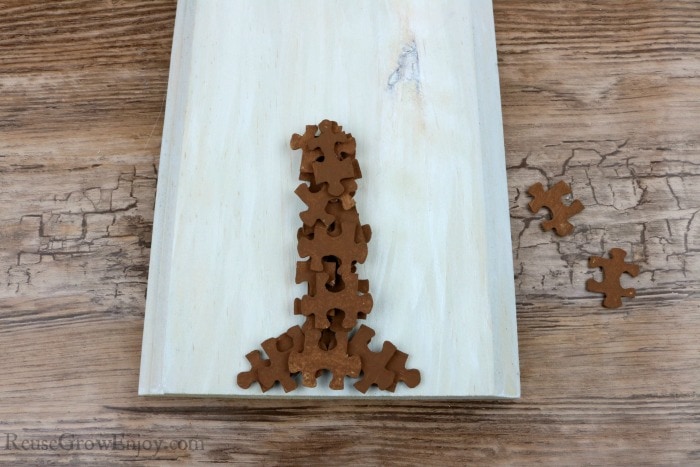
Then work your way up the wood about halfway up. After you have the first layer in place, start stacking them on top until you are happy with the way it looks. I ended up doing three layers.
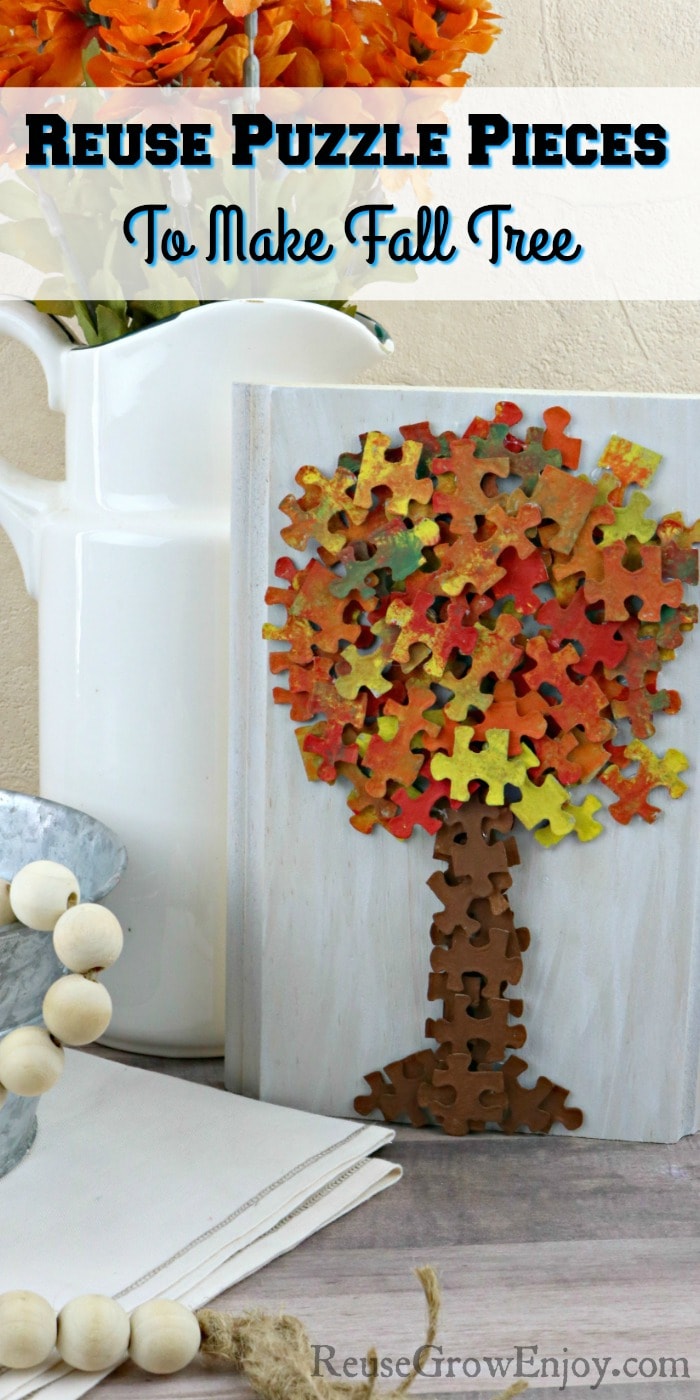
Now just above your brown pieces (the tree trunk) start doing the same with the colored pieces. I kept mine to kind of a round shape but you can make yours how you want. I did about 3-4 layers of the colored pieces until it was filled to my liking.
Then simply prop it up with some fall decor to display it. If you want to hang it on the wall, a great way to do that is to use a peel and stick picture hanger.
If you are looking for other easy craft ideas or more ways to reuse puzzle pieces, here are a few to check out.
- How To Quill A Fall Tree
- Ladybug Puzzle Craft
- Glitter Upcycled Puzzle Piece Earrings
- Wood Pumpkin Fall Craft


Lyn L. says
What a good idea
! I would imagine you could get the puzzle pieces pretty cheap at a 2nd hand store!