Trying to find an easy fall craft idea? Well, they do not get much simpler than this upcycled dryer duct pumpkin! You may even already have a piece of duct in the garage you can use.
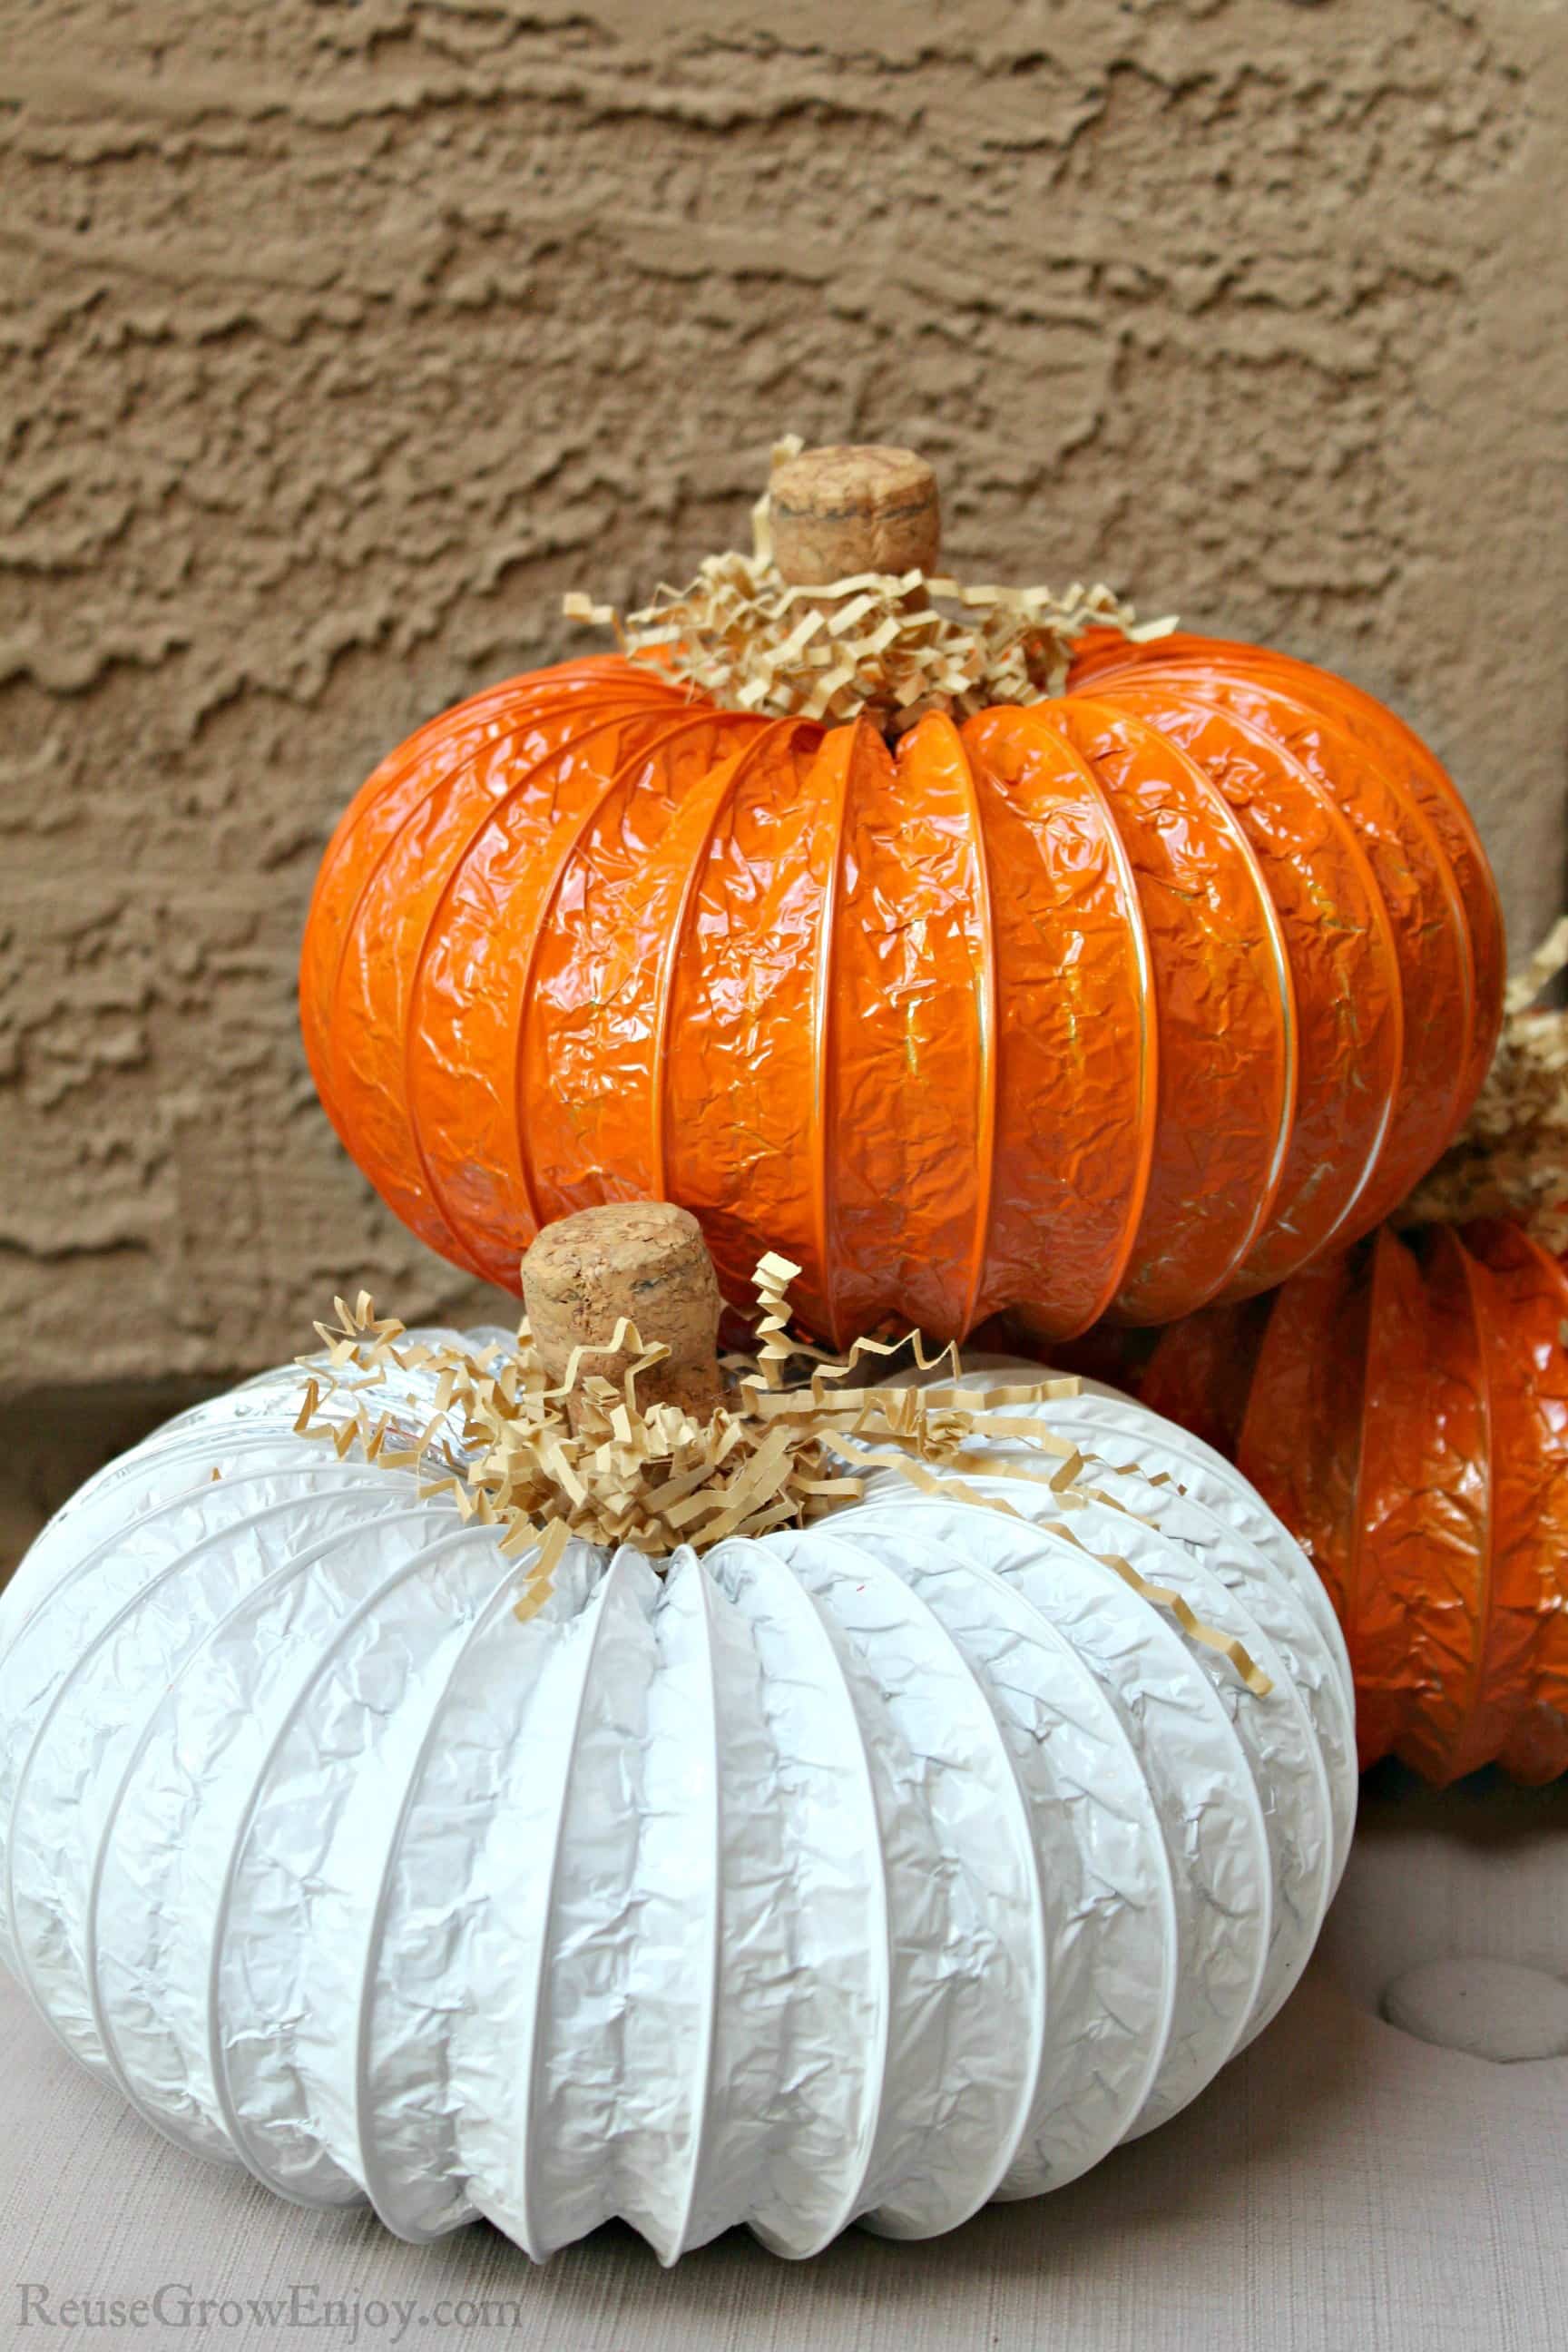
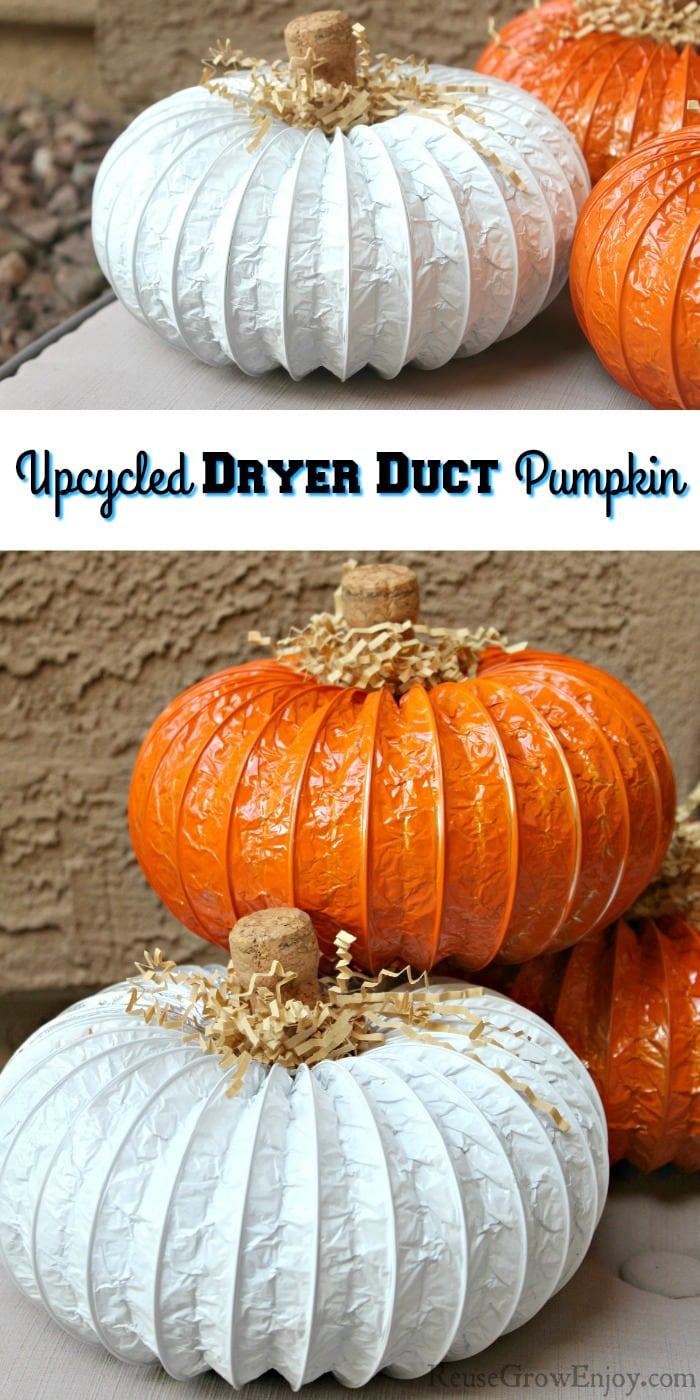
Upcycled Dryer Duct Pumpkin
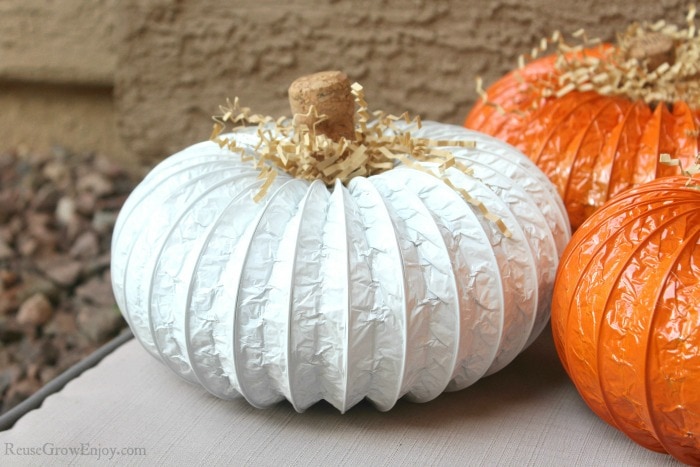
You could make your dryer duct pumpkin white or orange or even both as we have done here. I think it just looks so cute when you mix up the colors.
For this craft, we used wine corks as the stem of the pumpkin. But there are tons of other things you could also use if you don’t have corks. You could use sticks, cinnamon sticks or twisted cardboard tubs.
You could even cut the top of a water bottle or soda bottle and give it a coat of paint and glue it on the top.
Supplies Needed:
- 8′ Dryer Duct (only need 8′ if you are making 2 large or 3 different sizes, could use smaller leftover pieces to make just one)
- White Spray Paint
- Wire Cutters
- Orange Spray Paint
- Hot Glue Gun & Glue
- Corks or Sticks (could also use a crimped up TP tube)
- Kraft Shreds or Spanish Moss
Directions:
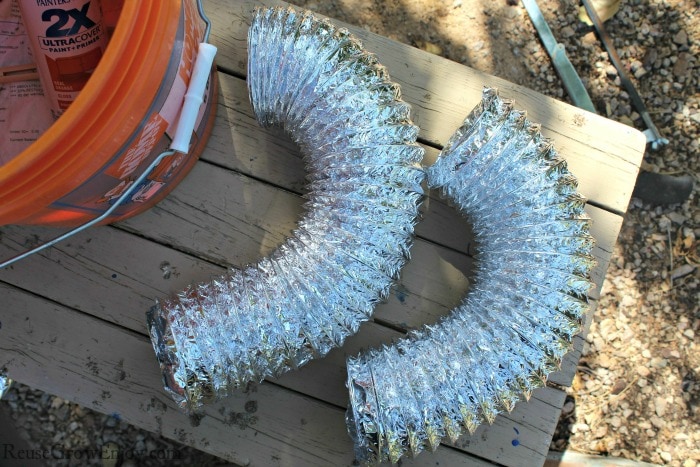
Start by stretching out the dryer duct. Use the wire cutters to cut it into pieces. From an 8′ foot piece you can get two to three pumpkins from it depending on how large you want them.
I just recommend you do not go smaller than a 2′ piece as it gets hard to make the ends touch right.
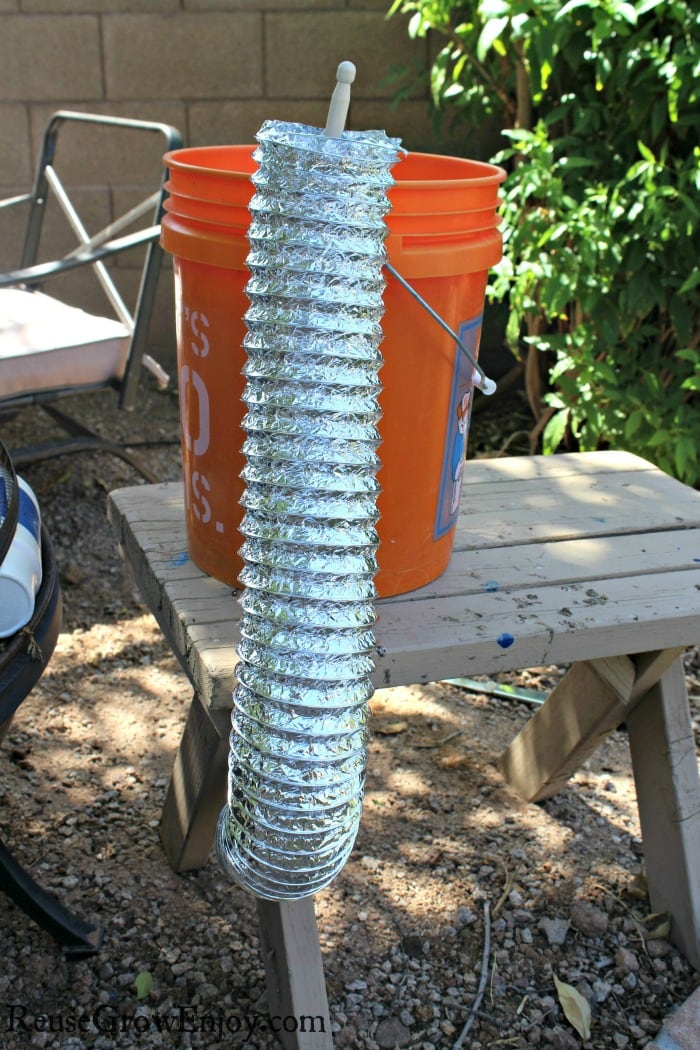
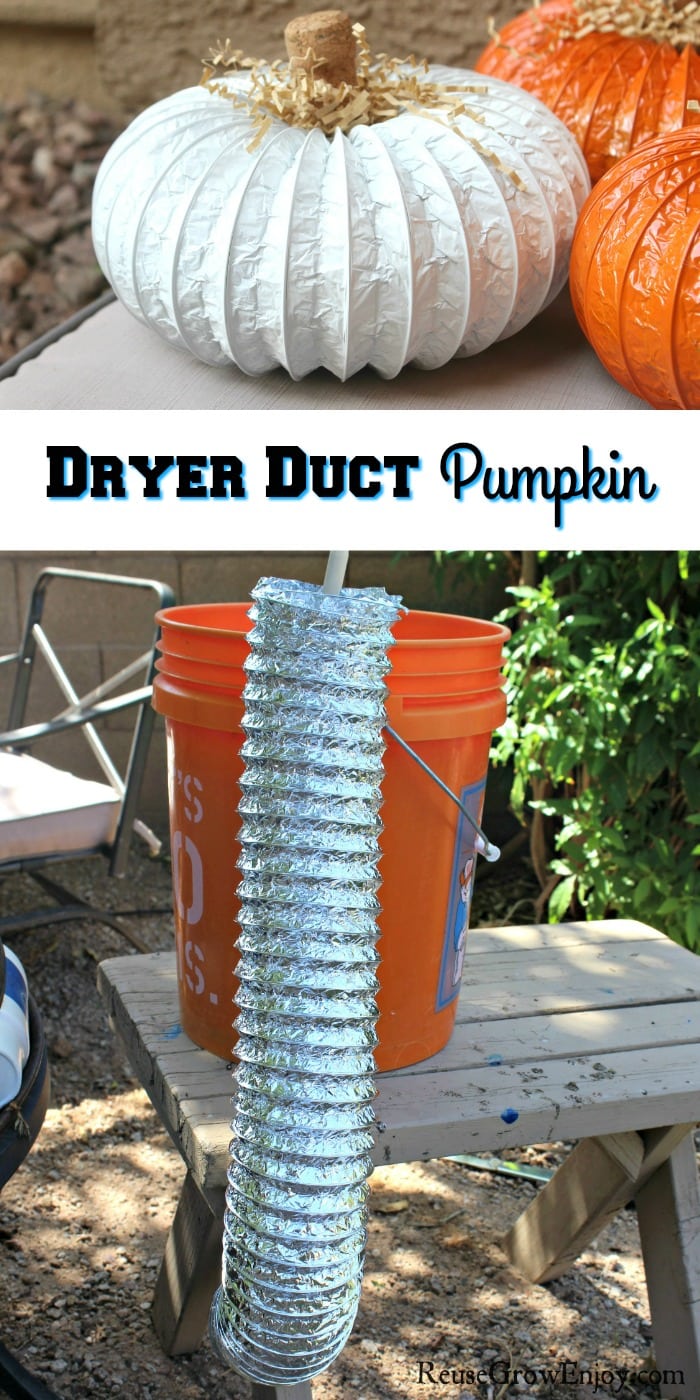
Now find something you can clip the duct to so that it is hanging up. It has to be something you do not mind if it gets paint on it. These were clipped to a bucket with a clothespin.
You do want to make sure that you have it in a well-ventilated area or outdoors because we will be using spray paint.
After you have it hanging, give it a coat of spray paint on the side that is facing you. Allow it to dry (about 30-60 minutes) then turn it over and do the other side. Allow drying.
Then check it over and see if anything is missed or needs to be touched up. If so hit those spots and allow to dry again.
Now that you are done painting and they are totally dry you can move them inside or to the area you will put them together.
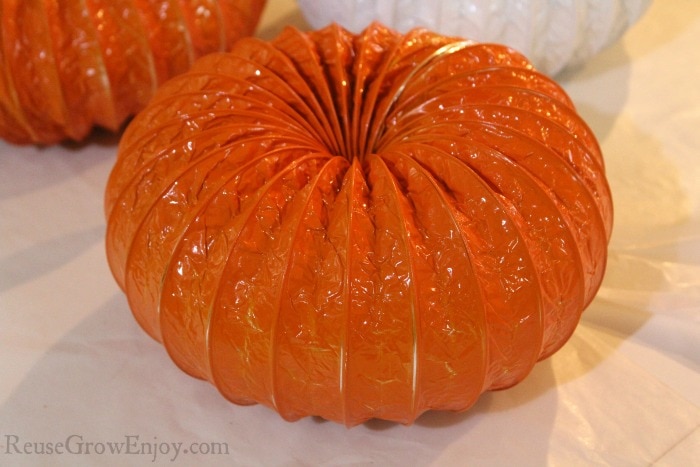
To make the dryer duct pumpkin take shape, coil the ends around on one piece and hot glue the end of the dryer duct to the other end. You can use a clothespin to hold it in place while the glue dries.
Using the hot glue gun, glue the cork to the top center of your pumpkin with a little bit of kraft shreds or Spanish Moss around the cork.
That is it! You now have some super cute fall decor to display. Just repeat the steps to make as many as you want.
If you are looking for other fall craft ideas, here are a few to check out.
- DIY Pumpkin Fall Garland Fall Craft
- DIY Wood Bead Pumpkin Fall Craft
- Reuse Puzzle Pieces To Make A Cute Fall Craft
- Fall Craft – DIY Coffee Filter Pumpkin Craft
- Wood Pumpkin Fall Craft


Noille S. says
Thank you very interesting.