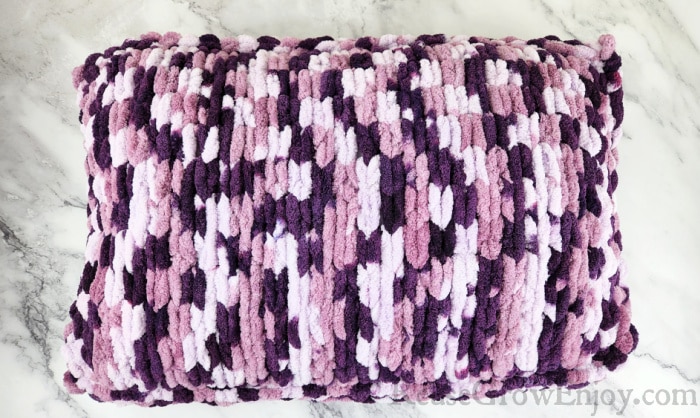
If you are looking for a fun new project to make, we have just the thing for you. We will show you step by step how to make this loop yarn pillow. I am even including a video tutorial to make it even easier for you.
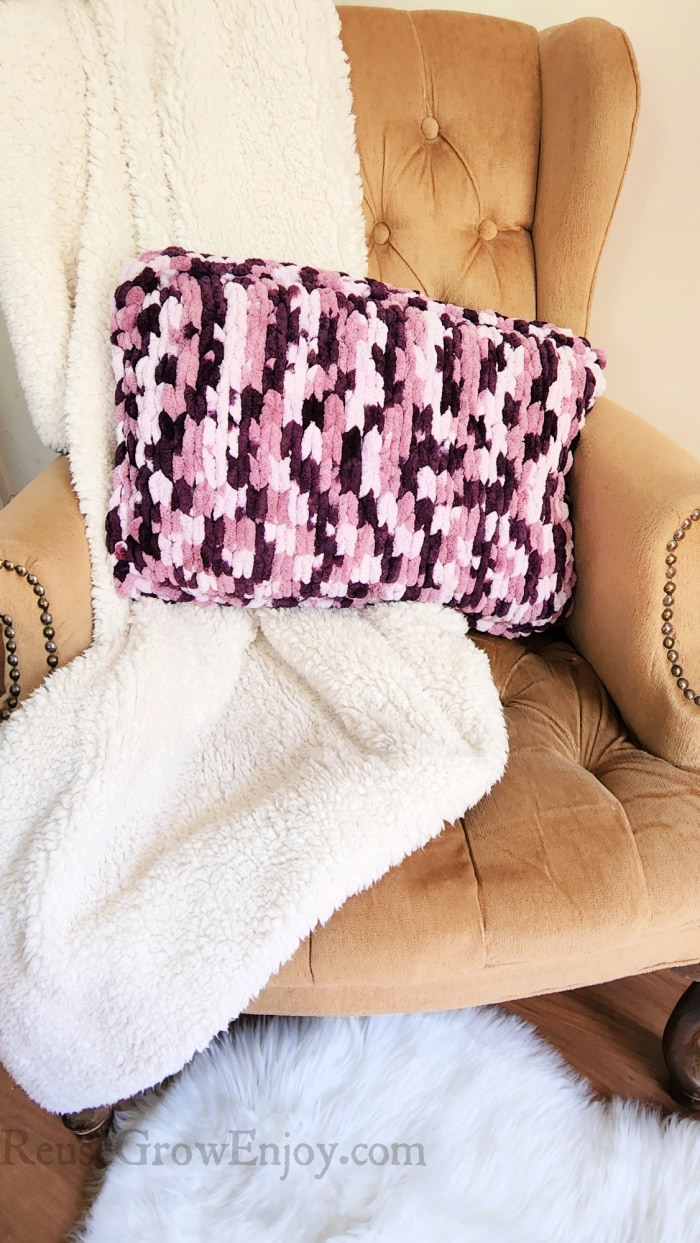
While we used a premade travel size pillow to make this, you can use another size and just adjust the size of the project. You could also make your own preform pillow by sewing fabric together and stiffing it.
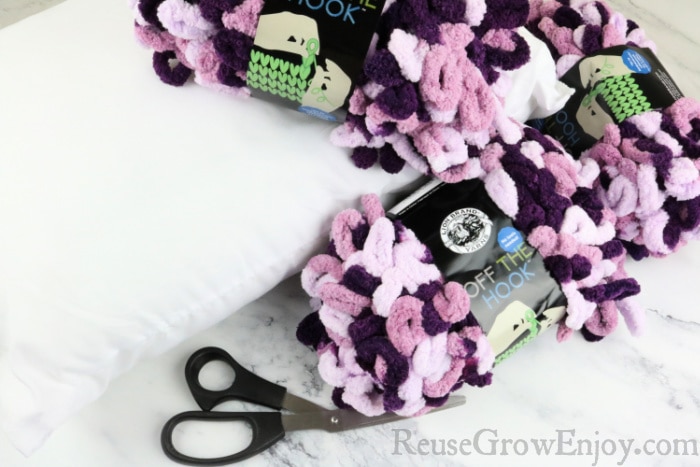
The supplies needed to make this are just a few things, skeins of yarn, scissors, and a pillow. You don’t even need any crochet hooks or knitting needles.
For the yarn, we used the Off The Hook brand. However, there are now tons of different brands. If you have never worked with loop yarn you will find that while it is a new product it is a fun yarn. You can pick it up online or at the craft store.
After you get into a groove, you will find this is a pretty easy pattern to follow.
Here are two of our other pillow ideas you may want to check out.
Skill Level: Easy
Time: about 1 hour
Makes: 1 pillow
Supplies Needed:
- 3 Skeins Loop Yarn
- Scissors
- Premade Pillow (used a 14×20 inch)
How To Make A Easy Loop Yarn Throw Pillow
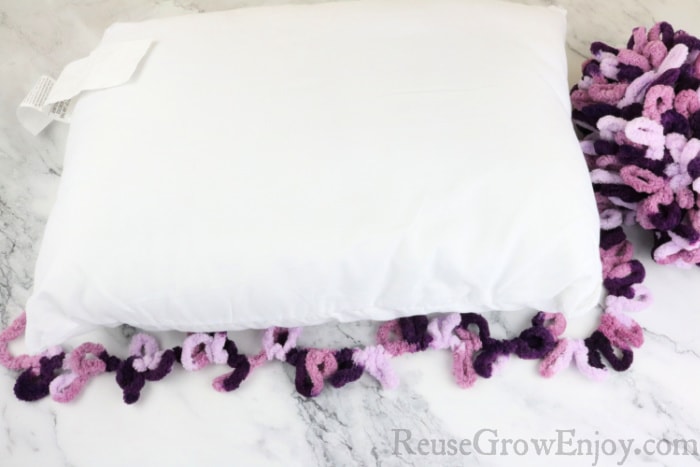
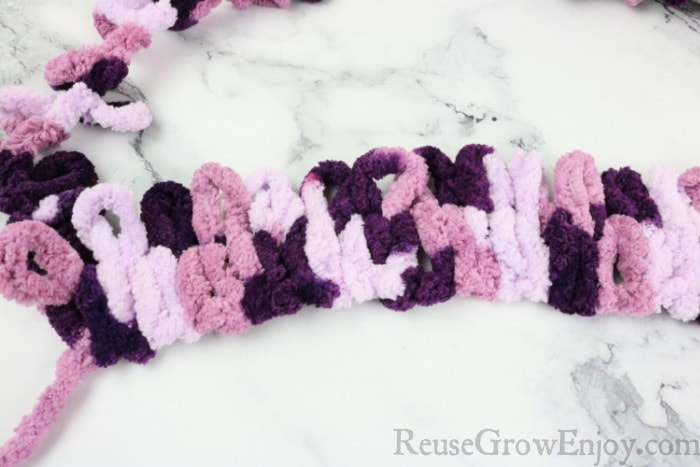
The first thing you need to do is make your starting strip of yarn so that it is two loops past each end of the longest side of the pillow. For our project, it ended up being a total of 28 loops we started with.
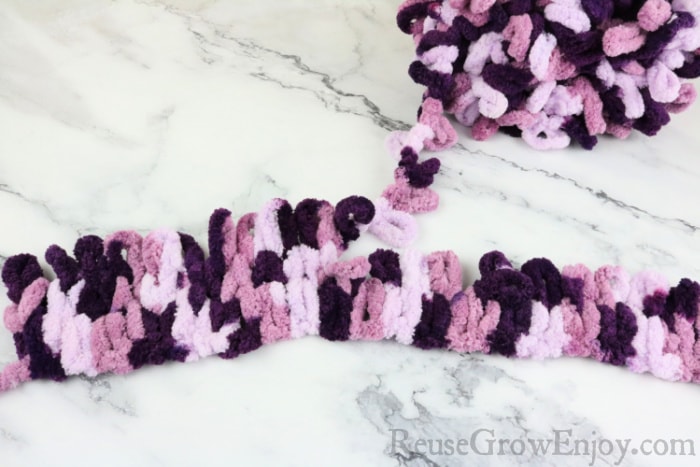
After you have your loops counted out, start working the rest of the skin into those loops. Simply insert from behind a loop from the working yarn into the first loop / last counted loop on the counted out side.
Keep doing this until you are all the way to the end of the counted-out loops.
When you are at the end don’t turn/flip the project. Just take the next loop from the working skein side and insert it from the back into the last loop of the previous row. This will turn you so that you start working the row again.
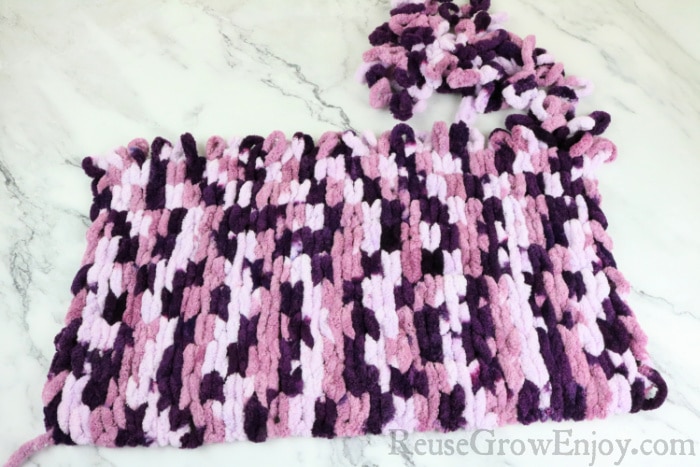
Keep repeating steps 2 & 3 until you have a total of 14 rows. You should pretty much use up the whole skein with just a few loops left over.
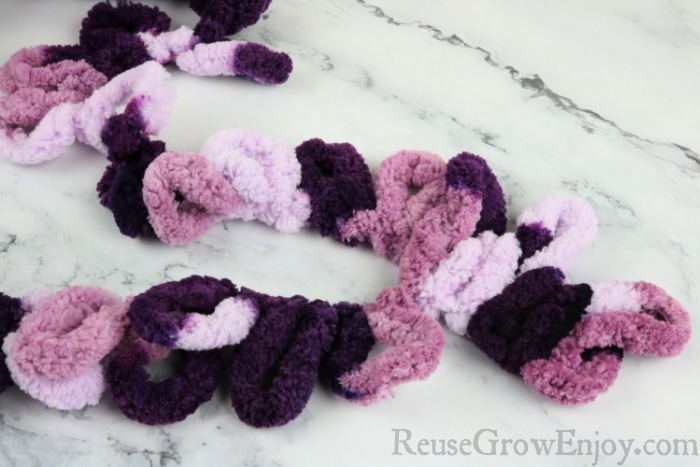
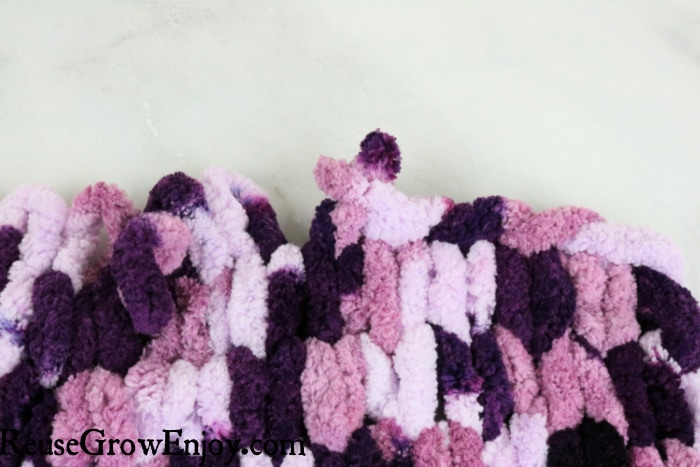
Now we need to finish off that open end of loops. Start at the end that does not have the leftover loops. Insert the second loop into the first. Then the next loop into that one. It should start to look like a crochet chain.
When you make it to the end, cut open a few of those extra loops so you have a normal piece of yarn. Then pull that yarn through that last loop and tie it off. After it is tied off you can trim it slightly but leave a little tail on it. We will tuck it in when the pillow is done.
Then repeat steps 1-6 to make a second one.
Attaching The Pieces And Closing:
Lay the two pieces on top of each other with that finished-off end at opposite ends. This reduces the bulk from being in one area. If you like the look of the other side of the yarn, you can use either side you want. Just make sure they are lined up.
Then starting at one of the shorter sides, feed a loop through both pieces so that it starts to join them together. Keep working your way around so you have loops all the way around three sides.
Now we will lock those loops together just like we did before. Insert one loop into the next until you are all the way around 3 sides.
Insert the pillow form from that open side. Then repeat the steps of inserting the loops through both pieces and then locking them together until you are to the end and the side is all closed up.
Cut open a few loops at the end and tie them through that last loop and through a loop on the pillow. Then trim off the extra leaving a small tail.
Then simply tuck all those small tails into the pillow and you are done.
Frequently Asked Questions & Helpful Tips:
Q. So I have to use the super soft loop yarn?
A. No! You can use any feel loop yarn that you want.
Q. Can this be made in a different or solid color?
A. Yes! There are tons of different yarn colors now. Feel free to use the one best that fits the look you are going for.
Q. Can this pattern work for other size pillows?
A. It can when adjusted. Simply lay the yarn over the longest part of the pillow and allow two loops over each end. This will be your starting size. Then simply go about one row taller than the pillow.
Q. Can you make a blanket like this?
A. Yes! You can make a loop yarn blanket using this specific pattern. You would just need to make one large piece and not two as we did for the pillow cover.
Q. If making a blanket like this how much yarn will I need?
A. When making a bigger project like a blanket, how much yarn will depend on the size of blanket you want to make. For a throw size, I would say you would need at least 10 skeins of yarn. For a baby blanket size, it should only take about 6 skeins.


Pat says
Thanks! Can’t wait to try this – Really sounds simple yet fancy for a pillow.
Tina says
How can you apply buttons so that the case can be removed and washed?
Reuse Grow Enjoy says
When going around the edge to attach the two pieces you could sew buttons to them instead to attach them together.