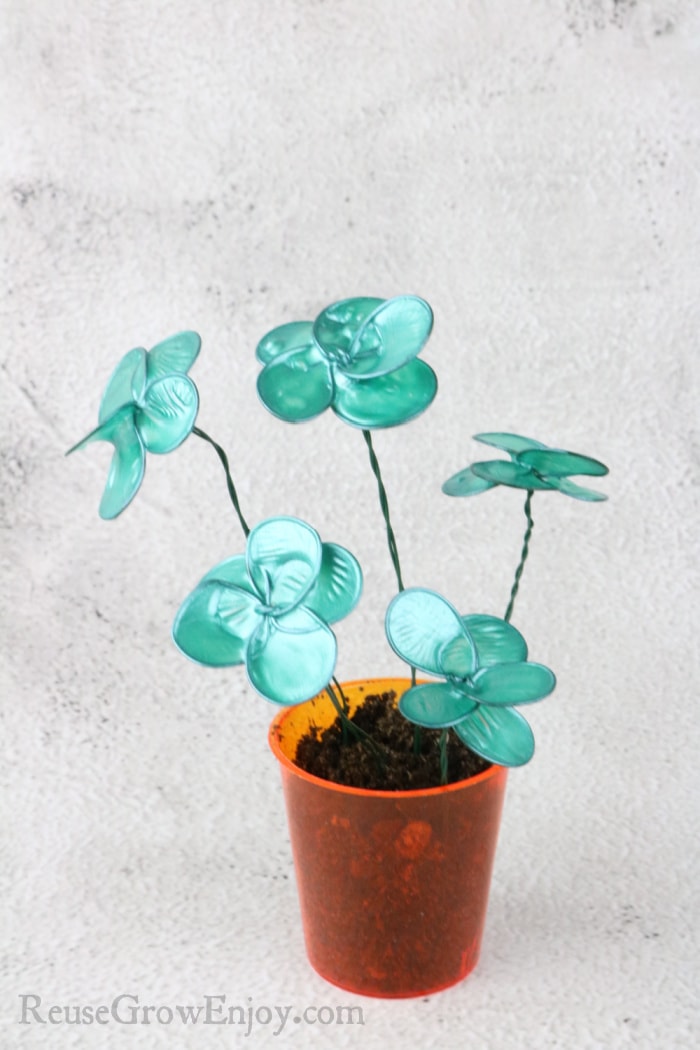
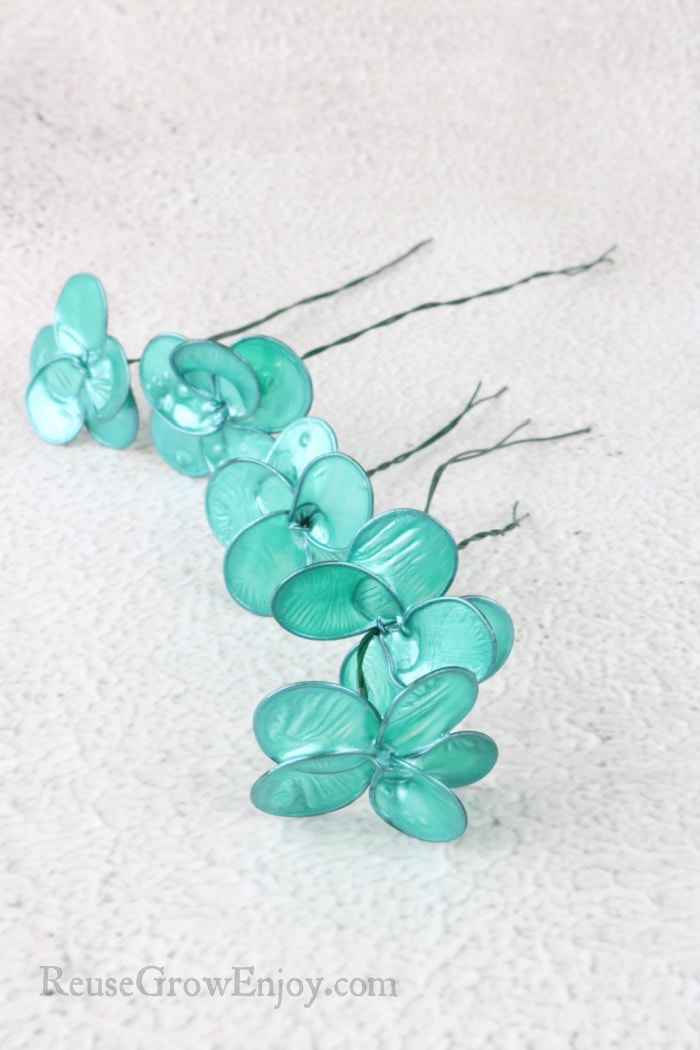
These little nail polish wire flowers are easier to make than you think! They make a great addition to wreaths, home decor, or even hair clips and bows.
You can make nail polish wire flowers in a solid color as we did or mix them up. You can also change up the shape of the flower petals if you want. Just bend the wire to the shape you are looking for.
The one thing that is really important to remember when working with wire like this is the smaller the better. If you make the size of the petals overly large, they are hard to fill in.
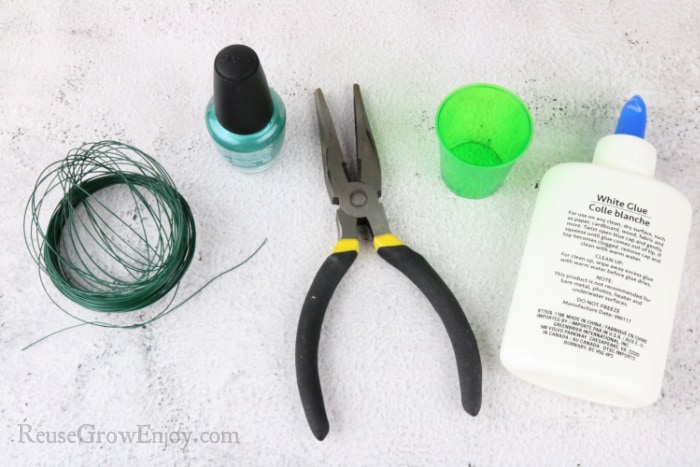
While these supplies can be found at just about any store, we got all of our supplies from Dollar Tree to make these wire nail polish flowers. Making this an easy budget-friendly Dollar Tree craft.
No two flowers will turn out exactly the same. That is because each petal when dipped in the glue will come out slightly different with ripples and bubbles. I honestly love that! Makes it look more like what happens in nature.
If you are looking for other beautiful projects to try, here are a few to check out.
- DIY String Art Wall Decor (Dollar Tree Craft)
- DIY Feather Earrings Made From Ribbon
- Reuse Egg Cartons To Make Black-Eyed Susan Flowers
Supplies Needed:
- Floral Wire (or another small long wire but it also has to be a thin wire)
- Wire Cutter
- White School Glue (or wood glue)
- Fanger Nail Polish (colors of choice)
- Small Shot or Medican Cup (to hold the glue)
- Small Container of rice (optional holds flowers when drying)
How To Make Nail Polish Wire Flowers:
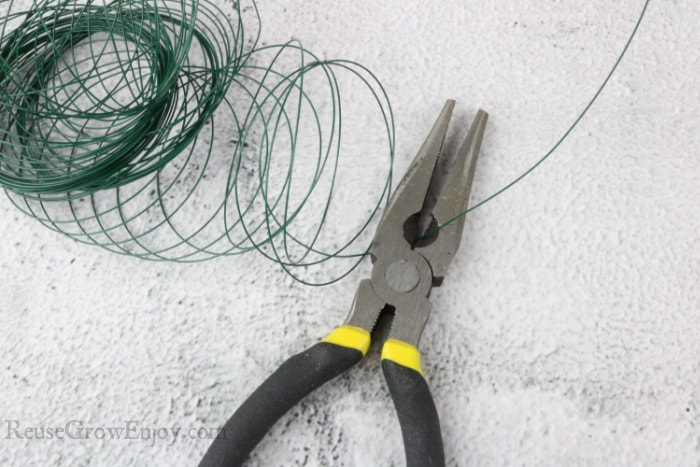
Step 1: Cut wire so you have about 12-inch pieces. You will need one piece for each flower you make.
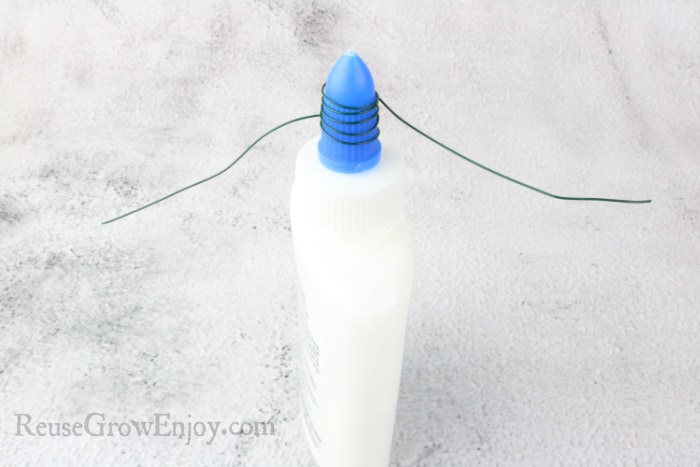
Step 2: Using the top of the glue bottle (or another like object) wrap the wire around it 5 times. Wrap it so it is in the center of the wire.
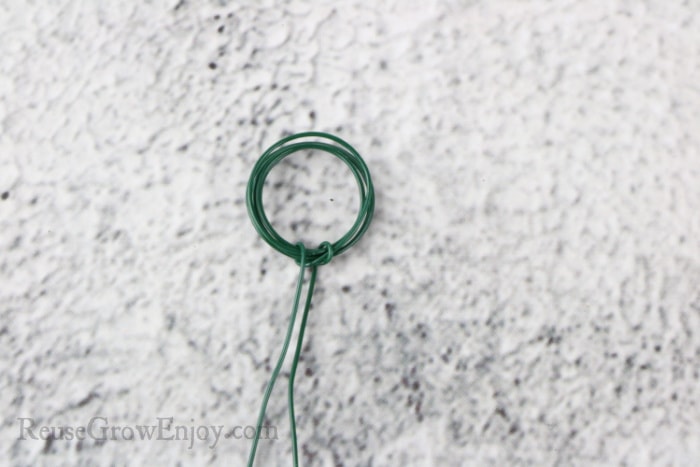
Step 3: Then remove it from the bottle. Run the end of the wire through the circles from each side so that it pulls and holds them all together.
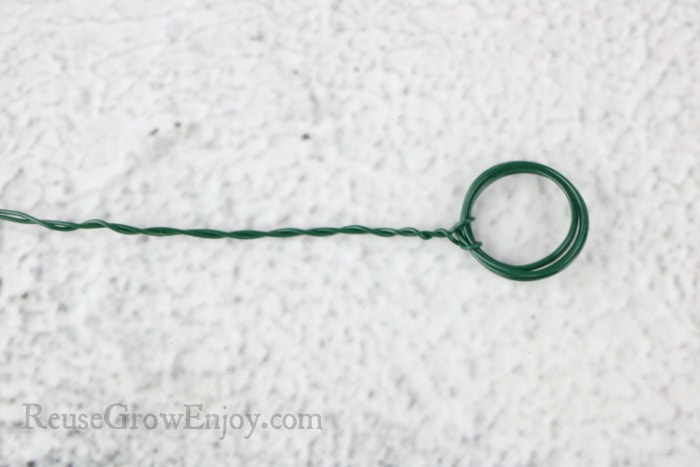
Step 4: Then twist the two long pieces of wire together.
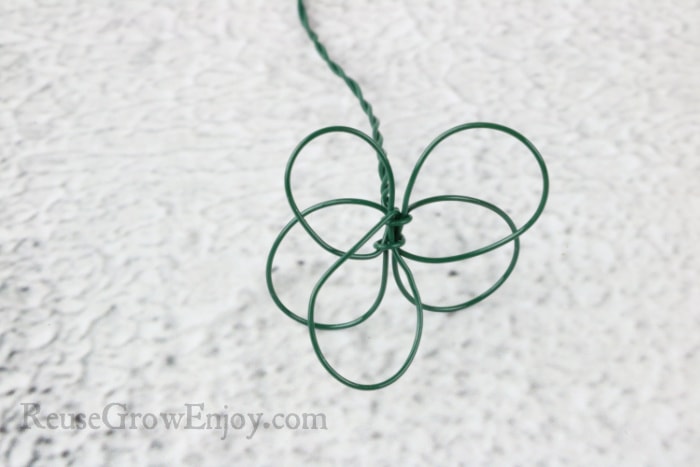
Step 5: Carefully separate those rings to form our petal shape. You will have to twist a few of them to get them to lay right. You want them to be not right on top of each other so that each piece can be coated in glue.
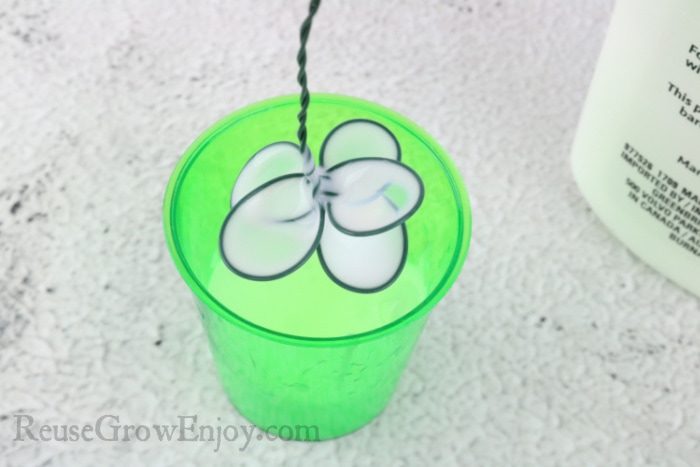
Step 6: Add some glue to the small cup. You don’t need it all the way full, just enough so it will fit the wire rings in it and cover them. Turn the wire rings upside down into the glue to fully coat them. Then slowly pull it straight up out of the glue. If all the places are not full of glue then redip it. If you can’t get them all coated at one time, you can allow them to dry and then dip them again when dry.
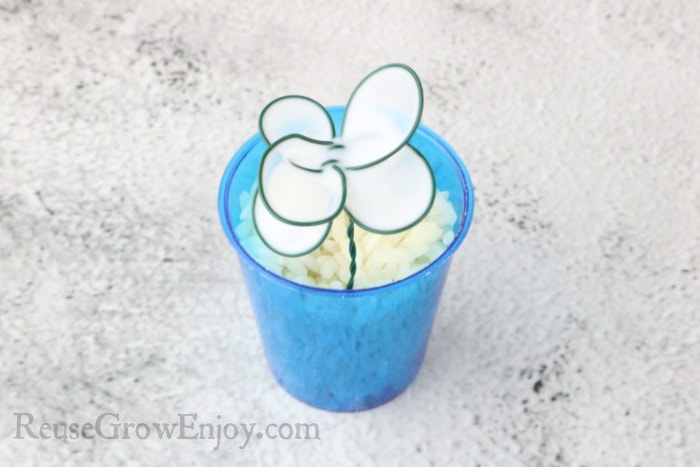
Using a small cup of rice you can put the twisted end of the wire into the rice to hold it upright while it dries.
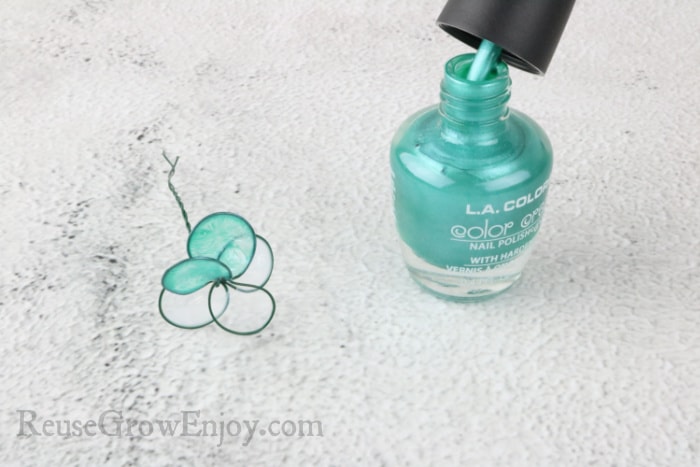
Step 8: When the glue is totally dry, shake the nail polish bottles and then paint all of the petals. Allow the first coat to fully dry and then give them a second coat. You will need to paint them 2-3 times allowing each coat to fully dry before adding the next.
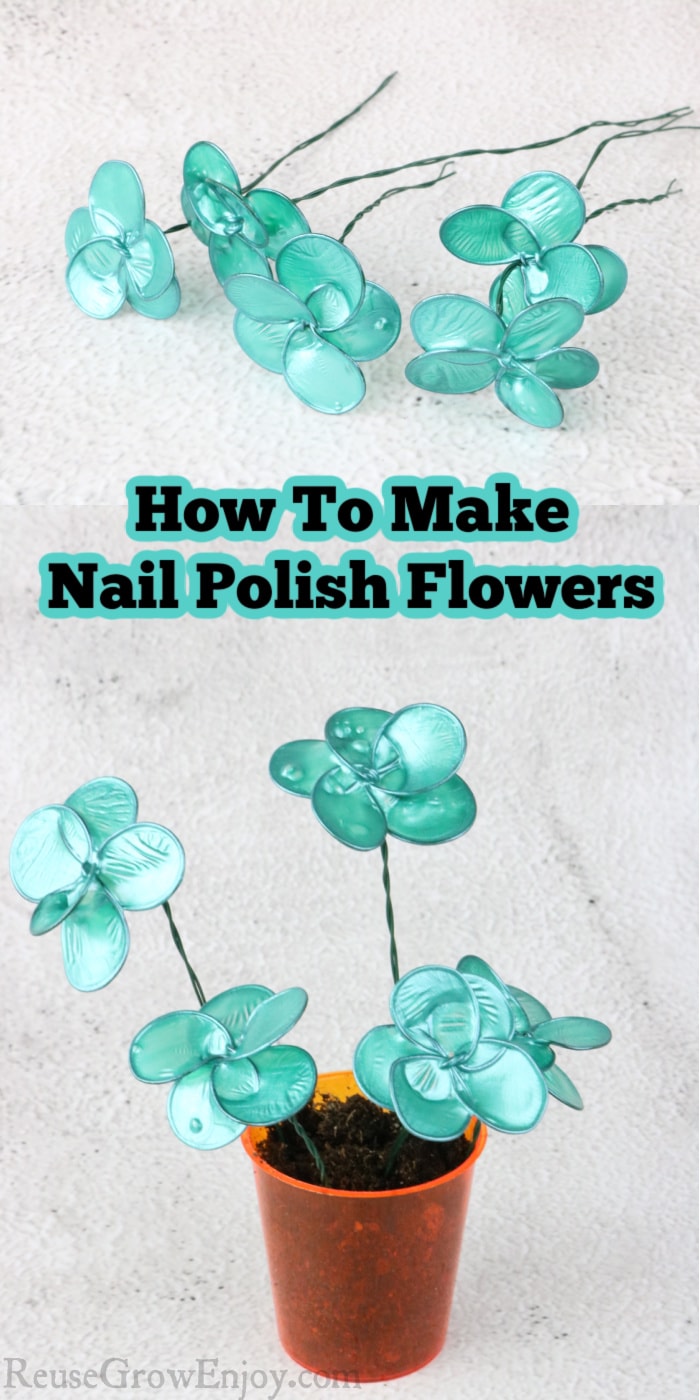
Note: To get that cute little flower pot look we have in the pictures, simply take a small shot cup and fill it with dirt. Then sick the twisted end of the wires into the dirt.


Linda K. says
Wish I had thought of this. Love, love, love it! So clever and easy.
Connie says
I love this, so cute!
Rebecca L. says
I love these delicate lil flowers. I want to try to use these on a post earring. Any ideas on how to get a little circle in the middle( rather than a stem) to put the post through? Also I’m thinking of two rAny suggestions?ounds of flowers 1 with 5 1 with 3! That way the ball on post will serve as middle of flower!
Reuse Grow Enjoy says
I am not sure how you would attach them to a post earring. Would be pretty easy to do for a hanging earring.
Sharon says
What type of glue do you use? My petals always seem to pop in. (At least 2 petals) even tried modge podge. Maybe my petals are too large. I use a pencil. Thanks for any suggestions.
Reuse Grow Enjoy says
I just use normal school glue. But if your petals are to large they do get much harder to get coated in one try.
MamaLeasa says
My granddaughter and I made these this weekend and they are so adorable! The nail polish came with a little pot of glitter and it just made the flowers even more beautiful!
Reuse Grow Enjoy says
Oh! I never thought to add glitter! That would be fun to add to a few to make them stand out.
Linda says
I have made these (and paper flowers or butterflys as well as small gems) glued them to snaps to be worn in the hair. VERY light weight for little ones. Also used for cake decorations.
Reuse Grow Enjoy says
That sounds cute for in hair!