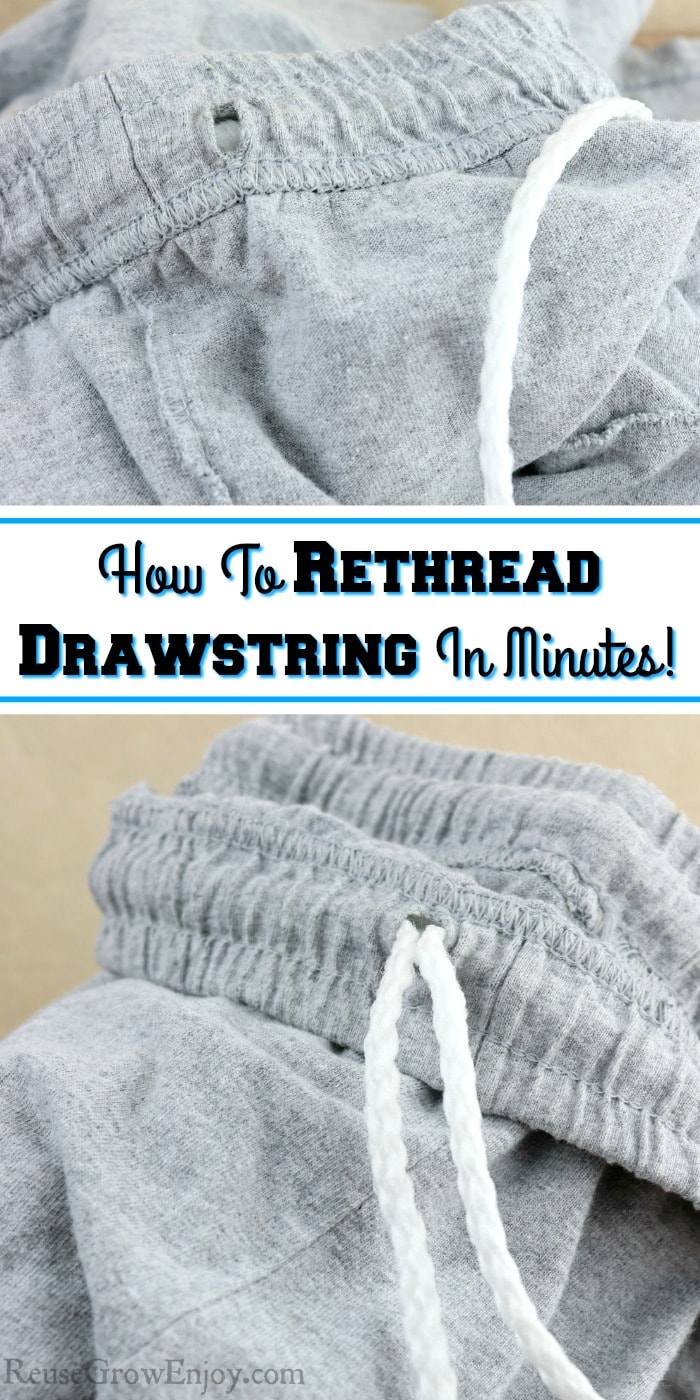
I am sure we have all had a time or two where our drawstring pulls out of our favorite hoodie or shorts. Learn how to thread drawstring in just minutes!
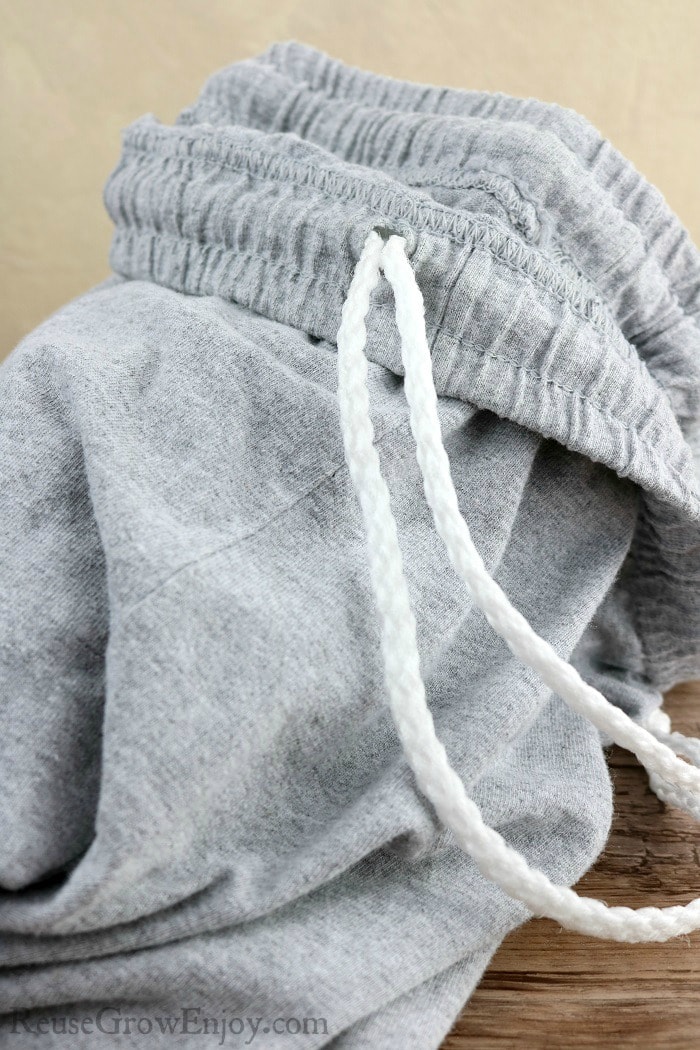
How To Thread Drawstring In Just Minutes
No more are the days of having to toss out items with the drawstring pulls out. You can do a simple drawstring repair to replace. I will show you the steps I do to thread drawstring.
This can be done on shorts, pants, hoodies, jackets or just about anything you want to run a drawstring through.
There is nothing worse than having items you love to wear be broken. Or the fact you would have to spend money on buying new. This drawstring repair is a little life saver.
If your string is not broken just pulled through, you can simply reuse it and just pull it back through again. If it is broken, picking up some string is way cheaper then having to buy all new clothing items.
Do You Need A Special Tool?
Yes and no. While I have used lots of different tools to thread drawstring such as safety pin, coat hanger, knitting needles, and other items, they can go super slow.
They can be hard on the fingers with all the pushing and pulling you have to do to work your way through the band. That means it can take a while just to work one simple drawstring all the way through.
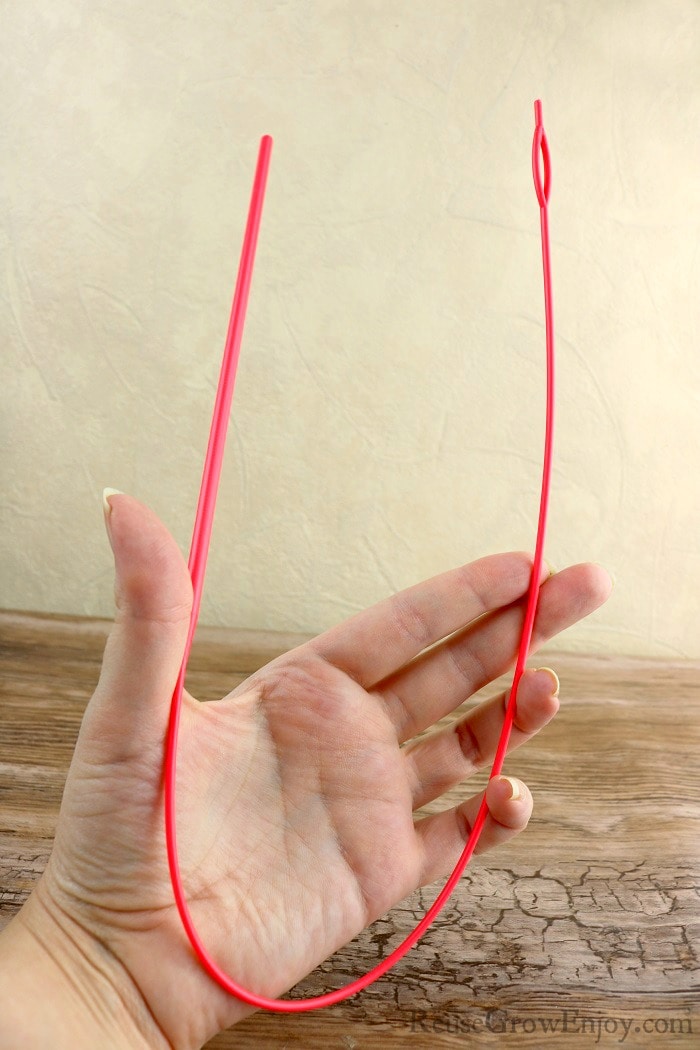
However, I have found a handy little tool that works wonders. It has cut my drawstring rethreading down to just minutes!
It is this handy little tool called an Easy Threader.
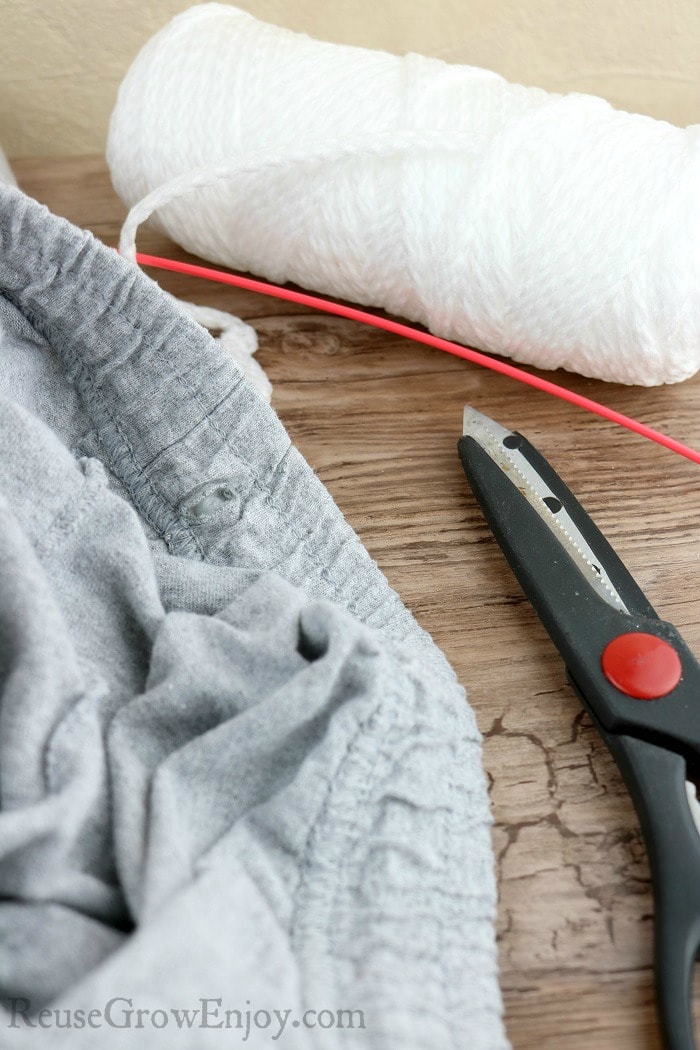
Drawstring Repair – How To Restring Drawstring:
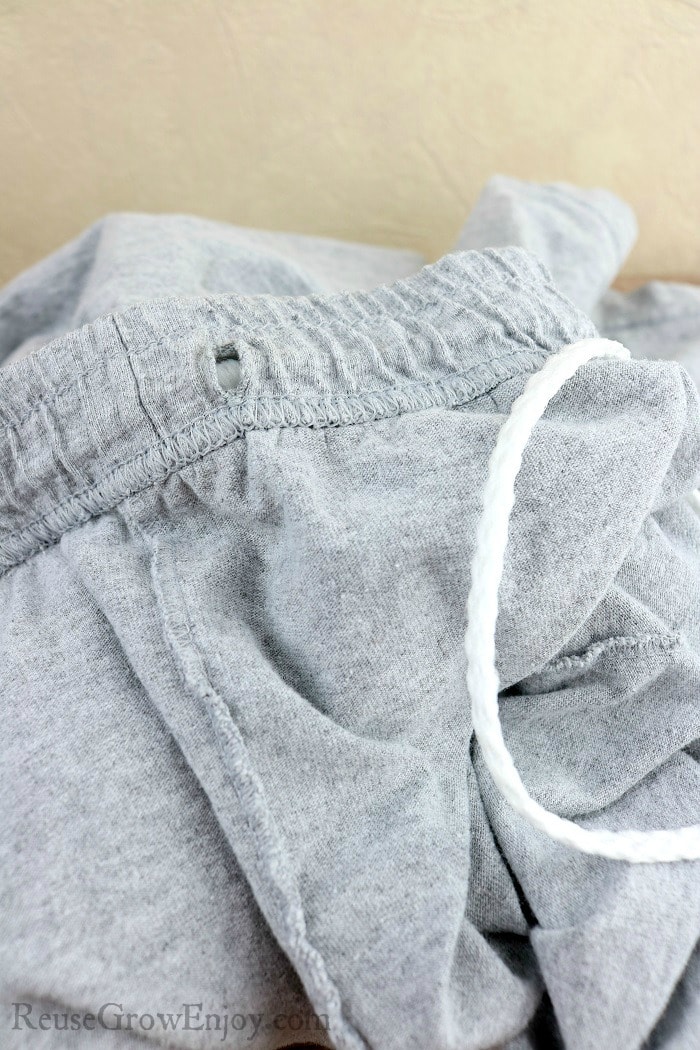
First, you need to either pull the string all the way out of your shorts or another item you are repairing. That is if it can be used again. If not, you can use just about any type of string to rethread.
For this repair, I had some Macramé Craft Cord on hand and it worked just fine for this project.
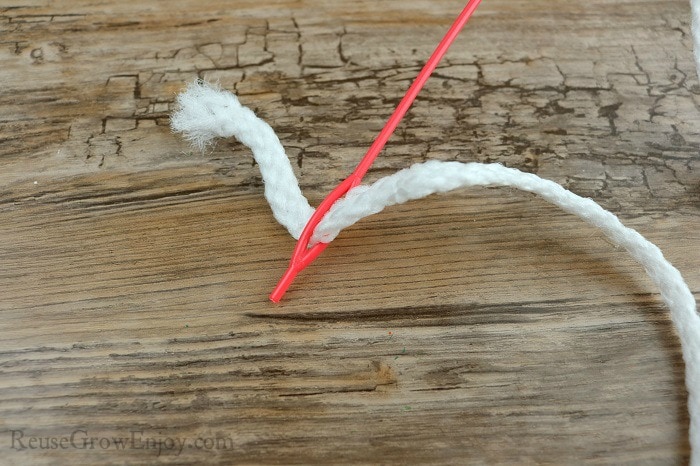
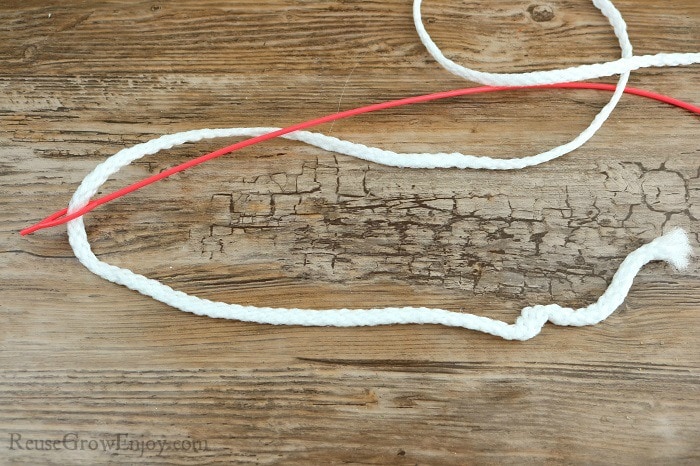
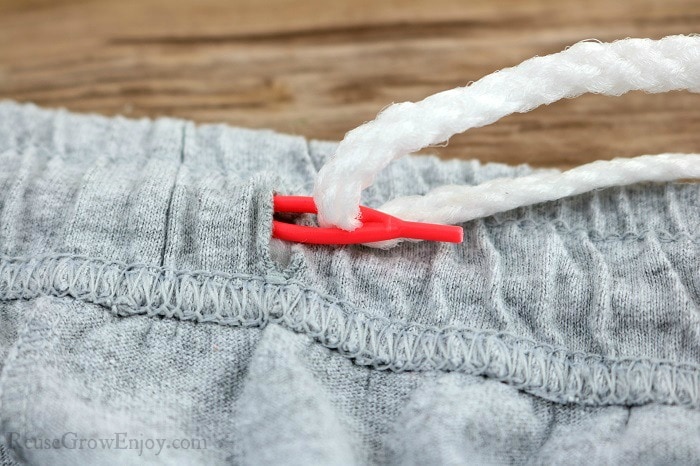
Thread one end of your string through the Easy Threader. I leave the other end still attached and don’t cut until after I am done. That way I don’t miss judge and know I have enough.
Pull the string through the threader so that you have a nice long tail. I have about seven inches or so pulled through mine.
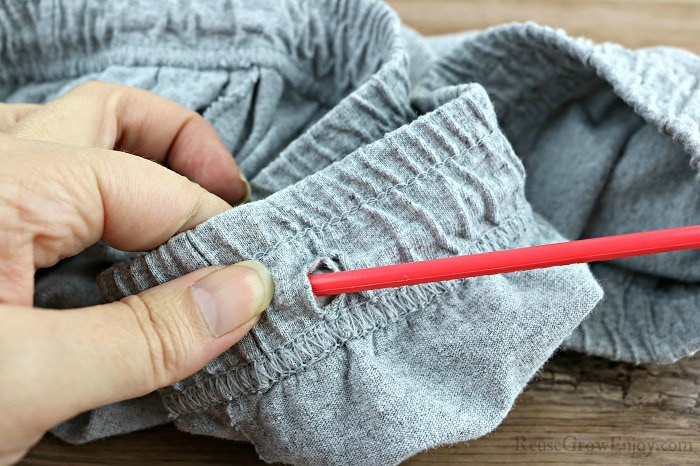
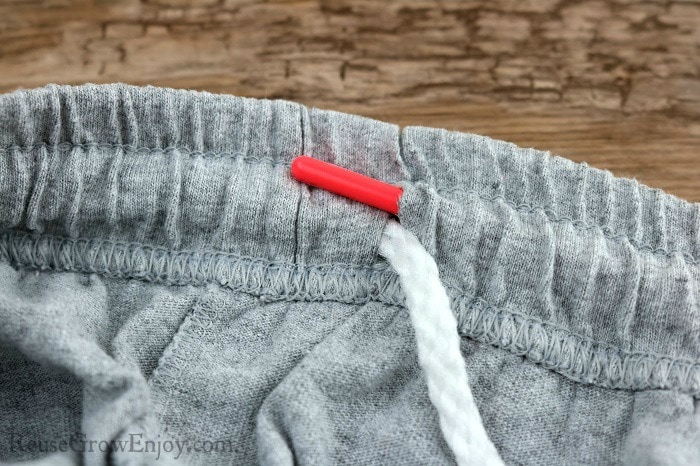
Now grab the other end of the threader. The end that does not have the string on it. Start pushing it through the open hole in the clothing where the string was before.
Slowly start feeding it through. You can do this by pushing on the other end to feed it. You may have times where you need to pinch the fabric apart if it gets snagged.
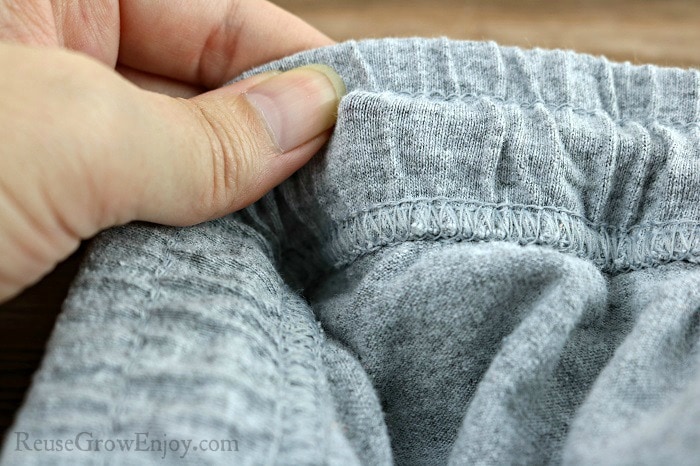
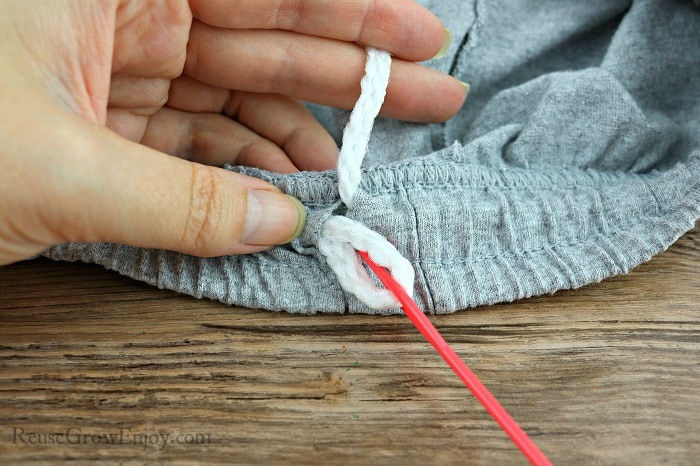
As you get part the way around, you will see the threaded end start to work its way inside the shorts pulling the string with it.
Keep working it around until your first end of the threader starts to come out the other side.
Now you will see the string end making its way through the hole. Keep pulling it till it is all the way out. Then pull the threader off the string.
Cutting String & Tying A Knot:
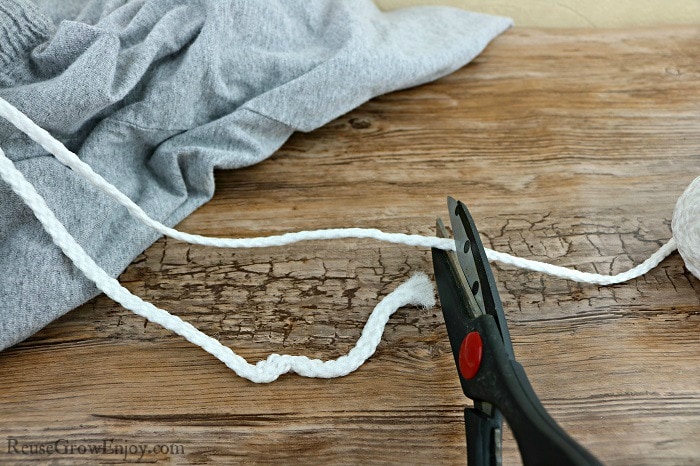
Before you cut off the extra string. Make sure you hold on to it and pull the waistband (or whatever part you are working on) so that it is fully stretched out. You want to make sure there is enough string inside and that it is not all bunched up.
After you have done that you can cut the string from the rest of the roll. I like to leave about 6-8 inches of string for both stands.
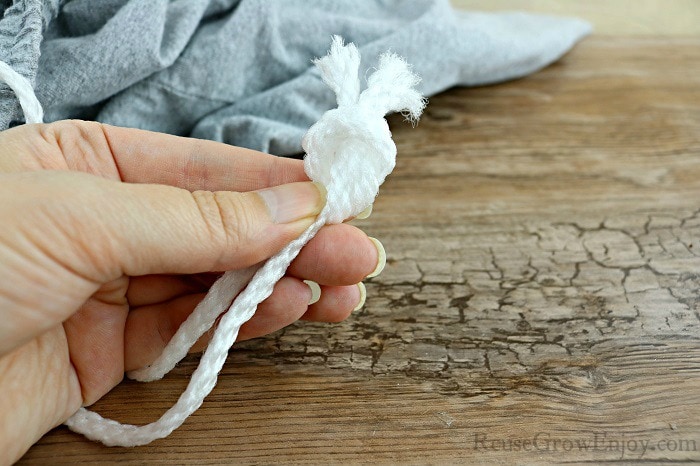
Then to keep the string from getting pulled back inside tie them together by tying a knot in the end.
Depending on the type of string you use, if it is a nylon string and it is frizzy at the end, you can melt with a lighter or match slightly so it binds it together.
That is it! You just replaced the drawstring and it only took a few minutes to do!
If you like this how-to, here are a few other posts to check out.
- Upcycled Jeans And Sundress Into Skirt
- DIY Dress Upcycle Into A Skirt
- How To Repair Old Wheelbarrow Handles & Other Issues
- DIY Baby Blanket – Minky Dot With Flannel


Leave a Reply