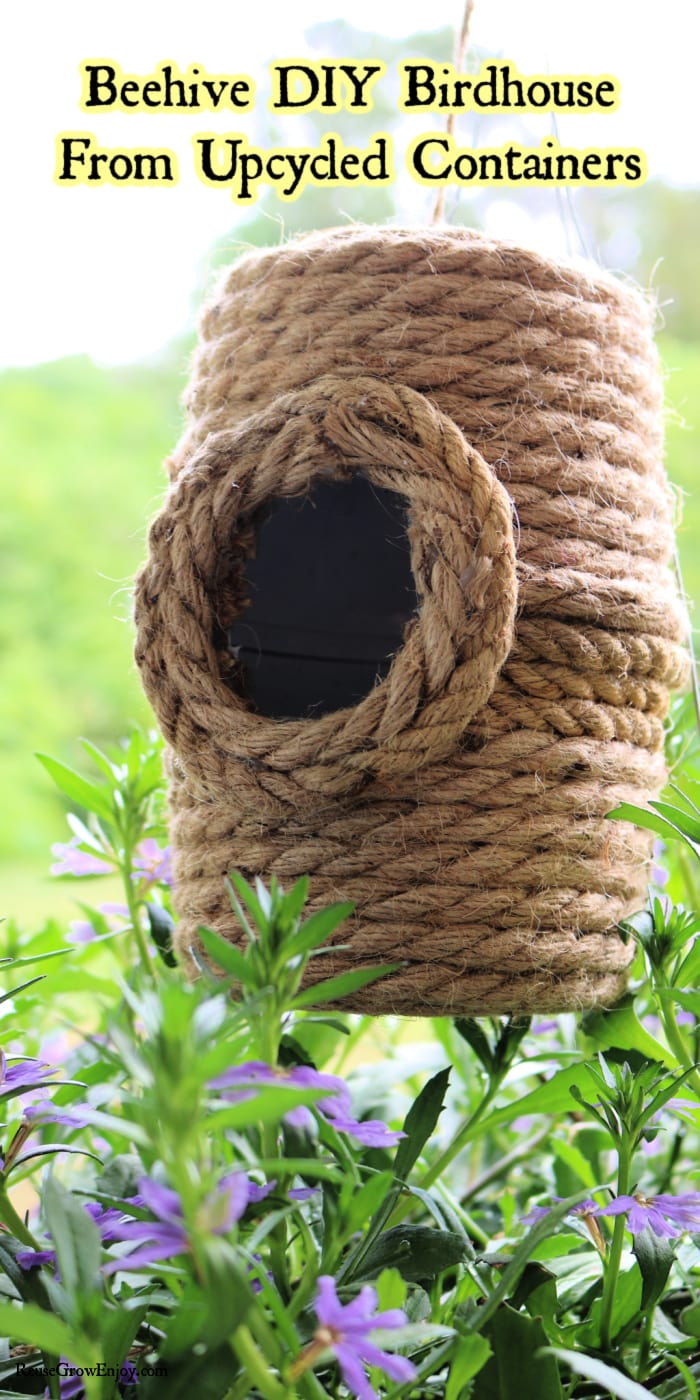
If you are looking for ways to reuse a butter tub or another type of plastic tub, be sure to check out this project. I am going to show you how to make this super cute beehive DIY birdhouse!
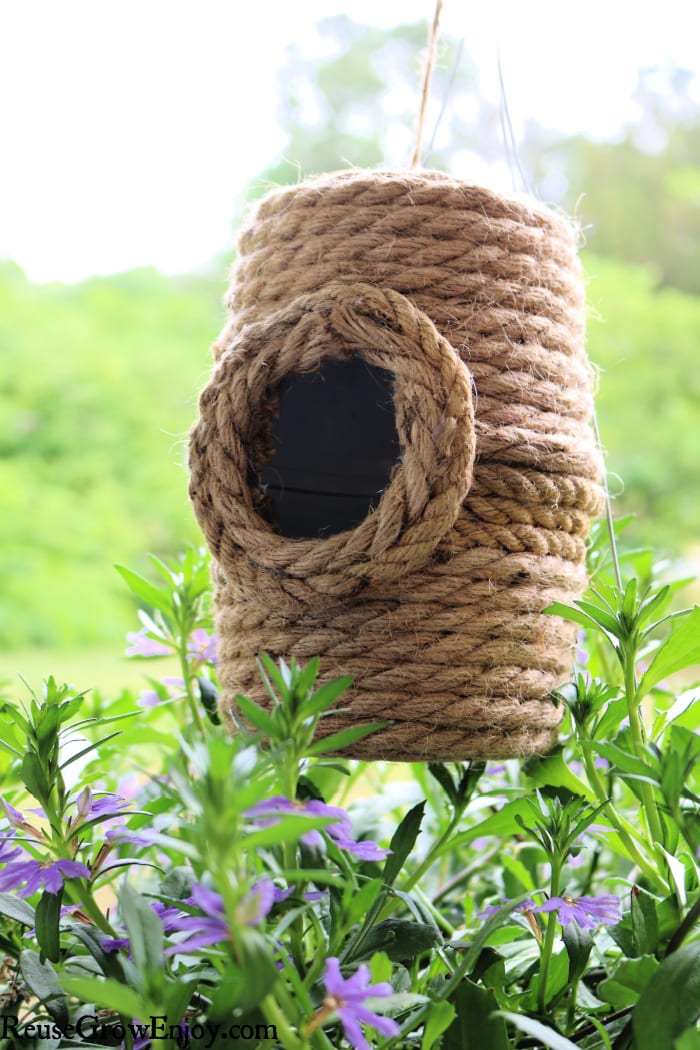
Beehive DIY Birdhouse From Upcycled Container
If you are looking to attract birds to the yard, a great way to do that is to put a birdhouse or two out. But you don’t have to spend a lot of money to do that when you learn how to make a DIY birdhouse from upcycled containers.
I made this one by reusing two smaller butter tubs. But you could make different sizes and shapes by reusing different containers. I would just stay away from using glass containers as they can break easy and there is no easy way to add drain holes to glass.
If you are looking for another DIY birdhouse or feeder, here are a few to check out.
- DIY Teapot Birdhouse
- DIY Hummingbird Feeder (From Upcycled Items)
- Upcycled DIY Plate and Bowl Bird Feeder
- DIY Bird Feeder
Makes: 1 birdhouse
Skill: Easy/Medium
Time: about 30 minutes
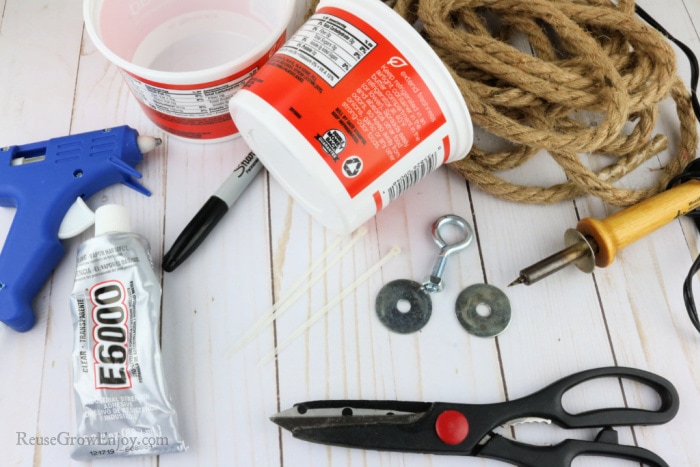
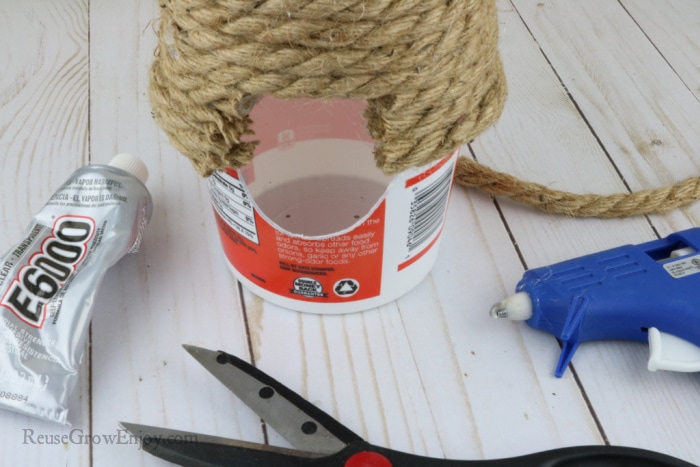
Supplies Needed:
- E6000 Adhesive
- 2 Empty Round Butter Tubs (used 15 oz size)
- 2 Large Washers
- Scissors
- 1 Eye Bolt with Nut
- 4 Decorative Ropes (got mine at Dollar Tree)
- Hot Glue Gun & Glue Sticks
- Wood Burning Tool or Soldering Iron
- 3 Small Zip Ties
- Marker
How To Make This Beehive Birdhouse:
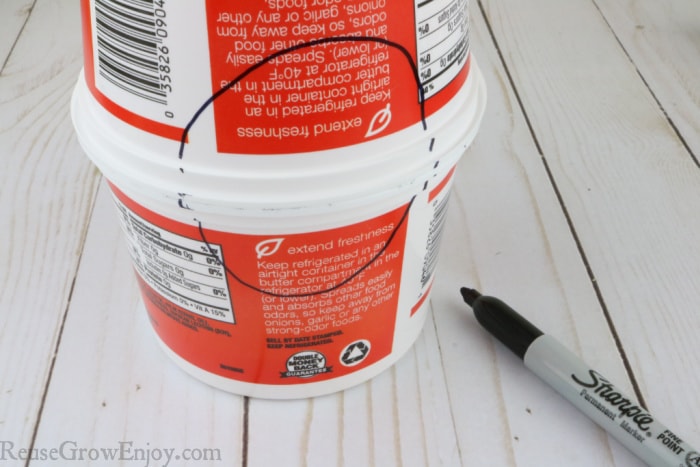
Start by stacking a container upside down on top of the other container. Now use the marker to make a circle that goes over both containers. So it should look like a half-circle on each container to make up the whole circle.
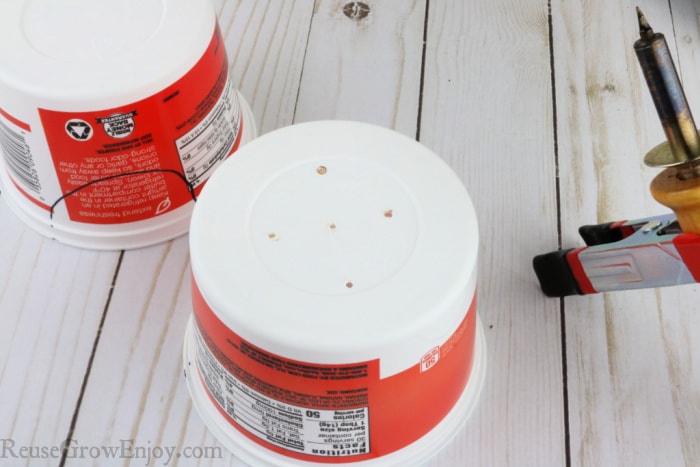
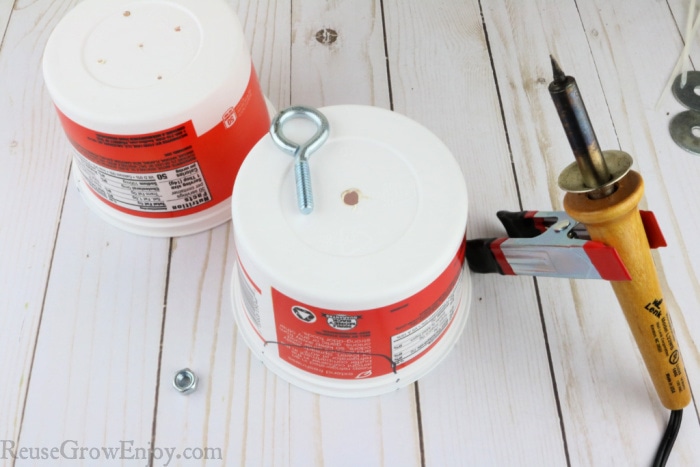
With a heated burner, melt a few small holes in the bottom of one of the containers. This is for the drainage of any liquid that may get into the birdhouse.
In the bottom of the container without holes, melt one hole in the center. You want it to be just large enough for the bolt to slide through.
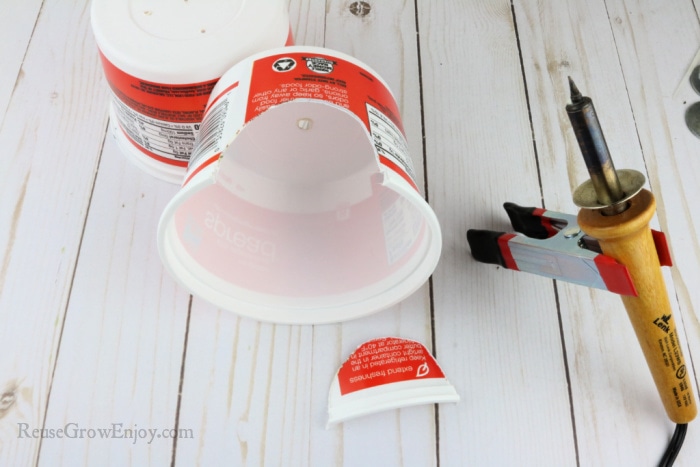
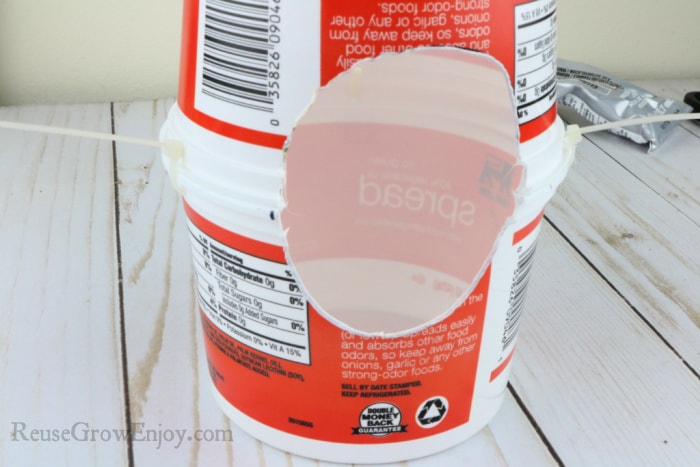
Using the hot burner/iron trace the marker line you made for the circle. This will cut the plastic out to make a circular hole in the containers.
After the hole is cut, stack containers on top of each other. Make sure the half holes are matched up to make one hole.
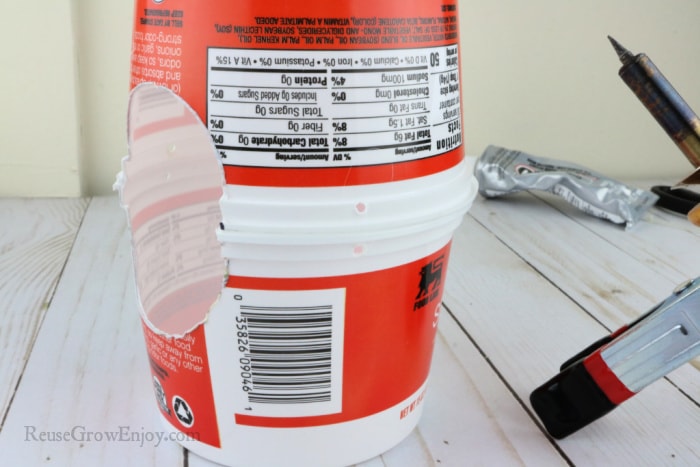
Now you need to melt small holes in the edge of the container on both containers. So one small hole in one container and then another just above/below it in the other container. You will need 3 different areas like this to attach the containers together.
Putting Together & Covering In Rope:
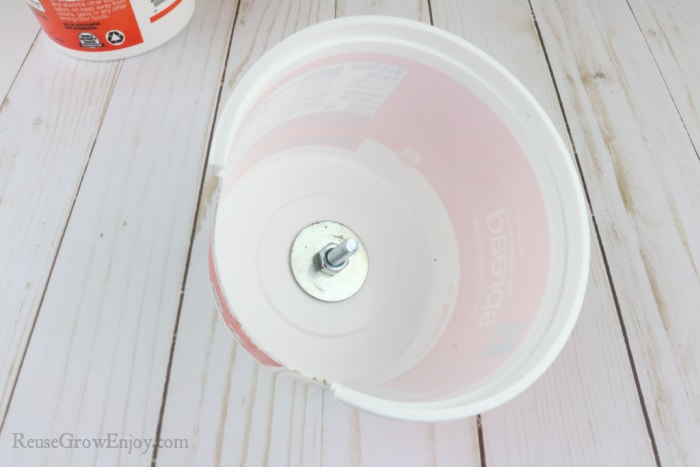
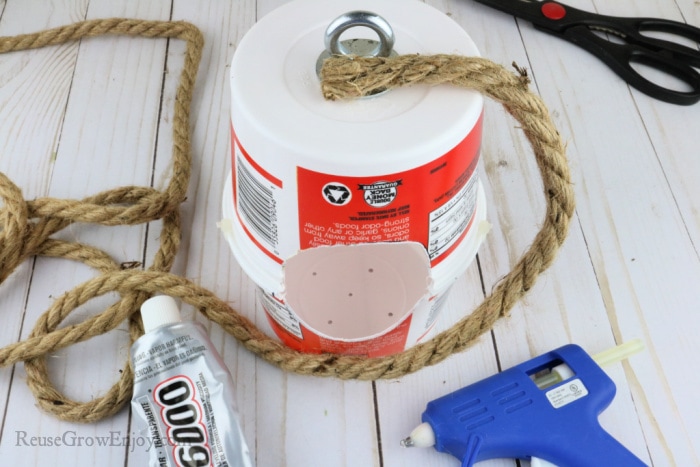
In the hole made for the bolt, put the bolt through with a washer on each side of the plastic. Screw on the nut so that it is nice and tight.
Stack and match up the containers again. Feed a zip tie through the little holes on the side edges and lock them in place. Do all 3 spots of holes you made.
Add a small dot of hot glue next to the bolt. Then push the end of the rope on the glue.
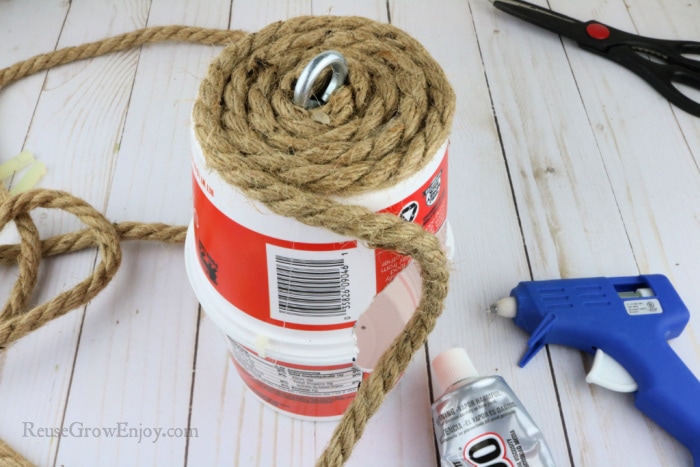
Smear E6000 around that area as this will hold the rope in place for a longer time than hot glue after it is dry. Start warping the rope around the container/bolt until the bottom/top is covered. Use glue in a few places to hold it while the E6000 dries.
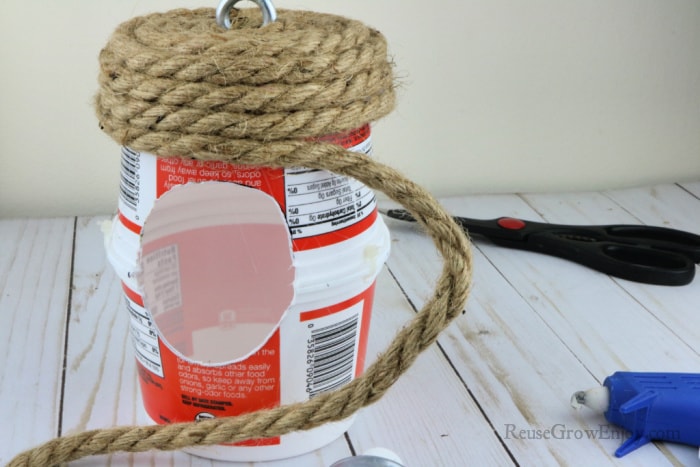
When you get to the edge of the container keep going the same way to work your way down the side of the container.
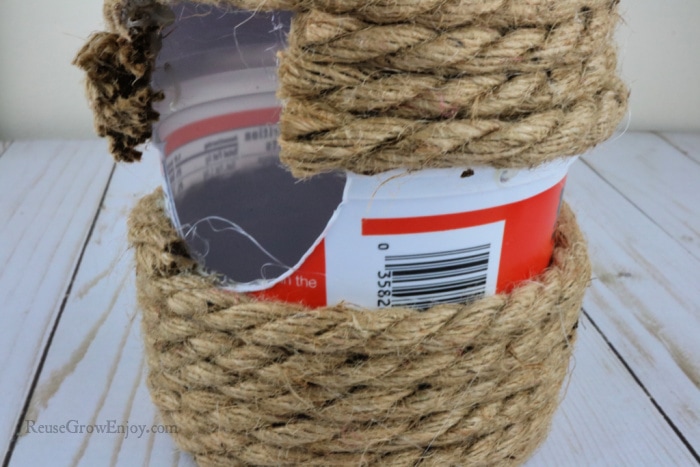
When you come to the area where the hole starts, cut the rope long enough to go around the container and stops where the hole is on the other side. Glue in place. Keep cutting pieces to go around like that until you get to where the containers join together.
When you get to where they join, turn the containers over and start working from the bottom of the other side. Make sure while covering the bottom on this side, you do not cover the little holes with the glue. We need them to be able to drain.
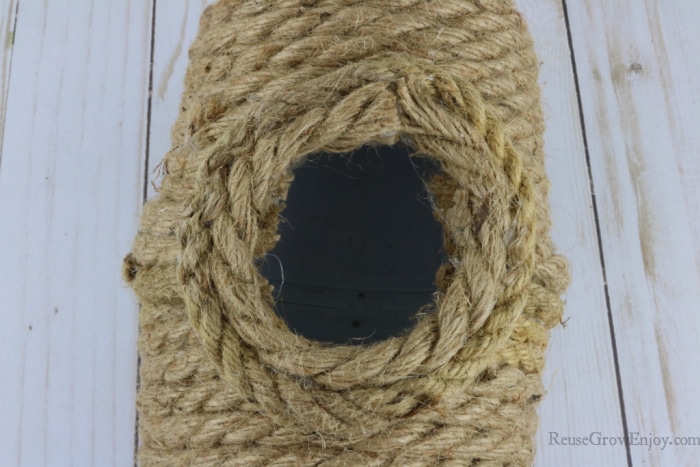
After it is fully covered in rope, it is time to finish off the opening. Cut a small piece of rope that is just long enough to fit around the edge hole/circle. Glue in place.
Now cut a piece just long enough to go around the first piece and glue it in place.
You can either hang with a hook or string from the bolt in the top.


Terri says
I love this! I’ll definitely be making this little bird house. Thank you for sharing!