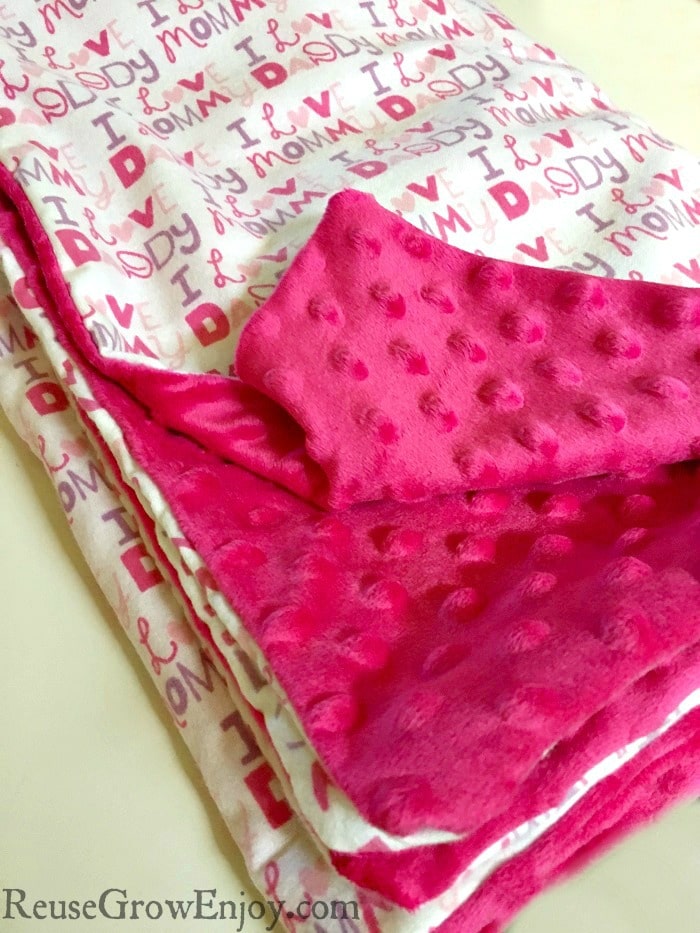
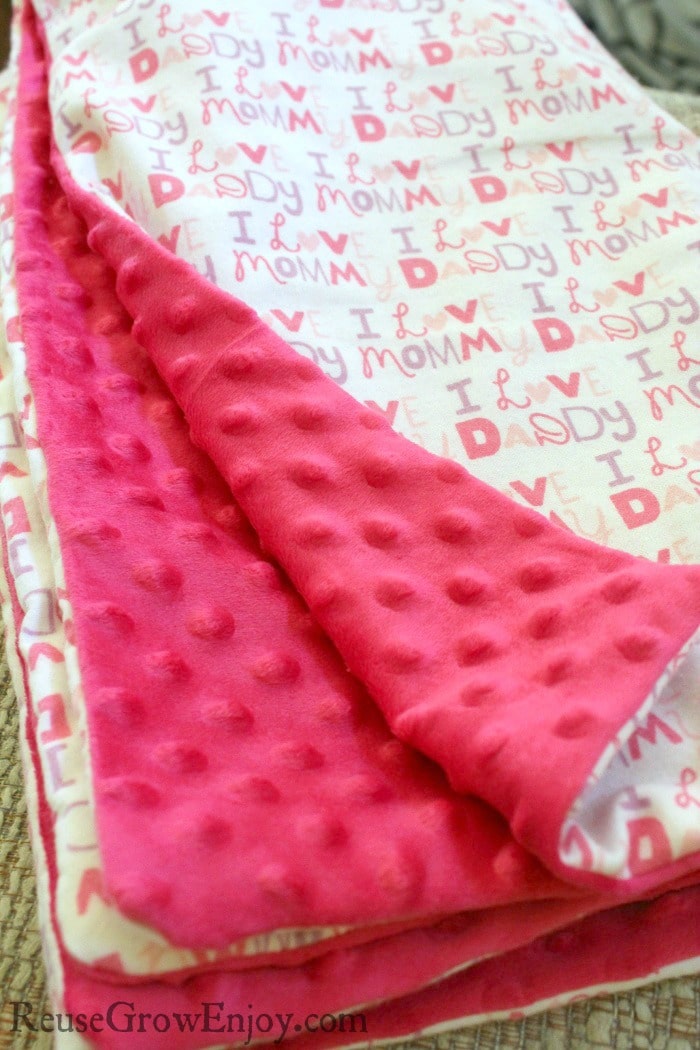
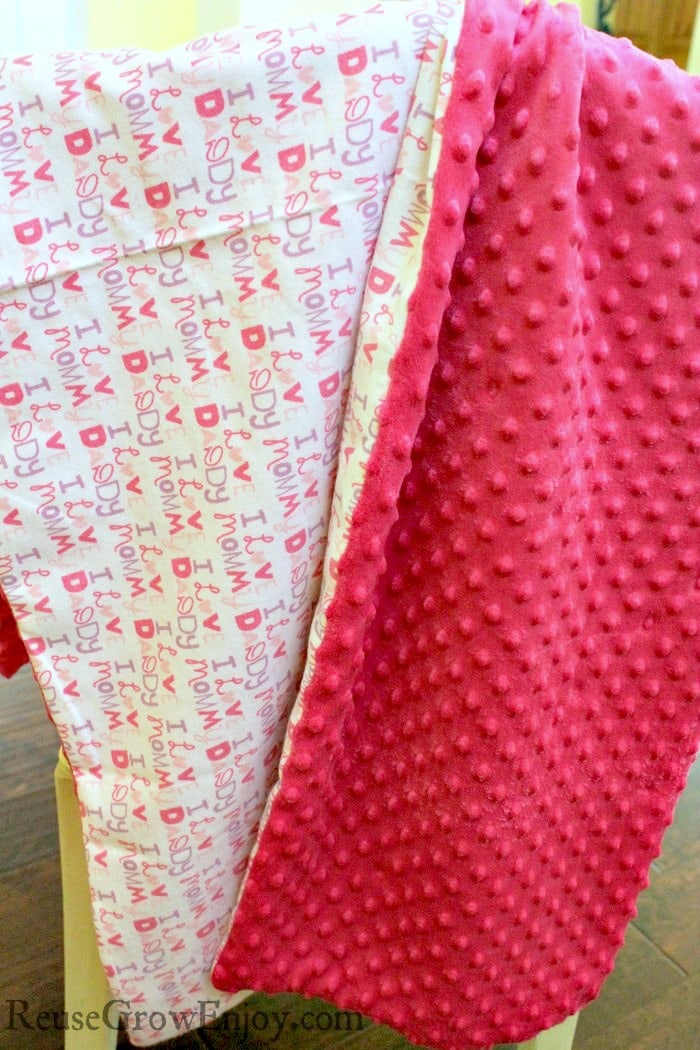
Have little ones or need a baby gift? This is always a hit. Learn how to make this DIY baby blanket made with Minky dot and flannel fabric. If you can use a sewing machine, you can make this in minutes!
DIY Baby Blanket – Minky Dot With Flannel
Homemade items are always the best. Just something about them that makes it better than store bought. Maybe it is because they are made with love. If you need a baby gift, I have just the craft for you. I am going to show you how to sew this DIY baby blanket that is made from Minky dot and flannel.
This blanket is super soft and cozy! While you can buy Minky Dot blankets like this already made, they are normally pretty pricey. Plus, making it yourself, just gives it that extra touch of love!
We made this in a baby blanket size about 29″ by 35″. You could, however, make it any size you want. Larger sizes work great for throws for the kids or even yourself.
The first thing you need to do before you start your blanket is to wash your fabric. Wash in cold water on delicate. You will see that the flannel will shrink a lot.
That is why we use a larger piece of fabric to start with when using cotton flannel. Any scrap left over you can use for burp cloths or save for a quilt.
DIY Baby Blanket Supplies Needed:
- 1 1/2 yards Cotton Flannel Fabric
- 1 yard Minky Dot Fabric
- Thread to match fabric
- Extra Fine Pins
- Fabric Scissors
- Sewing Machine
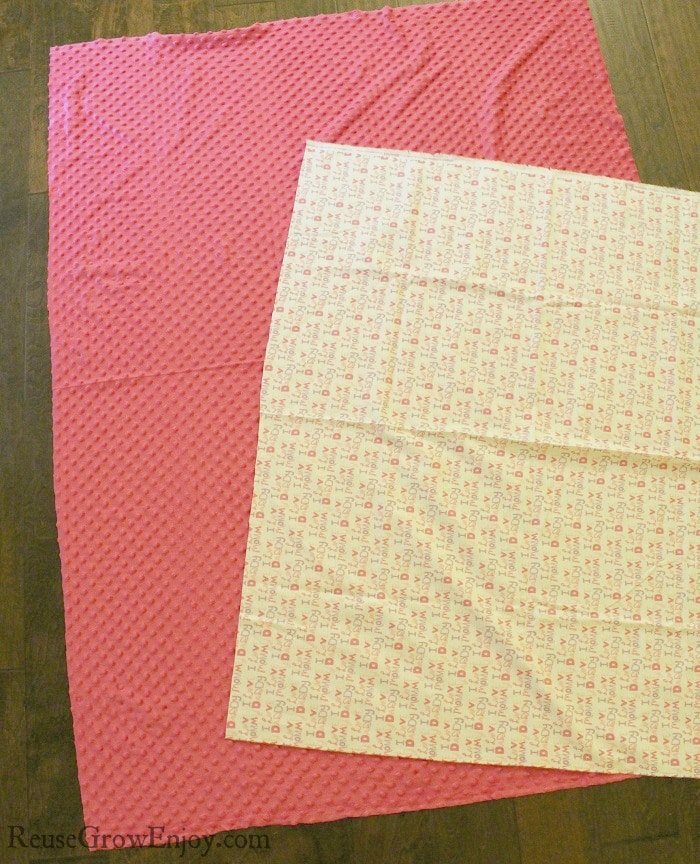
You want to square up the fabric first so that it is the same size. You can do this by laying them on a flat surface and use the scissors to trim.
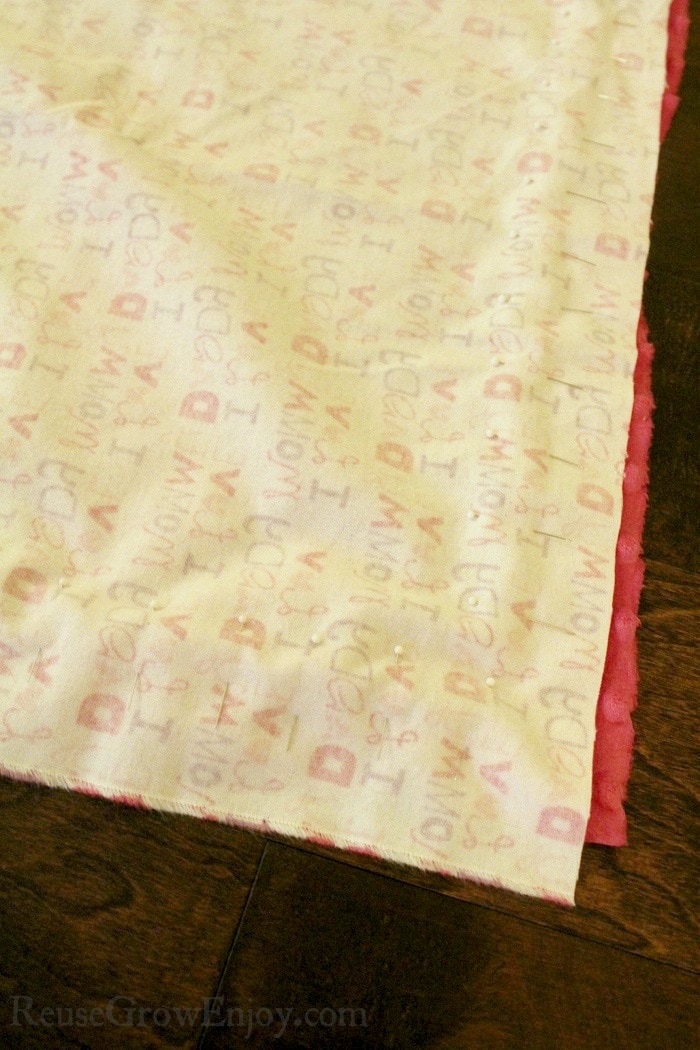
Next, lay the minky down first, the right side UP. Then lay the flannel on top of the minky, right side DOWN. You want it to be so both pretty sides are touching each other.
Using your pins, pin every 1 1/2 inches around the outside of the blanket. You want the pins to be about half inch from the edge. Leave about a 6″ gap unpinned on one side.
The minky fabric will slide out of place very easy. The trick to avoiding this is to pin like crazy!
Stitching The Blanket Together:
Using a straight stitch on your sewing machine, stitch all the way around just slightly in from the edge of the fabric removing the pins as you go.
At the start of your stitch and the end (each side of the non pinned gap) be sure to do a backstitch to reinforce it so it does not pull apart.
Now, you do not have to, but if you want to be super sure it does not pull apart in the wash sew around it again. This is an optional step.
After you are done sewing, be sure all pins are removed.
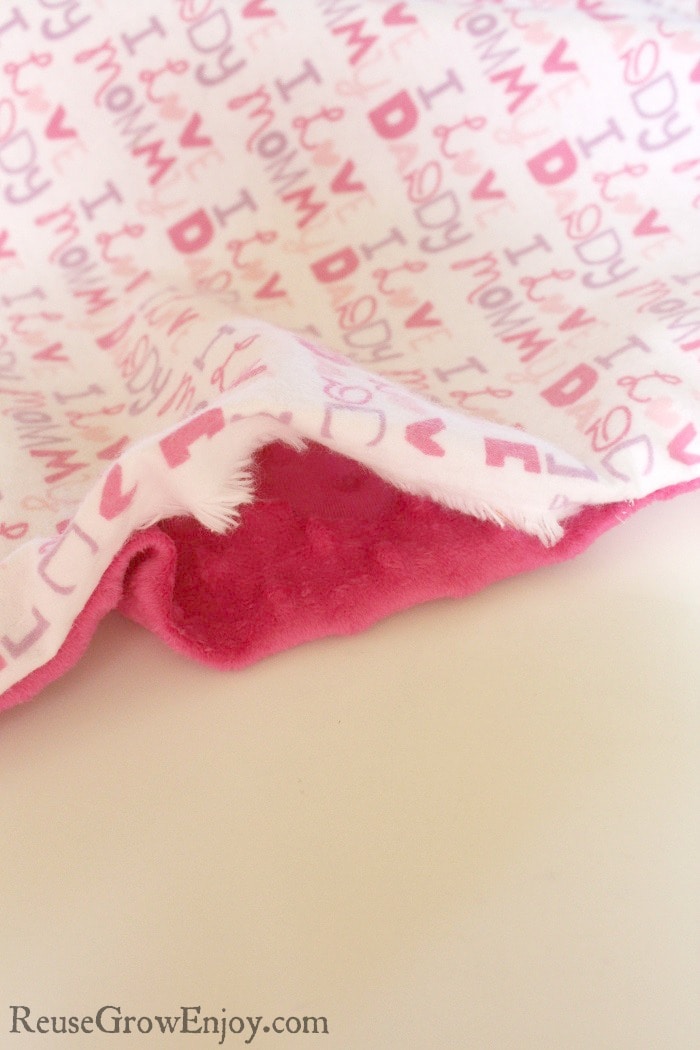
Find your open gap and carefully turn the blanket inside out. Now fold/tuck the edge of the gap under/in and sew about 1/8-1/4 inch in to close that opening.
That is it! You now have a super soft and cute new baby blanket. Keep it for your little one, or they make such a wonderful handmade baby gift.
This was made using pink colors for a girl, but you could easily use other colors and prints to fit any style. Plus now that you have learned how to make this DIY baby blanket, as I said above you can use the same skills to make an adult size if you wanted.
Simply do all the same steps but just use larger pieces of fabric. A budget-friendly fabric tip is to use flannel sheets as the fabric.
If you liked this DIY Baby Blanket, here are some other crafts to check out.
- Fabric Gift Tags Sewing Tutorial
- Upcycled Bags Basket Bowl – Crochet Project
- Upcycled Jeans And Sundress Into Skirt
- DIY Pillow – Throw Pillow DIY
- Upcycled Plastic Bag Flower Earrings


Cheryl says
I love this minky blanket. I have the solid pink but my flannel is pink elephants. I am so excited that I found you. Going to make it tommorrow. Thank you so much
Cory says
After washing the fabric, what’s the setting to dry?
Reuse Grow Enjoy says
Hi Cory, I would use a tumble dry low heat. Or you can allow it to air dry.
Janet says
Do you think it moves through the sewing machine easier, less stretching/moving if the flannel is on the bottom and the Minky the top layer going through the machine, visa versa, or no difference?
Thanks!
Reuse Grow Enjoy says
Hi Janet, I have found no difference with the flannel on the top or bottom when sewing. Minky is slick so the best thing to do is pin, pin, pin!
Marti says
Maybe use your walking foot
Georgia says
I am having trouble with my minky slipping. Should I try safety pins in the middle as well as outside.
Reuse Grow Enjoy says
If you are having trouble with it slipping, try moving the pins closer together around the edge. I put them about every 1 1/2 inches but you can do something like every 3/4 inch and that should do the trick.
Sydney says
Do you prewash the kinky as well, or just the flannel?
Sydney says
*minky
Reuse Grow Enjoy says
Just the flannel or other cotton fabric you are using. This is because the cotton fabric will shrink in the wash so you want to make sure you start with a size that will not shrink by washing it first. Minky does not shrink so no need to prewash before sewing.