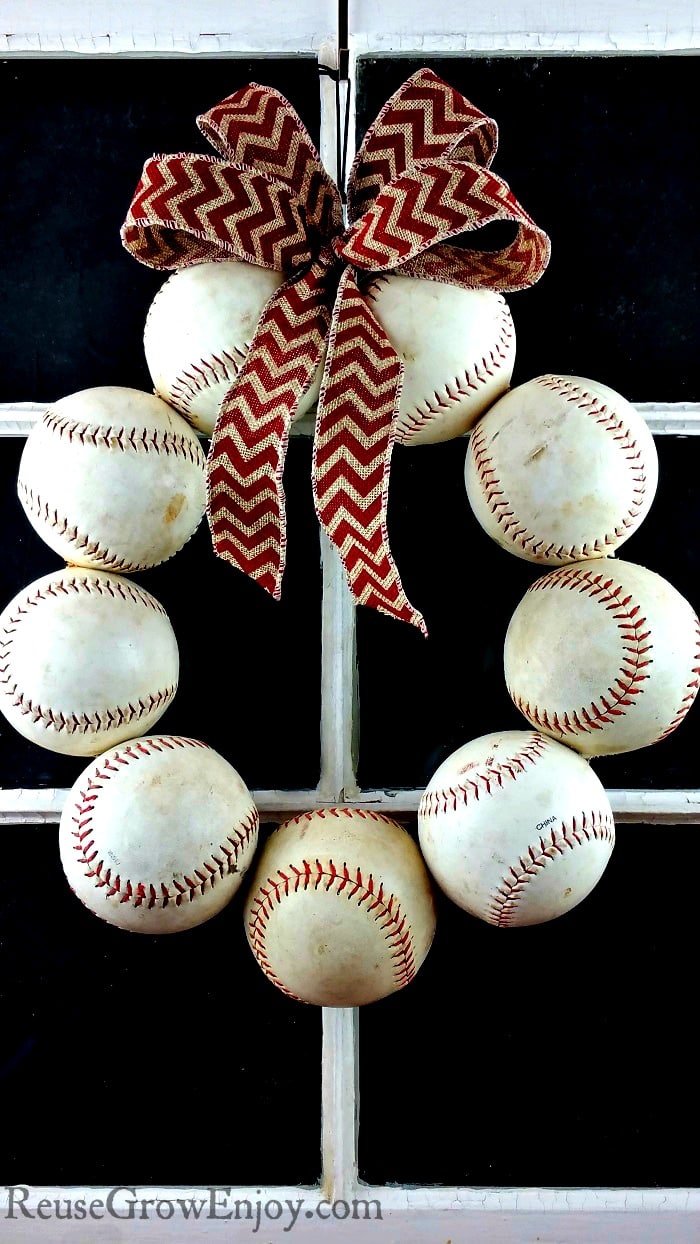
DIY Baseball Wreath – Upcycled From Old Balls
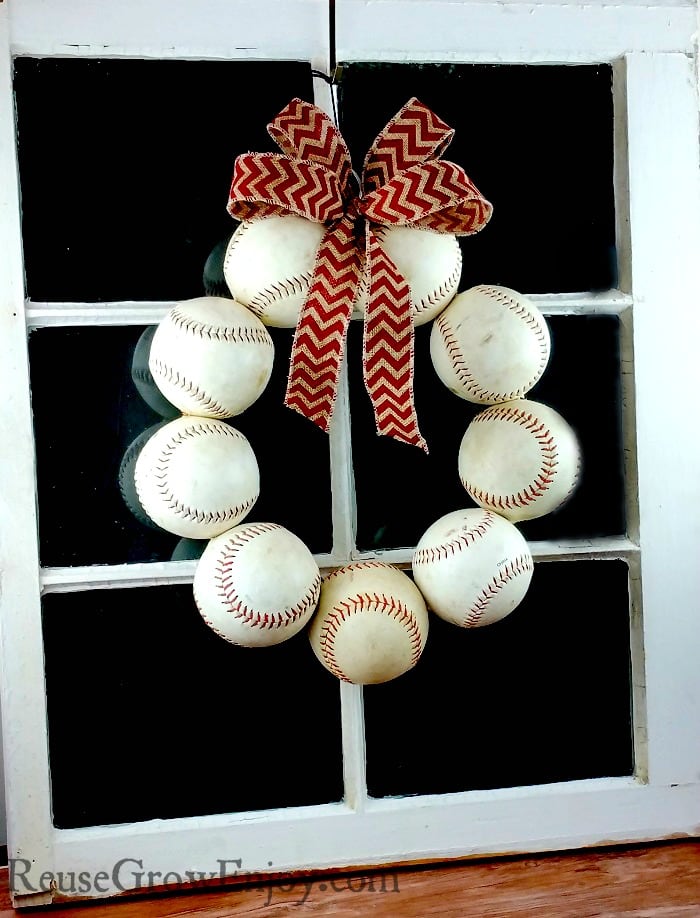
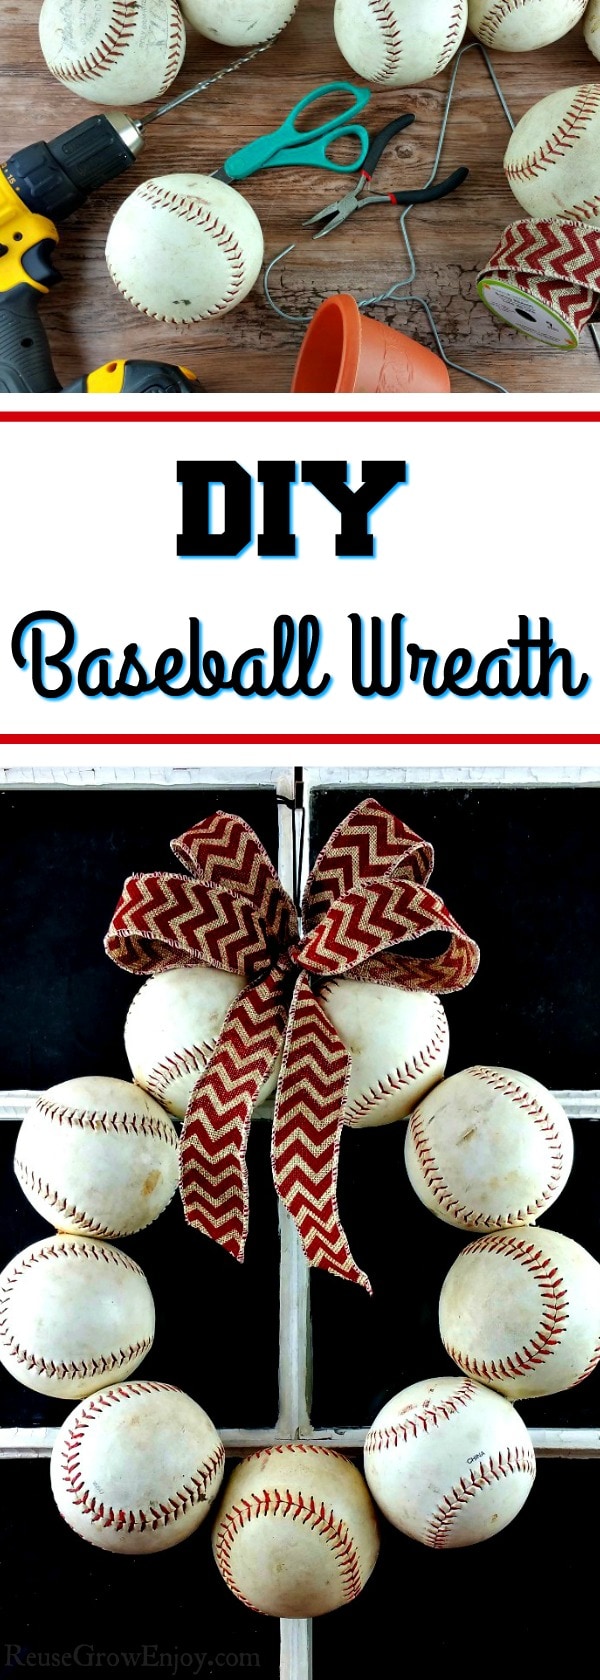
Is your family crazy over baseball or softball? If so, I have just the DIY baseball wreath for your door! This is made by upcycling old balls and a coat hanger.
Now if you have a favorite team, you could very easily add some extra touches to your wreath to support your favorite team. Like maybe change the bow to one with the team logo. Or glue on a logo patch to a ball or even hang a wood logo in the center. You really have endless options.
Baseball Wreath Supplies:
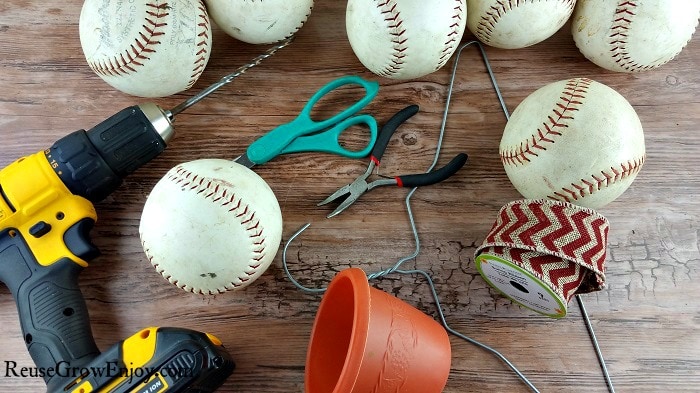
- Baseballs or Softballs (how many depends on the size ball you are using. I used 9 softballs for mine)
- Drill
- 1/4 inch Drill Bit (I used a long one to go all the way through )
- Pliers
- Wire Coat Hanger
- Scissors
- Burlap Ribbon (I used a red chevron burlap ribbon)
- Small Flower Pot or Other Container (to hold ball so you do not drill a hole into table)
Drilling:
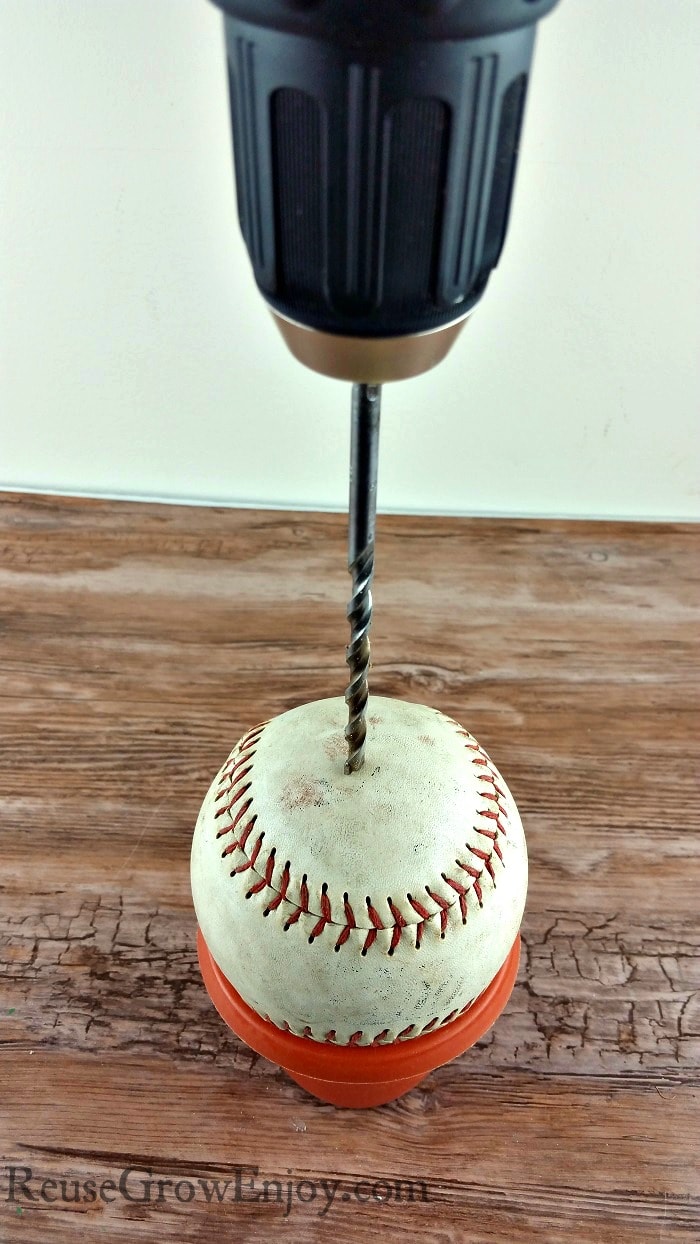
First, you want to start by drilling a hole all the way through each ball. Try to get it in the center as much as you can. I also changed up the sides I drilled on so that the balls would face different ways.
All I did was place the ball on a small plastic flower pot and drilled straight down (be sure not to drill on the lace part) and after through I would back the bit back out. The pot helps to keep you from drilling down to the table or whatever you may be drilling on.
Tip: be sure to have a hand vacuum or broom and dust pan around. These things leave a lot of dust when you make the hole.
Straighten Coat Hanger:
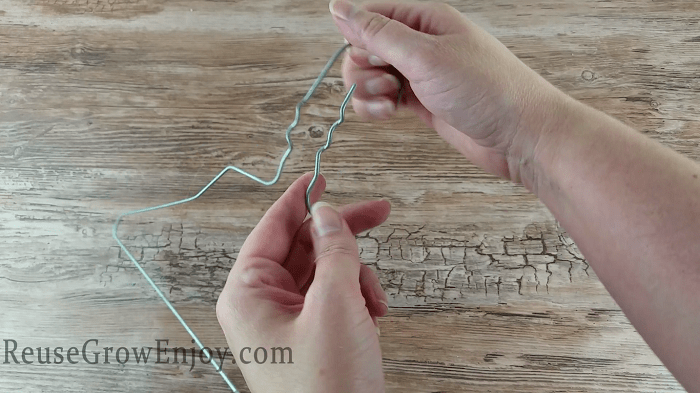
Next, you want to straighten out the coat hanger. You simply un twist the end from around the hanger. Then try to get it as straight as you can. You do not need to straighten the hook/hanger end, just leave that part as is for now.
Add Balls:
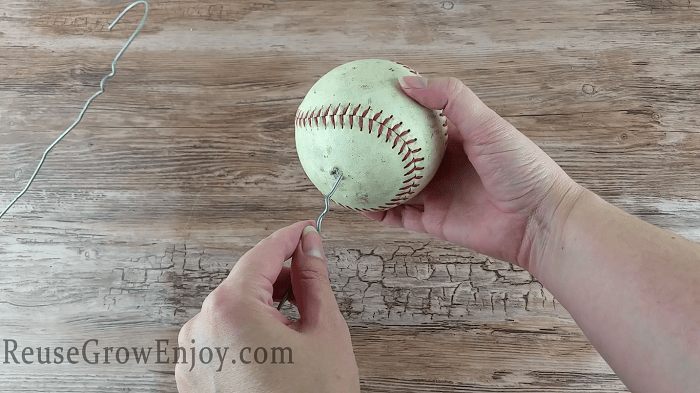
Now you can slide the balls on to the hanger and push them all the way to the hook end. They are a little tricky to get started and you may have to twist and push at the same time.
Twist Off End And Make Hanger & Bow:
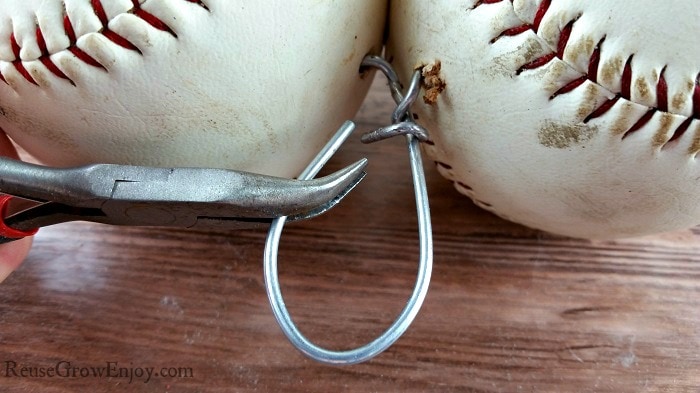
After you have all the balls on the wire, you can twist it together. I used my pliers to make sure I had the end wrapped tightly around the hanger end.
After you have it wrapped, you can then fold the hanger end over so that it touches the wrapped part. This makes the loop to hang the wreath with.
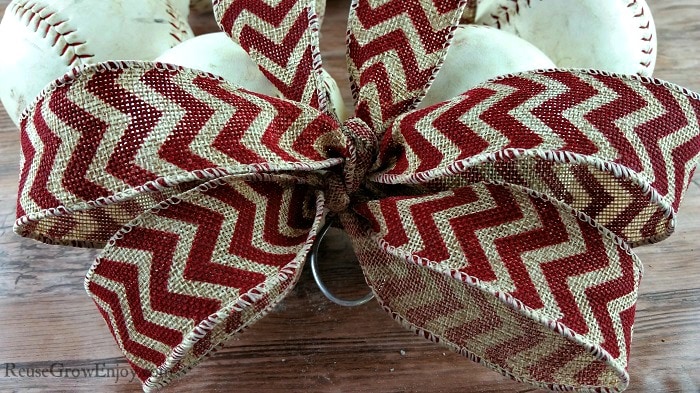
Now simply tie a bow around the loop and you are all set and ready to display your new DIY baseball wreath. If you are not great at making bows, you can attach a pre made one.
If you liked this DIY upcycle, here are a few others to check out.
- DIY Knife Holder Made From Upcycled Books
- DIY Fall Wreath
- Star Wars Canvas Art – Made With Upcycled / Reused T-shirts
- DIY Plastic Bottle Bangle Bracelets
- DIY Spice Rack Makeover – Change It To Fit Your Style
- Upcycled DIY Plate and Bowl Bird Feeder
- DIY Upcycled Umbrella Flower Arrangement – With Video
- DIY Bookends Made From Upcycled Kids Boots



Leave a Reply