What do you do with tin cans when you are done with them? We always recycle them or find another use for them. One great way to reuse them is to make this DIY can toss game. It is super easy and such a fun summer and fall game.
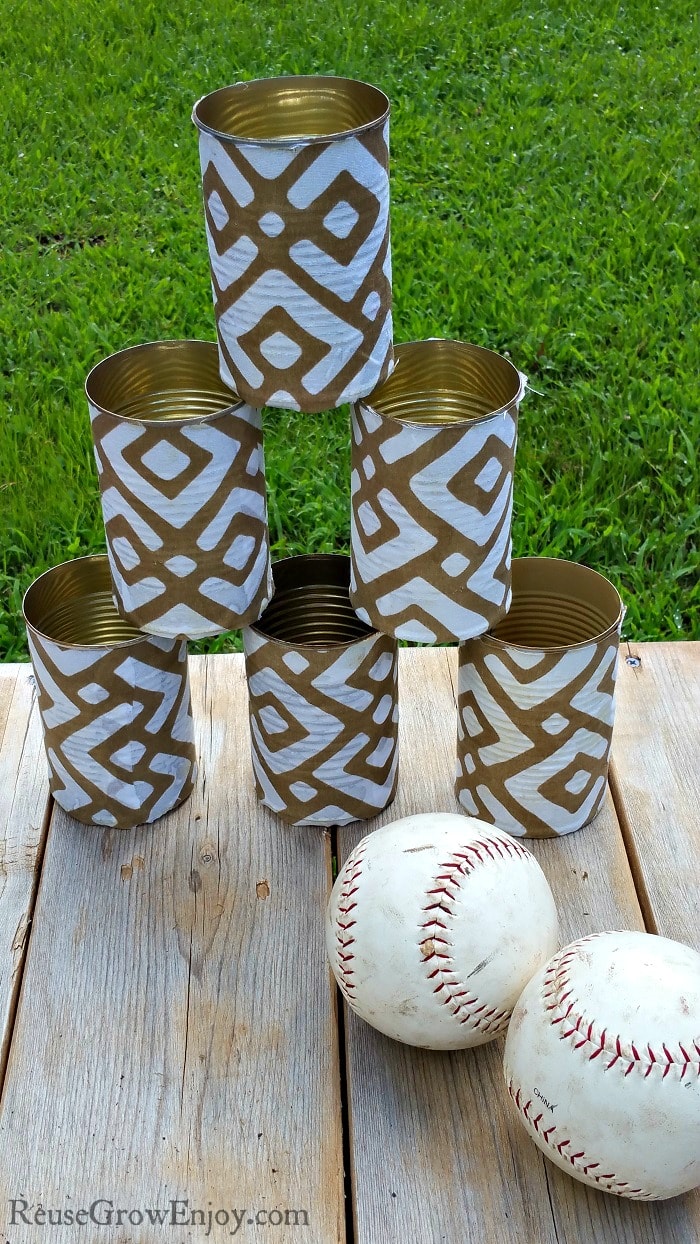
DIY Can Toss With Upcycled Cans
While this can toss game is made using fabric to cover the cans, you could leave them as is if you wanted too. I just wanted to add a little style/color to the cans. You could also paint or deco podge them if you wanted. Get creative and make them your own.
For the fabric, you can use anything you have on hand. I have a box I like to keep scrap fabric in for craft projects. You could make all your cans the same like I did mine or change it up and make each one with a different fabric.
Just be sure when you are saving cans to use for things like this can toss game, you open them with a smooth edge can opener. We don’t want anyone getting cut when they are stacking the cans.
These can openers are pretty much the ones I ever use anymore. I just love how well they work and the smooth edge that it leaves behind.
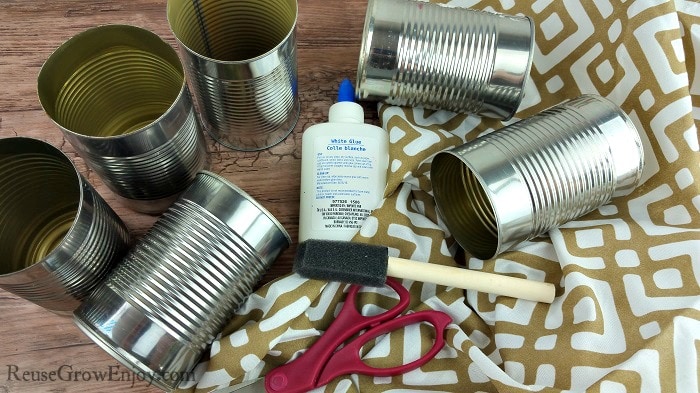
Can Toss Supplies Needed:
- 6 Same size tin cans (empty and washed, lid removed with no sharp edges)
- White School Glue
- Fabric (enough to cover each can)
- Scissors
- Paint Brush or Sponge (to spread glue)
DIY Can Toss Directions:
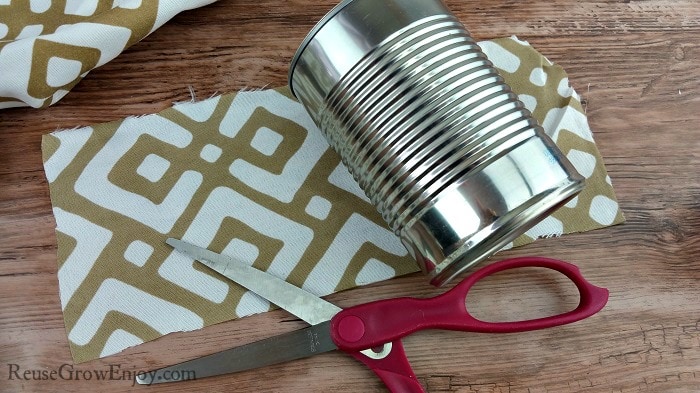
The first thing you need to do is cut a piece of fabric that will fit the width and height of the can. Cut a piece like this for each of the cans.
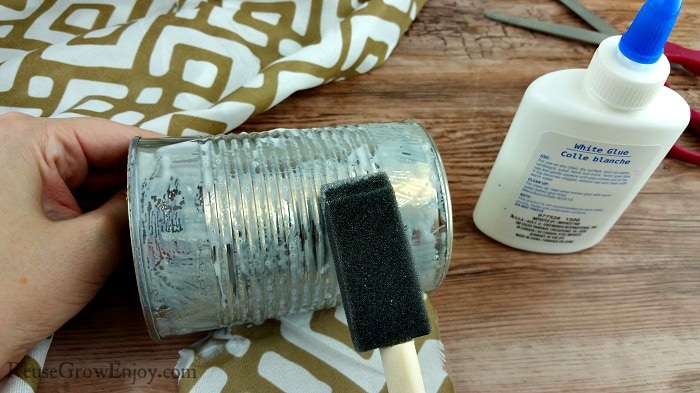
Next, using a paintbrush, paint sponge or even your fingers, cover the outside of the can in glue. You do not need to cover the bottom or inside of the can. Just the outside. Make sure it is covered all the way around.
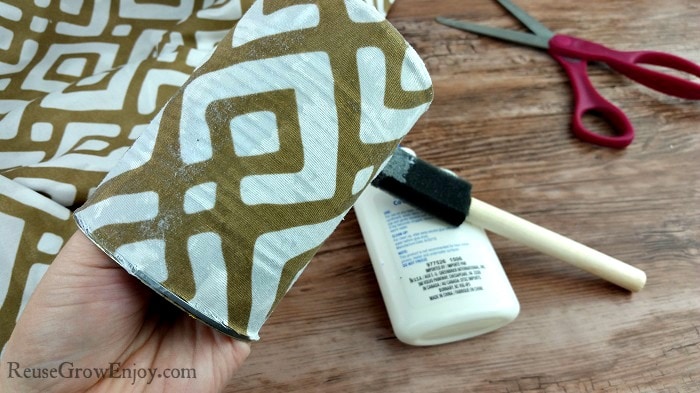
Now, wrap the cut fabric around the glue covered can. Take the brush or fingers and make sure the fabric is pushed on the glue well. You may also need to smooth out any bumps.
If you have areas that are not sticking well, you can give them a little extra glue on the outside of the fabric. Don’t worry about seeing the glue as it will dry clear.
Allow to fully dry. Depending on the temperature and humidity in the air it can take 4 or more hours to fully dry. I left mine overnight just to be safe.
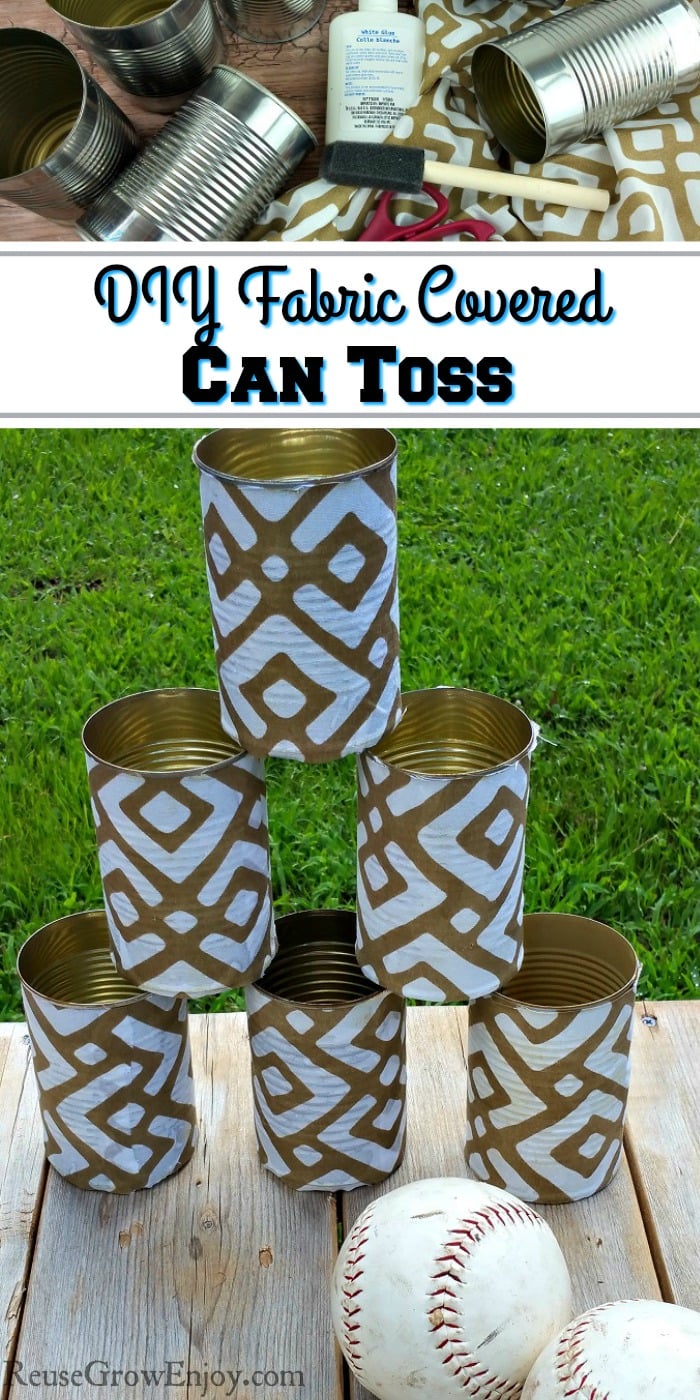
That is it! Now you just find a nice spot outdoors to stack them up and enjoy tossing a ball or bean bag at them to knock them down.
Have fun!
If you liked this idea, here are some others to check out
- Kids Outside Activity: Plastic Bottle Bowling
- Easy Country Tin Can Planter
- 11 Ways To Reuse A Tin Can


Leave a Reply