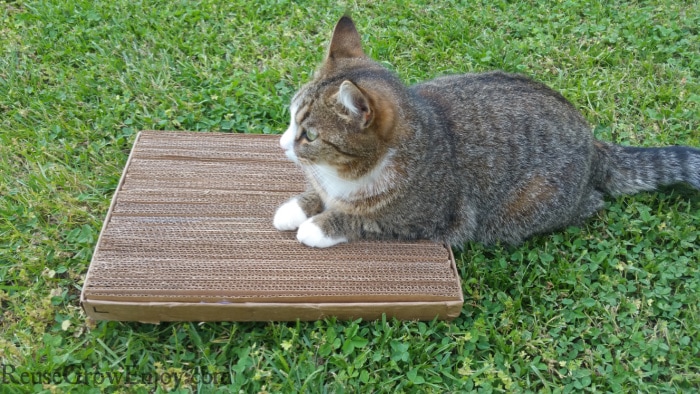
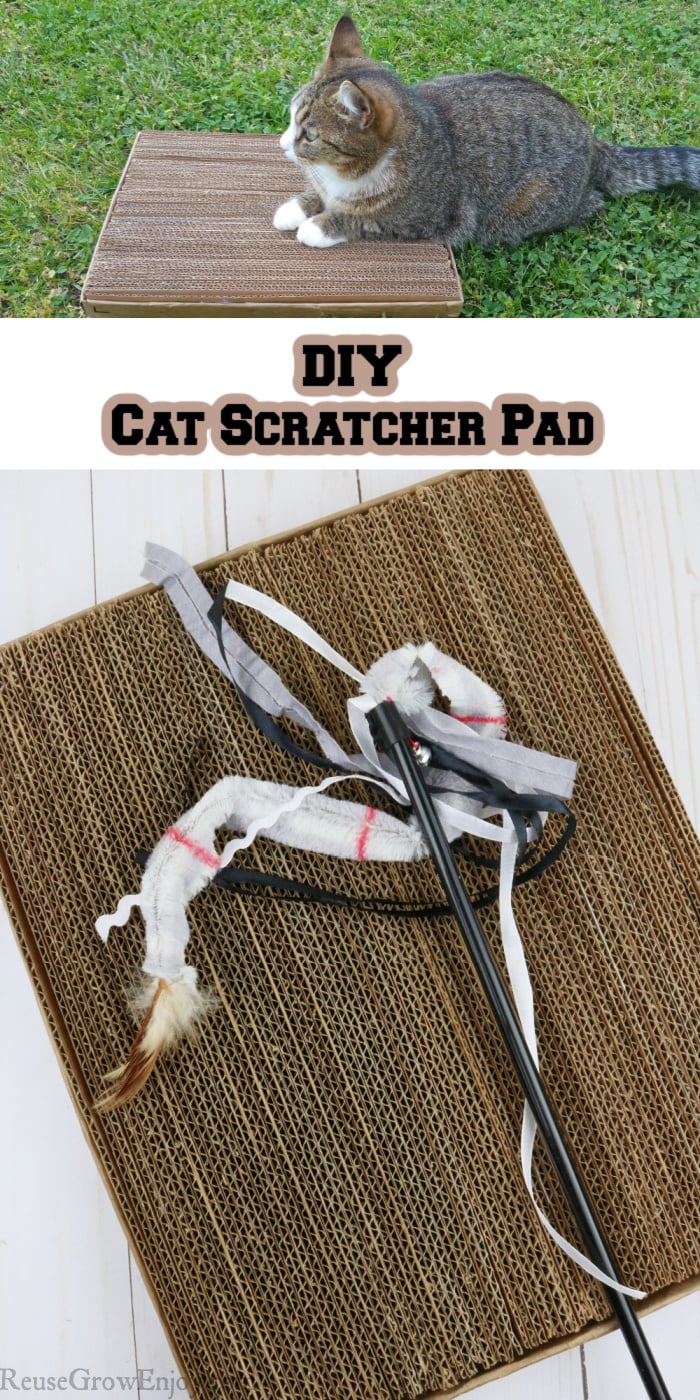
If you have a cat, you know how much they like to claw or scratch things. One of the best ways to keep your feline friend from scratching up the things you don’t want to be scratched is to give them a place just for them to scratch. I am going to show you step by step instructions on how to make this DIY Cat Scratcher Pad.
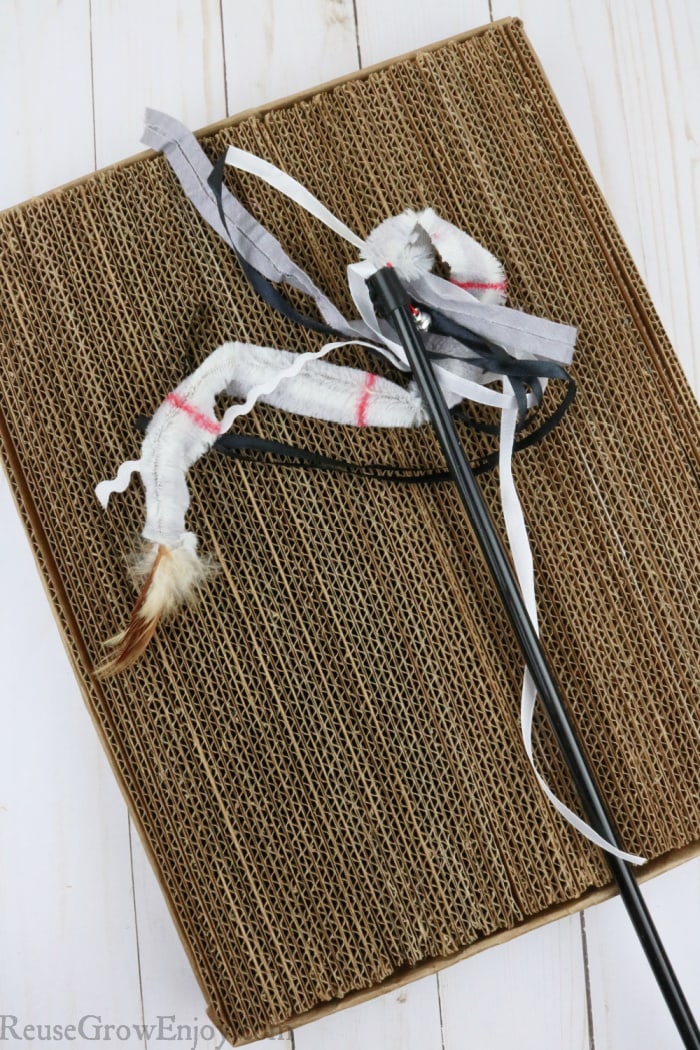
The best part about this DIY Cat Scratcher Pad is it is made from upcycled cardboard! It is such a good use for all those boxes you get in the mail from all of our online shopping.
While this cardboard scratcher is super easy to make, it does take a little time to make it. So it makes for a nice rainy day craft idea for your furry friend.
If you are looking for other pet crafts or ways to reuse boxes, here are a few posts to check out.
Time: About 1 hour
Skill: Easy
Makes: 1 pad
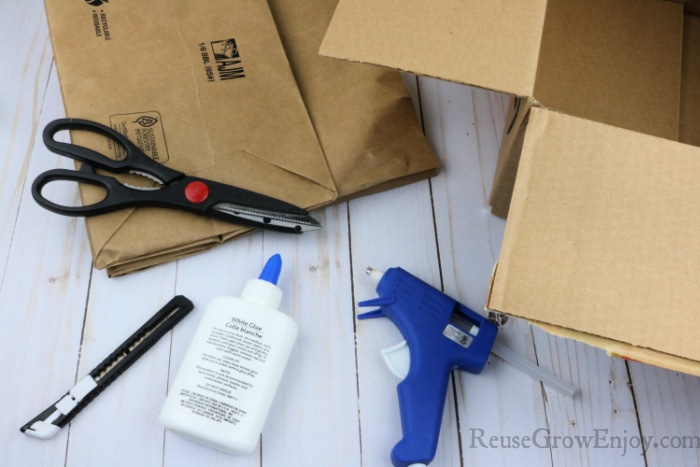
Following Items Needed To Make:
- Hot Glue Gun & Several Glue Sticks
- Cardboard Boxes (my base box was 13.5″ x 10.5″)
- Brown Paper Bag (or another paper) (optional)
- White School Glue (optional)
- Scissors
- Utility Knife
How To Make A DIY Cat Scratcher Pad
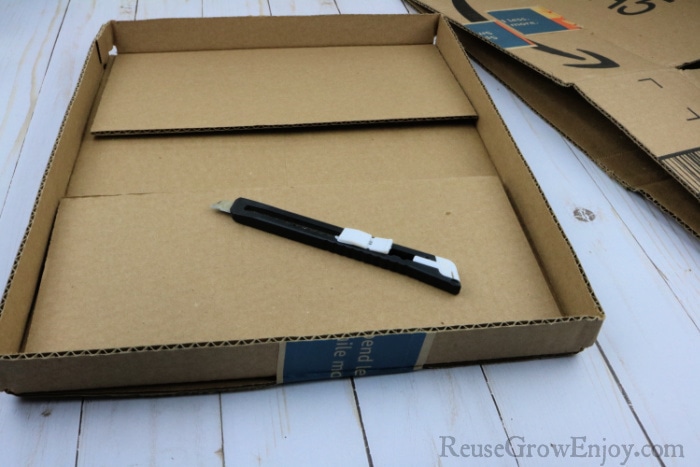
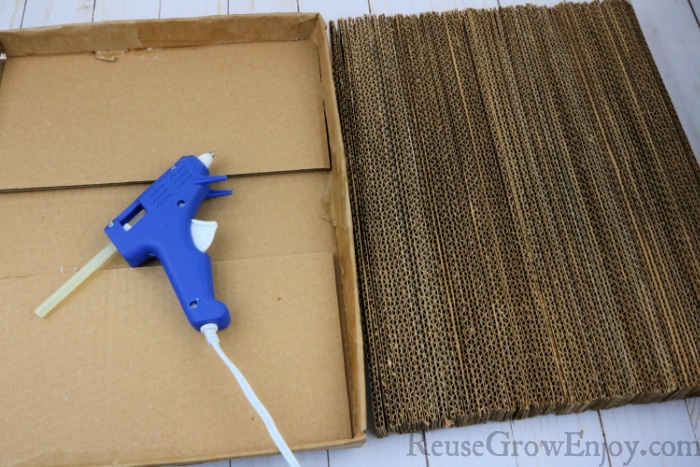
Cut the base box off so that it is only 1 inch tall. You can eye it or if you want to be sure straight use a ruler and mark it. You do want to make sure the box you use for the bottom of the base is a strong one.
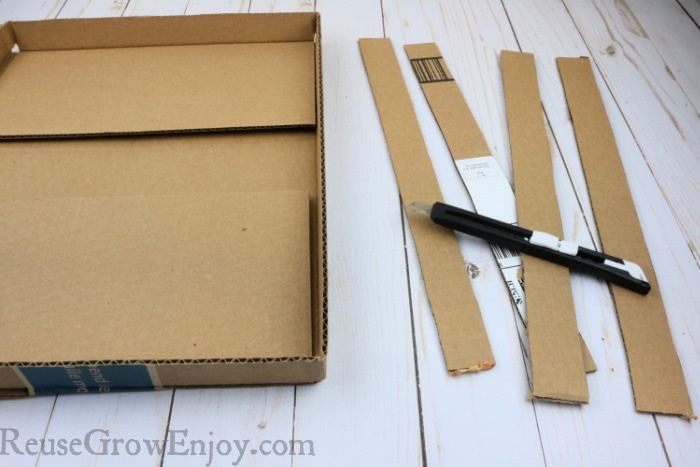
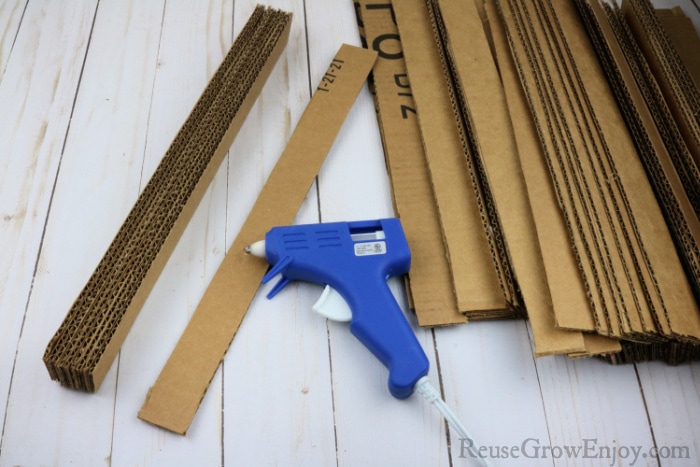
Cut strips of cardboard that are 1 inch wide and long enough to fit just inside the longest part of the box. So to fit into my base box, my strips are 1 inch by 13 3/8ths inches long. You will need enough to fill the box with them standing on their sides. Mine took about 83 strips to fill it.
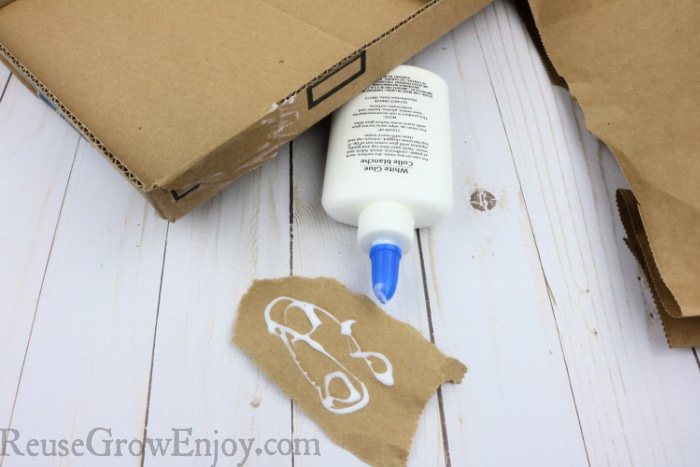
This step is optional. If you don’t care how it looks, you can skip this step. Rip strips of brown paper and glue them over the edges. Pretty much soak the paper in school glue then apply to the edges of the box. This hides that top edge of the box. Set aside and allow to fully dry.
Using the hot glue, start gluing all the cardboard strips together. Make sure everything stays lined up.
When all the strips are glued together, carefully lift it and glue it inside of your base box. I added hot glue to the bottom as well as the edges to hold it in place. You do have to move fast so the glue does not dry while you are working.
Is There A Way Not To Use Hot Glue?
Not wanting you to use hot glue? The good news, there is a way to make this scratching surface for your cat without the glue. Just follow these simple steps.
You would simply cut the base box like normal. Then cut the strips to fit inside that box. Place them side by side in the box getting them as tightly packed as you can.
Then when you have the box filled, you will wrap a long piece of natural sisal rope or string around each end and tie off the end of the rope.
You want to make sure it is tight sisal and that you wrap it a couple of times around the scratching surface. Then simply cut off the end of the sisal rope.
By not using glue, you can also compost your cat scratching board when a new scratcher is needed. When it is time to retire it, simply toss it into the compost pile.


Nan says
oh my goodness I was just wondering how to make a scratchpad for my cats and found your website probably the best part of this is that is is free thank you so much for sharing with us
Reuse Grow Enjoy says
Happy to hear you found it helpful, Nan!
Iris says
I made it for my cat and she is grateful, she loves sharpening her claws on the corrugated cardboard!
Reuse Grow Enjoy says
Happy to hear your cat loved it, Iris!