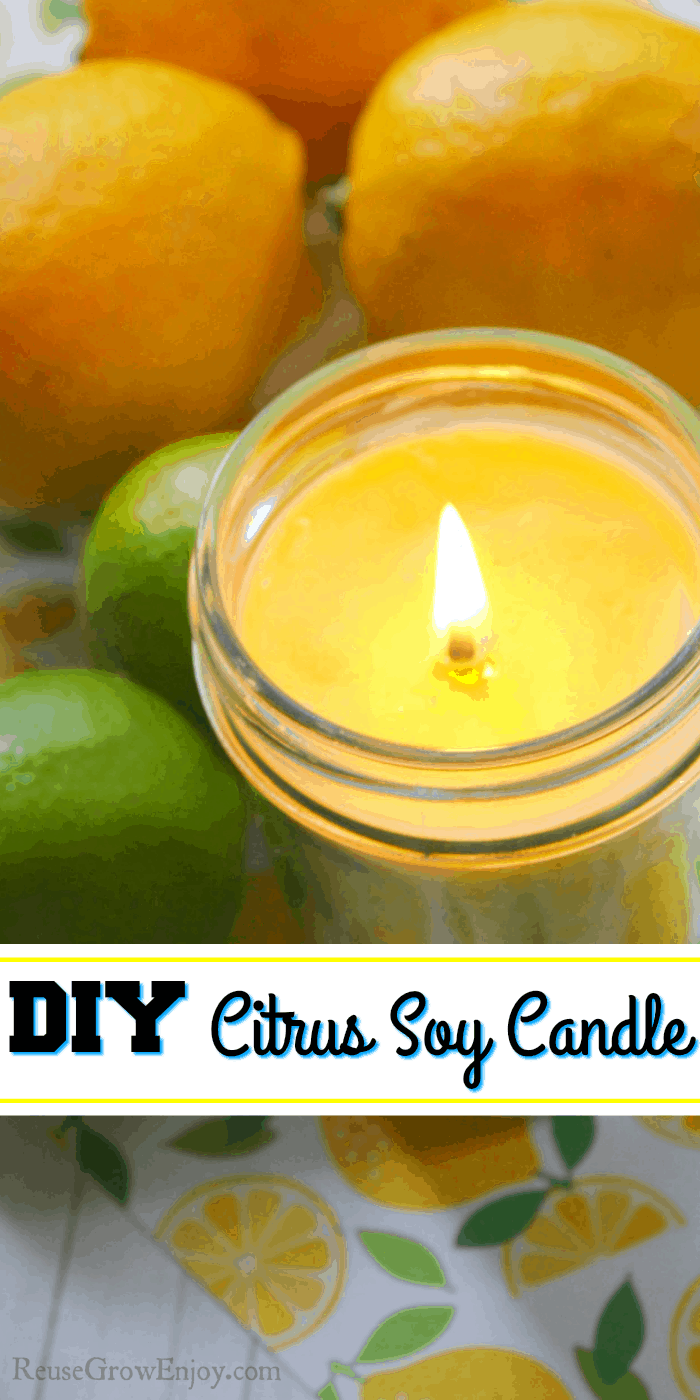
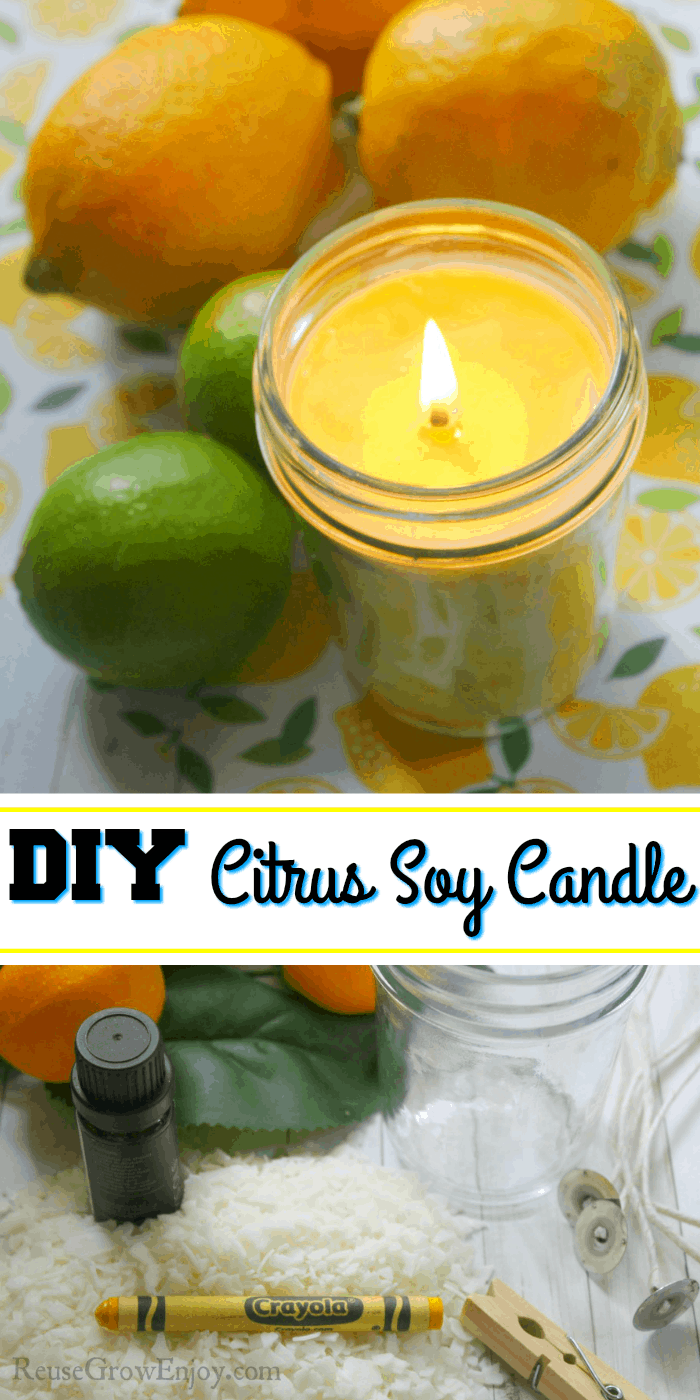
I just love candles! However, the ones from the store can be overpowering sometimes. Find out how easy it is to make your own citrus soy candle right at home.
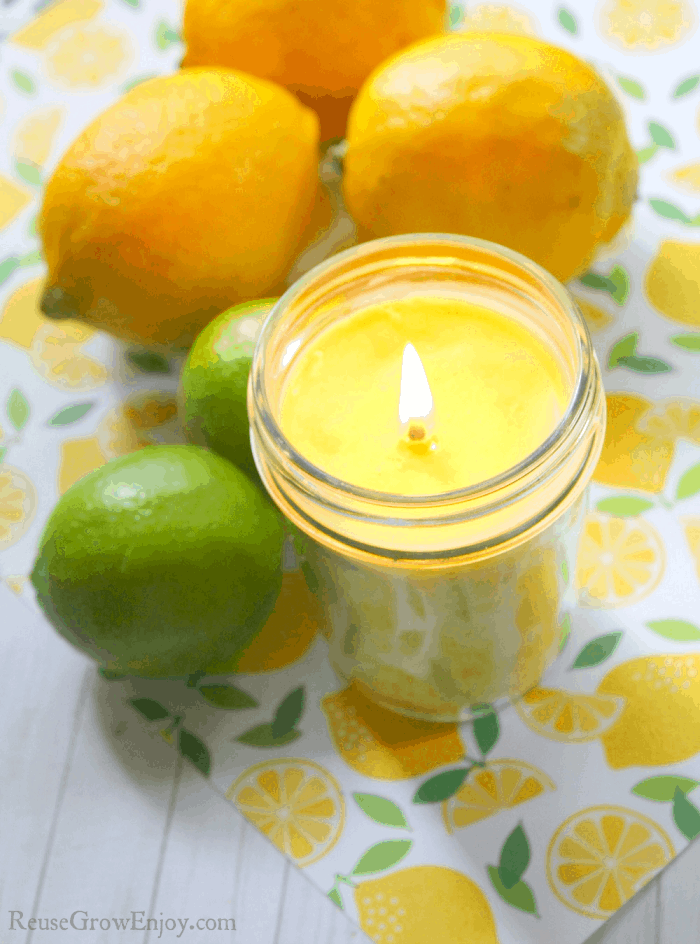
DIY Citrus Soy Candle
If you have never made a candle or a soy candle you may be shocked at just how easy it is. One of the best things about making your own, is you don’t have to worry what is in it and what you will be breathing in.
Or better yet, you could add no scent at all if you or a family member have allergies. Simply just leave out the essential oils when making the candle.
There are a few different types of waxes you can use to make candles. For the one below, we will be making it a soy candle but you could use beeswax if you wanted to. Wondering what the difference is? Check out my post on Soy Candles vs. Beeswax Candles.
This was made using a mason jar. However, it is also a great way to upcycle glass jars that you may have from foods. Like sauce jars or salsa jars. So keep that in mind for the next time you open a glass jar as this is a great way to reuse it.
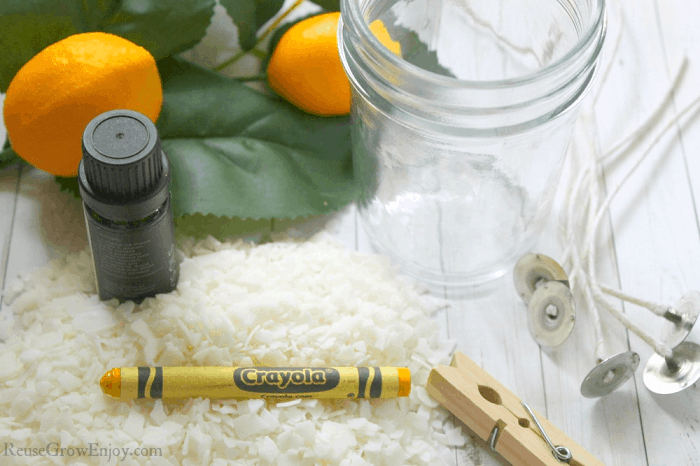
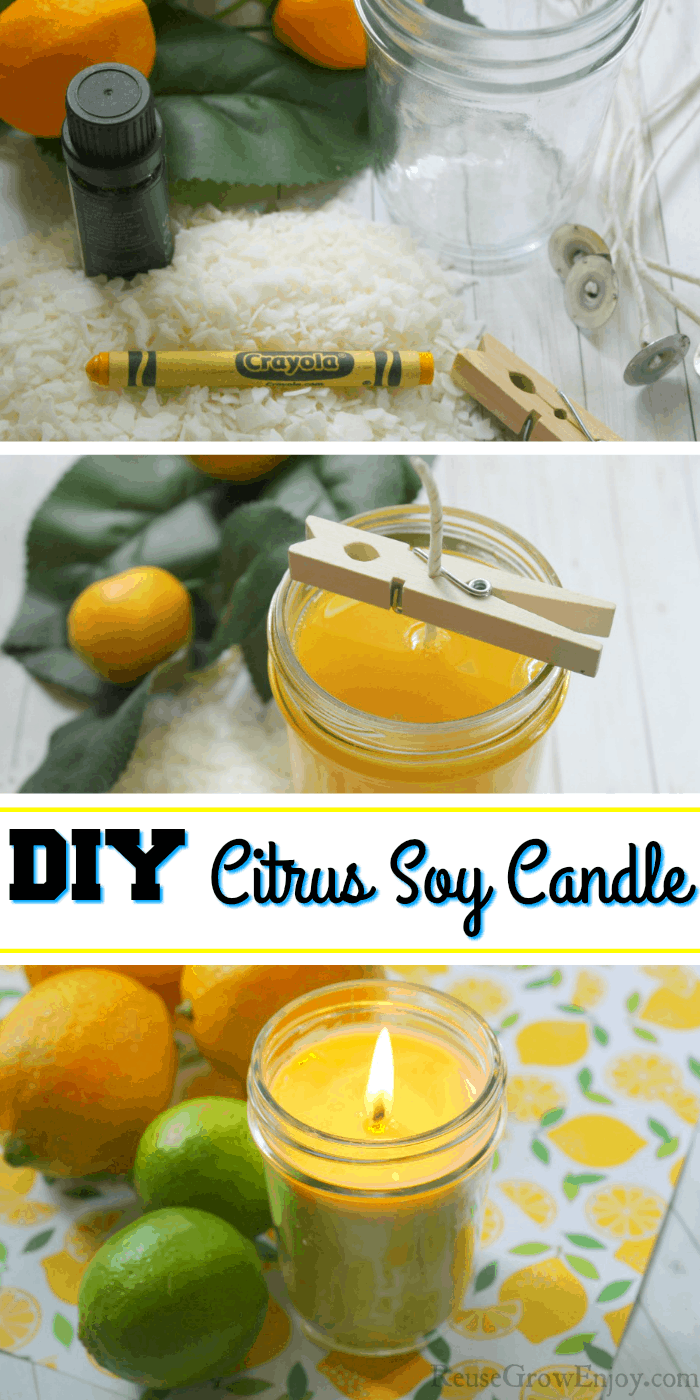
Supplies Needed:
- Candle Wick
- 8 oz Glass Mason Jar (or a reused glass jar)
- Soy Wax Flakes
- Pencil or Clothespin or Tool that comes with wicks (to hold wick centered)
- 10 Drops Lemon Essential Oil
- 10 Drops Lime Essential Oil
- Yellow Crayon (for coloring the wax)
- Non-stick Pot
- Scissors
- Wooden Spoon
Candle Making Directions:
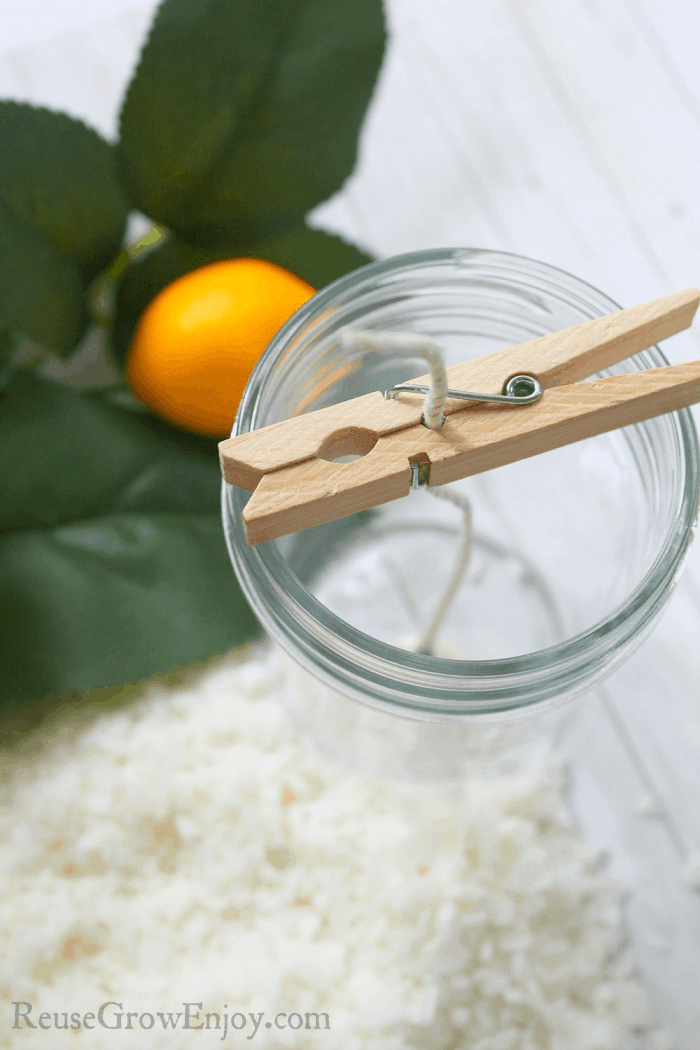
First thing you need to do to start is to place your wick in the glass jar. You want to make sure the weighted metal bottom end is neatly centered at the bottom of the jar.
If you have trouble with it not being centered, you can use a dot of hot glue to secure it thoroughly. But it is not normally needed.
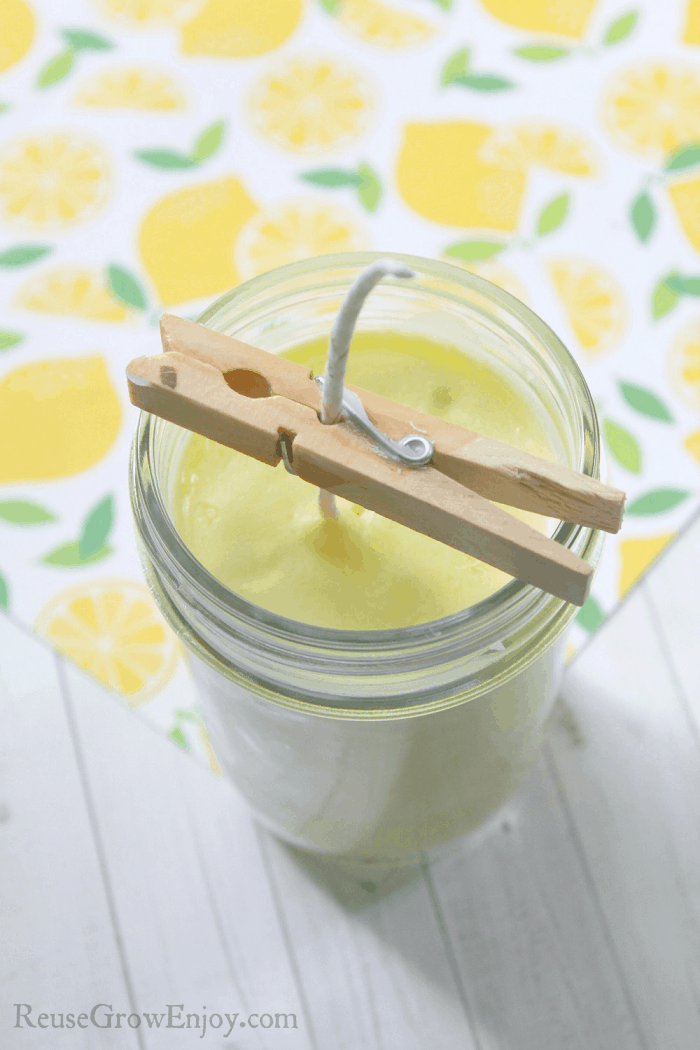
Next, straighten out the wick as much as possible. Then attach it to either a pencil (just wrap it) or a clothespin. You may also have a special tool that comes with the wicks that you could use. Whatever you use, make sure it is resting safely over the mouth of the jar.
Now heat the wax flakes over low heat using your non-stick pot. Make sure you stir as the wax heats to avoid clumping and sticking. You will need about 2 cups of flakes for an 8 oz jar.
If making more then one, I would only heat enough to make a few candles at a time. If you do too much, it will start to cool down before you get everything poured.
When the flakes start to melt, you can add in your drops of essential oil. If you want it to be unscented, just leave the oils out. Stir well.
Here is another optional step. To color the wax of the candle, peel the wrapper off of a crayon and drop it into the mixture. Stir until melted. If you just want the color of the wax, that is fine you can just not add a crayon.
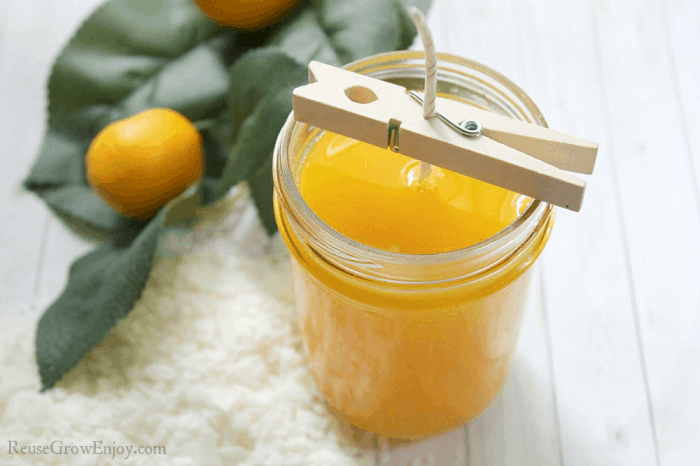
After the mixture has been mixed well and is fully melted, carefully pour it into the jar. Be sure to pour it slowly so you do not move the wick.
Leave the candle to sit in a cool place for 24 hours. As it needs to harden and solidify. When it is solid, you can remove the pencil or clothespin from the top. Trim the wick down to about 1/4 inch length above the wax.
Cautions:
Whenever you are making or using candles, you should always use precautions. The wax will be extremely hot and can burn you. It should only be handled by adults.
You should never leave candles burning unattended. Always be sure to trim wicks so you do not have to high of a flame for best results and safer burning.
After you are done making this soy candle, you may also want to check out this other candle DIY I have as well as an idea for a fall looking holder.


Leave a Reply