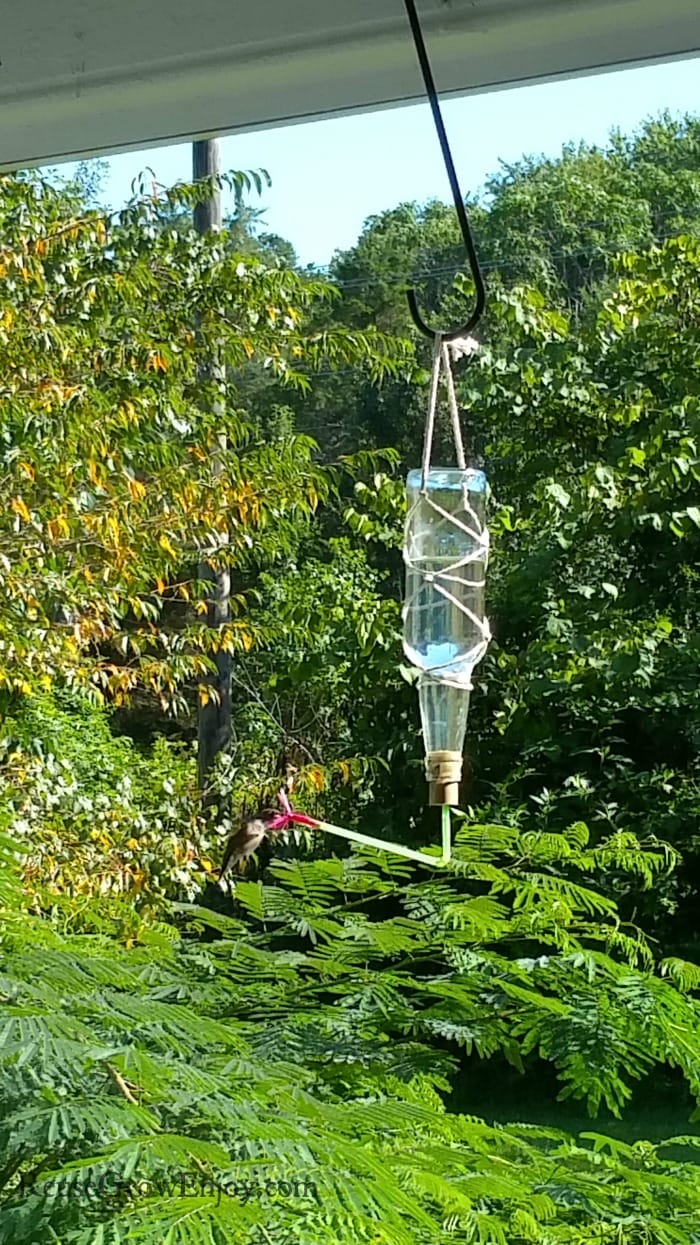
I so love watching my hummingbirds. It is amazing how something so tiny is so fast. If you are looking to draw them to your house too, be sure to make this DIY hummingbird feeder!
DIY Hummingbird Feeder
One of the best things I like about this hummingbird feeder is it is a great way to upcycle items that may be tossed into the trash. Chances are you already have most if not all the items needed to make this too.
These can be made with a glass soda bottle, beer bottle, or even a wine bottle. However, if made with a wine bottle you may only want to fill it part the way as it takes these tiny dudes a long time to eat that much.
Looking for other ways to attract birds? Here are a few to check out.
- Upcycled DIY Plate and Bowl Bird Feeder
- DIY Bird Feeder
- How To Attract Birds To Your Yard This Summer
- DIY Teapot Birdhouse
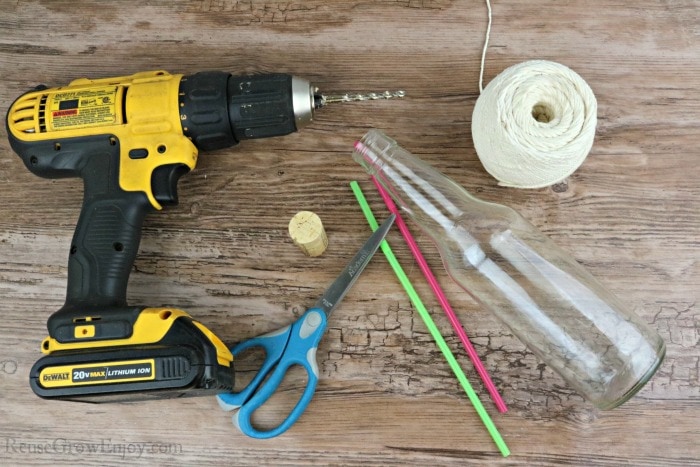
Supplies Needed:
- Glass Bottle (soda, beer or wine will work)
- 1 Cork (real cork of fake will work)
- Drill
- Drill bit same size as straw
- Scissors
- 1 Flex Straw
- 1 Pice of straw same size as flex straw but a bright color
- (2) 60-inch pieces of String (used butchers twine)
How To Make This Feeder:
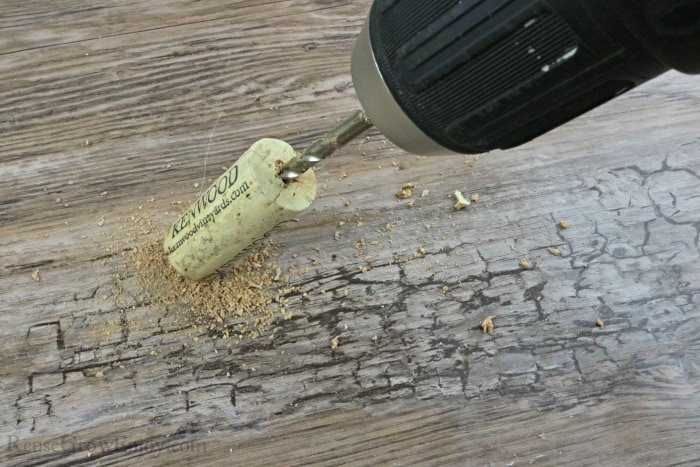
Start by drilling a hole in the middle of the cork. After I drilled all the way through I backed it out then drilled again. Hold the drill running in the cork pushing it in and out to make sure it is clear.
It is very important to only make the hole to the size of the straw.
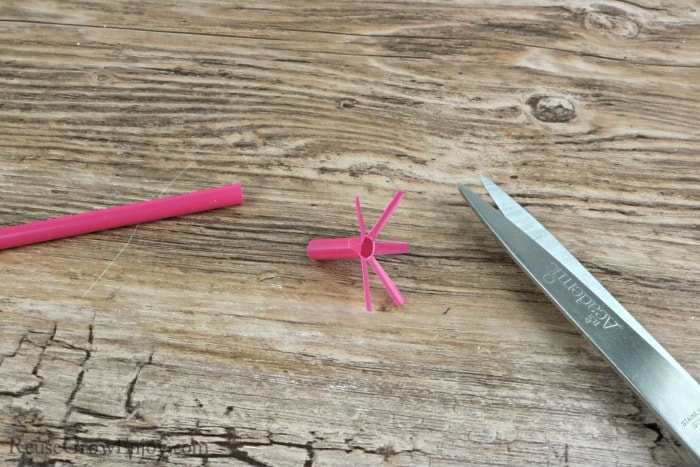
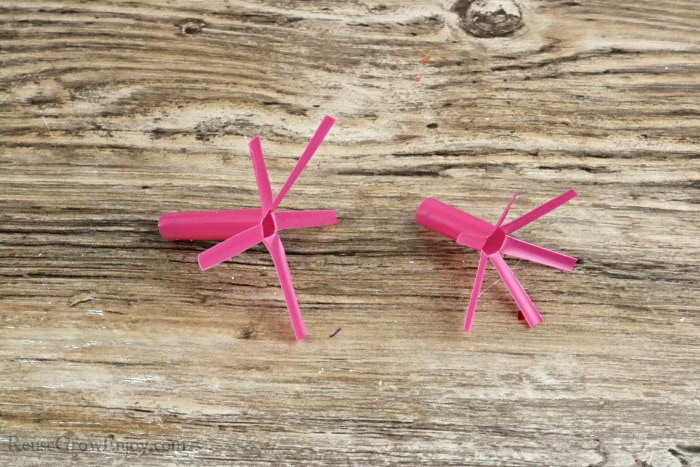
Next, snip about an inch and a half pice of the bright colored straw. Then using the scissors make cuts in the end about halfway down. Then fold those cuts out so it starts to kinda look like a flower.
Next, cut another piece of the bright straw so it is about half the size of the last one. Make cuts just as before.
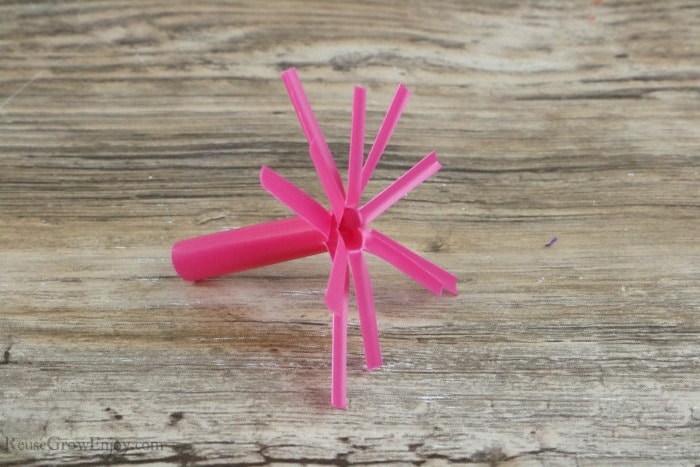
Now slightly pinch the end of the smaller piece and insert it into the flanged end of the larger piece. You should have a cute little flower.
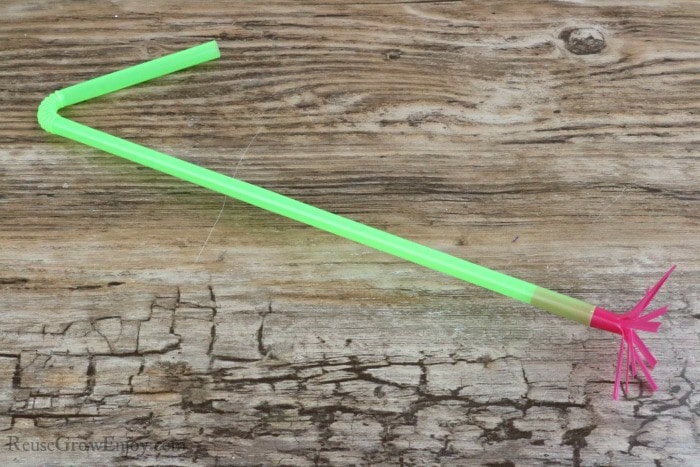
Carefully pinch the end of the flower and insert it into the long end of the straw.
Before using the feeder for the first time, it is a good idea to run some water through the straw and cork just be sure all little pieces of debris are gone.
Making The Hanger For The Feeder:
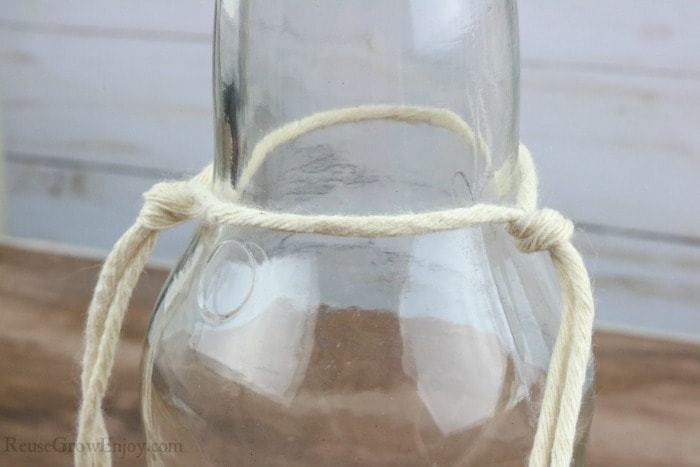
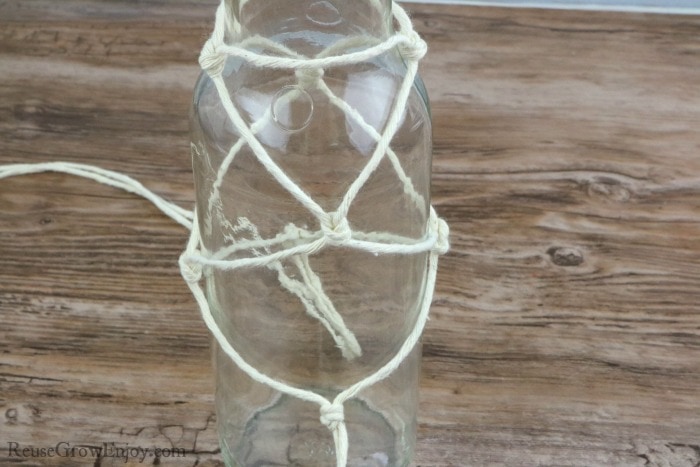
Cut two pieces of twine that are both about 60 inches long. Put the bottle in the center of those pieces with one string on each side.
Then tie them in a knot on each side of the bottle just as the neck meets the rest of the bottle.
Now grab one string from each side and tie them so they join on a side where there is no knot. Then turn it around and do the same thing on the other side.
Keep doing this, switching sides of the bottle so that it makes a netting down the bottle.
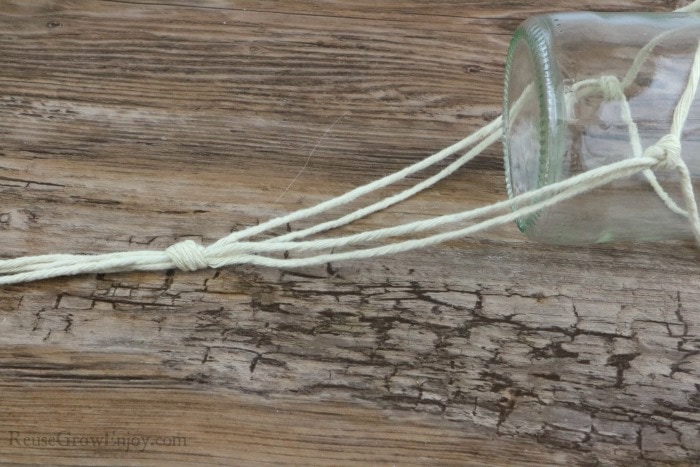
When you get to the bottle base of the bottle, lay it on its side. Then pull all four strings evenly about five inches from the bottle and tie them in a knot. Just be sure you keep it even, so when it is hanging it is not lopsided.
Adding Cork & Food:
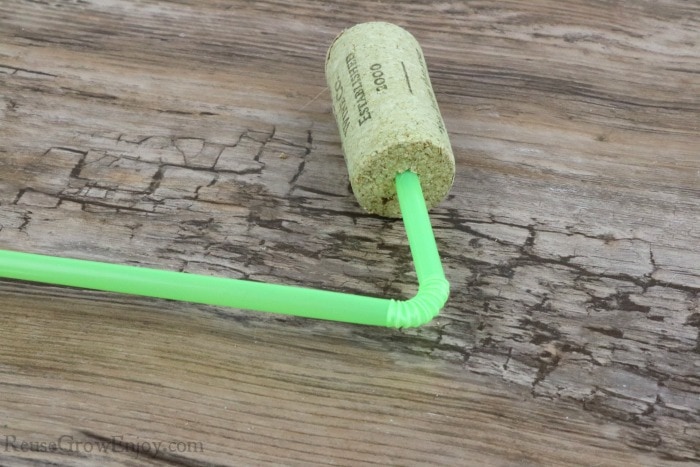
Carefully push the bendy end of the straw into the hole in the cork. You have to be careful because if you crimp it, it will drip.
Fill the bottle with sugar water or hummingbird food and carefully push the cork into the bottle.
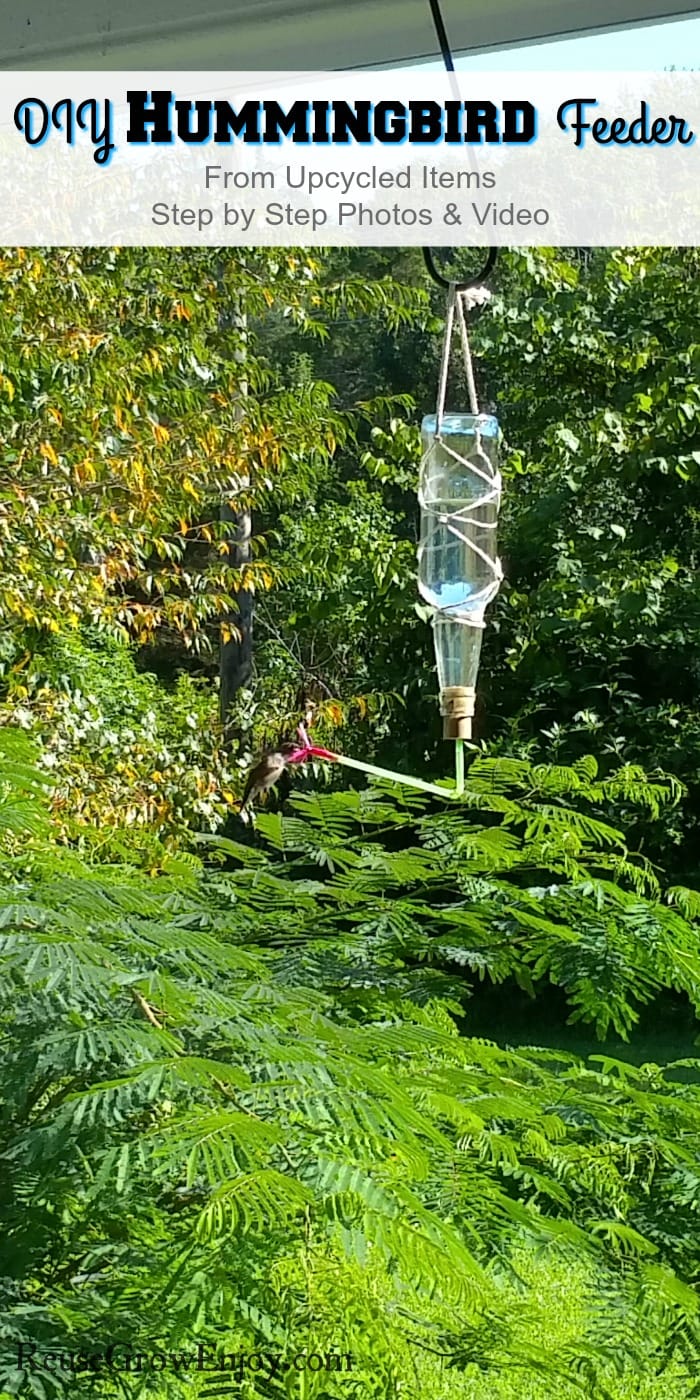
Hang the bottle from the knotted end of the twine upside down. Then make sure the long end of the start is bent pointing slightly up and you are good to go!


Katie says
Hi!
My hero! Haha
I thrifted a beautfiful glass bottle feeder, without its original metal hanger.
I’m doing your netting – just curious, did you double not? I’m going to go back and double it because it’s so loosey goose. I think it looks doubled in the pics.
Thanks again!
Reuse Grow Enjoy says
You are so welcome! Feel free to share a picture of yours when you are done, I would love to see it!
Jessica Barnhill says
Coffee.
jan says
same, jessica