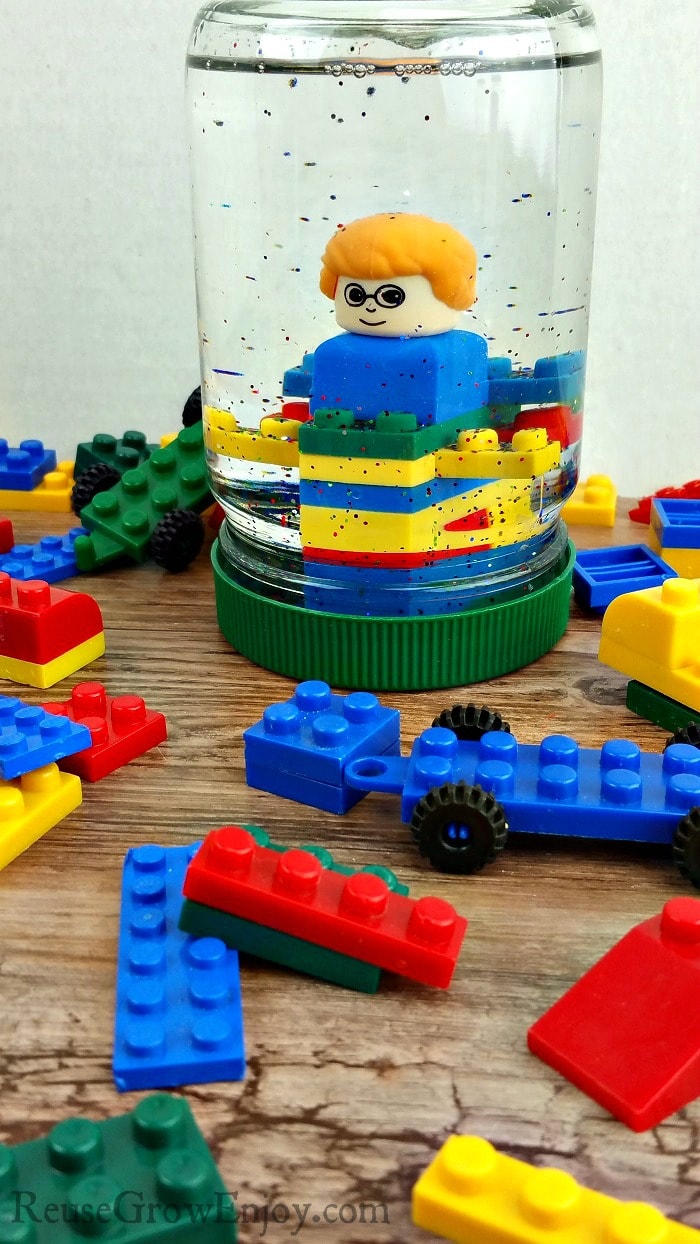
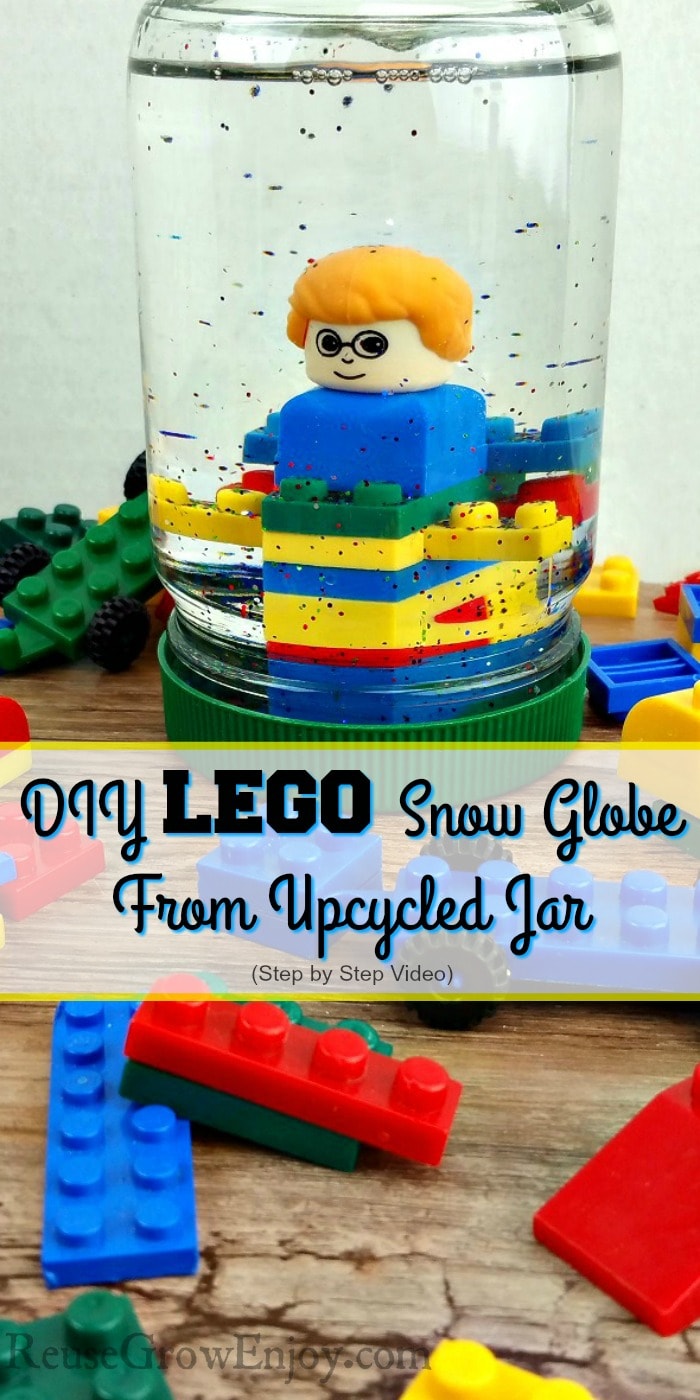
If you have small kids I am sure you have LEGO’s in the house. Next time you empty out a jar, save it to make this easy DIY LEGO snow globe!
DIY LEGO Snow Globe Made From Upcycled Jar
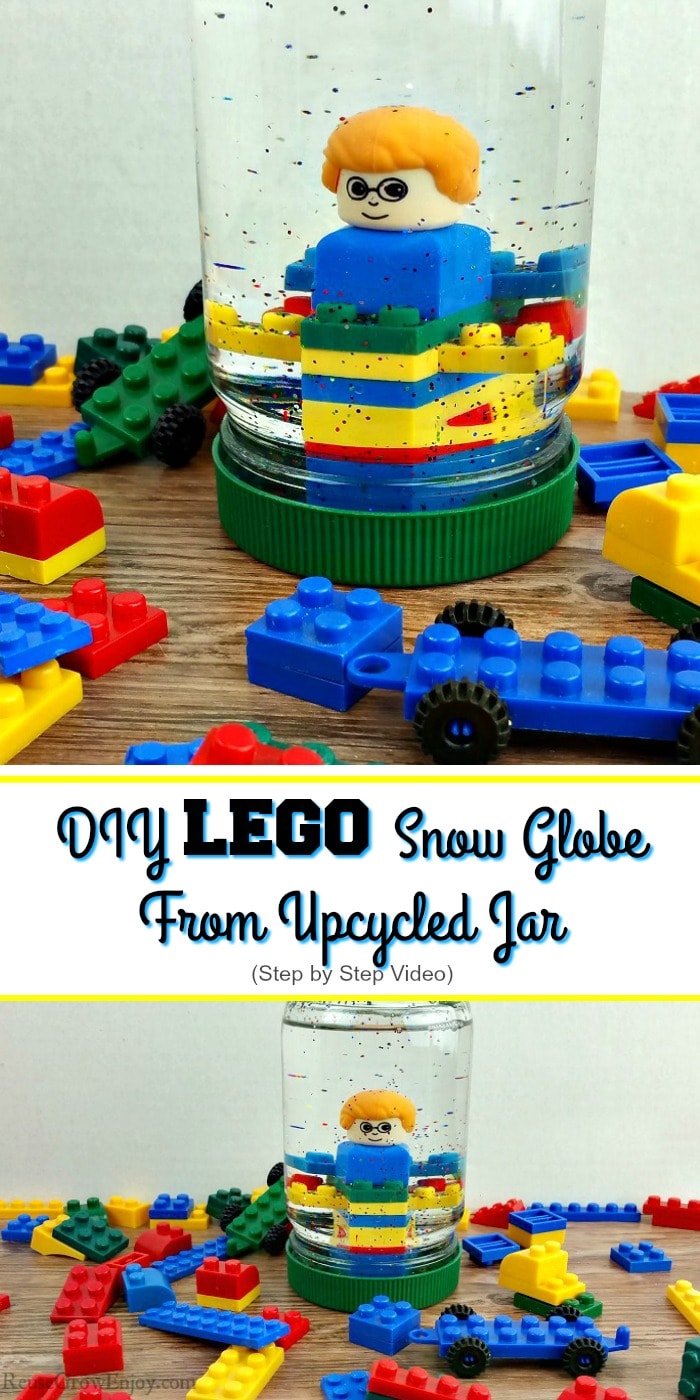
This is a fun project you can do with the kids. This is pretty easy to make and super cheap. You can reuse an empty jar to make this fun and cute DIY LEGO snow globe.
For this project, I reused a mayo jar like this one here. But you could use just about anything. You just need it to be able to hold liquid and seal. My jar is glass, but I sure it would be fine with plastic too.
To make this LEGO snow globe, I used mineral oil. I know some would use water, but I was worried that after a little while the water would start getting cloudy or growing algae. If you wanted to make yours by trying water, I would only use distilled as it should give you the best chance of lasting the longest.
How much liquid you will need will depend on the size jar you are using. You need to be able to fill the jar while leaving about an inch gap at the top. The gap is to allow you to submerge your top with the attached top without the liquid overflowing.
If you wanted to turn this into something other than a LEGO snow globe, just follow the same steps and replace the LEGO’s with a toy of your choice. Other items that work really well are things like plastic dinosaurs, My Little Pony mini figures or just anything that is small and plastic. You just need to make sure it is small enough to fit in the jar.
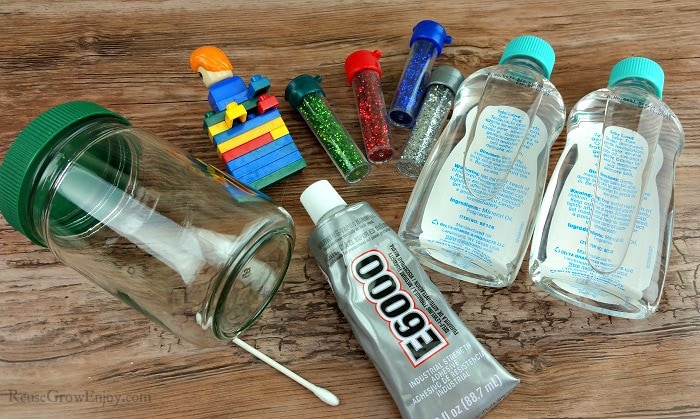
DIY LEGO Snow Globe Supplies:
- Jar
- LEGO’s (or another toy)
- Mineral Oil or Baby oil (glycerin will also work)
- Glitter (I used red, blue, green and silver)
- Q-tip (optional)
- E6000 Adhesive
The first thing you need to do is make sure the jar is totally clean. You also want to remove any stickers that may be on the outside. If you have trouble getting the glue off from the labels, try my tip for natural glue remover.
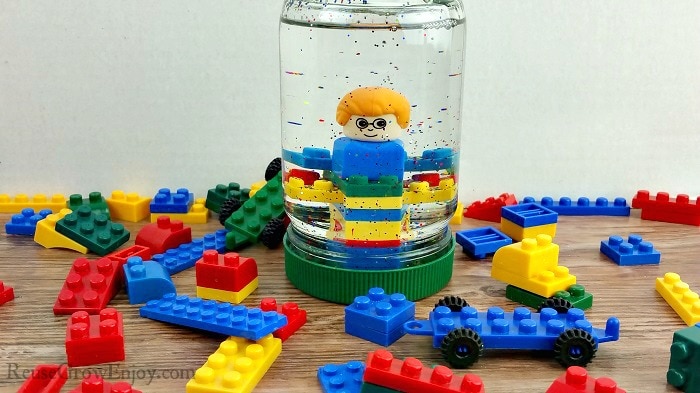
After you have the jar clean and totally dry, figure out how you want your LEGO’s to be. I stacked mine so it kinda looks like a plane with a person on it. I stacked a little extra at the bottom just so it would lift it up in the jar more and not be right at the lid level.
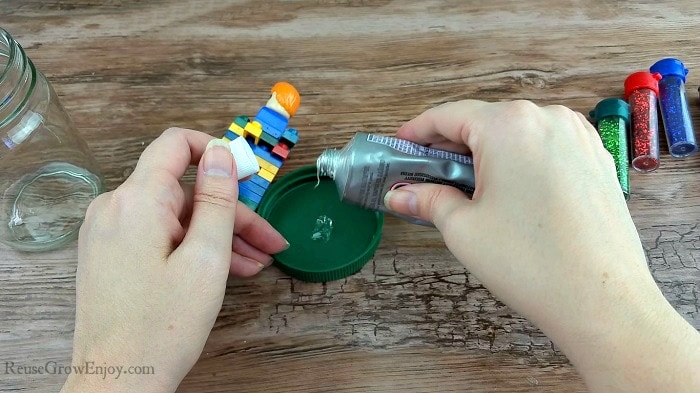
Now, add just a dab of the E6000 glue to the center of the lid. Then place your stacked LEGO’s on the glue. Wiggle it around a little to even out the glue on the LEGO.
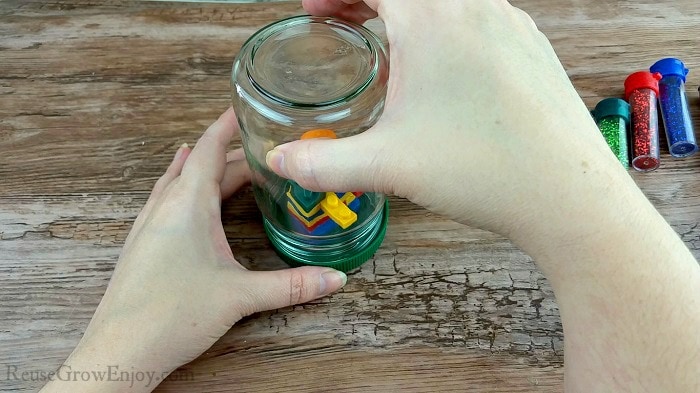
Then carefully do a test run with the jar by easing the jar down over the LEGO stack. You want to do this to make sure you have it centered and that the jar will go over it. At this point, the glue is not dry and you can still move/shift it if you need to.
If it the jar fits over, remove the jar and hold in place pushing down for just a few seconds. Then set it aside and allow it to fully dry before submerging. I would let it dry for at least an hour.
Adding Oil & Glitter:
While the glue is drying you can add your oil and glitter to the jar. When adding the oil, you want to leave about a half inch to an inch gap from the top of the jar. You don’t want the oil to overflow when you place the LEGO’s inside.
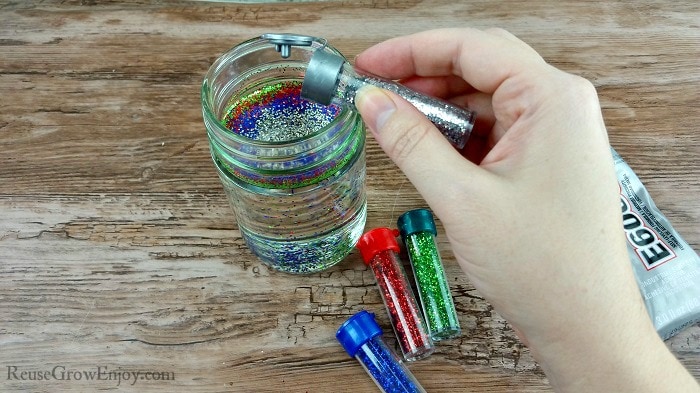
Now add some glitter. You can use whatever colors you want. I put just a small dash of each color in mine. You want to have enough in there so when you shake it up the glitter swirls around. But not so much that you can’t see your LEGO’s.
Placing The Lid On And Sealing:
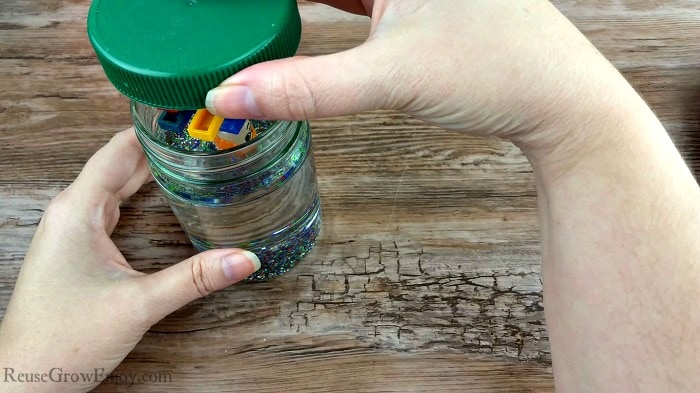
After the glue is totally dry, carefully submerge it in the oil and then twist the lid on the jar. Twist it on so that it is really snug as you do not want it coming off.
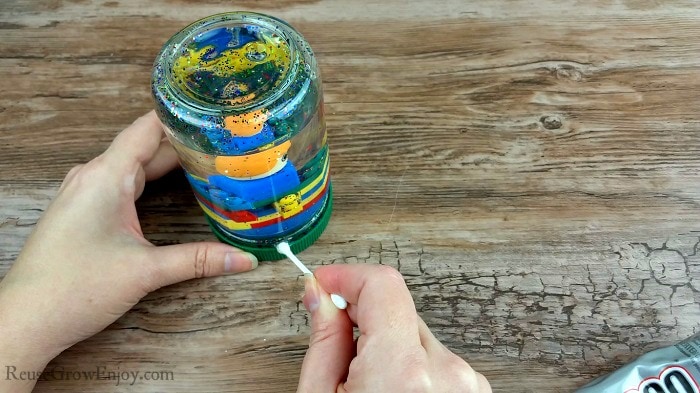
Now, this next step is totally optional. If you think you may have kids testing to see if they could get the top off, you can do as I did and add a little dab of the E6000 glue on each side of the top just where it joins the jar. I used the q-tip to do this step. Again, this is totally optional.
Just remember to let this glue fully dry too before you start playing with and showing off the snow globe. Don’t want to have anyone’s fingers getting glued to the jar!
That is is, you now have a cute new LEGO snow globe to display and show off! Super easy, right?
Looking for more craft ideas? Here are a few to check out.
- DIY Lego Earrings – Made With Upcycled Legos
- DIY Egg Carton Fox Craft – With Video
- Ladybug Puzzle Craft


Leave a Reply