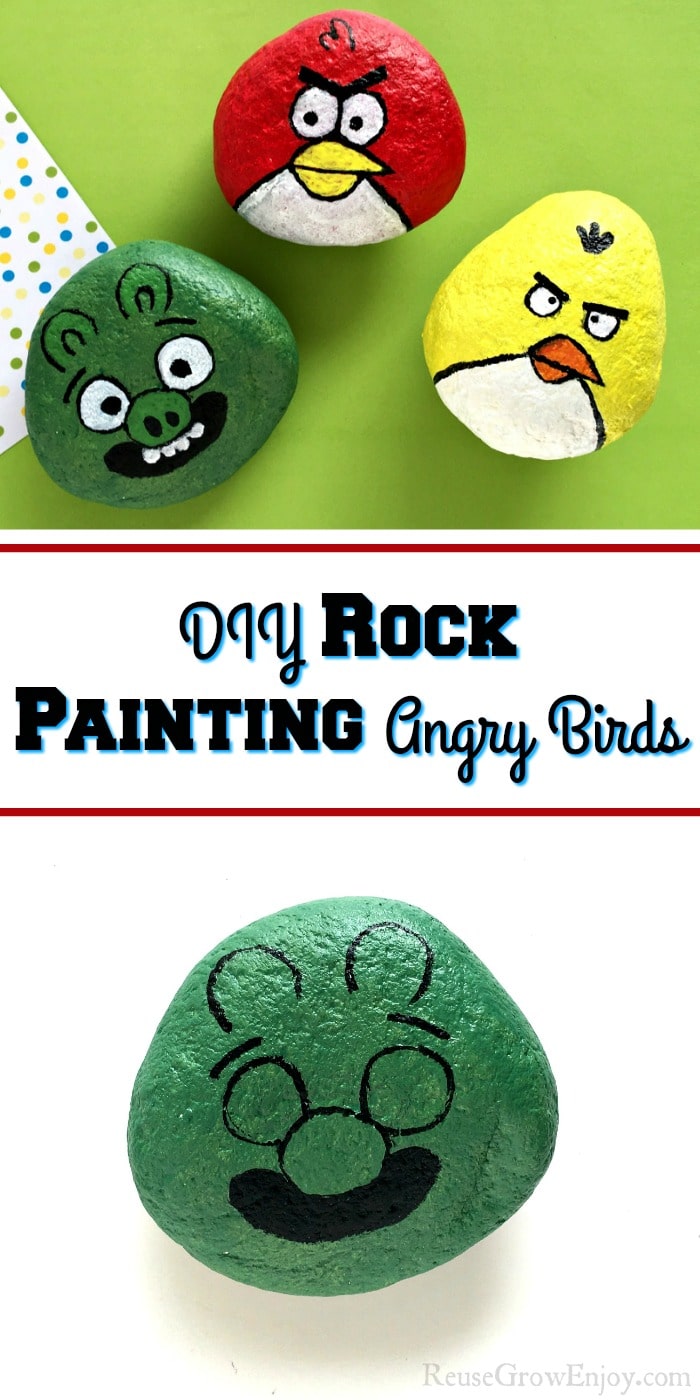
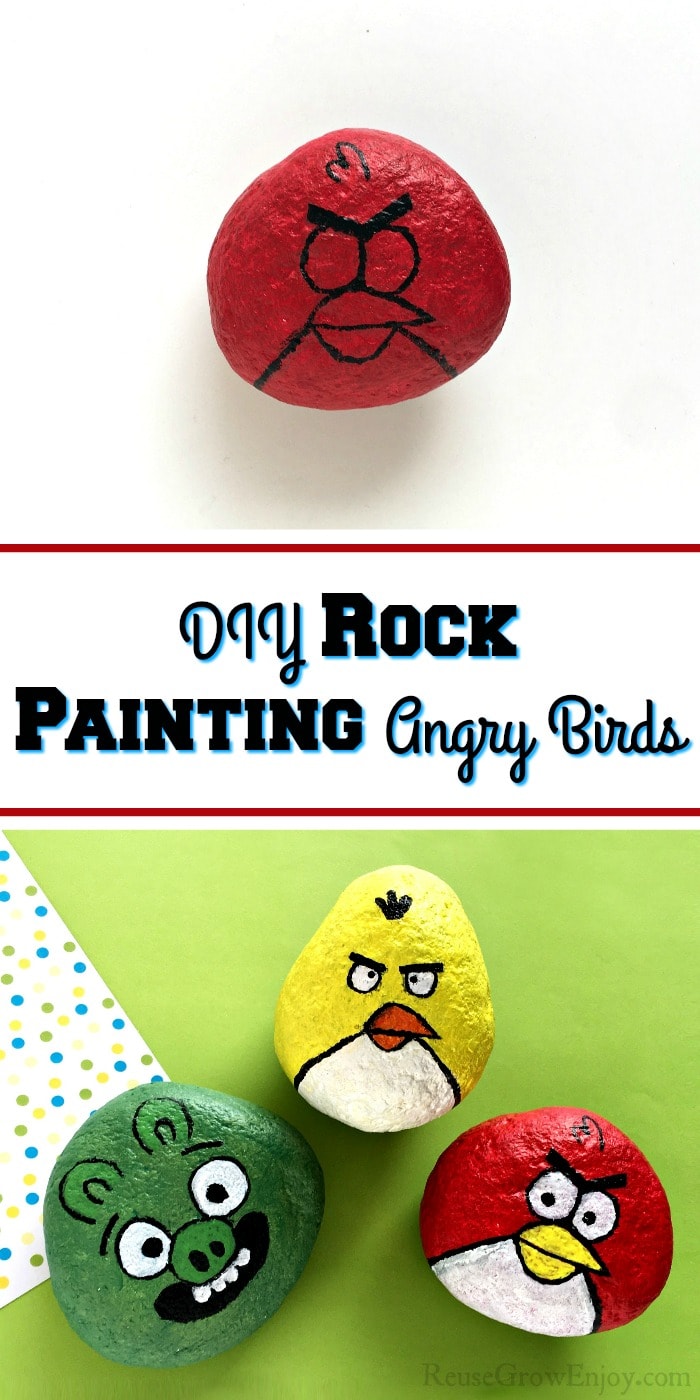
Rocking painting is such a cute and fun way to keep the kids busy. I am going to show you how to paint Angry Birds on rocks. You can use the stones you find in the yard or order them online.
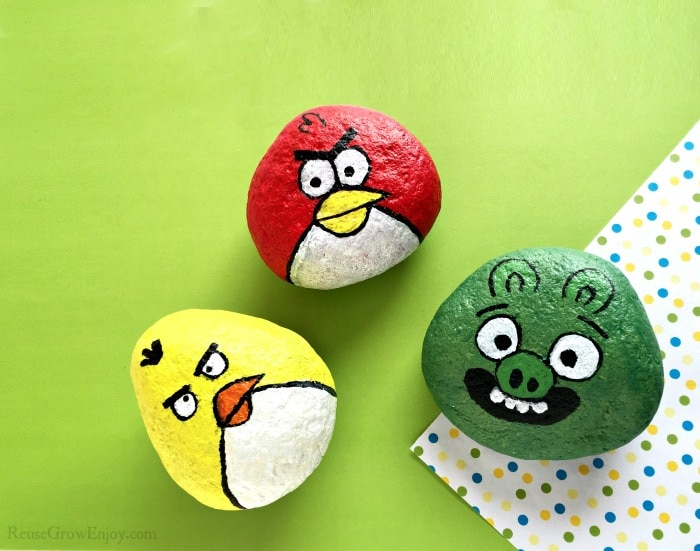
DIY Rock Painting Angry Birds
If you are a fan of Angry Birds and looking for a fun project for you or the kids today then this is for you. I am going to show you step by step how to do rock painting Angry Birds.
These are great as decorations in the house or even in the yard and garden. However, if you are going to be putting them outdoors, you will need to also coat them with a sealer. If you don’t the paint will start to wear off with the weather.
While you could use paint pens for your whole rock painting, I find it better to use them for just the small stuff. When covering large areas such as the whole rock, it is best to use more of a bulk paint so you don’t use up the pens so fast.
Supplies Needed:
- Black Permanent Marker Pen
- Acrylic Paint (colors of choice, we used red, yellow, white, green and orange)
- Small Rocks With A Flatter Edge (like these)
- Paintbrush
- Sealer (if putting outdoors)
How To Paint Angry Birds On Rocks:
To make these Angry Bird painted stones, the first you need to round up all the supplies needed. Then carefully look at each rock and figure out which one is best for each bird.
You need the rock to be at least one inch wide and at least one inch long. Make sure before you start painting that the rock is clean and dry.
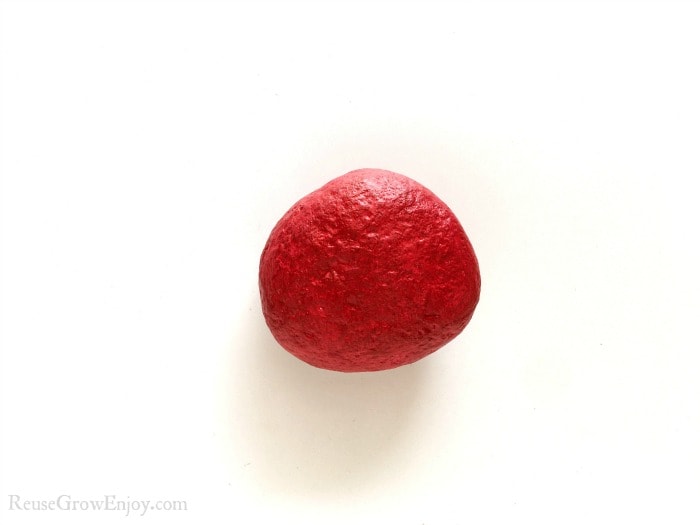
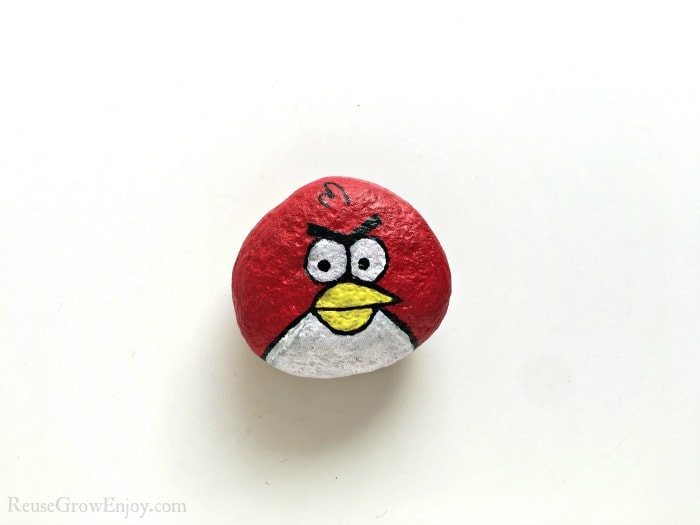
We are going to start with the red stone first. Start by painting the whole rock red. Allow it to dry and then give it another coat and allow that to dry.
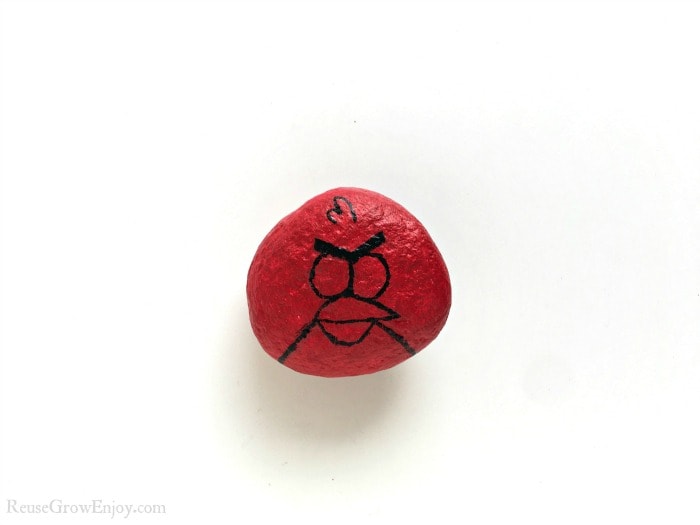
When the paint is totally dry, use the black marker pen to make the outline of the bird’s face and other features.
You may need to go over it a few times so that it is a little thicker lines and so that it is dark. If your pen is not doing the trick, you can go over it with a brush and black paint to darken them.
Allow the black paint to fully dry before moving to the next color.
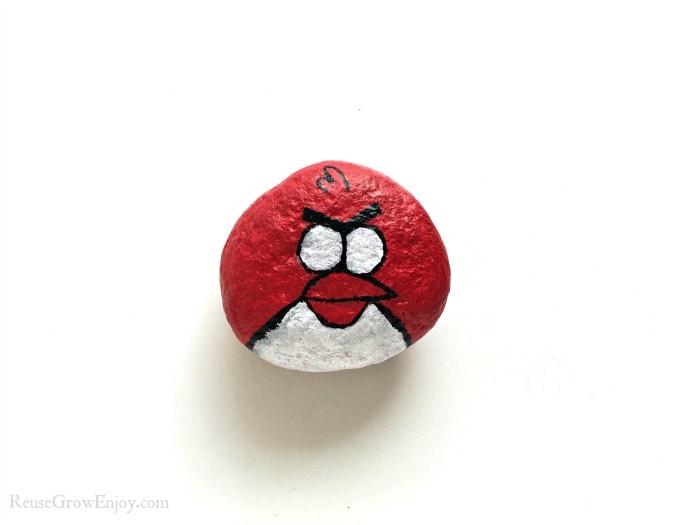
Next, use the white paint to fill in the bird’s belly and eyes. Again, allow to fully dry before moving on.
The last steps to finish the red bird is to color in the beak with yellow and add a black dot to the center of the eyes. You can leave it as is to display or seal it with a sealer if you will be placing it outdoors.
Rock Painting The Green Rock:
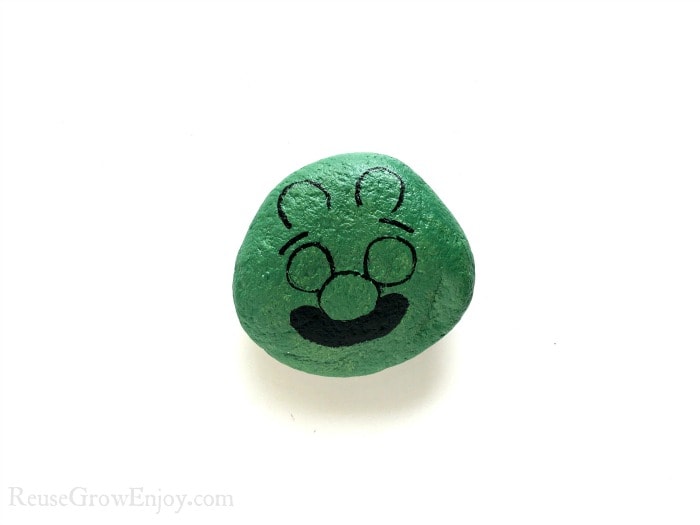
Paint the whole rock green and allow to dry. After dry give it another coat and let it dry again. Note: if the rock looks good and coated from the first coat and none of the rock is showing, you can skip the second coat if you want to. You just want to be sure it is fully covered.
When the green paint is fully dry, use the black paint pen to draw on the face as you see above. It is ok if it is not perfect just try to get it as close as you can.
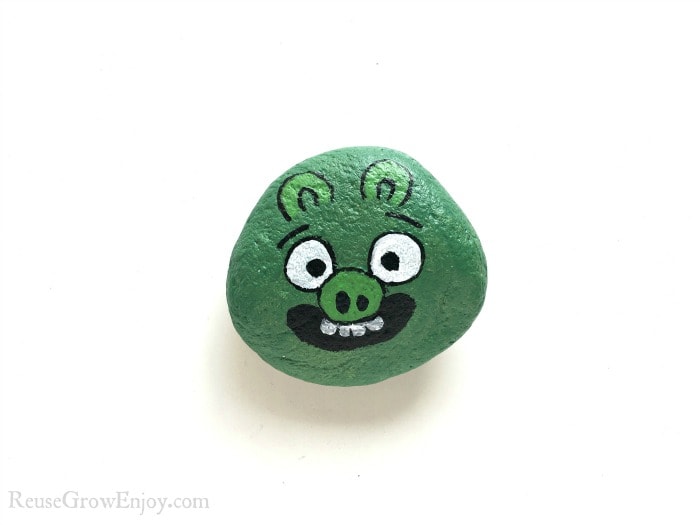
When the black paint is dry you can fill in the eyes with white. You can also paint a few white teeth in the month too.
After the white is dry, use the black marker again to make small dots in the eyes. Allow to dry and display as is or seal if you will be putting it outdoors.
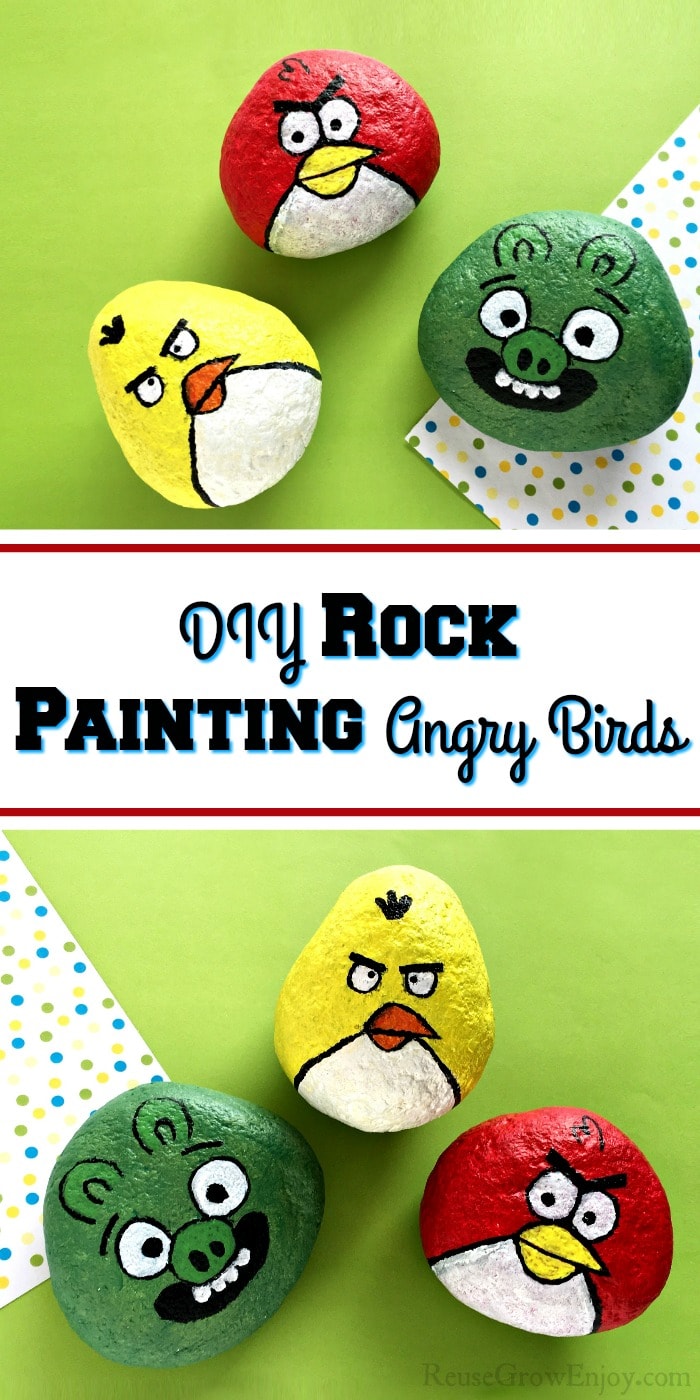
For the yellow rock painting bird, simply follow the same basic steps as the others just using the different colors.
If you liked this craft project, here are a few others to check out.
- Upcycled Box Rope Basket – Cute Farm Style Look For Less!
- Upcycled Hand Stamped Can Top Garden Markers
- Water Bottle Cactus Craft



Leave a Reply