
DIY Sock Snowman
Are you someone that likes to make a snowman every winter? What about if you do not get snow or you just don’t feel like bundling up? Well, that is when you make a DIY sock snowman! It super easy to make. Plus it brings that touch of winter into the house.
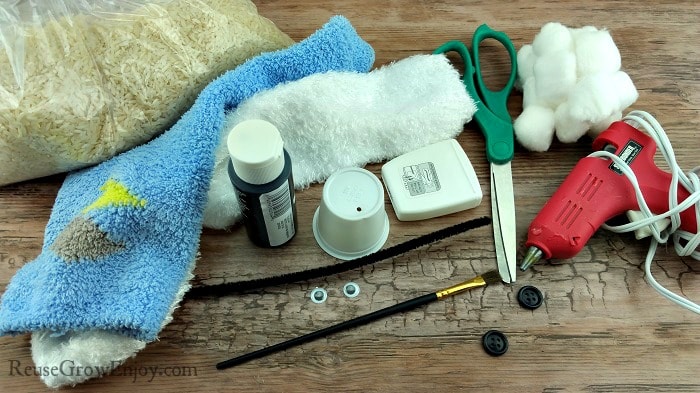
Most of the supplies needed to make this DIY sock snowman you may already have. Or could find something similar to use in its place. While I used a fuzzy white sock for this, you could just use a simple white sock in its place if you do not have a fuzzy one.
The hat is made from a reused K-cup. I simply cleaned it out and painted it black. The snowman is stuffed with rice on the bottom two parts and cotton balls in the head.
The reason I use cotton in the head and not rice is the rice makes it top heavy and it will not stand up correctly.
While I used rice for most of the body, if you do not have rice, you could also use dry beans, dry corn, dry lentils or anything along those lines.
So who is ready to get started making their DIY sock snowman? Let’s get to it!
Supplies:
- 1 Fuzzy White Sock (or plain white sock will work)
- 1 Cleaned K-cup
- Black Craft Paint
- Paint Brush
- 2 Googly Eyes
- 1 Black Pipe Cleaner
- Hot Glue Gun & Glue Stick
- Scissors
- About 1 lb Rice
- Small Piece Orange Tissue Paper
- 2 Small Buttons
- Cotton Balls (about one and half handfuls)
- Piece Of Fabric About 10 – 12 inches long for scarf (I used part of another sock that no longer has mate)
- 15 – 24 inches Dental Floss
Directions:
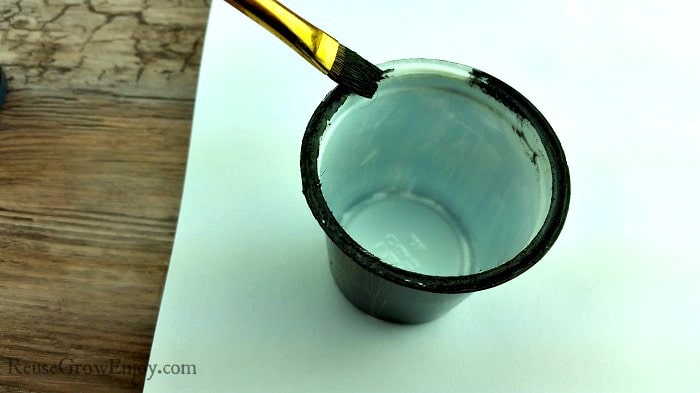
First thing you want to do is paint the outside of the K-cup black. Be sure to paint the bottom and then the rim of the cup. You do not need to paint the inside, other than the rim. That should be painted on both sides. Allow to dry and then give it another coat and set aside.
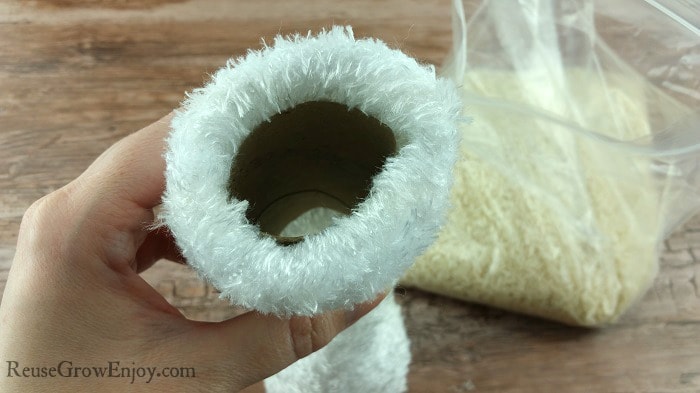
Next step is to put rice inside the sock. I found the best way to do this is to put a toilet paper tube in the sock and then dump rice through it. You only need to put about a cup to cup and a half in the sock.
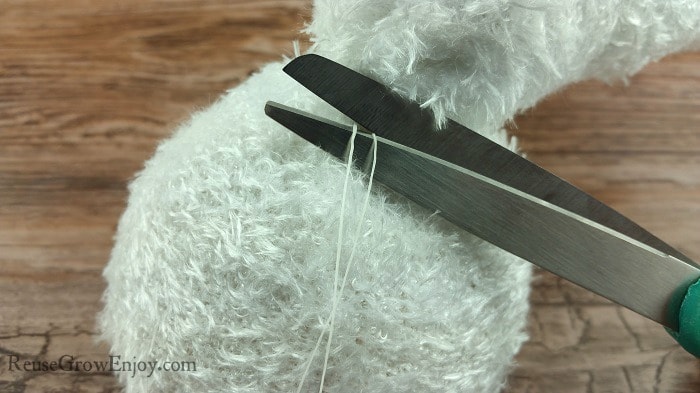
Now, take a piece of the floss and wrap it around the sock just where the rice ends. Be sure to tie it tight. You may need to pick it up and lightly drop it on the table to get the rice to shape correctly. Then using the scissors, cut it close but not so close you clip the sock.
Then put about the same amount of rice, but just slightly less in the next section. Now tie that one off just like you did the first.
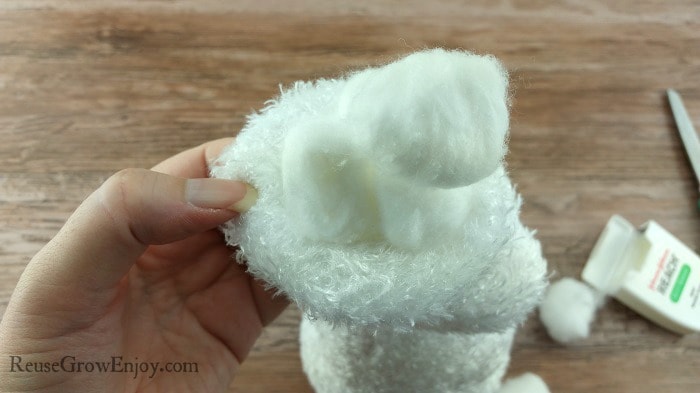
Now using cotton balls, stuff the next section just slightly less than you did the last one. Then tie it off with a piece of floss.
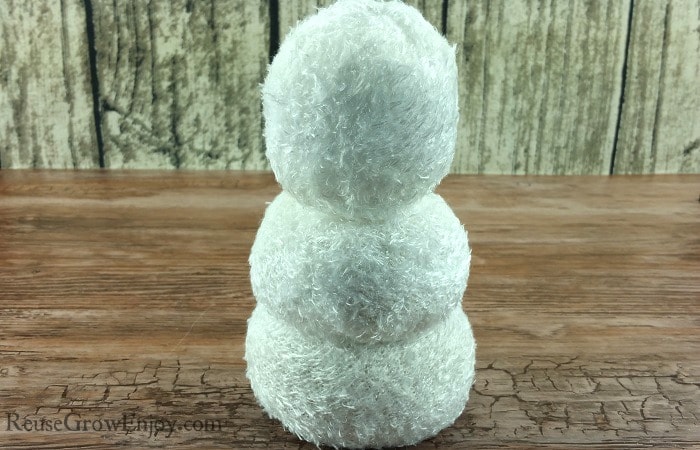
Blank Snowman
Depending on how large of a sock you used and how stuffed you made it, you can either fold the last piece of sock over to double layer the head. That is what I did as I head a large enough section that fit perfectly over the head area. If yours is two short and ends up like only covering half the head, just leave it sticking up on top. You can tuck it into the hat when you add that.
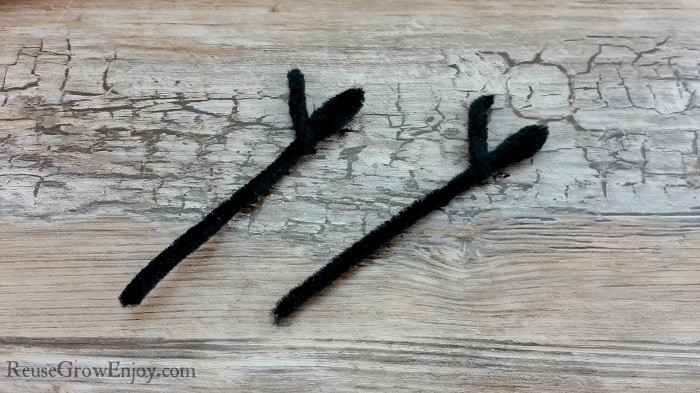
Now, take the pipe cleaner and cut it in half. Fold one end about one inch down and then wrap it back over itself. This is to shape the arm of the sock snowman.
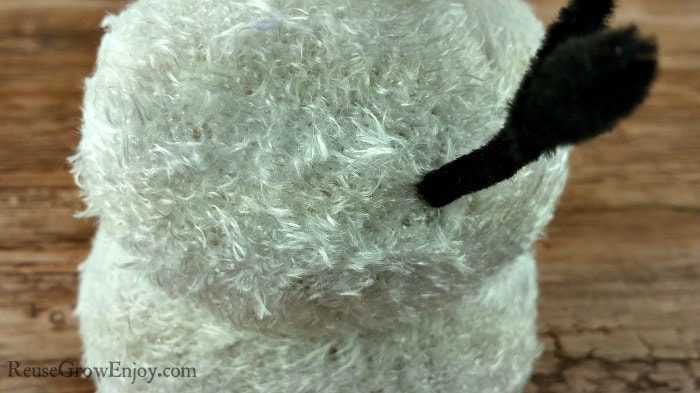
Then you will take the arms and gently push them into the sides of the snowman. Mine slid right through with these fuzzy socks. If you are using a normal sock, you may need to hot glue them in place.
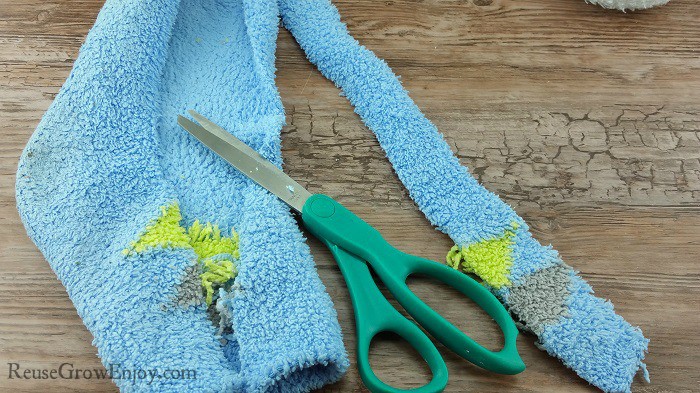
Now get a piece of fabric that is about ten to twelve inches long. I cut mine from another sock that no longer has a mate.
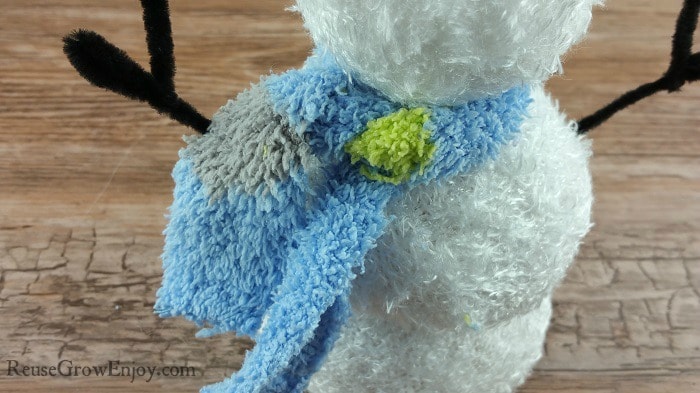
Tie it around the neck area of your sock snowman. I just tied mine loosely and it worked well.
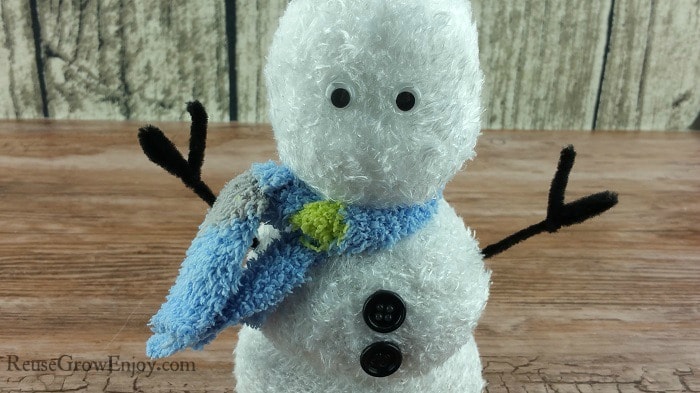
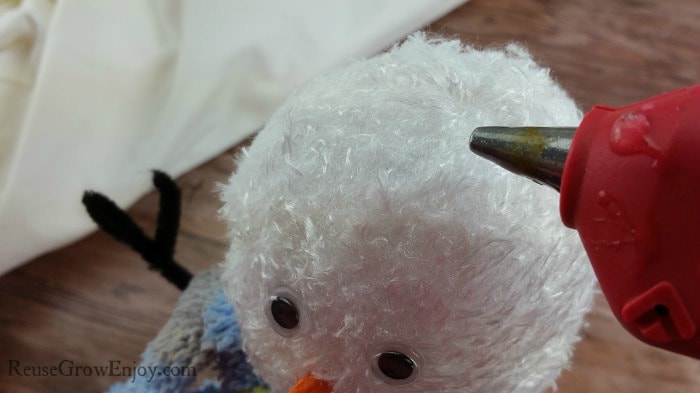
Using the hot glue gun, glue the buttons and eyes in place. Be sure to space them a little.
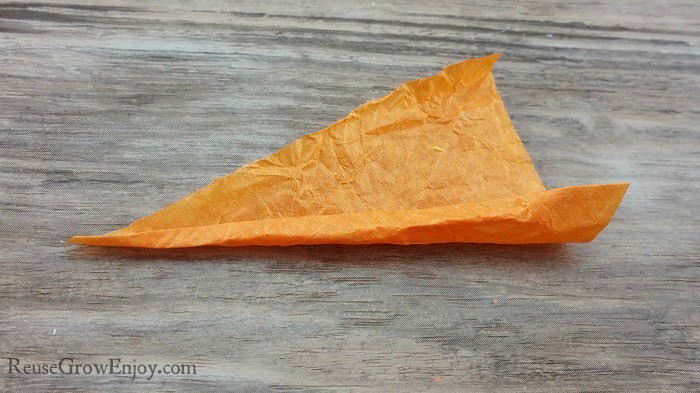
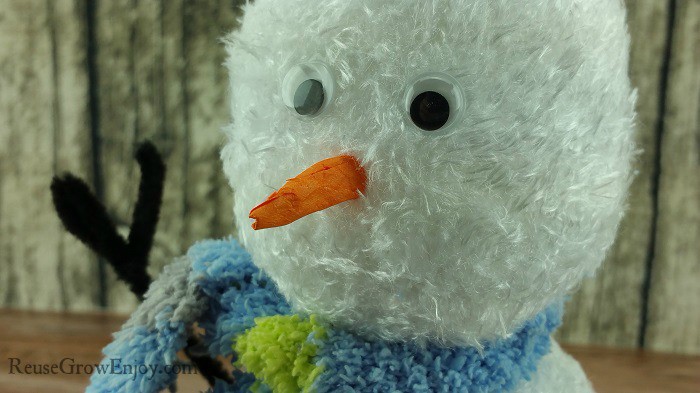
Take the small piece of orange tissue paper and fold it into a triangle. Then roll it so that it is kinda cone shaped. Then fold it in half and tuck the tip end back into the open end. Now glue it onto your snowman.
Now for the last step. If your K-cup is totally dry, you can put some hot glue on the head and glue it in place.
That is it! You now have a cute DIY sock snowman. If you liked this craft, here are a few others to check out.
- Tic Tac Toe On The Go
- DIY Pillow – Throw Pillow DIY
- Upcycled Plastic Bag Flower Earrings
- Pumpkin Craft Upcycled Mason Jar Lid
- Fall Craft – Easy Pom Pom Fall Tree



Linda S says
very cute! this little guy can brighten our dark, cold winter days all the way through to the Spring Thaw!
thanks for sharing your terrific tutorial
Reuse Grow Enjoy says
Happy you liked it. He makes me smile every time I walk into the room =)
Darlene says
So clever I will make one for my Florida friend, as neither one of us seem Christmas snow . We like to exchange craft gifts for Christmas.
Thanks for sharing.
.