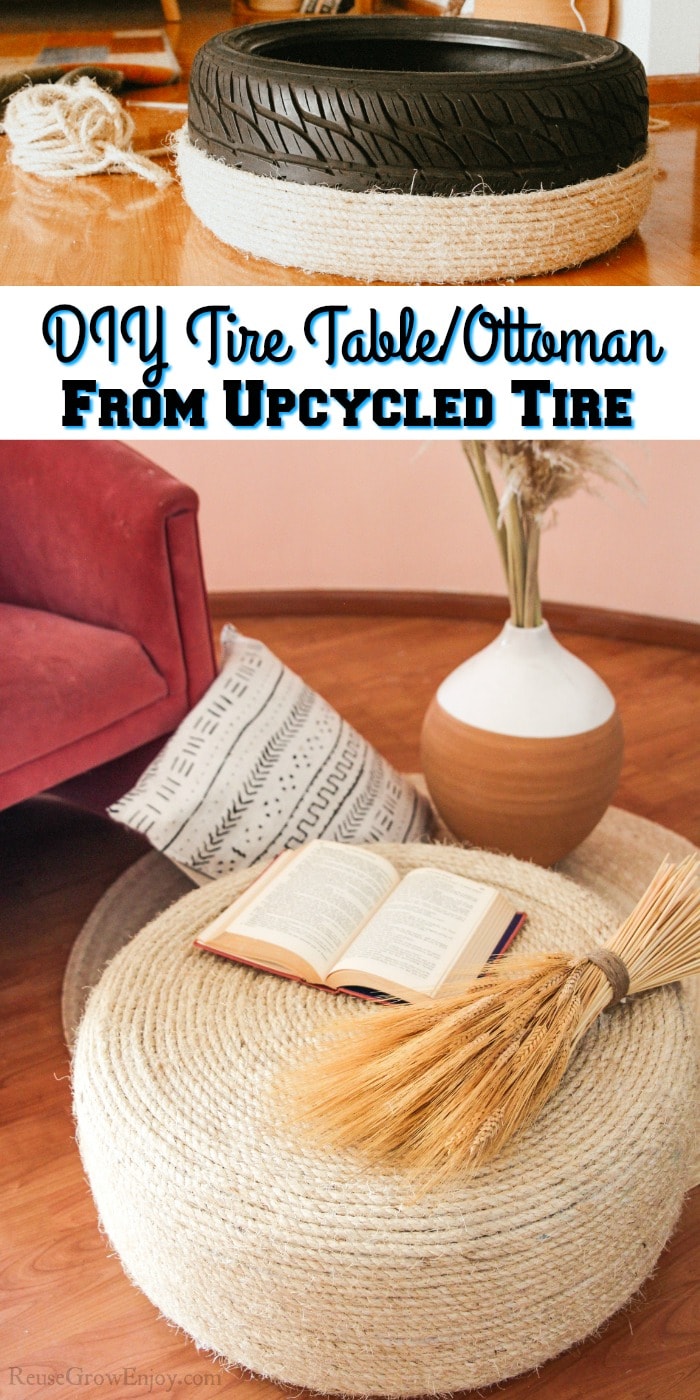
Ever wonder what you could do with an old tire when it is time to remove it from your car? While there are tons of ways to reuse them, today I am going to show you how to make this DIY tire table! It could also be used at a tire ottoman.

DIY Tire Table aka Tire Ottoman (From Upcycled Tire)
The next time you have to have your tires changed, save yourself a few bucks by keeping them and not paying to have them tossed out. You can reuse them to make an amazing looking tire table that can also be used as a tire ottoman or even a seat.
If you are worried about the off-gassing of the tire in your home, these work really well on a porch, deck or patio for outdoor furniture.
We used rope to wrap our tire in for this project. You could also use a super soft jumbo yarn if you wanted it to have a super soft feel.
Just know that if you choose to use yarn, it will be best to keep it under a covered area to keep the weather off of it.
If you are looking for other ways to reuse tires or upcycle items, here are some of my other ideas to check out.
- Tire Uses: 5 Surprising Uses for Old Tires!
- Hanging Wine Bottle Vase
- Upcycled Box Rope Basket – Cute Farm Style Look For Less!
- DIY Upcycled Twine Vase
- Ways To Reuse Everyday Items
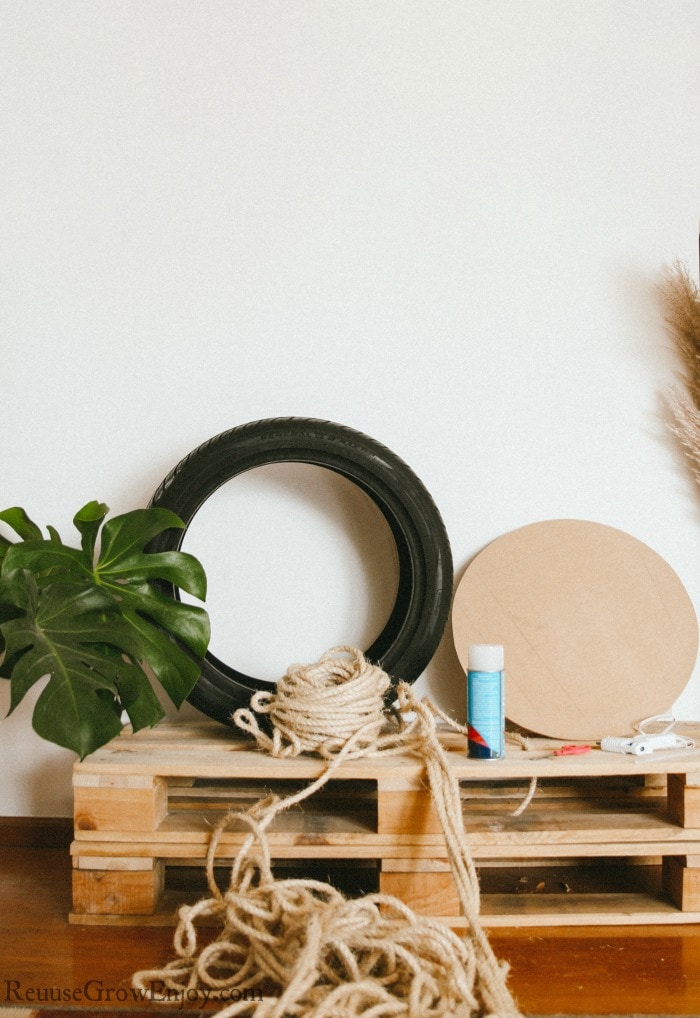
Supplies Needed:
- Hot glue gun and glue sticks
- 1 or 2 (see notes below) Cut Pieces of Circular Wood (needs to be the same diameter as your tire, if putting outside I would use treated wood)
- Old tire (we used one that is has a 24-inch diameter and is 9 inches tall)
- Sealer (optional)
- E6000 Adhesive
- About 160 feet of ⅜” rope. (you may need more or less depending on the size of your tire)
- Scissors
How To Make This Ottoman/Table:
The first thing you want to do is give the tire a good scrubbing to make sure it is clean and free of debris. Then allow it to dry. If you have water on the inside, it is best to use a rag/towel to dry most of it up before allowing it to finish air-drying.
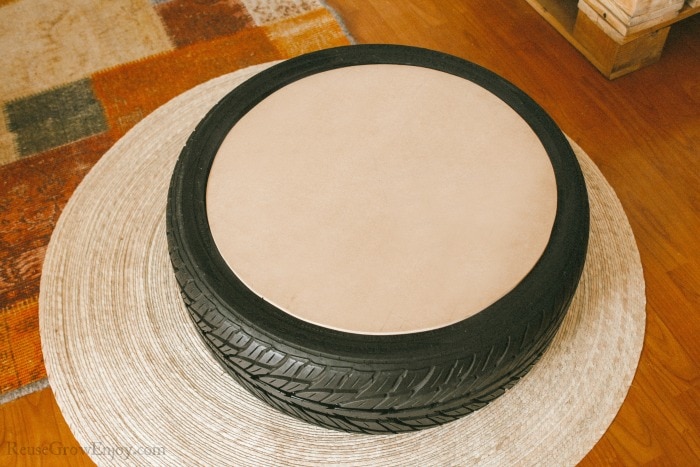
Using the E600, glue the wood to the top. Then if you will also be covering the bottom, attach another piece of wood to the bottom. Allow the adhesive to fully dry.
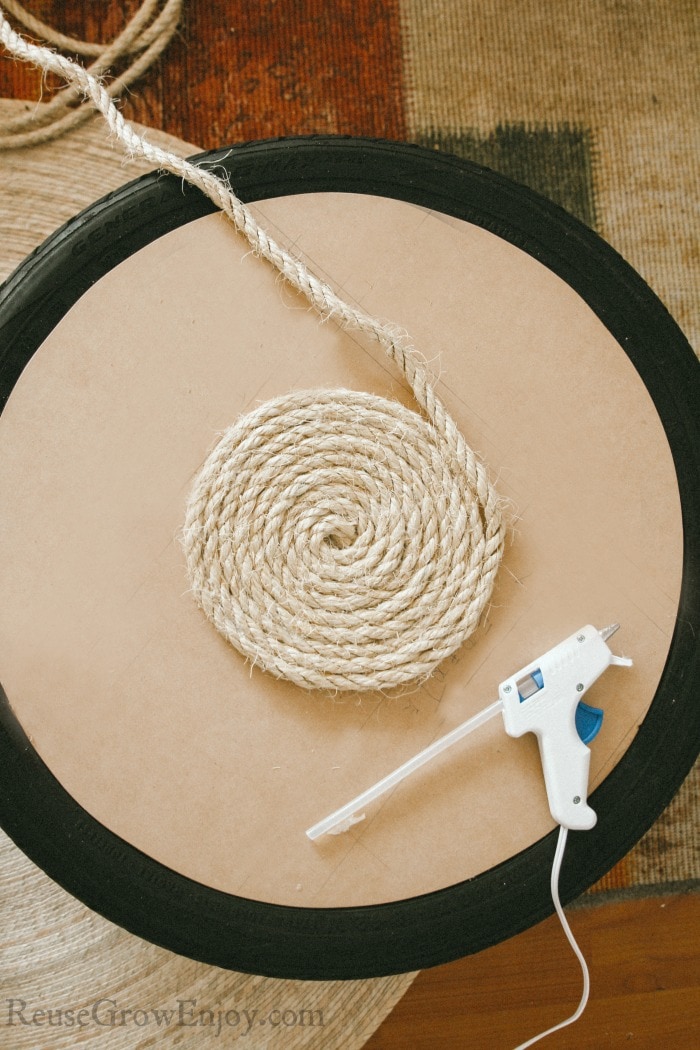
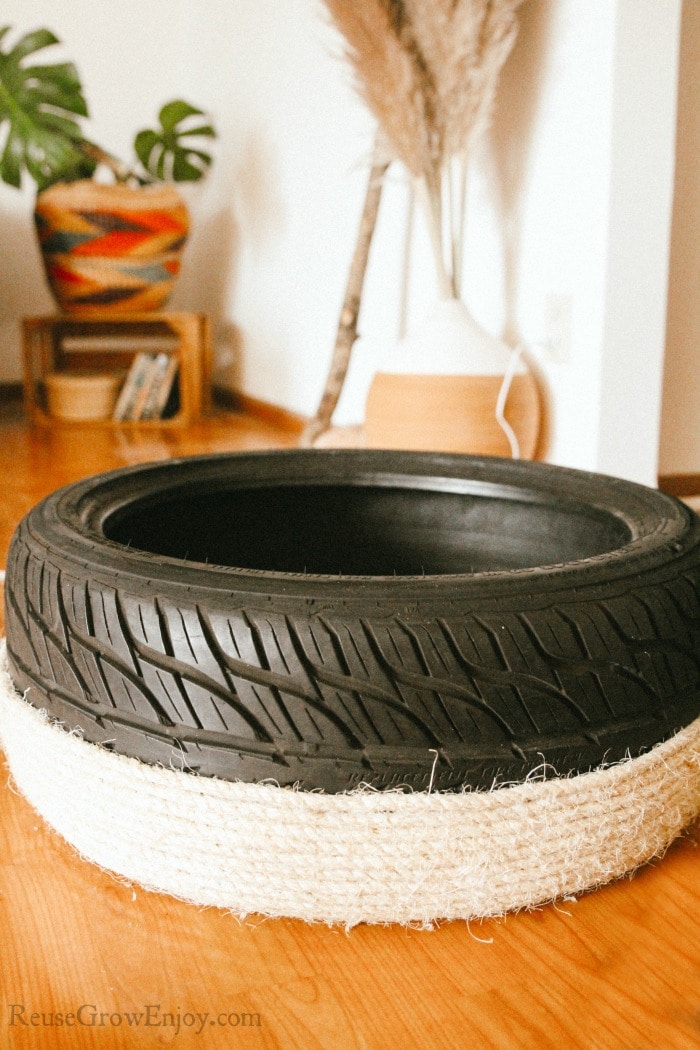
Now we want to start adding the rope. Start by coiling the end of the rope around the center of the plywood. Add a little hot glue to the end and press hard until the glue is dry to make sure it is secure.
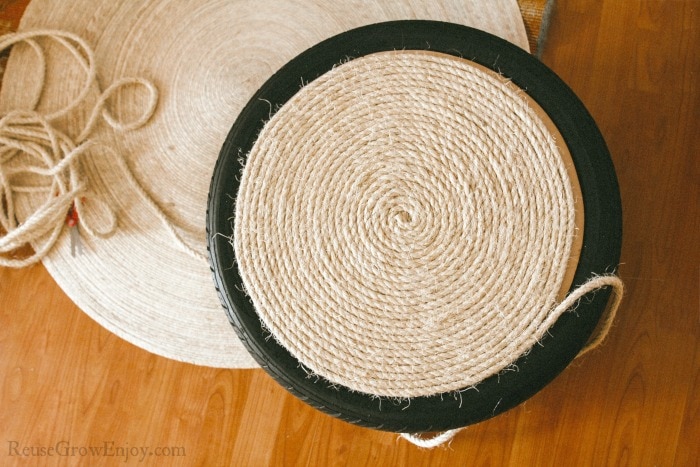
Then simply keep coiling the rope around the tire glue in spots here and there to hold it in place. Keep going until the tire and wood is fully covered.
It may be a little easier to flip the tire over after you have covered the top and work your way up so the rope layers on top of the last row. Just be sure not to leave any openings as we do not want to see any of the tire.
When you get to the bottom you can either cut the rope and glue the end on the side or flip it over to continue coiling to cover the bottom wood. You can leave the wood uncovered on the bottom if you wish to save on rope as it will not be seen.
If you are using a sealer, give it a good coat and allow it to dry.
That is it! You now have a super cool new tire table or tire ottoman to use! You could even make a few of these bad boys and use them as stools if you wanted.
Notes & Options To Cut Cost:
This could be made using one piece of wood just to cover the top of the tire. Or if you want to be able to flip it over when needed, you could use a second piece to also cover the bottom.
If you need to save on how much rope you use, only covering the top wood of the tire might be the best option for you. You do not see the bottom so there really is no need to cover it unless you will be flipping it over from time to time.
The rope you want to use depends on the look you want. You can use nylon, cotton, jute, sisal, or even yarn if you wanted. You just need it to be thick. If not thick then it takes way too much and way too long to cover the tire.



Ollie A. says
Great job
Reuse Grow Enjoy says
Thank you!