Looking for a craft to do that uses things you would normally toss in the trash? Below I will show you step by step how to make an upcycled twine vase.

DIY Upcycled Twine Vase
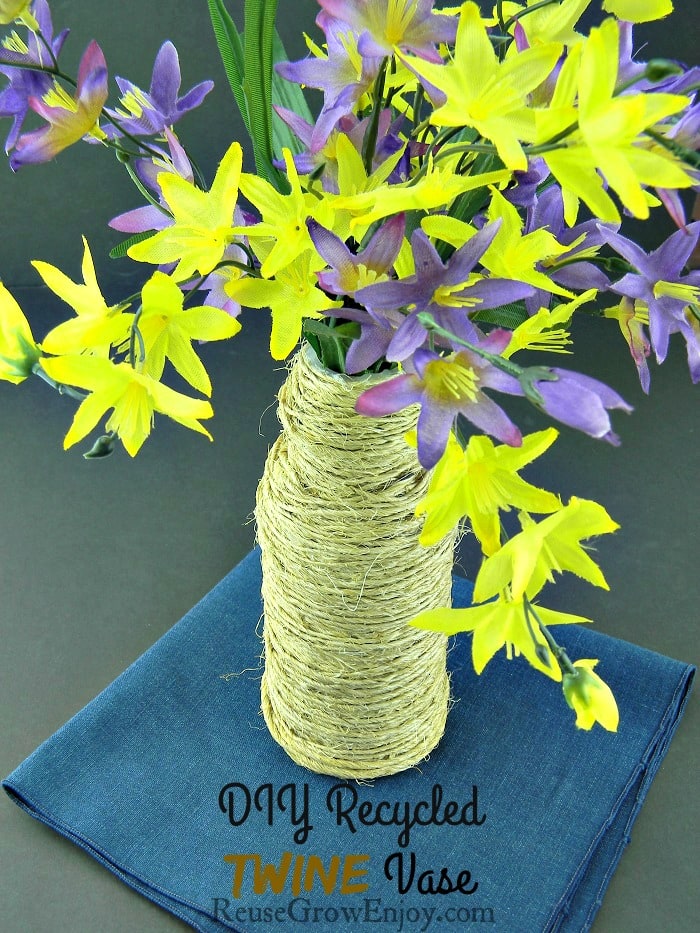
You can use this upcycled twine vase anywhere in the house to dress up a room. It looks great empty or filled with fresh or fake flowers. It will help bring a little country style to your home.
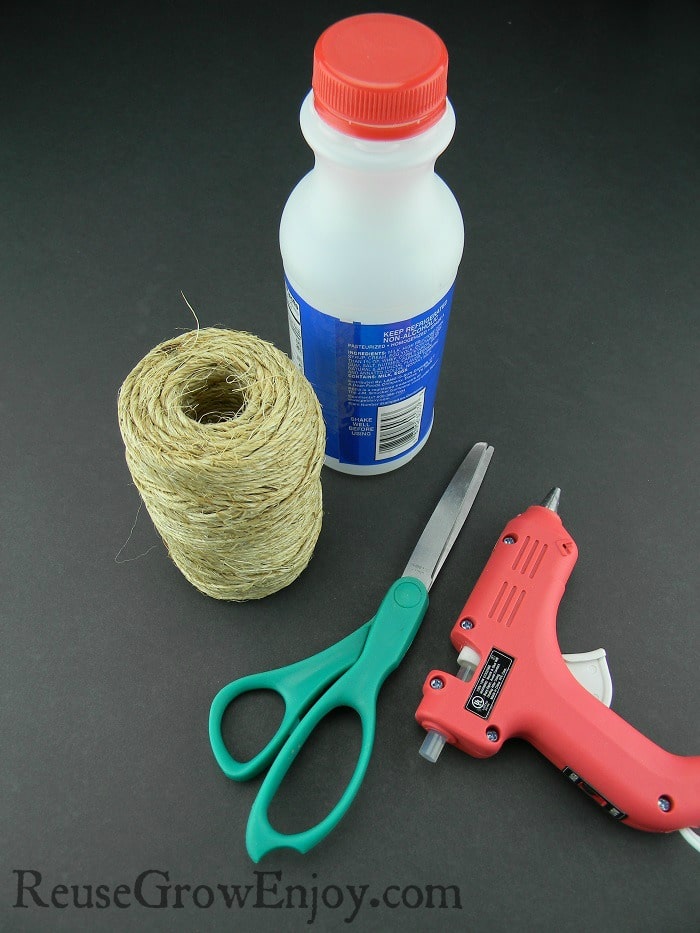
To do this upcycled twine vase craft you will only need a few supplies. I used a plastic single-serve milk jug, but you can use any plastic or glass container you would like to use.
Just keep in mind that the larger the container, the more twine you will need to cover it.
If you like this craft project using recycled items, you may also want to check out these.
- DIY Sweater Box
- DIY Sweater Pillow
- Sunflower Bottle Cap Craft
- DIY Tire Table aka Tire Ottoman (From Upcycled Tire)
Supplies Needed:
- 1 Plastic or Glass Container
- Hot Glue Gun & Glue Sticks (I used about 6 sticks for mine)
- Scissors
- Twine (I used Sisal Twine 300 foot roll and used about 1/3 of the roll)
How To Make This Vase:
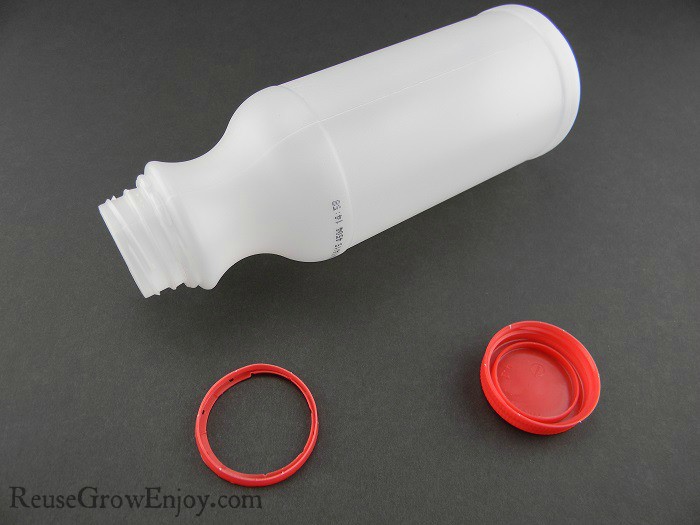
The first thing you want to do is remove any label from the container. Also, remove the cap and the ring to the cap.
Now, put a small dot of hot glue at the bottom edge of the container and place the end of the twine on the glue. Allow a few seconds for the glue to harden.
Now start working your way around the bottom edge of the container gluing it in place as you go.
After you have it all the way around the bottom edge, you can start working your way up the container. I glued about the first 3 rows in place as I wrapped the twine around.
After that I was able just to wrap them tightly around, being sure to keep them pushed together.
When you get to the upper part of the container where the shape starts to change, you will need to use hot glue again to keep those rows in place.
Keep doing that until you get to the top of the container. Then on the top row at the edge of the container, be sure to give it a good gluing, but not so much that it covers the twine.
The next step to your upcycled twine vase is to start working your way back down the container. I did not use any hot glue on the way back down. Be sure to wrap around any spaces you may have made on the way up so that they are filled in with twine.
When you get back to the bottom edge, you will again glue this row in place. Then cut the twine off and glue the very end slightly tucked under the last row of twine, so that you do not see the end or the glue.
That is it! You now have a very cute country looking upcycled twine vase.


Leave a Reply