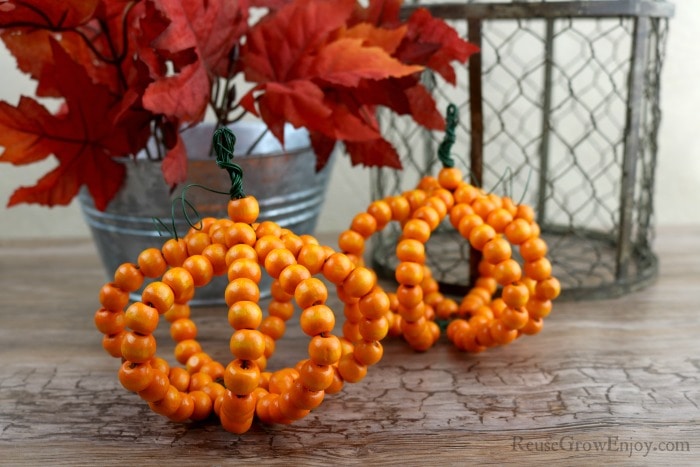
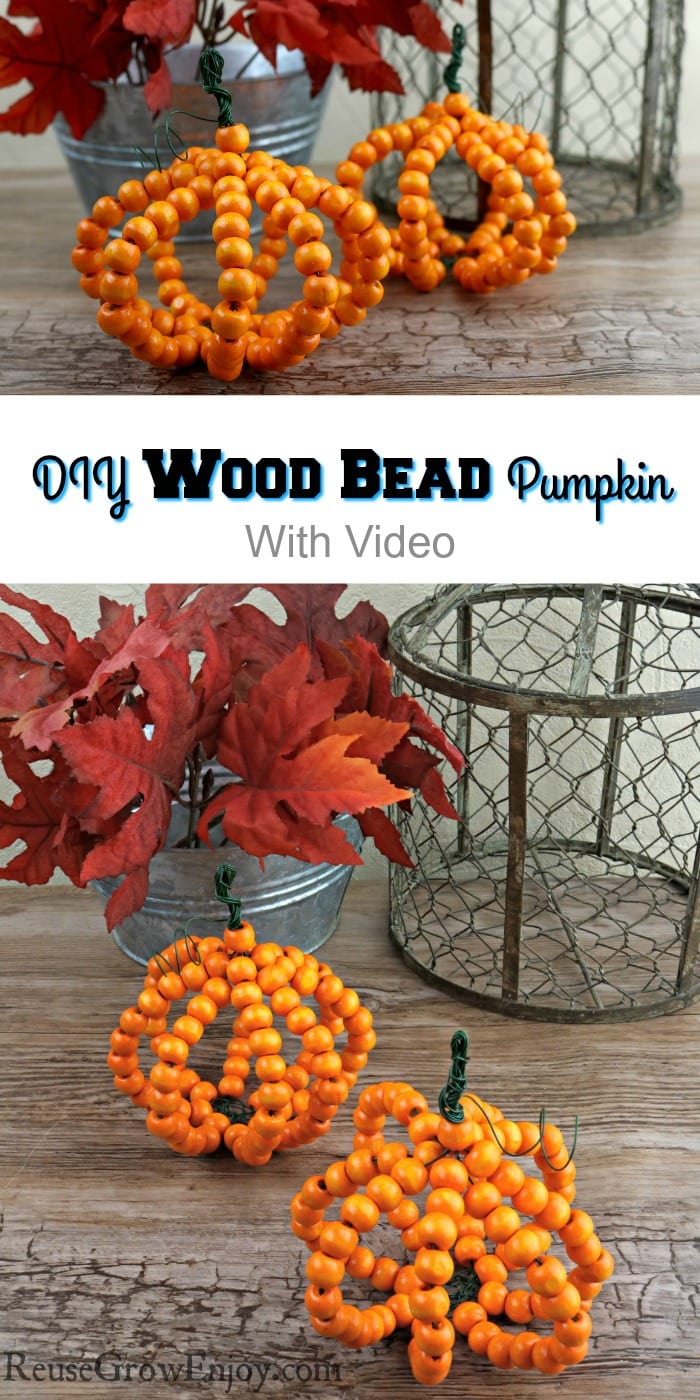
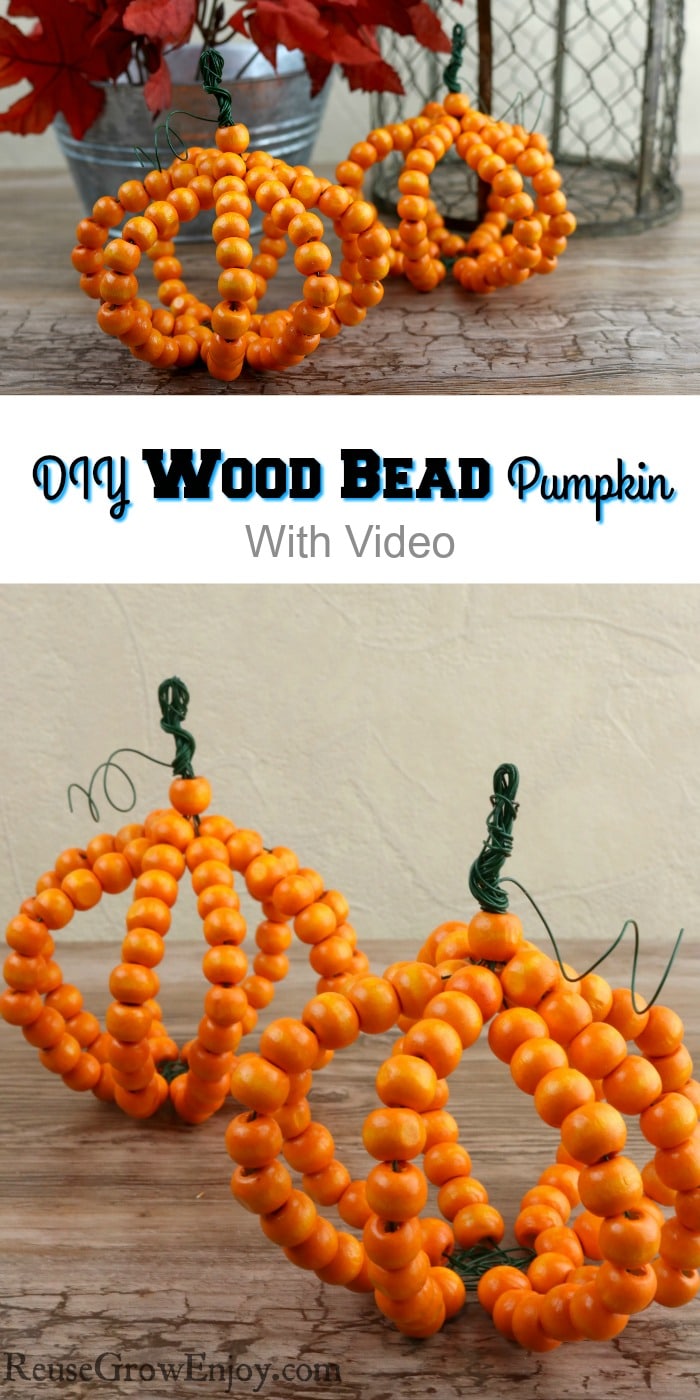
Looking for some new fall decor? Here is a fun and pretty easy fall craft to do. I am going to show you how to make this DIY wood bead pumpkin! You can easily change the size by using different size beads.
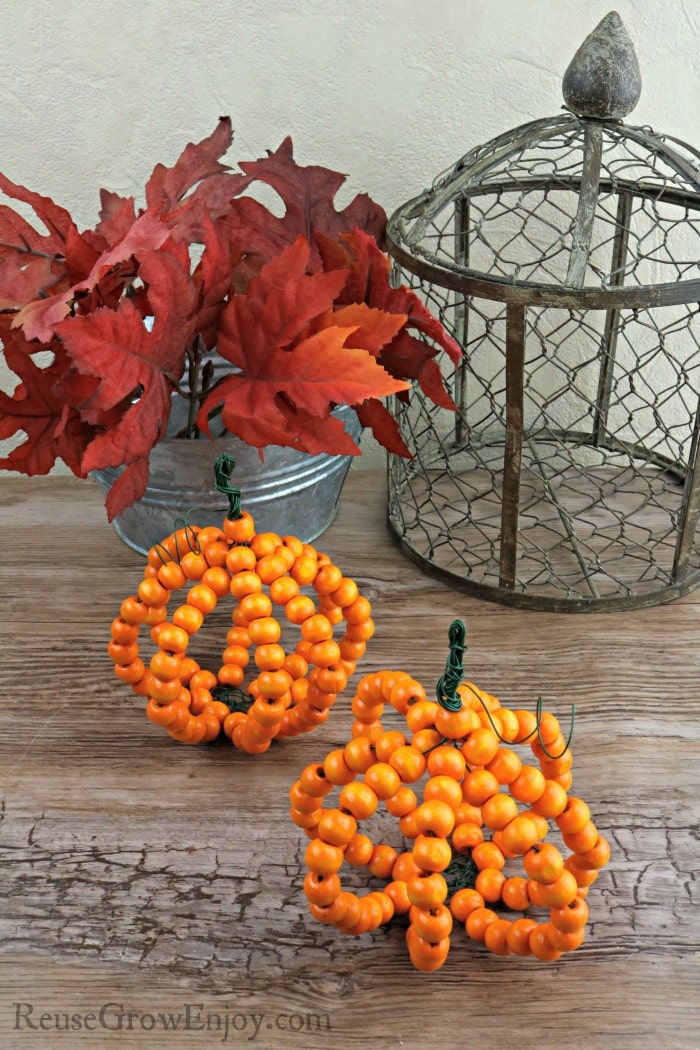
DIY Wood Bead Pumpkin Fall Craft
Another thing you can change on this wood bead pumpkin fall craft is the color. I did mine in orange so it would look like a normal pumpkin. However, you can also do them in white, teal or any other color you wanted it to be.
Make up a few and it makes for a nice farm-style fall decor display around the house.
Supplies:
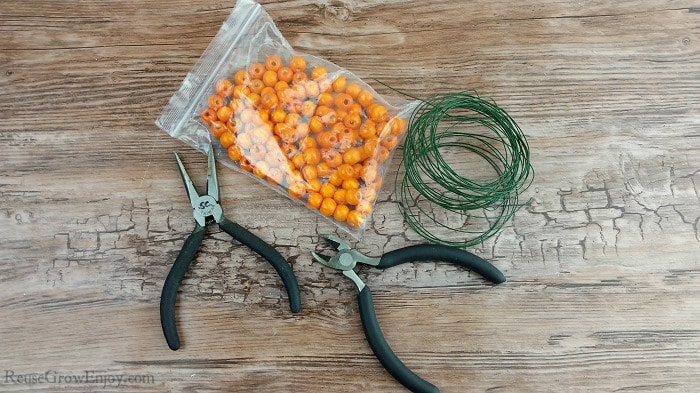
- (4) 18-inch Pieces Green 24 Gauge Floral Wire
- (1) 8-inch Piece Green 24 Gauge Floral Wire
- Wire Cutters
- Needle Nose Pliers
- (97) 10mm Orange Wood Beads
Note: If you are wanting to change the sizes by using larger beads, you may need to make the pieces of wire a little longer.
Directions:
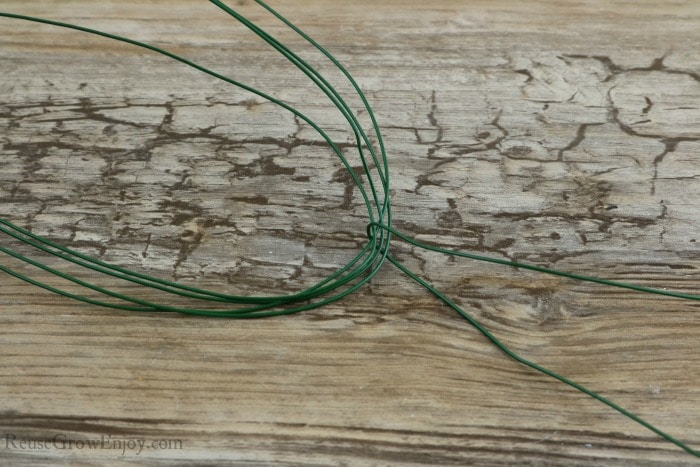
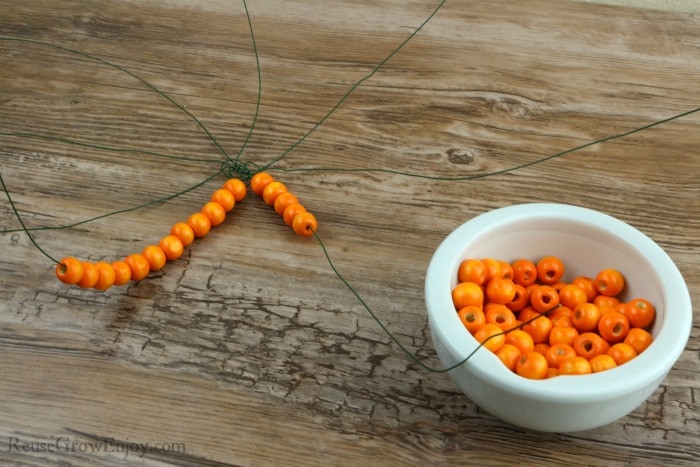
Gather all the long wire pieces together making sure the ends are even. Then in the center twist the smaller wire over them. Twist that small wire a few times to make sure it stays in place.
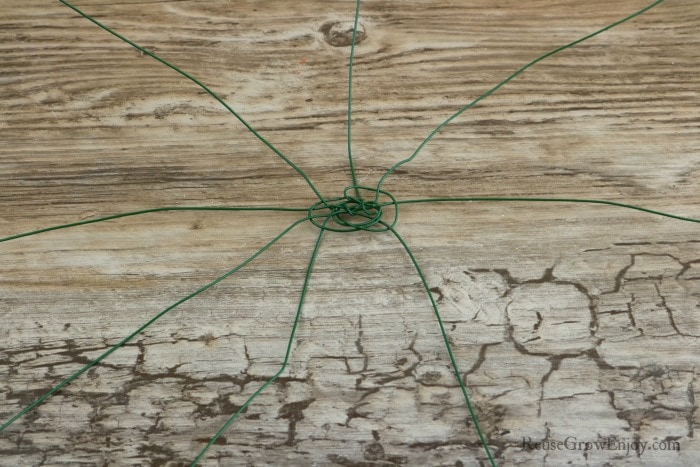
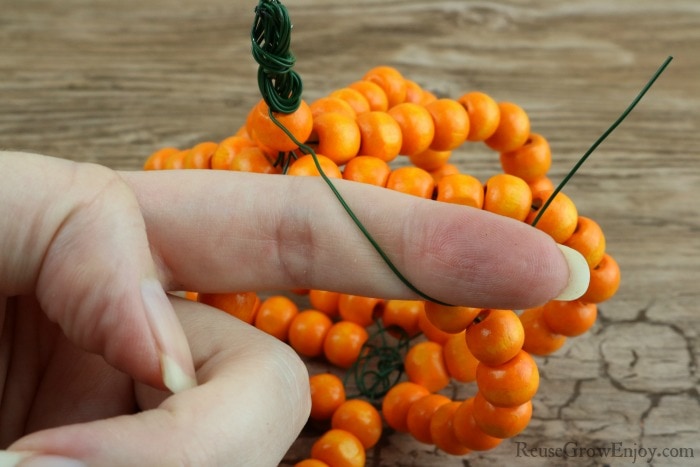
Weave the ends of the smaller wire over and under, working your way around the other wires. You can space the long wires out as you go.
It should look kinda like a web. When you get to the end of the short wire ends, twist them around a wire and tuck them back into the center. Trim off any extra of the small wires with wire cutters.
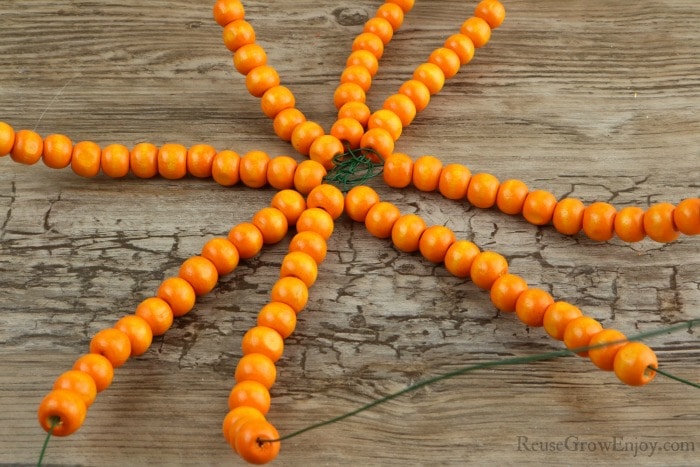
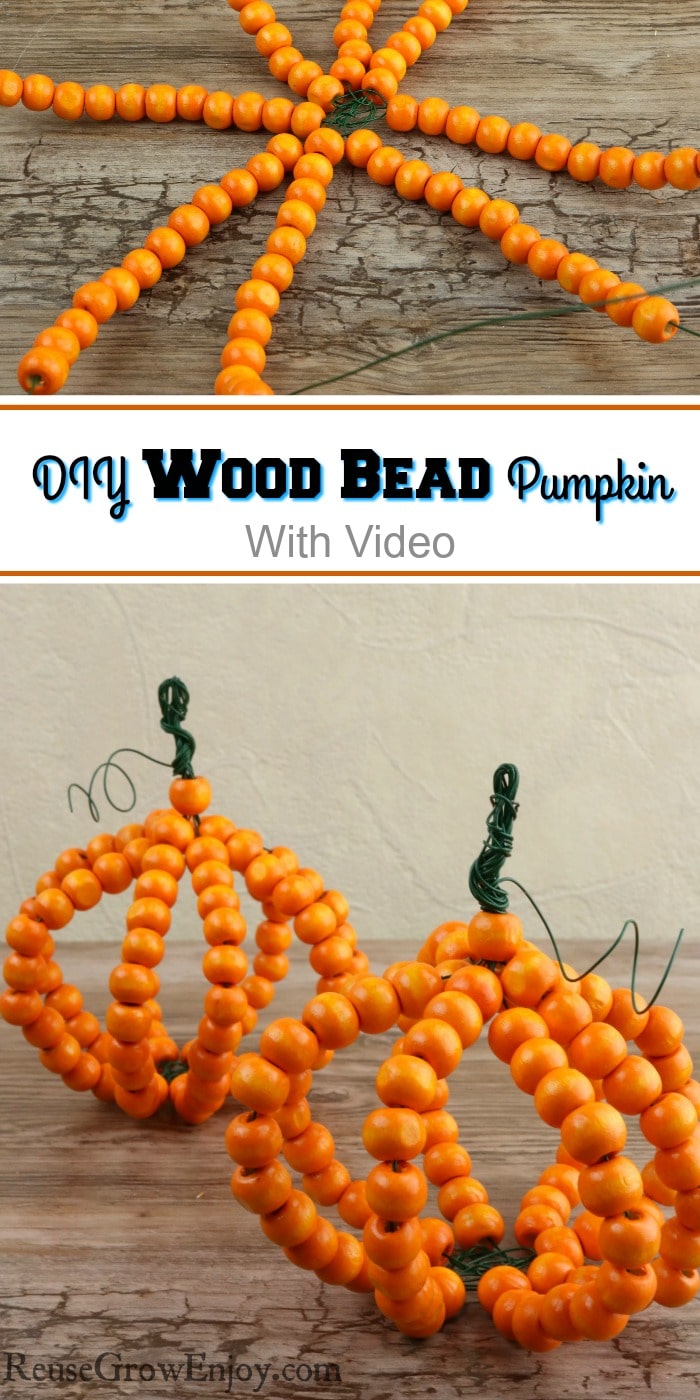
Now place 12 beads on each of the long wires. If you are doing different sizes, you can adjust the number of beads needed. I just used 12 on each of the wires to make mine.
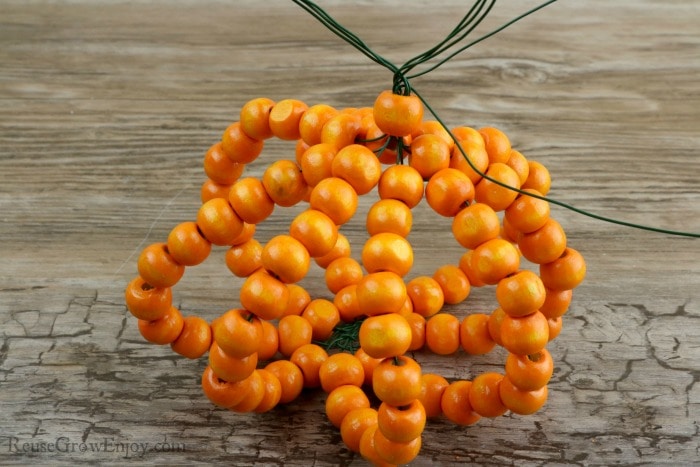
Pull all the wires together and slide the last bead over all the wires. Make sure you pull them tight so that the last bead touches the other beads.
Then twist all but one of the wires around each other.
After they are twisted, you can fold them over and then wrap them back around themselves. When you finish wrapping them, use the wire cutters to trim off any ends that are sticking out other than that one long wire, leave that one. Use the pliers to pinch those cut pieces back to the other wires.
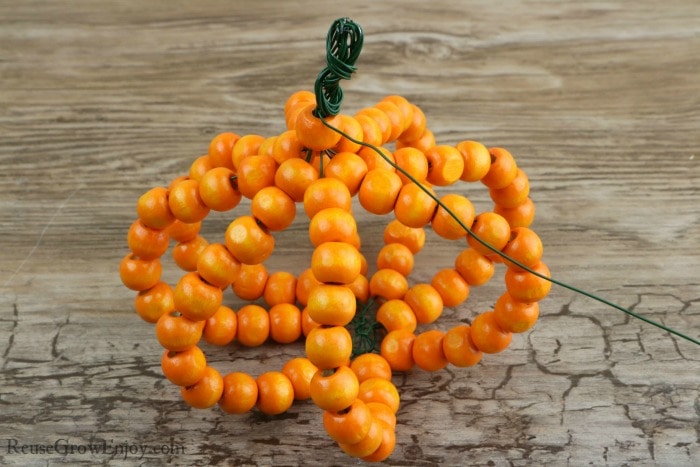
Now use your finger or pencil to wrap the last long wire around it a few times to make a little twist to look like a vine.
Then simply adjust the wires so they are spaced to your liking and you are done! You can repeat the steps to make as many as you want.
You may want to change sizes by using different size beads and even changing the colors. That way you can display them and have a nice fall look.
If you are looking for some other fall crafts, here are a few to check out.
- Reuse Puzzle Pieces To Make A Cute Fall Craft
- Fall Craft – DIY Coffee Filter Pumpkin Craft
- Wood Pumpkin Fall Craft
- How To Quill A Fall Tree
- Farmhouse Decor Fall Twine Pumpkin Craft
- DIY Fall Wreath


Roxanne C. says
Throughout my lifetime and career of teaching, I have always advocated for recycling materials for projects when applicable. Now at 72, I still love crafting and working with others to be creative. With the economy the way it is, this is the best way to encourage parents to spark creativity in their children, and save money too!
I can’t wait to see what else you will have to share.