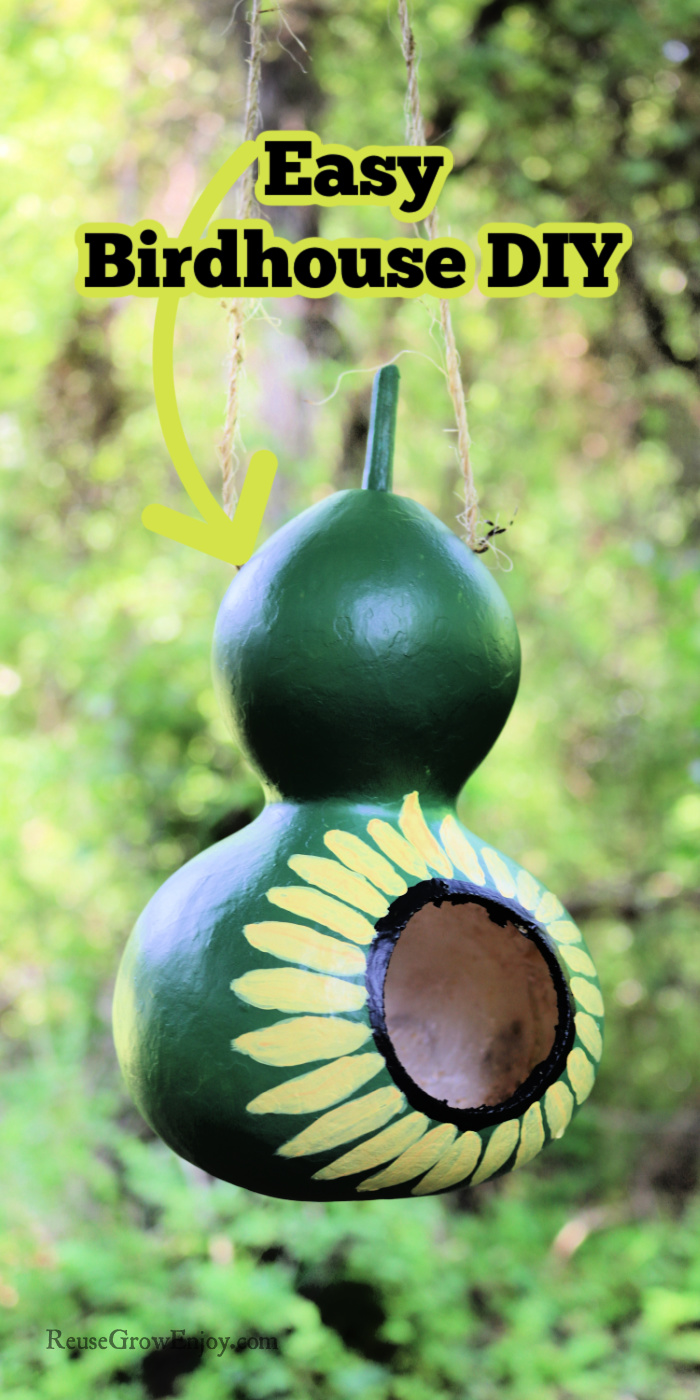
Wanting to add a few birdhouses to your yard? This easy birdhouse DIY is made from a dried-out gourd.
You can either buy the dried gourd at a farmers market or places like Etsy. Or you can always grow your own from birdhouse gourd seeds.
When growing your own, you do have to allow time for the gourd to dry after it is finished growing.
When they have fully dried you will need to give it a good wash in something like vinegar. Just be sure not to soak it as you do not want it to become soft.
While this is an easy project, you can grab pre-made birdhouse like this online or at any home improvement store.
If you like this functional birdhouse DIY, here are a few other projects to check out.
- DIY Teapot Birdhouse
- DIY Bird Feeder
- Upcycled DIY Plate and Bowl Bird Feeder
- Beehive DIY Birdhouse From Upcycled Container
- DIY Hummingbird Feeder (From Upcycled Materials)
Growing Your Own Birdhouse Gourds:
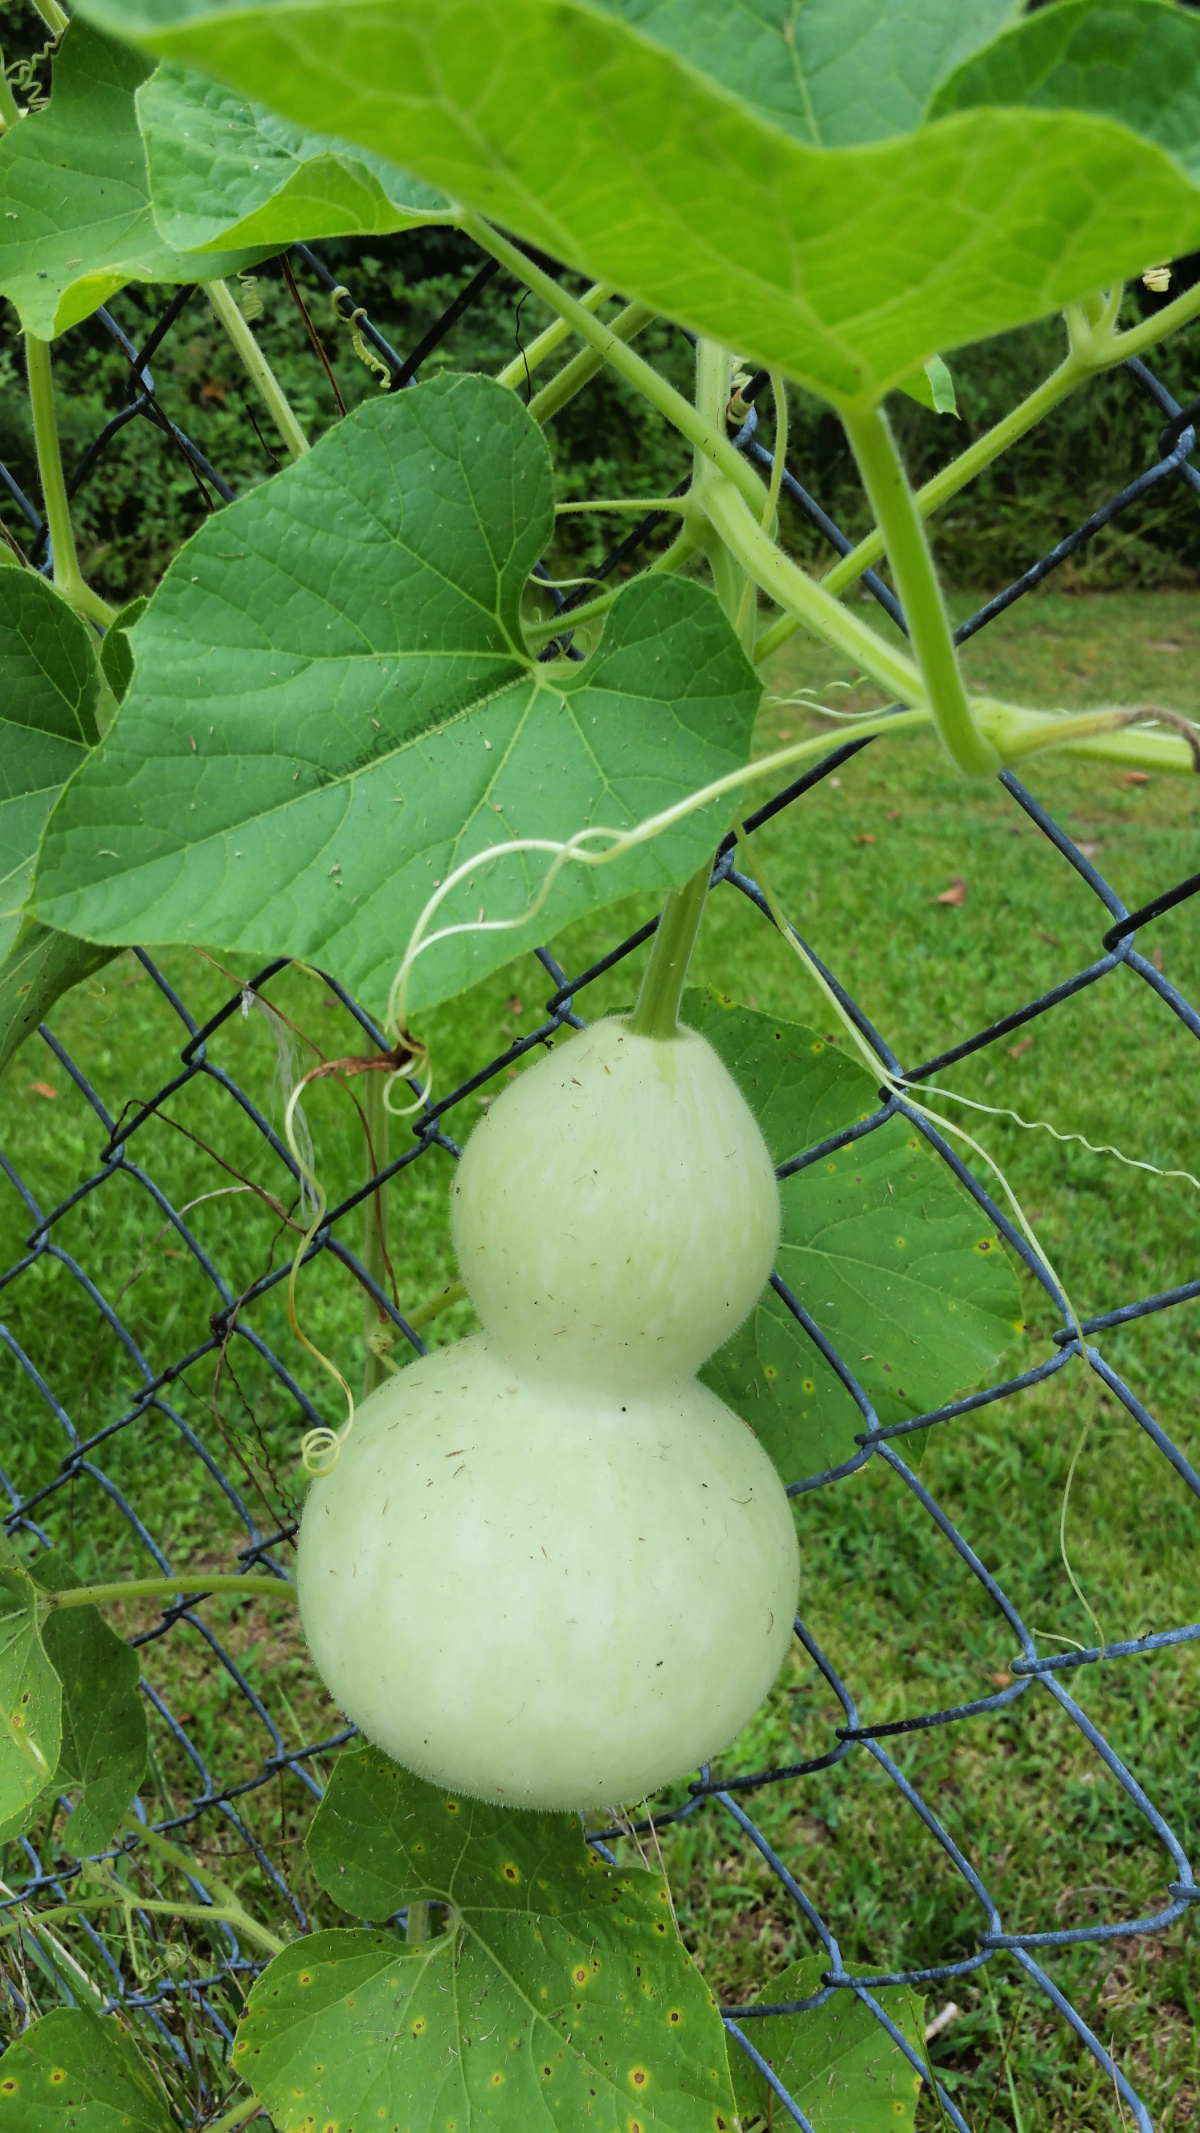
Growing gourds from seed is a fun way to get into gardening. Learn how to grow gourds from seed and how to harvest and use them.
Growing your own gourd birdhouses is very easy and fun! They are suitable for small to medium size birds and make for a great backyard project.
Most people don’t know how to grow gourds. Growing gourds from seed is a simple task that anyone can do. It requires a little bit of patience and time, but the end result will be worth it. You will find that planting and growing your own gourds will be a great way to get into gardening.
Growing Gourds:
Seeds can be started indoors or directly sown into the ground after the last chance of frost has passed. They should be planted in a full-sun location.
- Seeds should be placed in well-drained and rich soil.
- You should also make sure you are planting in a spot that has not had anything from the squash family grown in the past 2 years.
- Seeds should be sown by planting 3-4 seeds in small hills that are at least 1 foot apart.
- Seeds should be planted about ½ inch deep.
- Pack the soil over the seeds and keep them evenly moist.
- In about 7-14 days the seeds should sprout.
- After the seedlings reach about 2-3 inches tall, they should be thinned to 1-2 per hill.
Gourds grow best on trellises or supports. This helps to keep the grounds off the ground and encourages them to grow straight and not get rotted spots that can happen when laying on the ground.
When gourds have reached full size you simply leave it on the vine to dry out. However, if you are in an area that will get a hard freeze before the gourd is dry, you will need to harvest it and place it in a cool dry area for 4 months or so.
To harvest cut the gourds from the vines with 1-2 inches of stem attached.
Makes: 1 Birdhouse
Time: 30 minutes
Skill: Easy
Simple DIY Birdhouse Supplies:
- Scissors
- Pliers
- Drill
- Small Drill Bit
- 1 1/2 Inch Spade Bit or Hole Bit (size will depend on the hole size you need)
- 1 Large or Medium Gourd (washed and fully dried)
- Paint (optional)
- Paint Brush (optional)
- Sealer
- Twine or Cord
Detailed Instructions On How To Make A Easy Birdhouse DIY:
The first step to note when working with gourds is you should wear a mask. There can be a lot of dust that happens when you drill and clean the gourd.
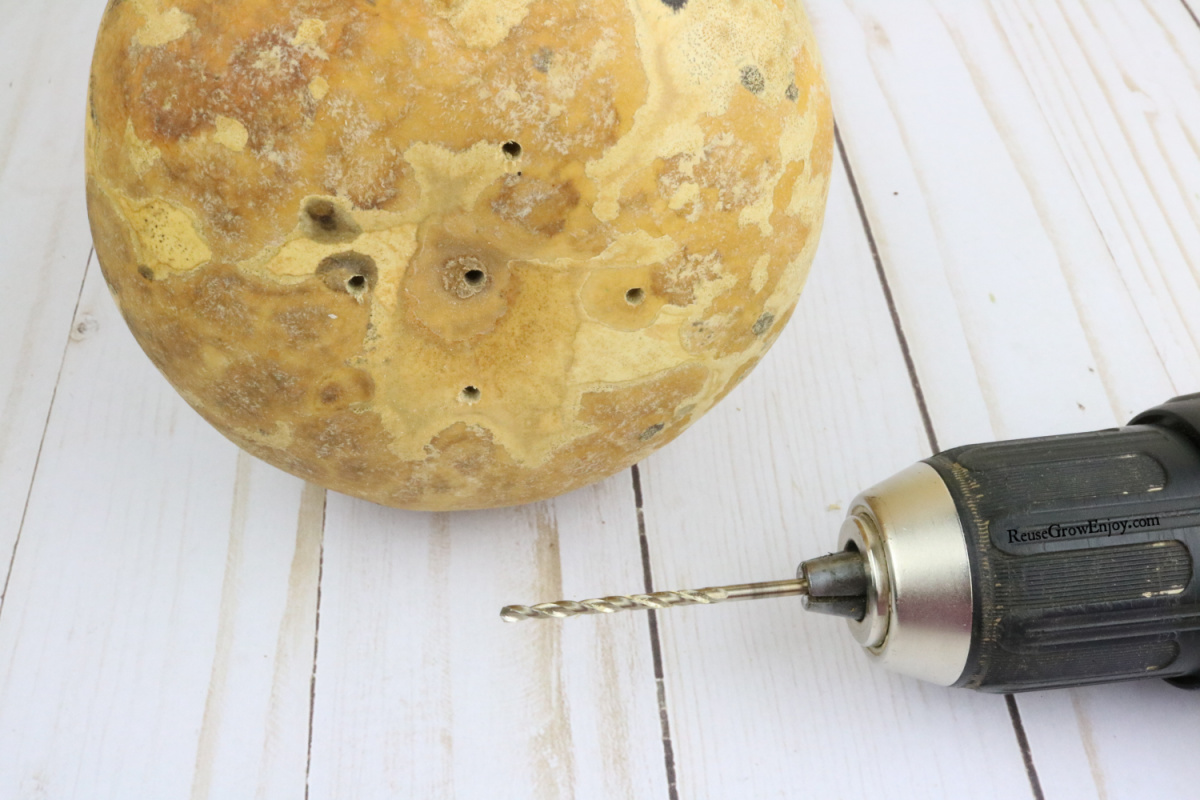
To start you want to drill four to five small holes in the bottom of the gourd using a small drill bit. This will allow for drainage.
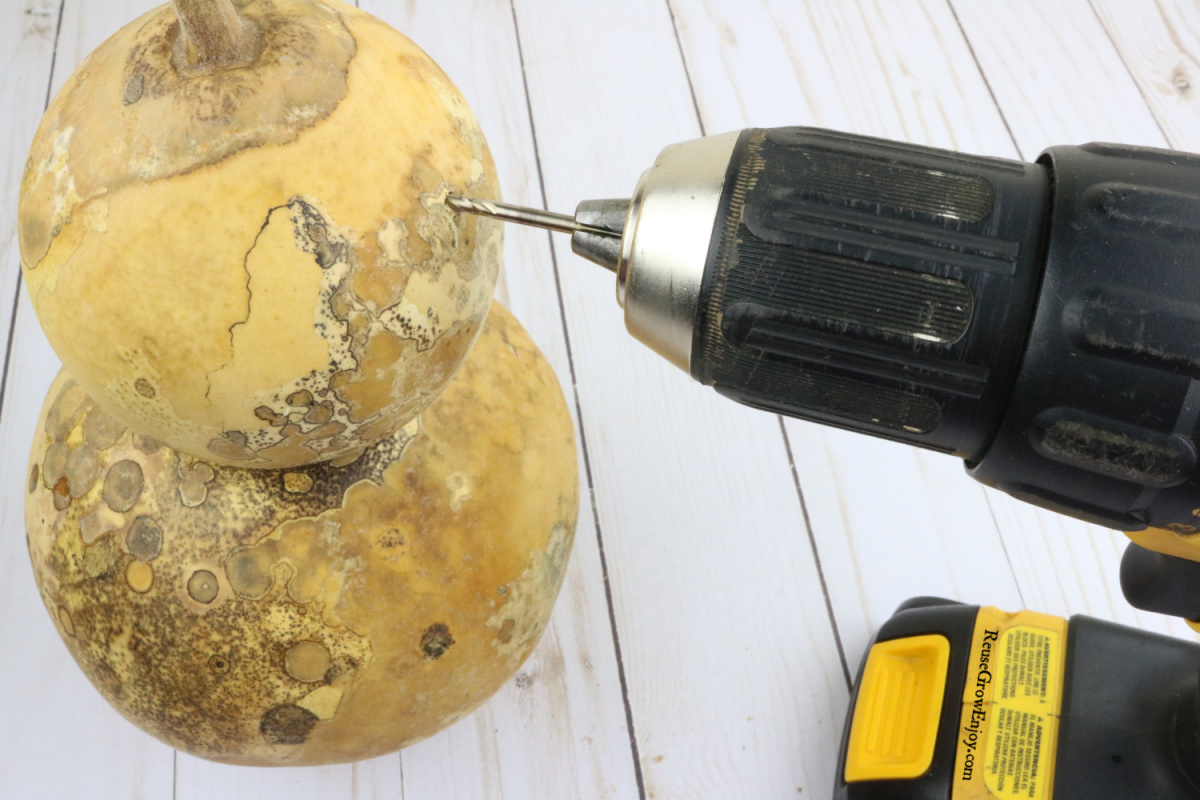
Next, you want to drill a small hole through the side of the top. It should be about an inch down from the top. This is what we will use to hang the birdhouse.
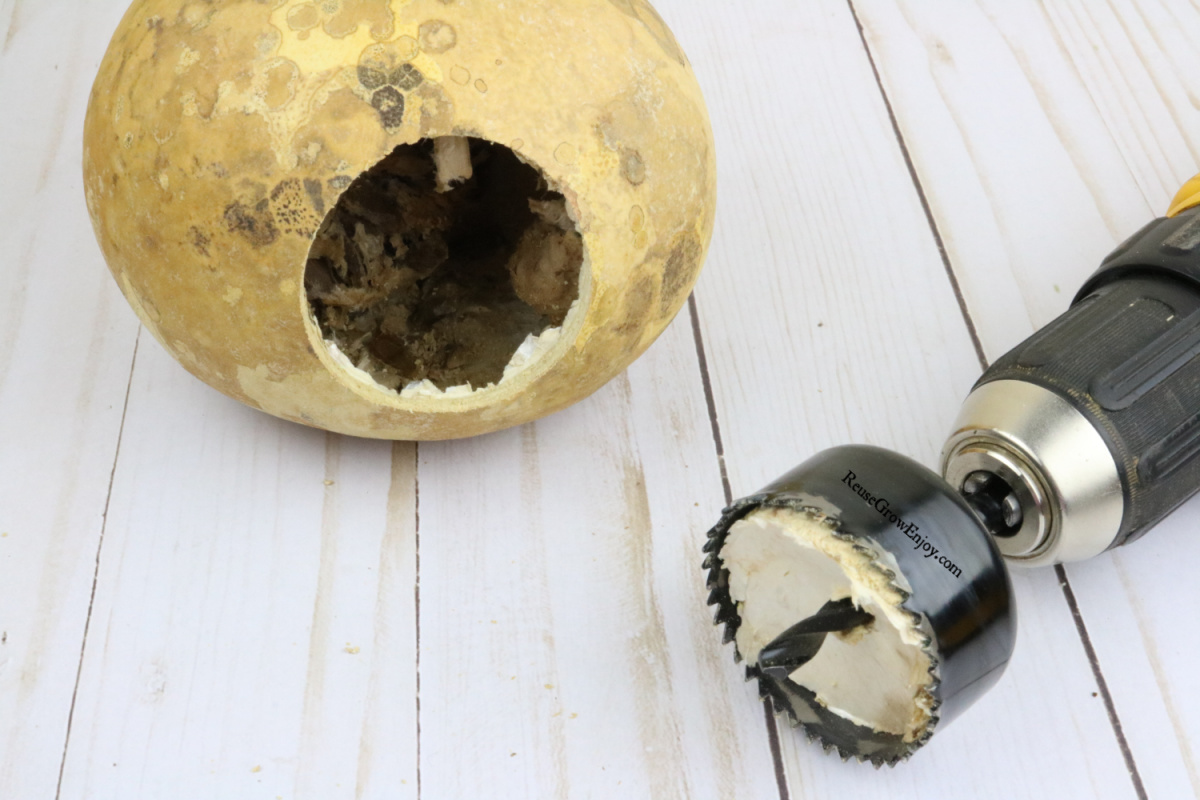
Now use the hole bit or spade bit to make an entrance hole for the birds. You will cut the hole on the side of the widest area of the gourd about an inch or two from the bottom. Just be sure to cut it to the right size for the little birds you are trying to attract.
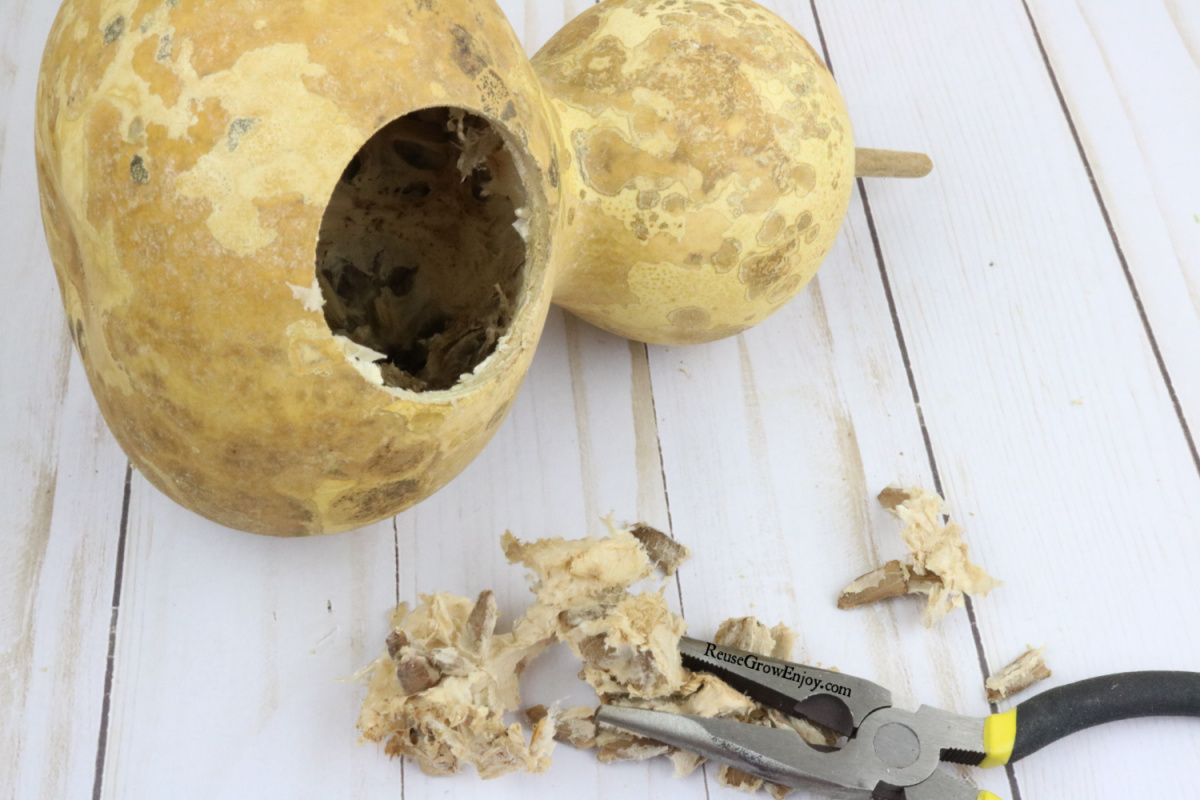
After you have the hole made, remove all the seeds. This is done by shaking them out of the hole. You may have to also use the pliers to pull some out.
Painting & Sealing:
Now you can choose to leave it natural color or to paint the outside of your birdhouse for a more decorative birdhouse. If you leave it natural you can skip to the sealing as it will still need to be sealed. If you are making more than one, feel free to paint them differently for unique birdhouses.
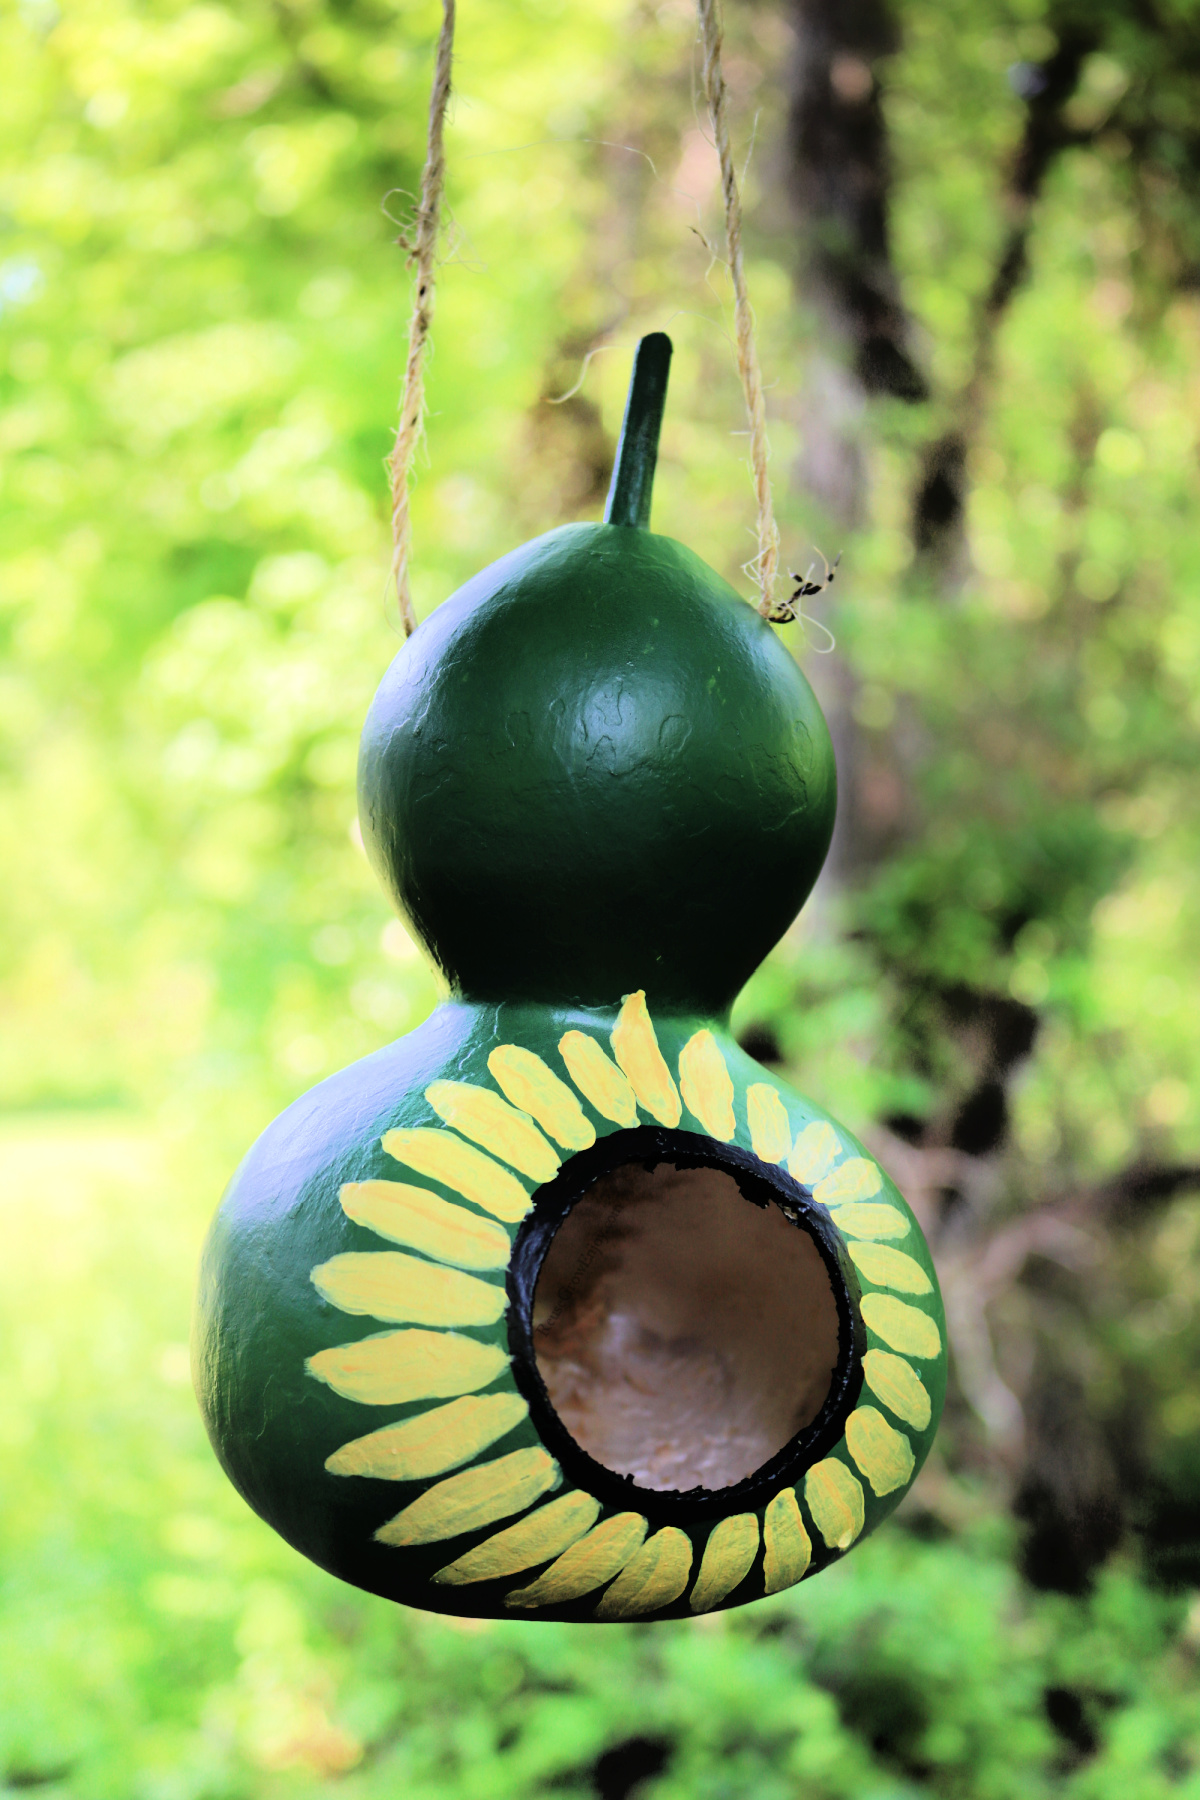
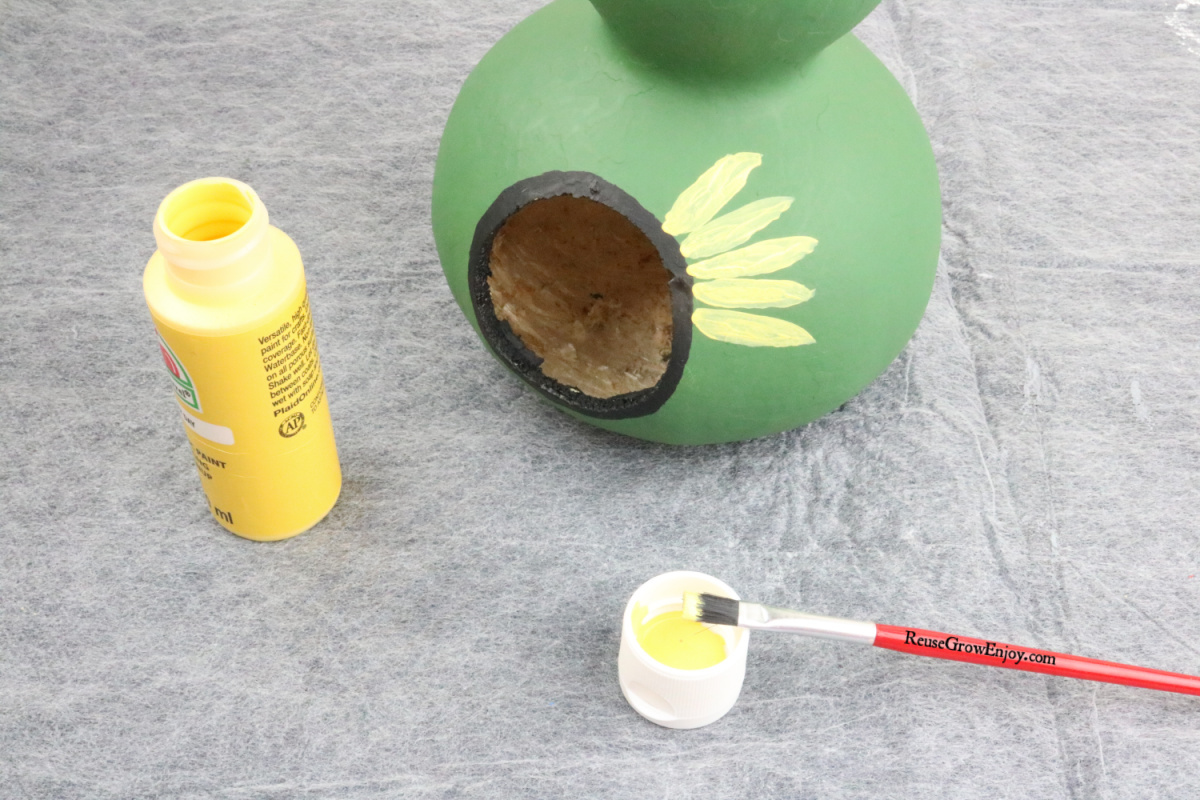
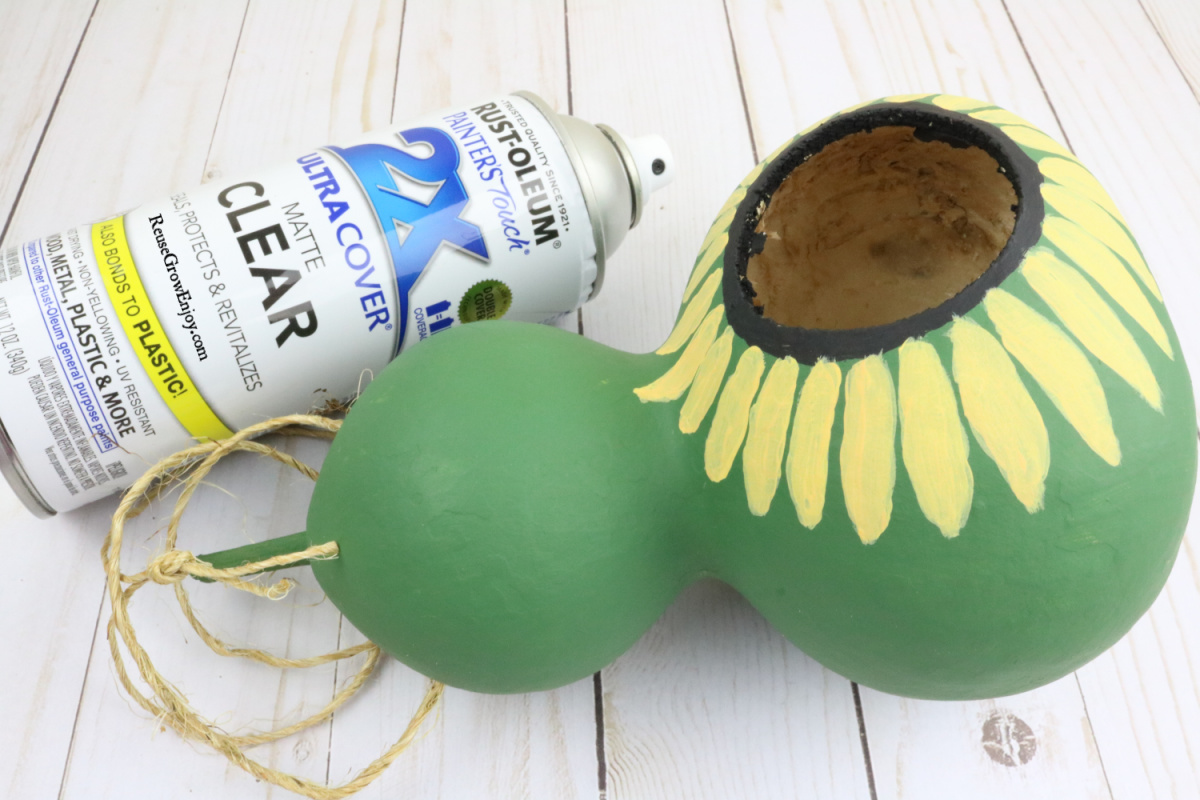
I decided to paint this one. Started by painting it a solid green and allowing it to fully dry. After it was dry I did black paint right around the large hole. Next, I used yellow to make the petals. I was going for the look of a sunflower.
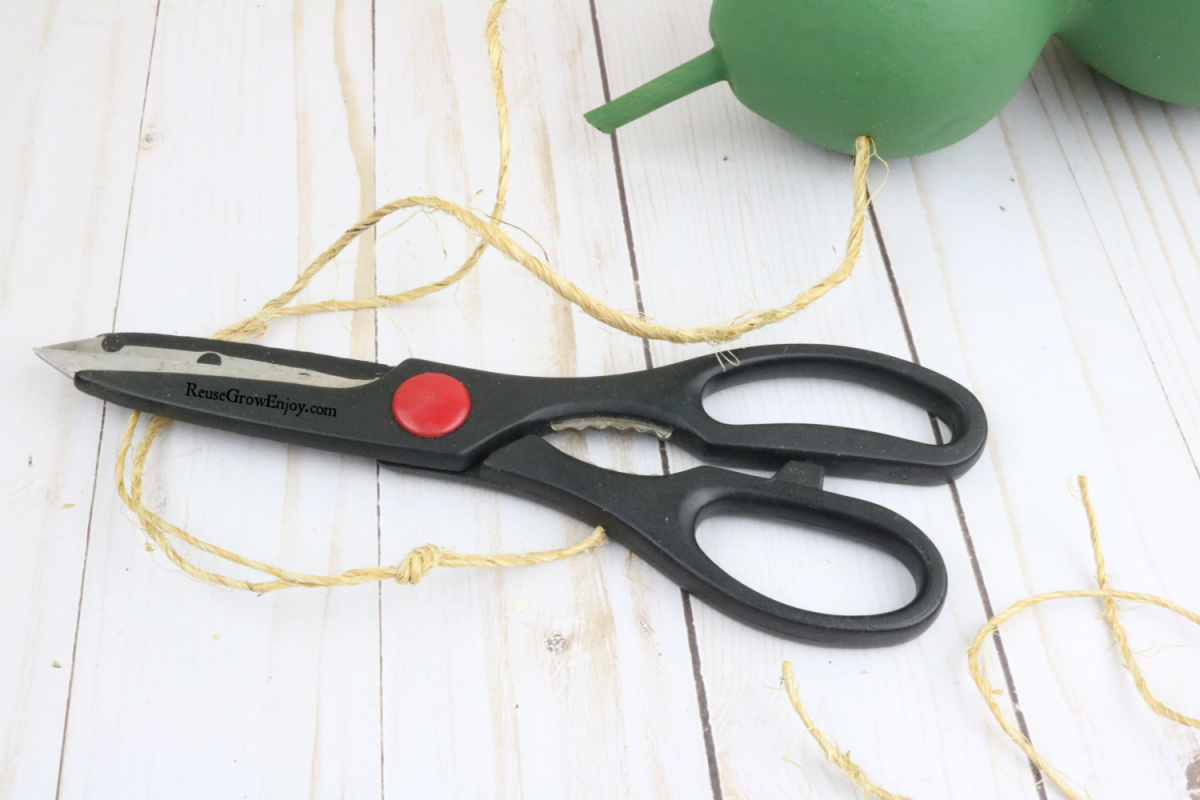
After all the paint is dry, push the twine through the top holes. Tie the ends of the twine into a knot.
Now comes the time to seal it. Hang it outdoors by the twine and give it a light coat of sealer. Allow the sealer totally dry. Then give it a second coat. You can give it a 3rd coat as well if you want. Just be sure to allow it to fully dry first.
Hang your new finished product DIY birdhouse in the yard or in the woods and wait for your new guests to come check it out.
Frequently Asked DIY Birdhouse Questions:
Q. Is this a fun project for the kids to help with?
A. Yes, it is a great project to get the kids involved. You can get them to help in some way no matter what the age of the child. It really is a great activity to involve them.
Q. What kinds of birds will use this gourd birdhouse?
A. There are a variety of small birds that will use this type of birdhouse. Such as purple martins, blue bird, tree swallows as well as a few other kinds of birds. However, house sparrows do not like gourd birdhouses those types of birds like a different design. What type of bird are you looking to attract?
Q. Does this simple birdhouse plans require a lot of special tools?
A. No, it only requires a few basic tools.
Q. Will a wood burning tool work on gourds?
A. If you are not beginner woodworkers then you could use a wood burner. It makes for fun woodworking projects and a burner works just fine on a dried gourd it doesn’t have to be a wooden birdhouse.
Q. Is there anywhere that sells this in a bird house kit?
A. While there are places you can buy the dried gourd, I have not seen any kits.
Q. Could you add a front piece such as a perch?
A. Yes! You could make a small hole just under the large hole and insert a stick or something for them to perch on.


Leave a Reply