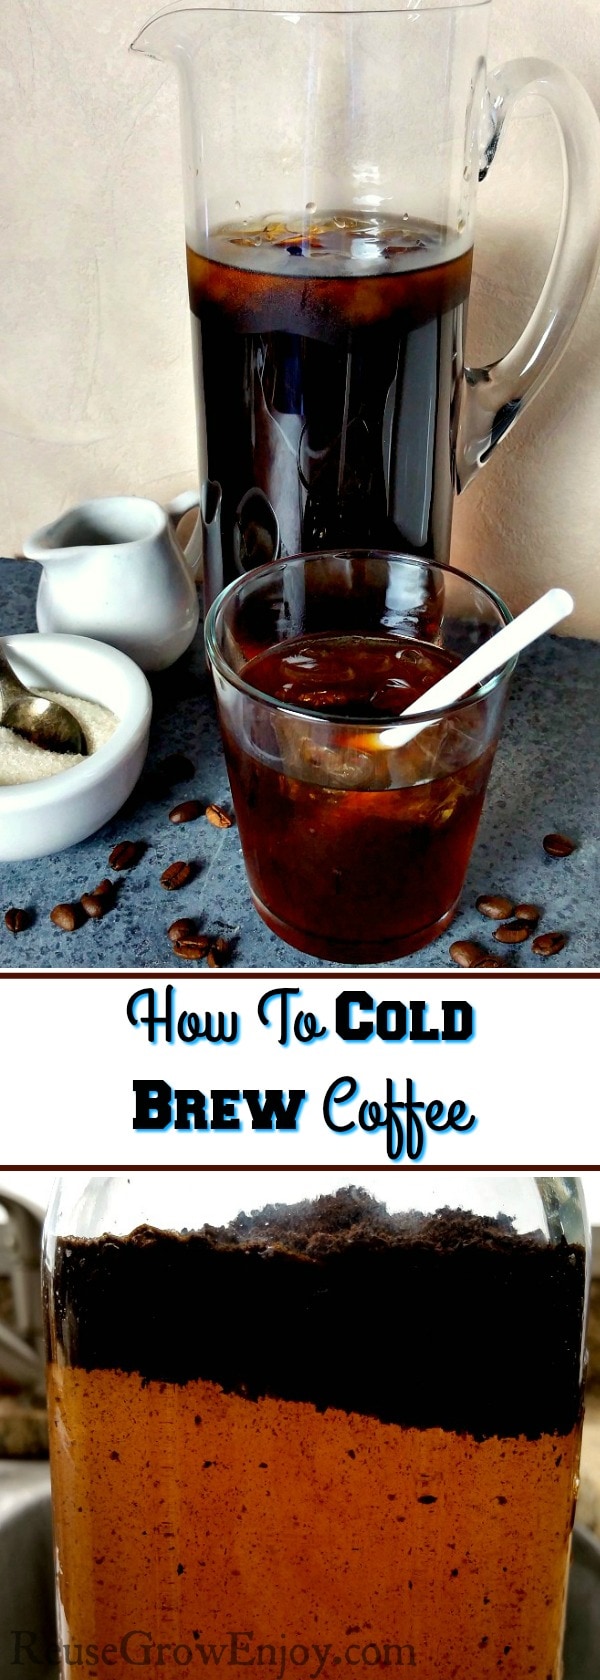
How To Cold Brew Coffee
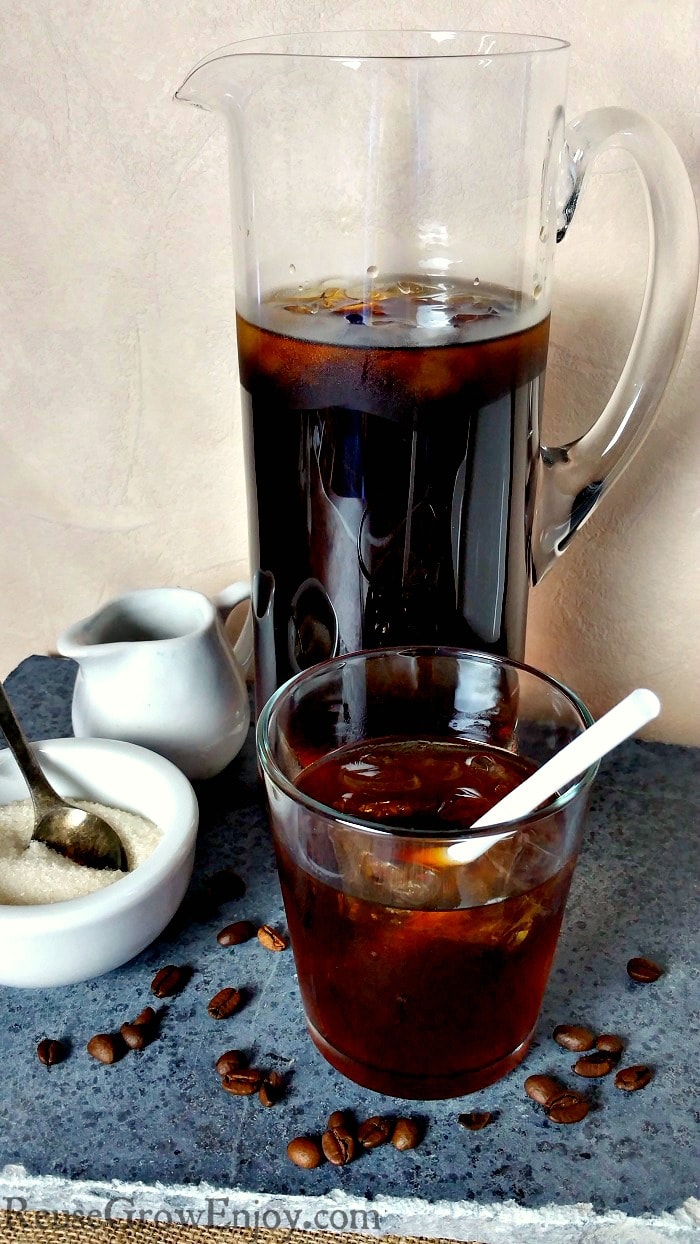
If you are like me you enjoy a nice glass of ice coffee. However, sometimes it can get a little watered down when you brew it and then add ice to it. I am going to show you how to cold brew coffee.
The best part is you do not need to have anything special to do it either. I mean if you want to buy a cold brew coffee maker you could, but you do not have to have it.
After you learn how to cold brew coffee you can even do it when you are camping! This works amazingly well for ice coffee but if hot coffee is your thing, you could also heat it up for a hot cup. Either way, you still get a really strong cup with amazing flavor.
Cold Brew Coffee Supplies:
- 4 Cups Cold Water (filtered for best flavor but tap will work too)
- 1 1/2 Cups Fresh Ground or Bagged Coffee Grounds (use more or less depending on how strong you like it.)
- 1 Glass Container With Lid (large canning jar works well)
- Large Bowl or 2nd Glass Container
- Filter (can be coffee filter basket, nut bag or a coffee filter in a funnel)
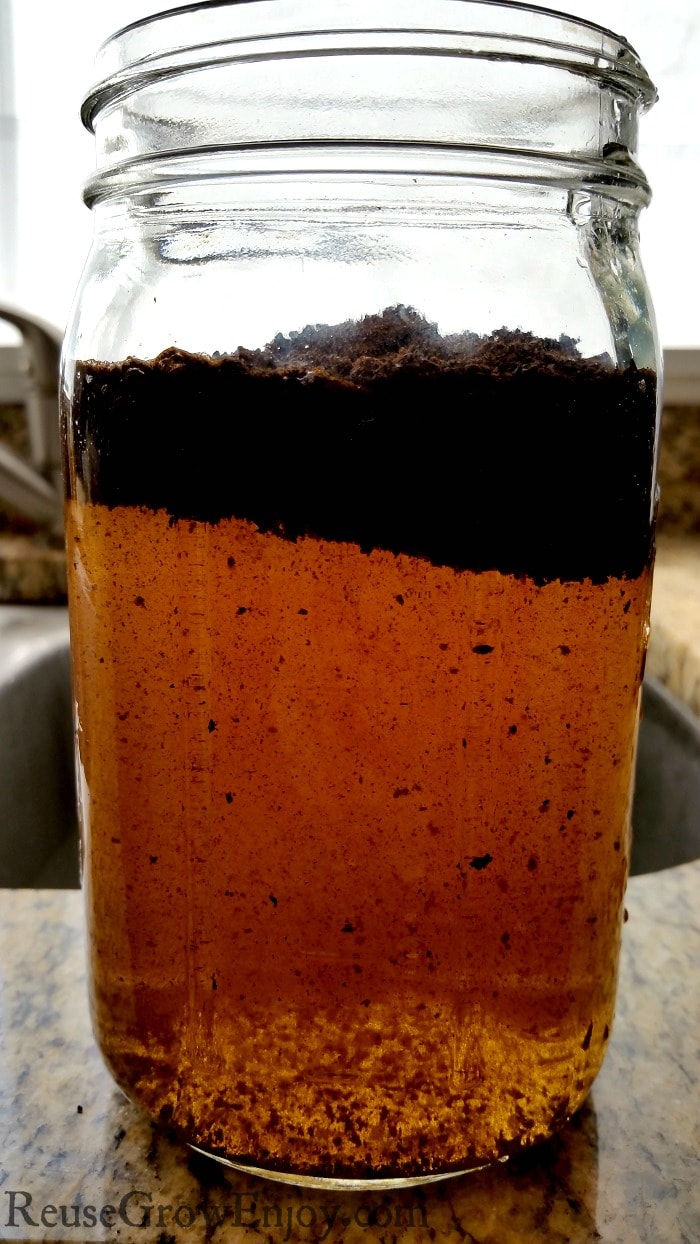
Add your water to your glass container. Then dump your coffee grounds in. Give it a good stir so the grounds mix in with the water. Place a cap on the container and put it in the fridge or cooler.
Allow it to steep for a minimum of 6 hours and up to 12 hours. Then dump it over / through your strainer into another bowl or container.
If dumping into another container with a lid, you can simply put the cap on it and store in the fridge or cooler until you are ready to use. If you strained it into a bowl, rinse out the first container to get the grounds out and then pour it back into that container to store.
Note: If doing this while camping, be sure you have a lid on your container that seals tightly. You would not want ice water from the cooler getting in your coffee. If using a canning jar the plastic lids found here work well.
If you liked this post, here are a few others to check out.
- Peppermint Coffee Sugar Scrub For Lips – The “Must Have Recipe” Plus How To Make It Video
- Coffee Popsicle Pick Me Up Pops (Dairy Free)
- 12 Creative Uses for Coffee Grounds


Leave a Reply