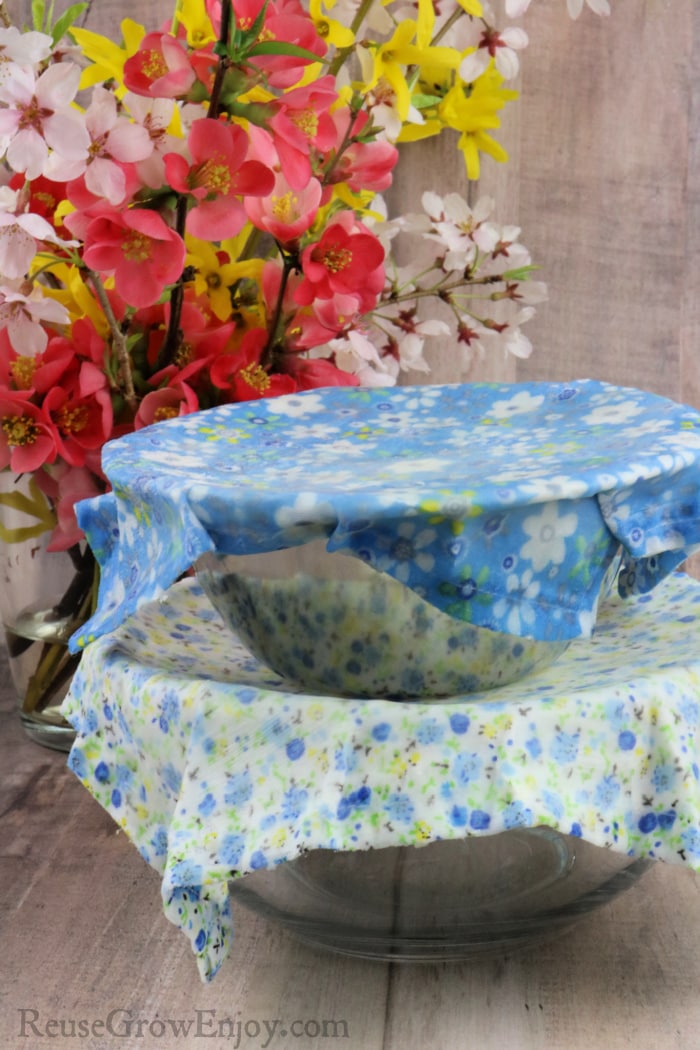
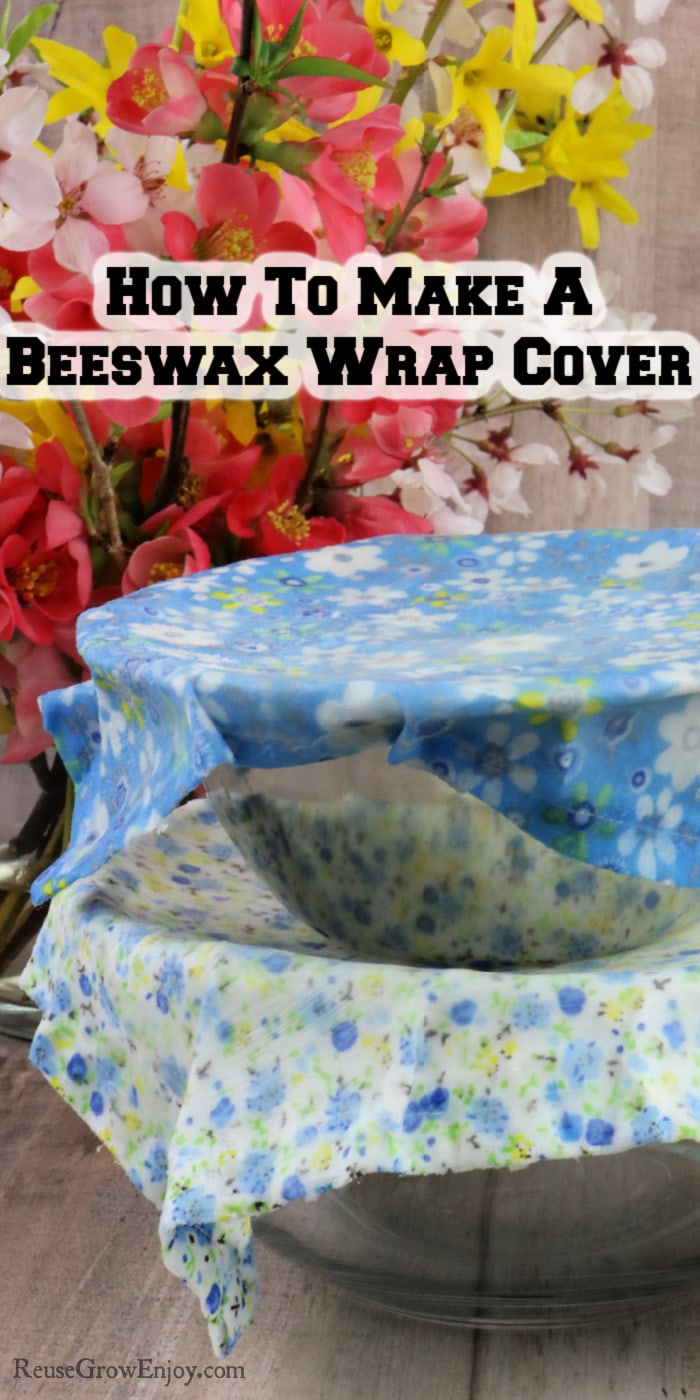
If you are trying to cut down on waste in the home, knowing how to make a beeswax wrap cover comes in handy!
How To Make A Beeswax Wrap Cover
Not only does a beeswax wrap cut down on waste such as things like sandwich bags or cling wrap, but it is also a great way to use scrap fabric.
These wraps are great for covering leftovers in a dish, covering a bowl when cooking outside and so much more. These also work really well for wrapping a sandwich and other food items in as well. You can make them in a variety of sizes to fit all your kitchen needs.
I know you may be wondering how do you wash it when it is covered in wax? Well, you simply wipe it lightly with a soapy sponge. Then rinse with cool water. Allow to fully dry (I like to hang mine up) before using again.
Here are a few other projects you might like.
- DIY Citrus Soy Candle
- DIY Vanilla Chai Lip Balm
- Easy Sewing Project – Upcycled Pillowcase Bag
- DIY Lip Balm – Orange Cream In A Contact Case!
- DIY Beehive Craft From Upcycled Flower Pot
Time: takes about 20 minutes
Skill: Easy
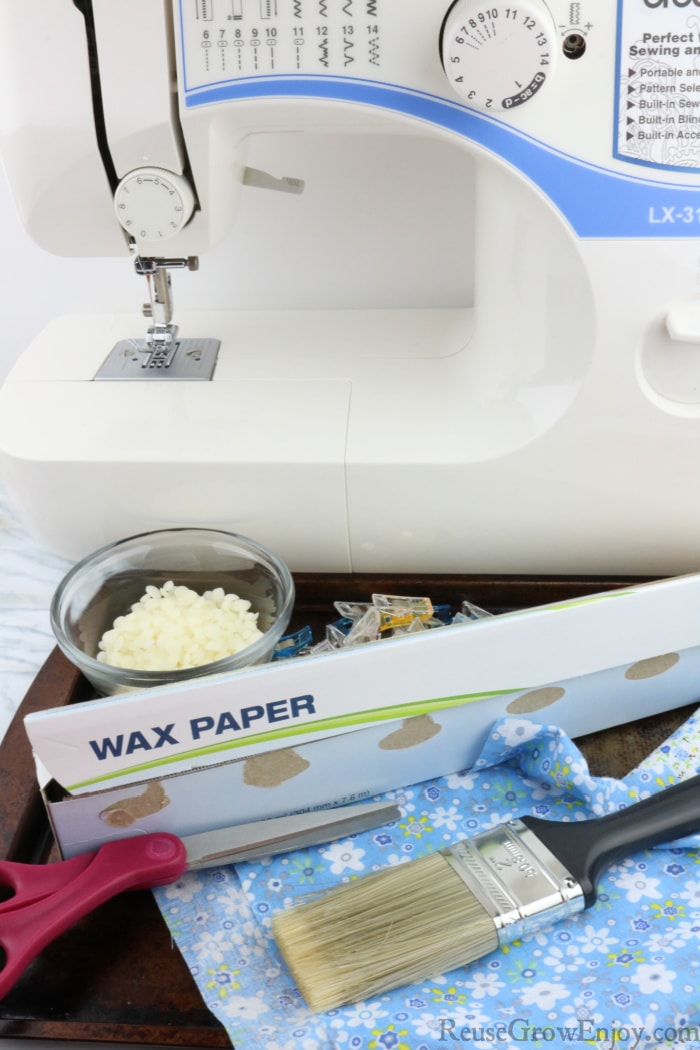
Supplies Needed:
- White Beeswax Pellets (you only need about 1 Tbsp per cover)
- Thread (match fabric color)
- Scissors
- Fabric Clips or Pins
- Fabric (sizes depend on bowl sizes)
- Cookie Sheet
- Paint Brush or Pastry Brush
- Wax Paper
- Sewing Machine
How To Make This Wax Cover:
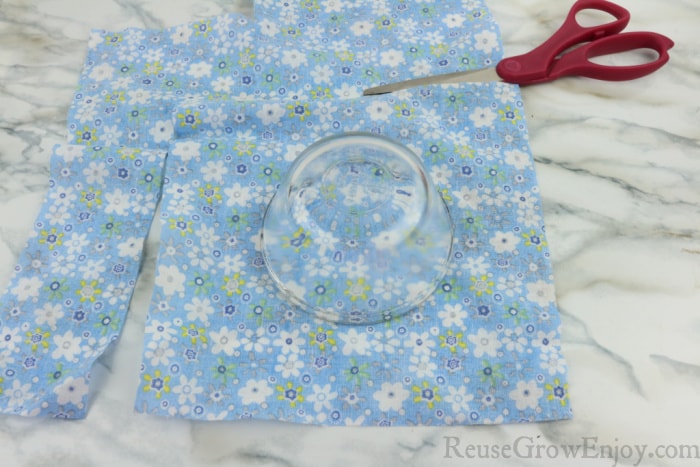
Cut the fabric to the size you need. You can just cut out some different size squares if you want different size wraps. If making for a specific bowl, lay the bowl you want to make it for, on the fabric then cut it so that it is about 1.5 to 2 inches past the bowl. Cut it out in a square.
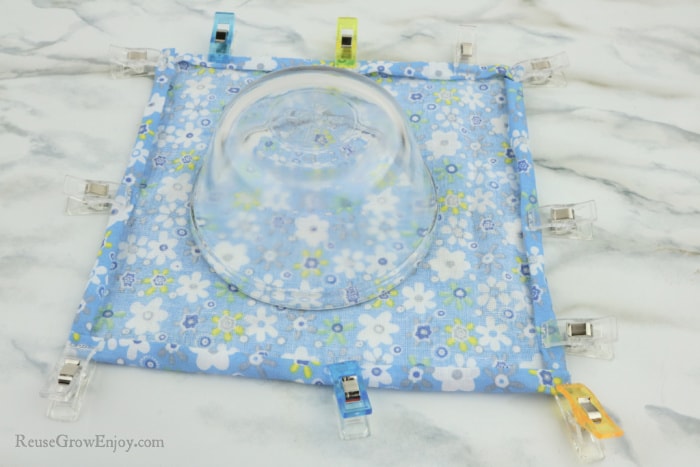
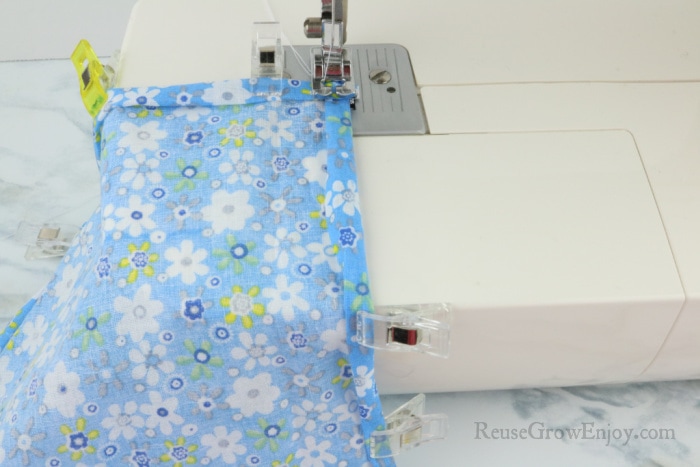
Take the cut fabric and lay it face down. Fold the edges in by about 1/4 inch or even a little less if you can. Then fold it over again on itself so the raw edges are hidden and clip it in place. Do this all the way around.
Line the foot of the machine so that it is on the inner edge of the fold. Sew as close to that inner edge as you can. Do a backstitch at the start and finish. A backstitch is when you sew a few stitches forward then a few back then forward again.
Sew all the way around. The best way to turn the corners is to lower the needle when you get to the corner, then lift the foot and swing the fabric around. Lower the foot and continue sewing.
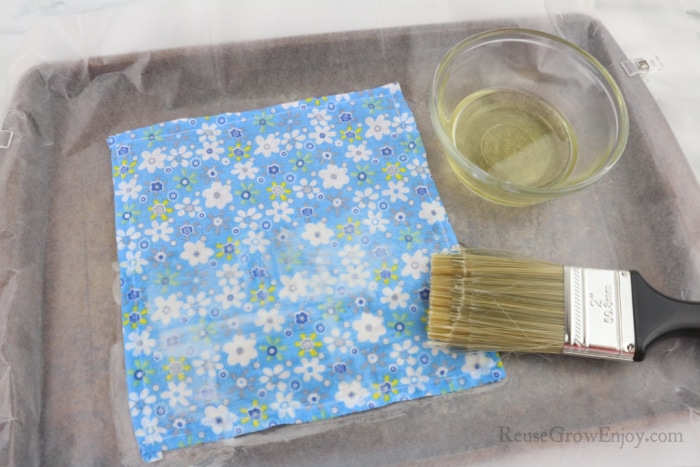
Lay a piece of wax paper or a silicone mat on the cookie sheet. If using the paper, I clip it to the edge of the cookie sheet using my sewing clips to keep it from sliding.
To heat the wax, add it to a microwave-safe dish and microwave 20 seconds at a time, and stir each time until fully melted.
Place the fabric face-up on the wax paper or mat. Dip the paint brush in the heated wax and lightly brush the fabric with the wax. It just needs to be coated lightly, not super thick.
Allow cooling then remove from wax paper.


Leave a Reply