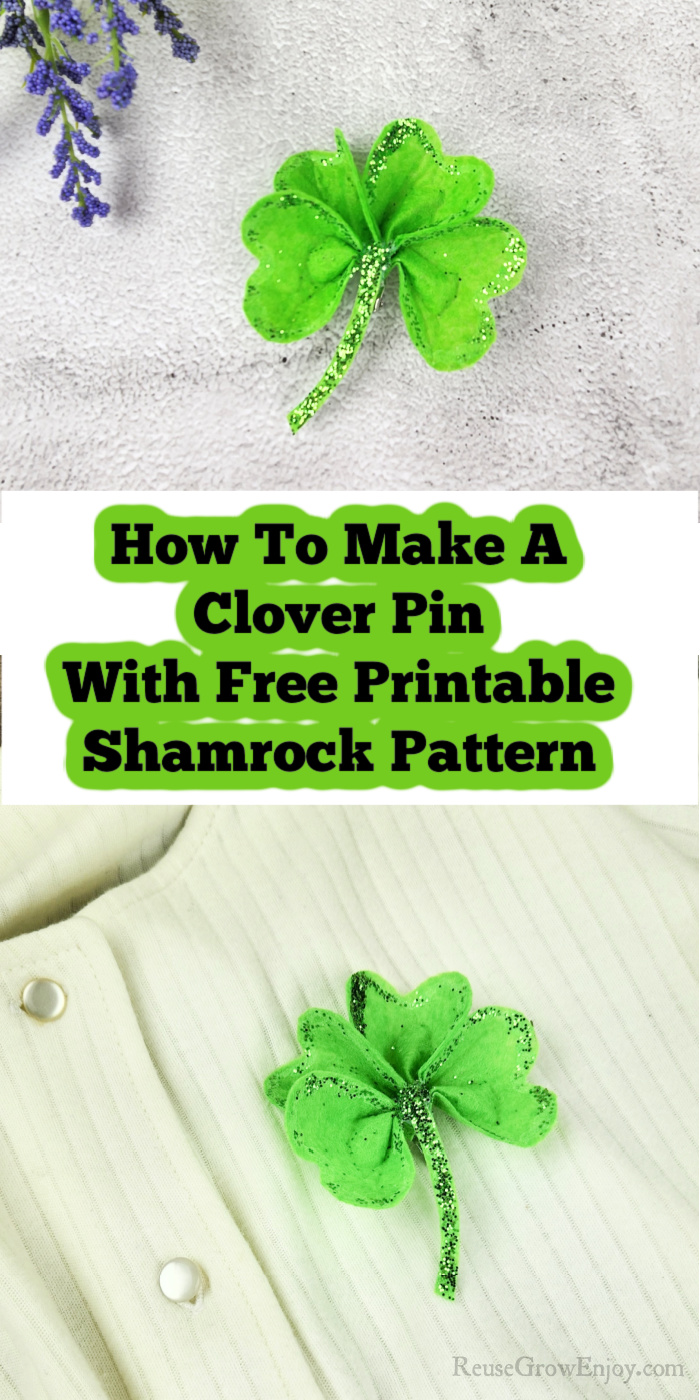
If you are looking to add a splash of green to your outfit for the day, check out this cute clover pin! I not only will show you step-by-step how to make it, but I am also including a free printable shamrock pattern!
This pin only takes about eight to ten minutes to make depending on the age of the crafter. It may take a little longer if working with young children. However, the glue does take a little longer to dry. But that is only for the glitter step. If you want to make a pin without the glitter then you will not have to wait for the glue to dry.
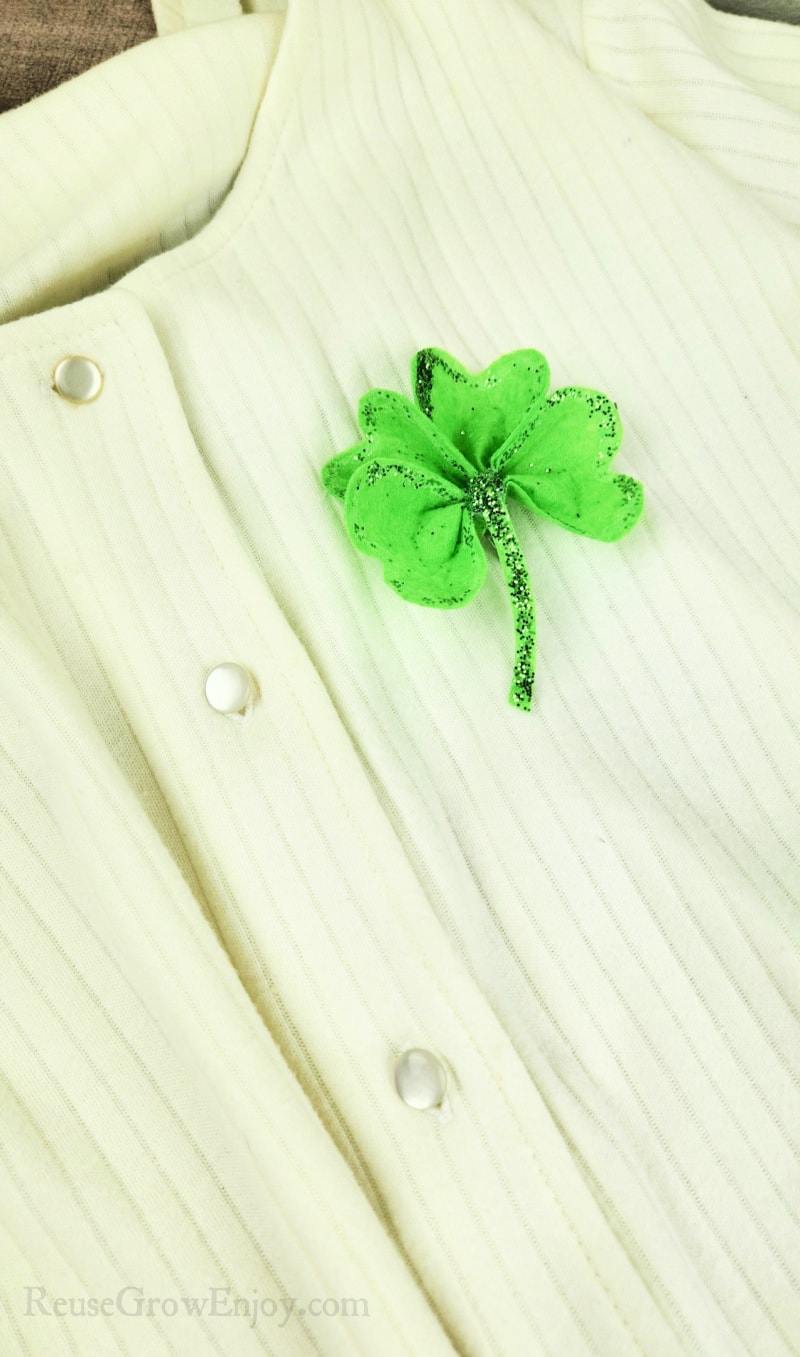
This clover pin was made as a stick pin. But you could also make it and attach it to a hair clip or headband if you wanted. These are also cute as decorations such as on a bulletin board. The free download printable shamrock pattern will work for all of those as well.
The template is for a small shamrock template but you could always print it larger and use it as a large shamrock template.
If you like this craft idea, here are a few other craft ideas to check out.
- How To Make Lavender Felt Flowers DIY
- DIY Feather Earrings Made From Ribbon
- How To Make Nail Polish Wire Flowers
Makes: 1 Pin
Time: 8 minutes + glue drying time
Skill: Easy
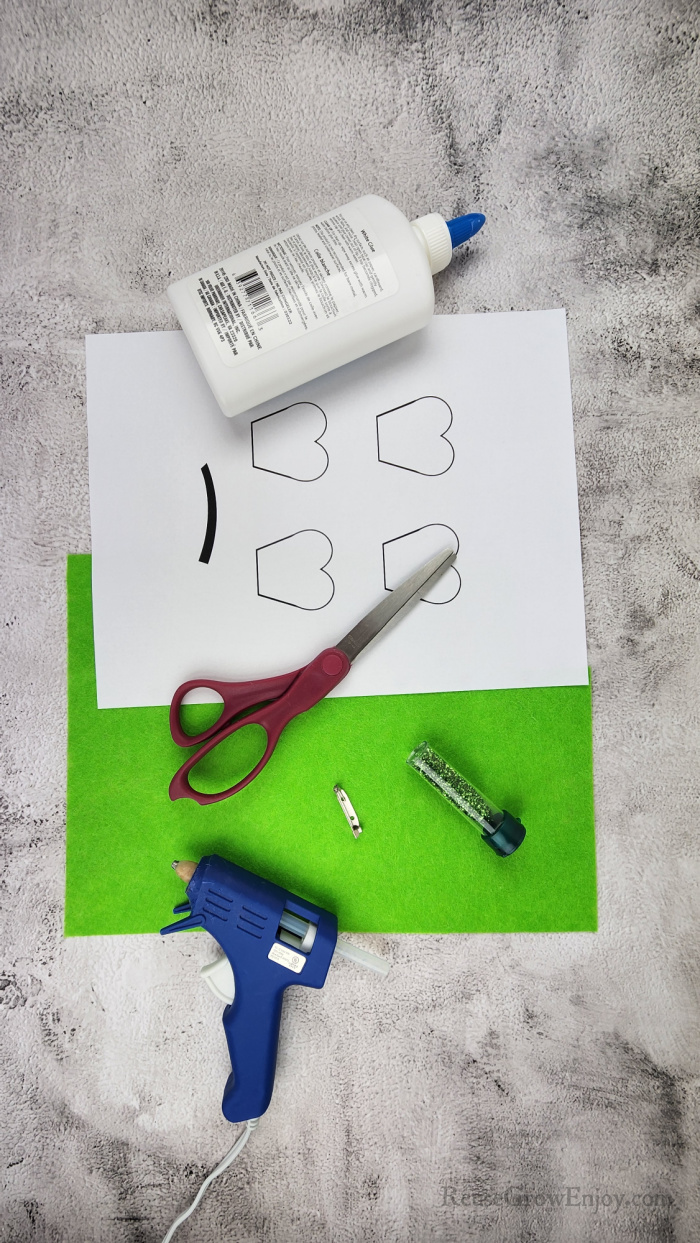
Easy Craft Supplies Needed:
- Green Felt
- White School Glue
- Scissors
- Printable Template (printable pdf file, print as is or resize for small and medium size template)
- Hot Glue Gun
- Hot Glue Stick
- Green Glitter
- 1 Bar Pin
- Stick Pins (optional)
How To Make A Clover Pin:
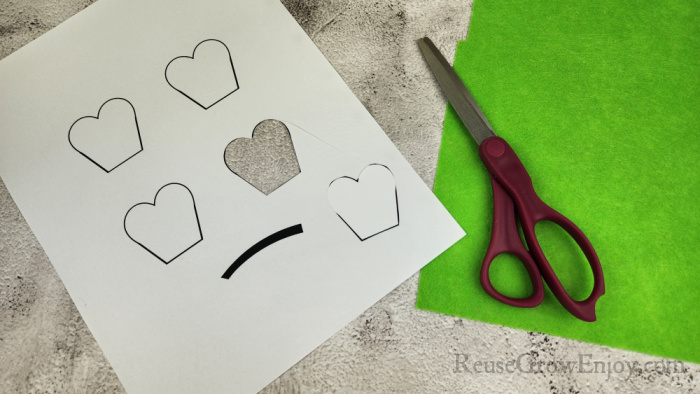
Use the scissors to cut out the shapes from the template.
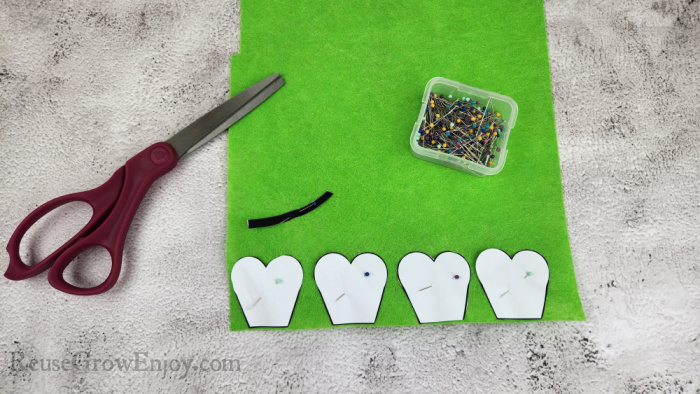
Lay the shamrock cutouts on the green felt and pin them in place.
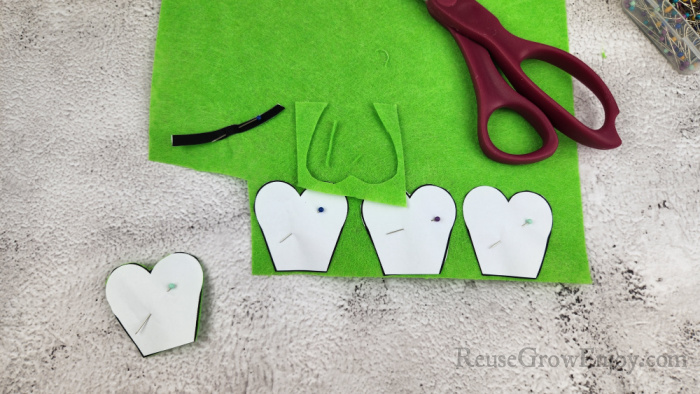
Use the scissors to cut out each of the shapes.

You should have 4 leaves and a stem cut out.
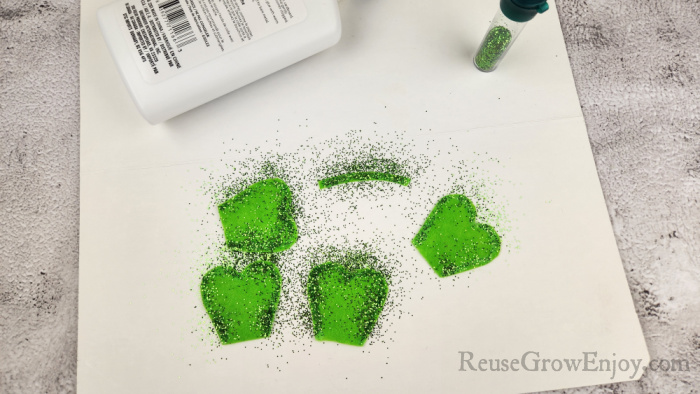
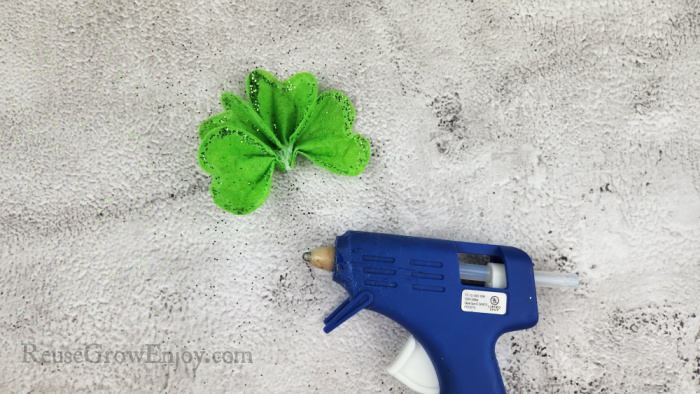
Use the white school glue and go around the edge of each leaf and then down the center of the stem. Then sprinkle glitter over the glue. Allow to fully dry. If you are making this with young kids and want to skip the glitter you can.
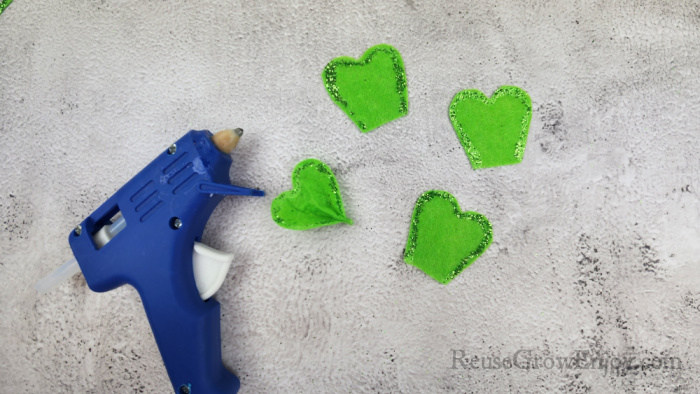
Use hot glue to glue a small spot in the center of the flat edge of the leaf. Then do a small dot on each side of that to glue the outer edge to the center.
Now use the hot glue to glue each piece together on that flat end.
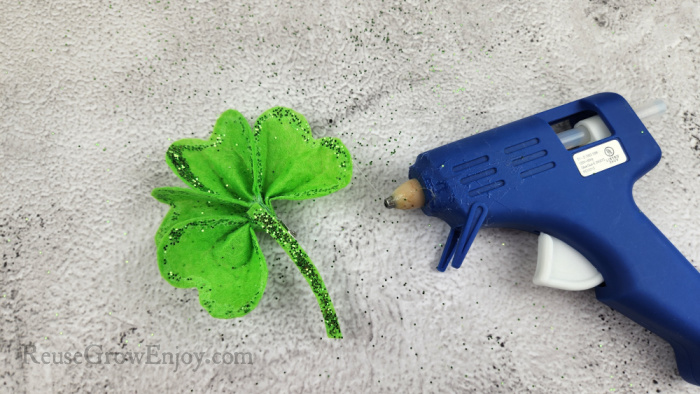
Glue the stem on top of the glued pieces. Be sure to use the wide end of the stem.
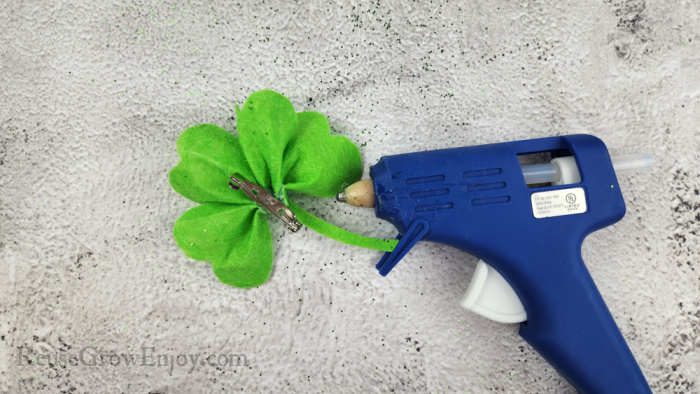
The last step is to use hot glue to glue the pin on the back of the clover.
Clover Pin & Printable Shamrock Pattern Questions:
Q. Do you have to use felt?
A. If making it as a pin then felt works best. However, if making it as decorations or as a craft project for kids, you could use green construction paper, green cardstock, or any green paper. You could even use tissue paper.
Q. Does this printable shamrock pattern only print in one size?
A. While it is set to print as the size we used, you could change the size or layout of your printer paper to get different sizes. That way you could use this free template as different sized shamrock templates. Just figure out the right size for your project then print it.
Q. Can I download this shamrock outline and give it away or sell it as a printable?
A. No. I provide free printables to my followers for personal use and they are not to be reused on other sites or to be sold. The printable templates are just to be used by my readers as a fun way to do their craft projects or for classroom use. Using it for any other use from what I have stated would be a copyright infringement.
Q. Could you use this for an st. patrick’s day craft?
A. You could use this as an st patrick’s day craft if you wanted to.
Q. Could this also be used as leaf clover templates?
A. It sure can! A Clover and a shamrock are pretty much one and the same. So this shamrock stencil could also be used as a clover stencil.
Q. Could you make these without the pin to use as st. patrick’s day decorations?
A. Yes you can! It is a perfect way to add a little clover to an st. patrick’s day party. You could also make it into a shamrock garland.
Q. Could you use this as fun activities for kids?
A. You could! If you are working with younger children you may want to skip the pin.