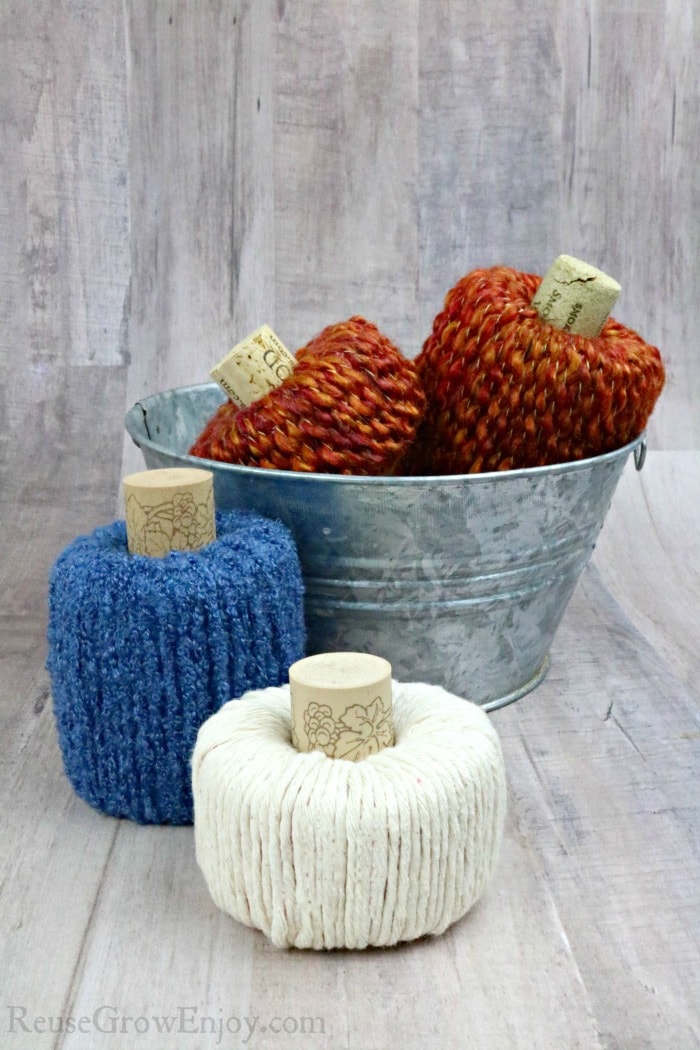
At the end of summer are you left with pool noodles that have seen better days? Don’t toss them! You can do this pool noodle craft for DIY decor pumpkins.
Pool Noodle Craft – DIY Decor Pumpkins
This pool noodle craft turns out super cute. Plus it is pretty easy to make too. You just need some string or yarn, pool noodle, and a wine cork or stick.
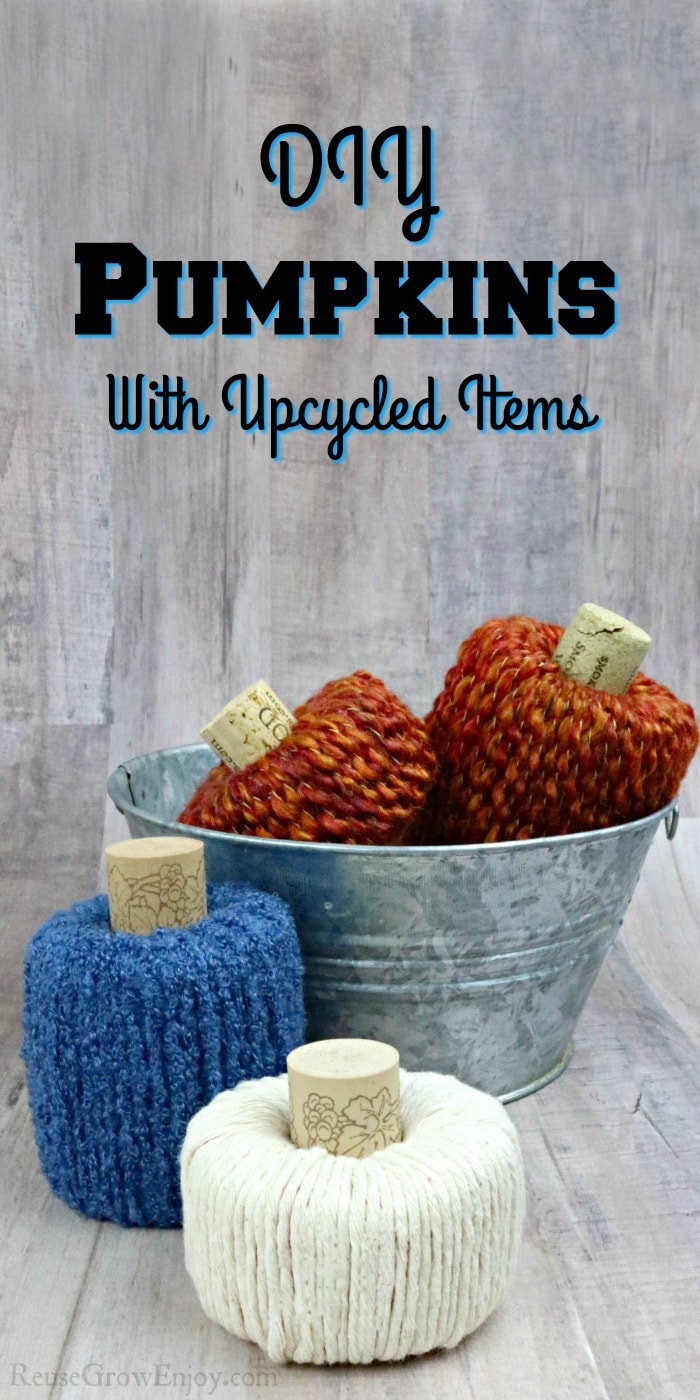
One noodle will make a lot of little pumpkins. You can do the in different sizes as I have to have different size pumpkins. I made a few about one inch and a few that are about 2.5 inches.
Another way you can mix this up is by using different color yarns. I not only used different colors but textures as well. However, I did find that the thicker/chunky textured yarns work best.
I love finding different ways to reuse pool noodles. It keeps them out of the trash when they might have chunks missing from them or they are so worn out they no longer float well.
After you make these, here are a few other fall crafts you may like.
- Farmhouse Decor Fall Twine Pumpkin Craft
- Upcycled Dryer Duct Pumpkin Fall Craft
- DIY Pumpkin Fall Garland Fall Craft
- DIY Wood Bead Pumpkin Fall Craft
- Reuse Puzzle Pieces To Make A Cute Fall Craft
These take about 15 to 20 minutes per pumpkin to make.
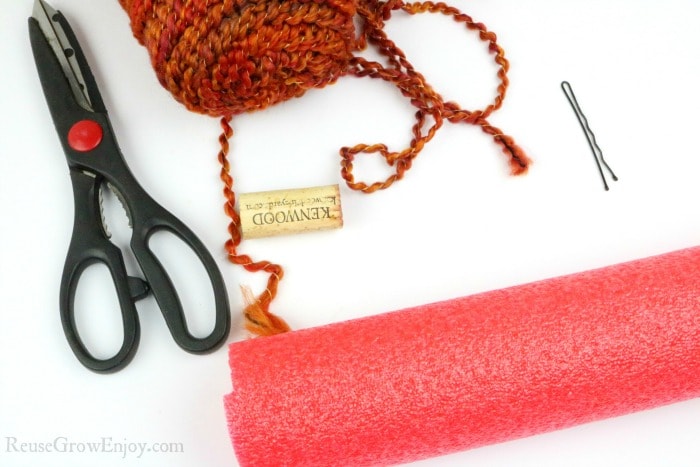
Supplies Needed:
- Wine Cork or stick
- Pool Noodle (any color, used or new)
- Scissors
- Bobby Pin
- String/Yarn (this is the orange yarn we used)
How To Make These Decor Pumpkins:
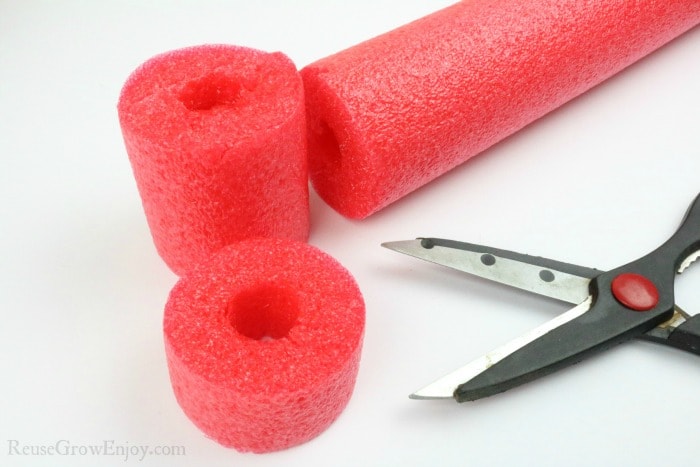
To get started you need to cut the pool noodle to the size you want. As I noted above, I made a few different sizes from one inch to about 2 ½ inches.
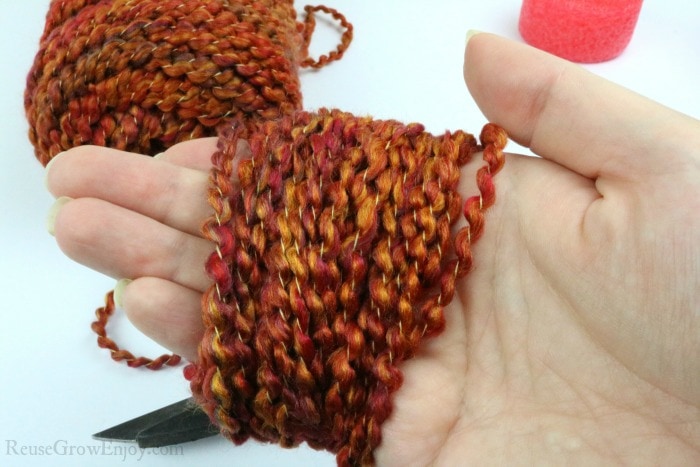
Next, we need to cut the yarn. The length of yarn you need will depend on the size of the pumpkin you are making as well as the thickness of the yarn you are using.
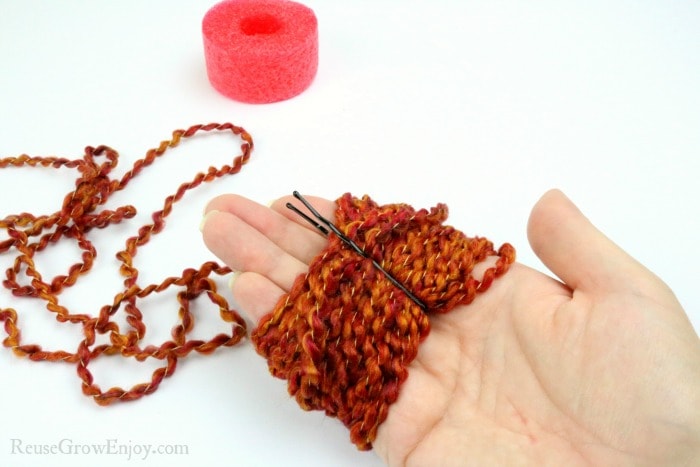
I have found it works out to be about 50 wraps around the hand for the smaller ones and 60 for the larger ones. So wrap the string around your hand 50-60 times and then cut it free from the rest of the spool.
Don’t worry about not having enough, you can add to it if needed. Just tie it together and make sure the knot ends up in the center hole so you can not see it.
I found it took to long to simply run the yarn through from the end. So slide the bobby pin through the wrapped string on your hand leaving a few loops off of the bobby pin to get you started.
Adding The Yarn To The Noodle:
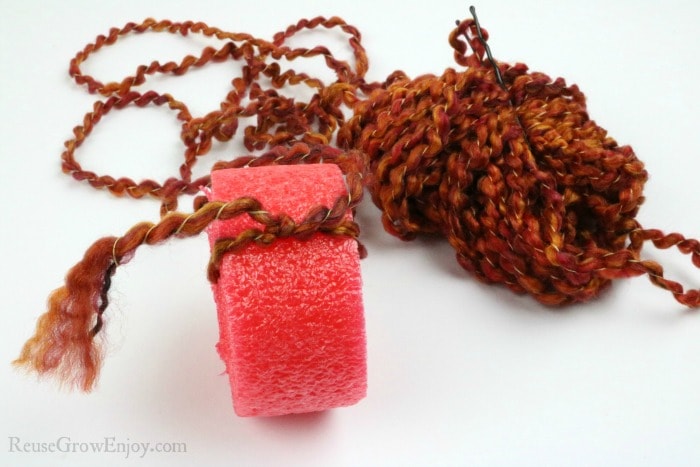
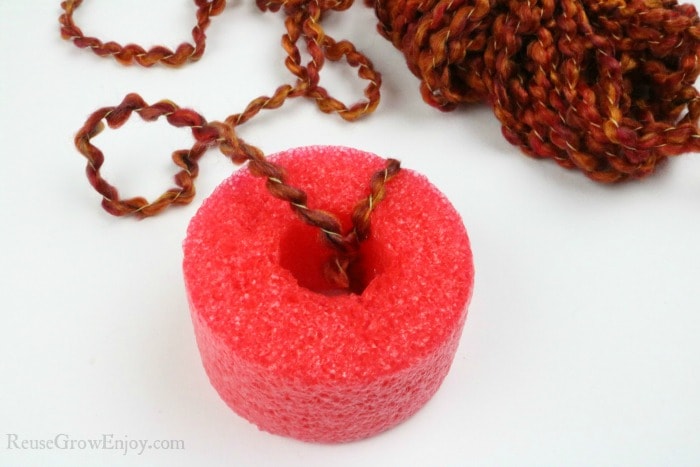
Take the loose end of the yarn and tie it to the noodle piece by running it through the hole.
Then clip off the end piece and twist it so the knot is in the middle of the hole.
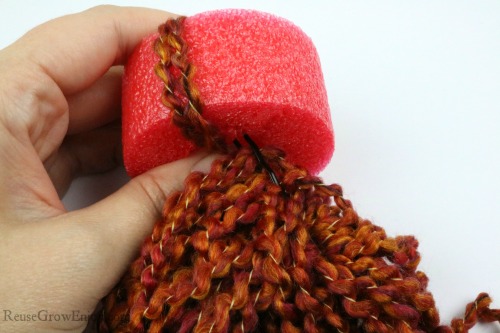
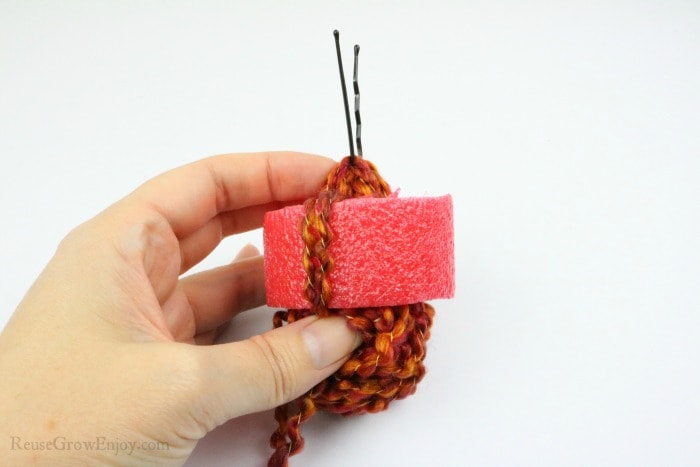
Take the open end of the bobby pin and push it through the hole of the noodle to start wrapping the string.
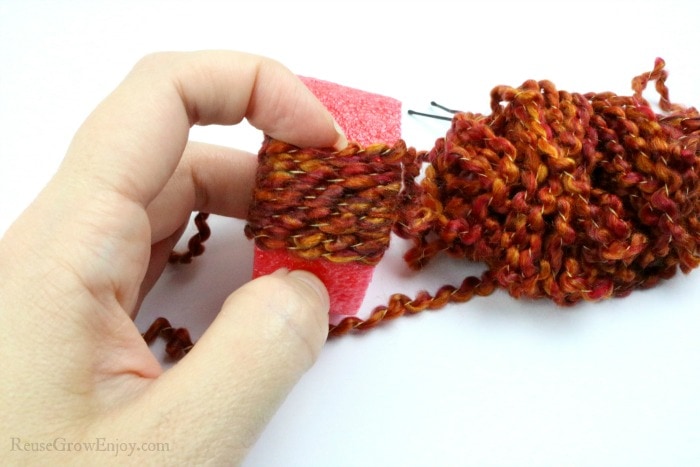
Pull the yarn all the way through. Then wrap it down the side and start pushing the open end of the bobby pin back through the hole again. You need to make sure you keep it tight, but not so much that it is cutting into the noodle.
Keep working your way around the noodle by repeating steps 5 and 6 until you have worked your way all the way around the noodle.
You will have to push the yarn together on the sides as you go around the noodle to keep it tight. You just want to make sure there is no spacing where you see the noodle showing through.
Ending The Yarn & Adding The Cork:
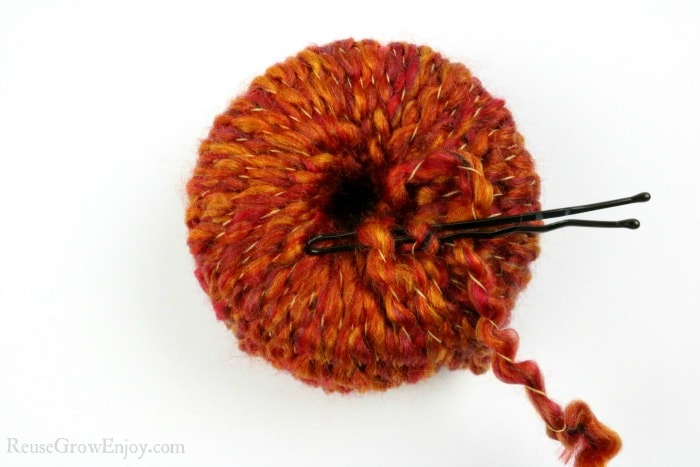
After you have it fully wrapped you need to tie it off to another piece in the center area. I used the bobby pin to help feed it under another piece to tie it off. You could also use a crochet hook or a plastic canvas needle.
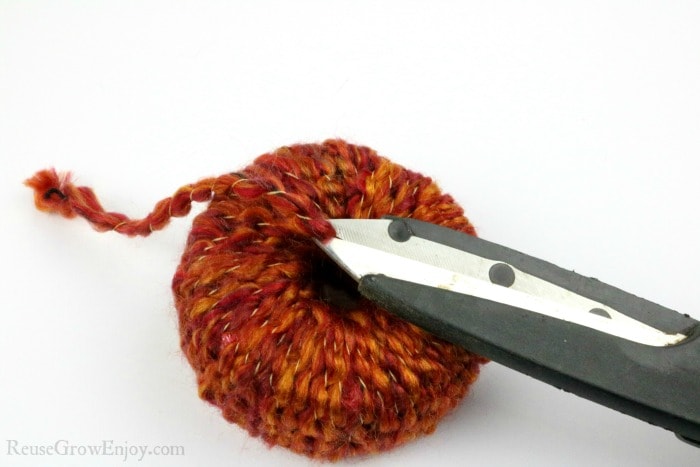
Then clip off any extra yarn there may be.
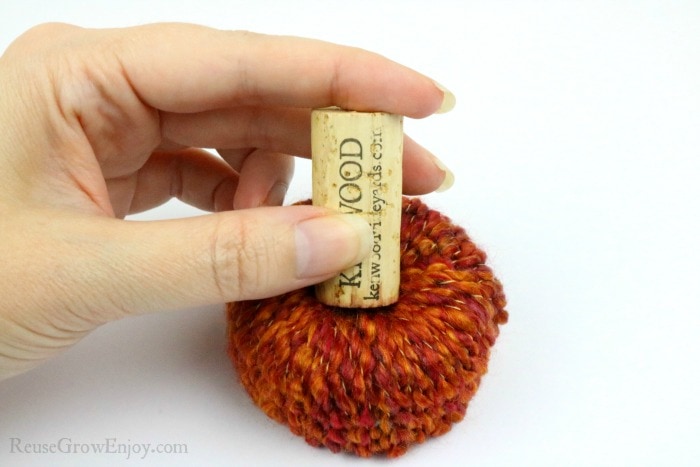
The last thing you need to do is push the cork (or if you don’t have a cork a stick also works) into the hole of the noodle. Depending on how thick the yarn is you may have to push hard.
That is it! You are done with your pool noodle craft and now have some adorable little decor pumpkins to add that touch of fall to the house.


Leave a Reply