Looking for budget-friendly ways to bring a little splash of fall into your home? This wood pumpkin fall craft is super simple and you may already have the supplies on hand.
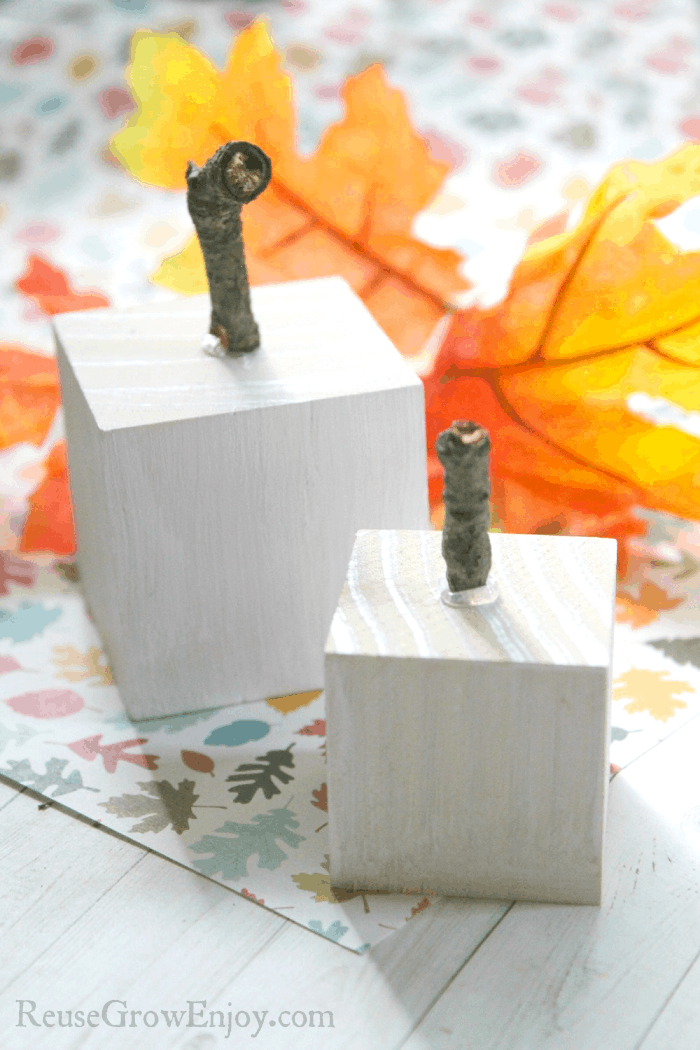
Wood Pumpkin Fall Craft
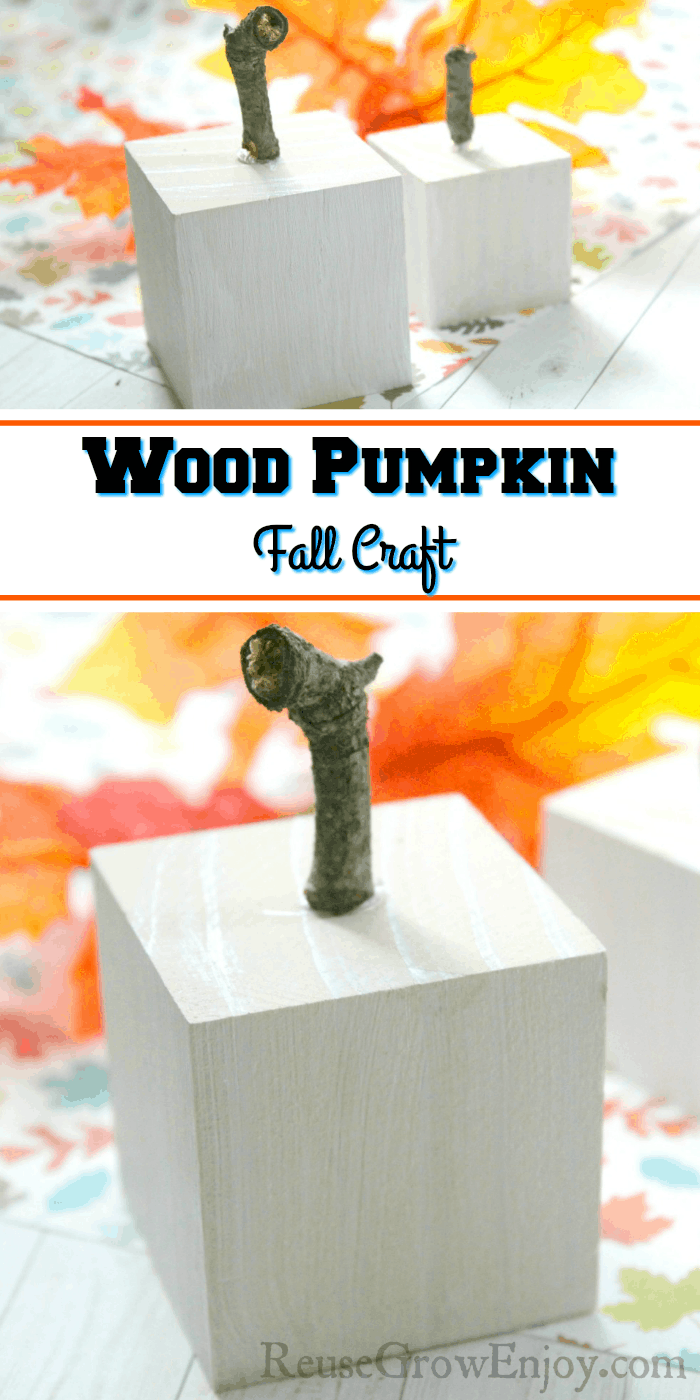
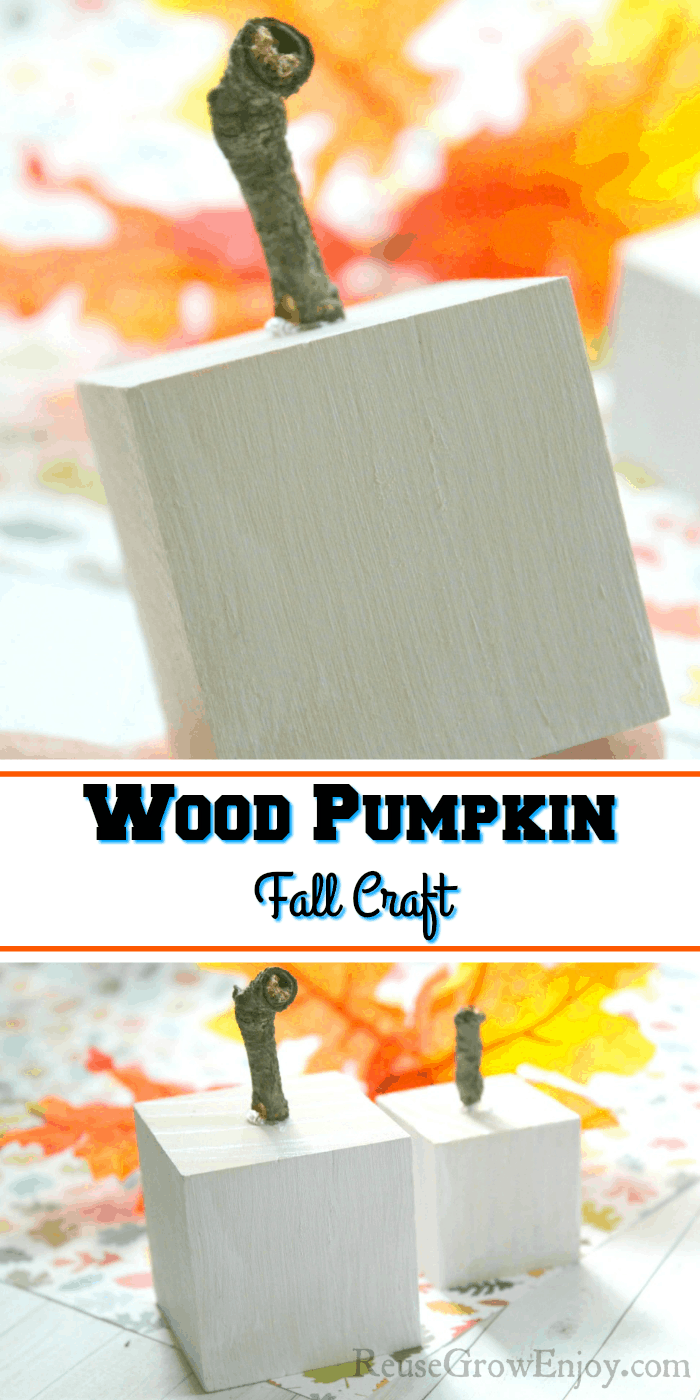
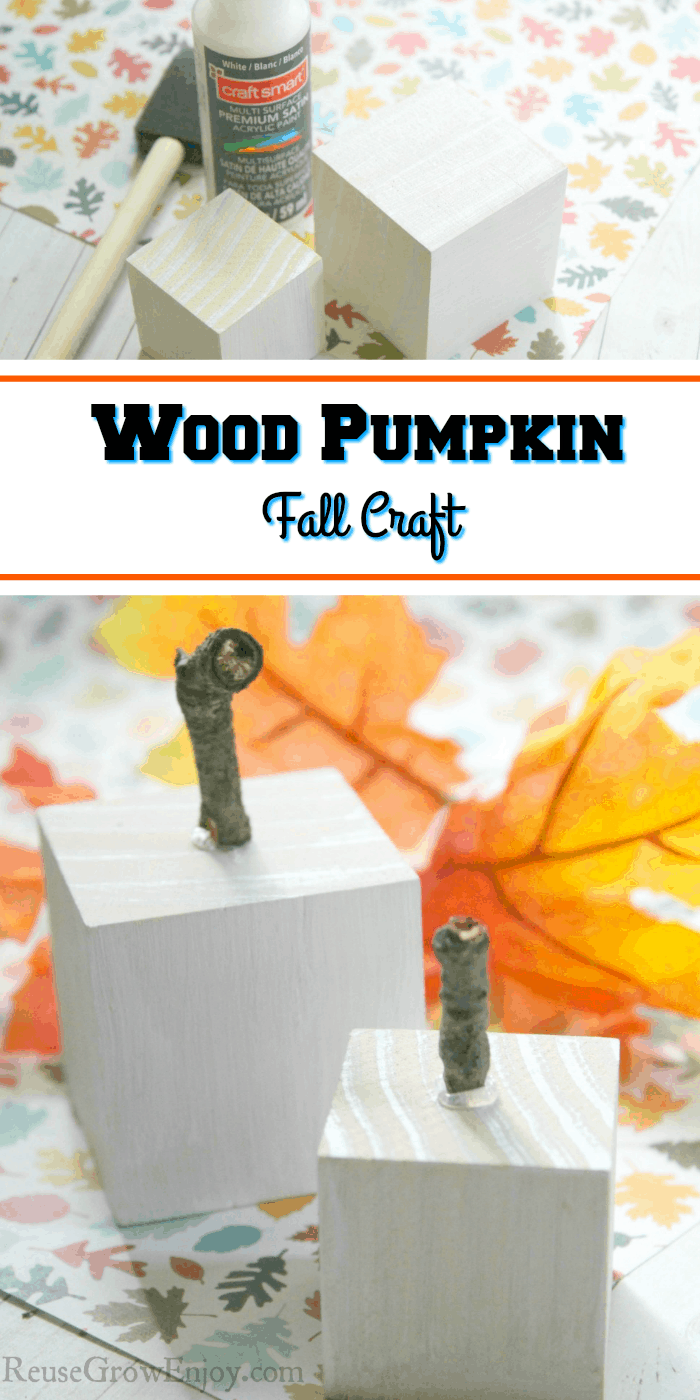
This wood pumpkin craft can also be customized to fit your style. You can make them large or small and paint them any color you want. We went with a simple white and added some fake fall leaves and colorful fall fabric around them to bring in some color.
Now for the wood blocks, you can buy them already pre-cut at craft stores, hardware stores or even somewhere like Amazon here.
However, remember to also think outside the box. Not only is this a great way to reuse items you already have, it makes for a cheap project too. You may have a small piece of 2×2 or 4×4 left from a project that you could cut into blocks. Another great option is kids blocks they no longer play with.
If you would rather have your wood pumpkin be round and not square, you can cut a piece off of a log or maybe a piece of wood from the woodshed.
Supplies Needed:
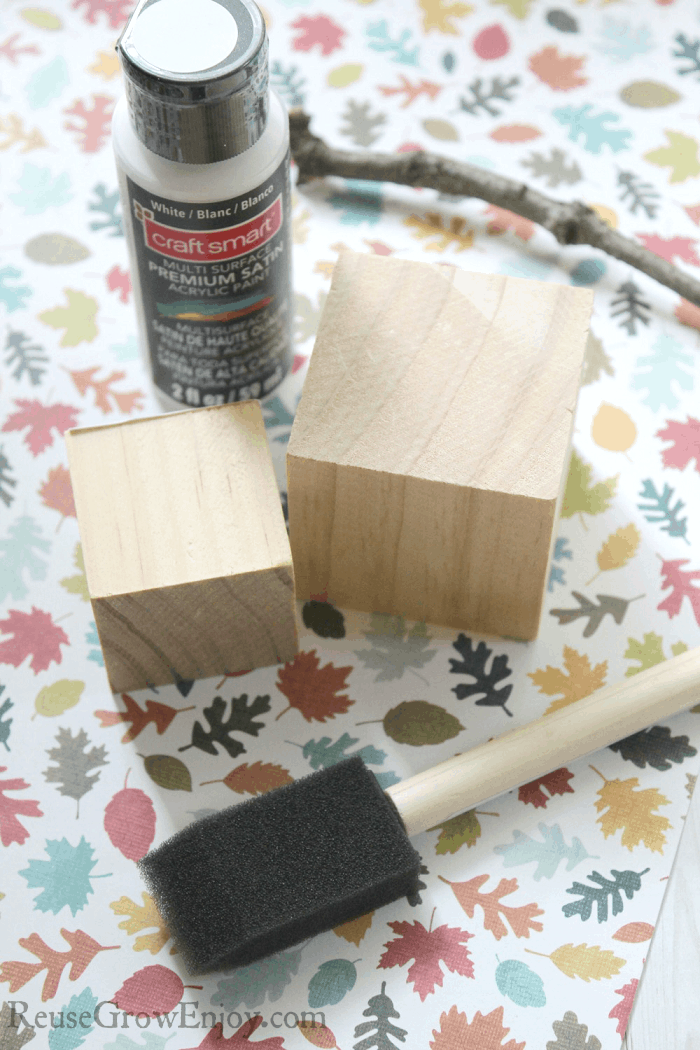
- Assorted Wood Blocks (use various sizes for the best overall look)
- Paint Brush (the sponge ones work fine too)
- White Craft Paint (or color of choice, orange or teal are other nice colors)
- Hot Glue Gun & Glue Sticks
- Twigs (one to three inches long, you will need one for each wood block you do)
Directions:
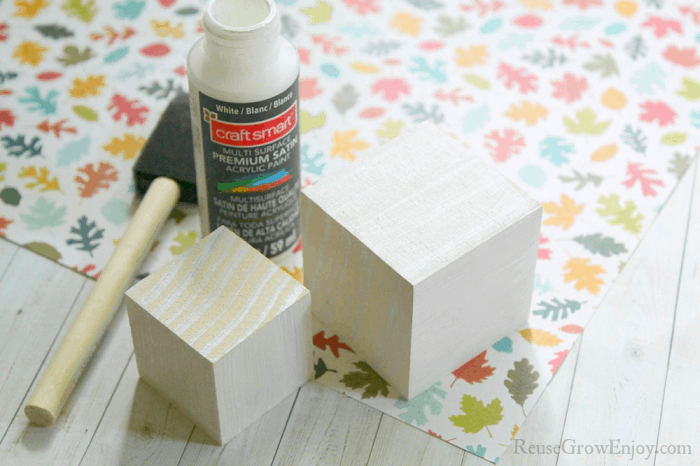
First, you want to begin by applying two coats of craft paint to the wood blocks. You do have to allow the paint to dry in between each coat. We used simple white acrylic paint, but you can use the color of your choice. If you like that natural rustic wood look, you could leave them unpainted if you wanted to.
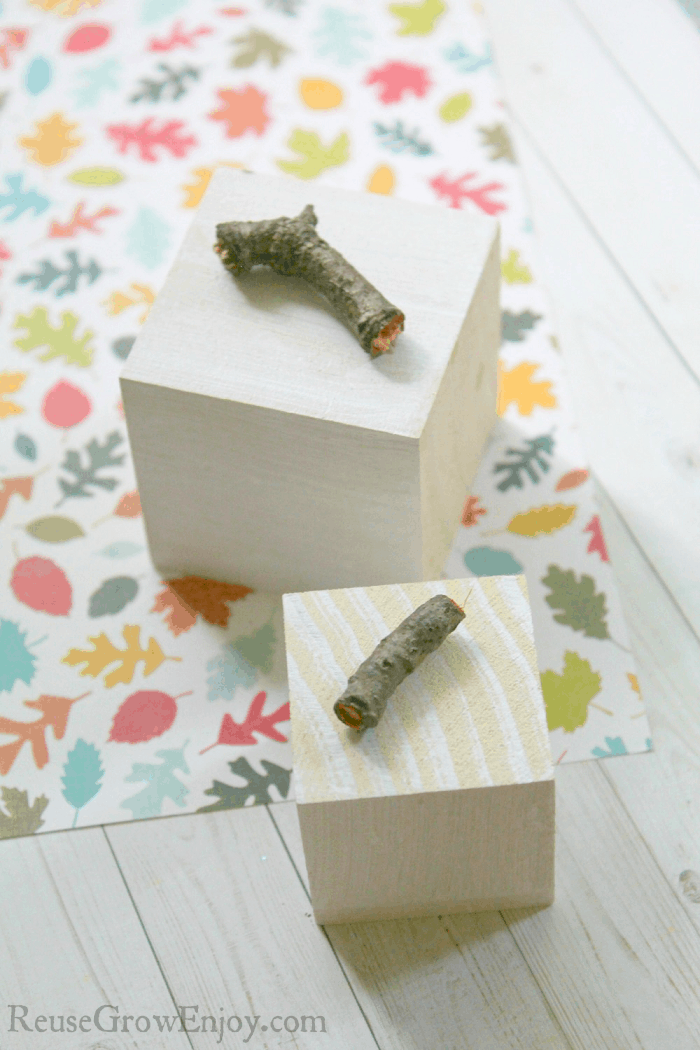
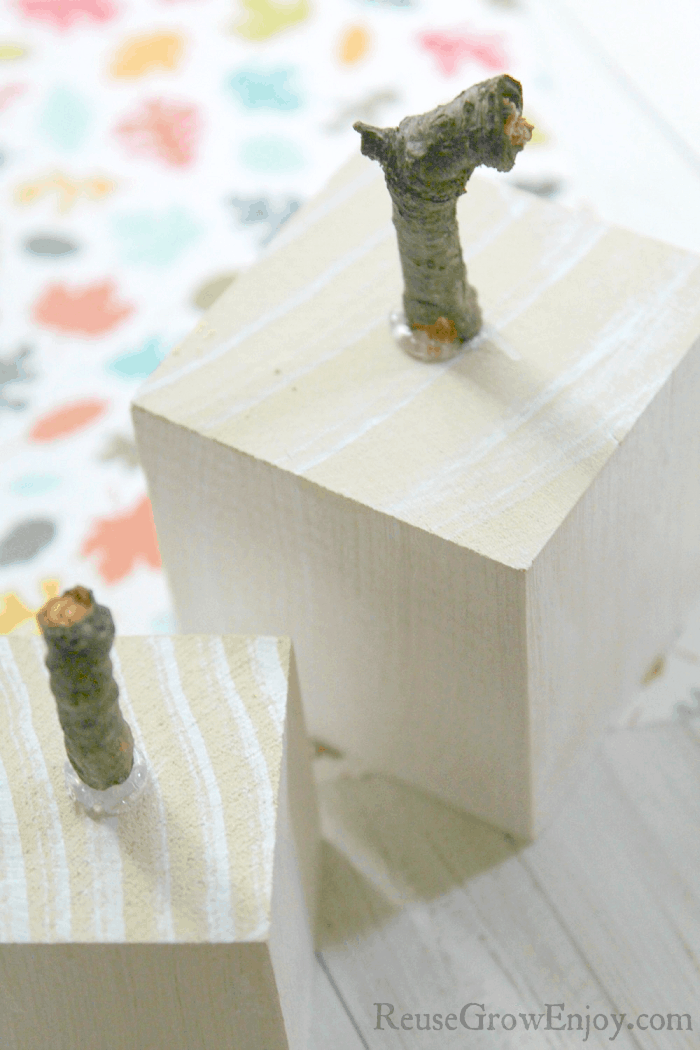
After the second coat of paint is fully dry, take your twigs and break them down to the perfect stem size. This will vary slightly depending on the size block you use for your pumpkin.
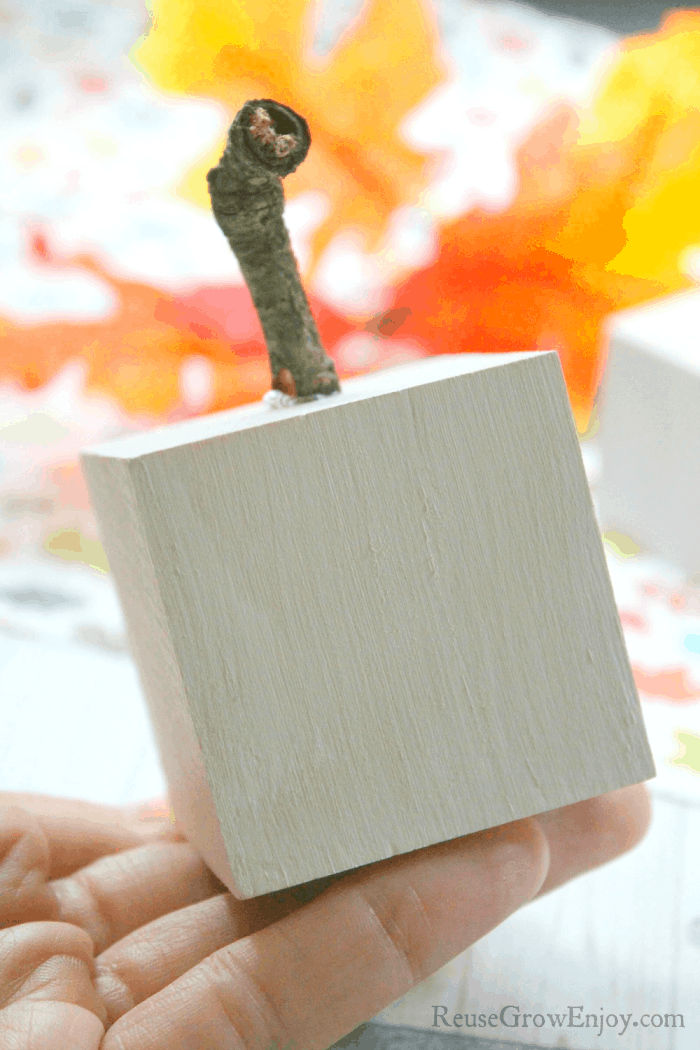
Now add a generous amount of glue to the top of the pumpkin. Press the end of the twig into the glue. Then hold the twig in place until the glue dries and the twig is secure. This will act as your pumpkin stem.
Simply repeat the steps until all of your block pumpkins are completed.
Your wood pumpkin is now ready to be displayed. You can create several and make your own mini pumpkin patch!
Looking for a few other fall craft projects to do? Here are a few others to check out.
- How To Quill A Fall Tree
- Farmhouse Decor Fall Twine Pumpkin Craft
- DIY Fall Wreath
- Fall Craft – Easy Pom Pom Fall Tree
- DIY Glass Pumpkin Craft – Made From Upcycled Supplies
- Pumpkin Craft Upcycled Mason Jar Lid
Frequently Asked Questions:
Q. Can you leave the wood it’s natural color?
A. Yes! If that is the look you prefer, there is nothing wrong with the natural look.
Q. What type of paint do you recommend?
A. If you will be displaying your pumpkins indoors, I would stick with using acrylic craft paint. If you will be putting outdoors, then go with something that has weatherproofing like an oil-based.
Q. Can you display the pumpkin blocks outdoors somewhere such as a porch?
A. Yes, however, see paint note above. You want to make sure you weatherproof them first.
Q. What else could you use for the steam if you are in the city and can not just get twigs?
A. Some other options to use in place of the twig would be a wine cork, rolled piece of cardboard, pipe cleaner, coiled wire just to name a few ideas.


Leave a Reply