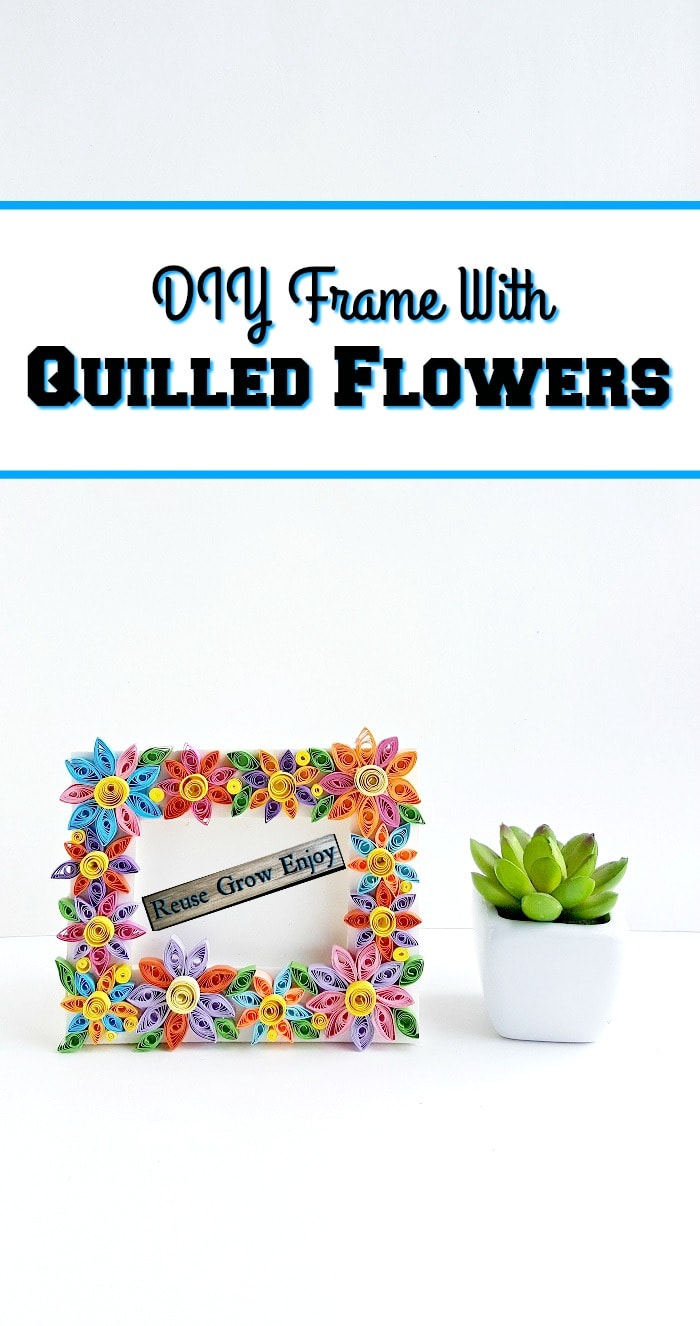
DIY Frame With Quilled Flowers
Have you ever tried quilling? It is not as hard as it sounds and it is a great way to add a touch of art to anything. I am going to show you how to make a DIY Frame With Quilled Flowers.
These directions will even show you how to make the frame from foam, but if you want a better frame, you could also glue the quilling to a regular frame as long as it has a wide trim.
This was made using foam board but you could also make it reusing cardboard. You can also use scrap paper from junk mail or magazines as the quilling paper if you wanted to do a little more upcycling.
Supplies Needed:
- Quilling Paper Strips (or scrap paper strips)
- Craft Glue
- Scissors
- Slotted Quilling Tool
- Foam board (or cardboard)
- X-acto knife
- Ruler
- Pencil
- Adhesive Glue
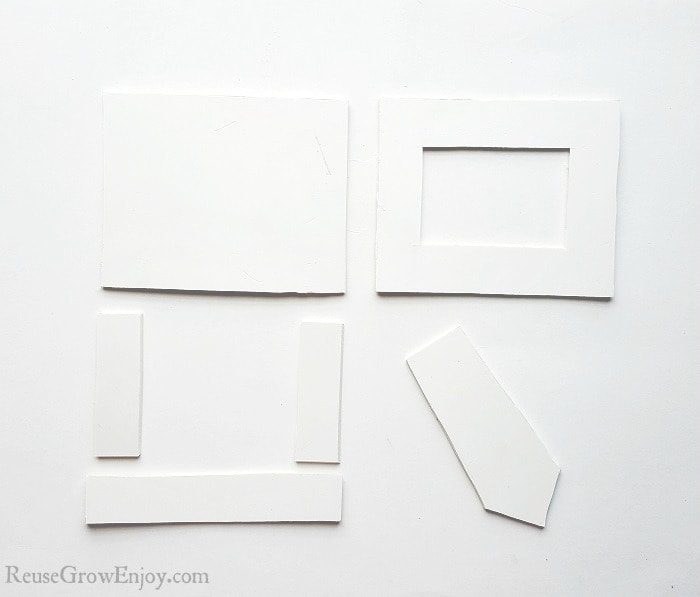
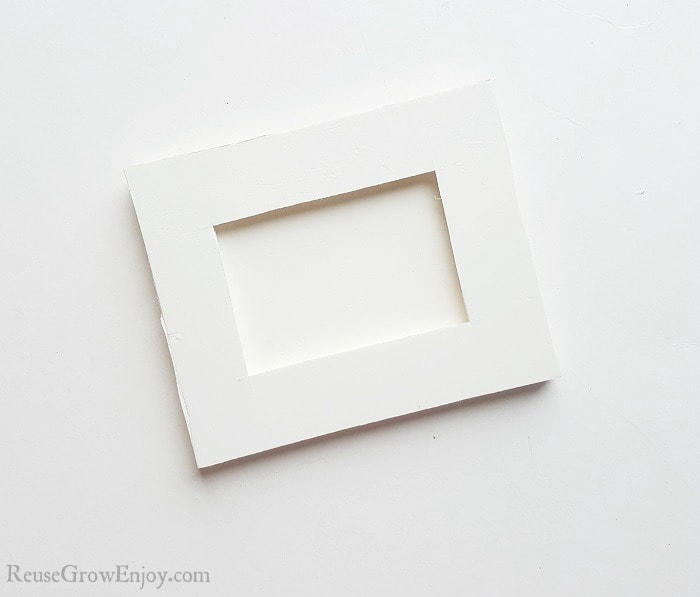
The first thing you need to do is to decide on the size you want your frame to be. You can use the templet found here and then customize it accordingly to the size you want. Trace the frame template pattern on the foam board then cut out the traced patterns using the x-acto knife.
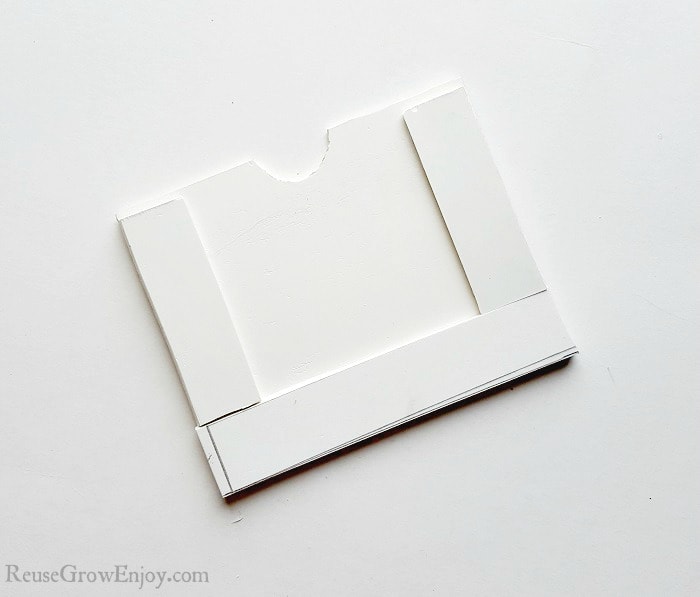
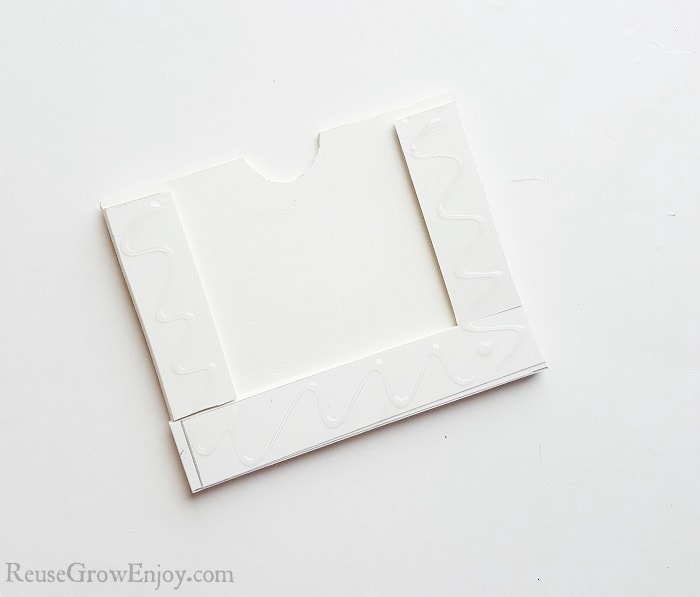
After you have the frame cut out we need to glue it together. Take the bottom piece and the 2 side pieces and glue them to the back piece using the adhesive glue.
Next, you want to use more adhesive glue on the sides and bottom to carefully place the front piece (the frame) on the glued area. Be sure that everything is even.
Quilled Flowers:
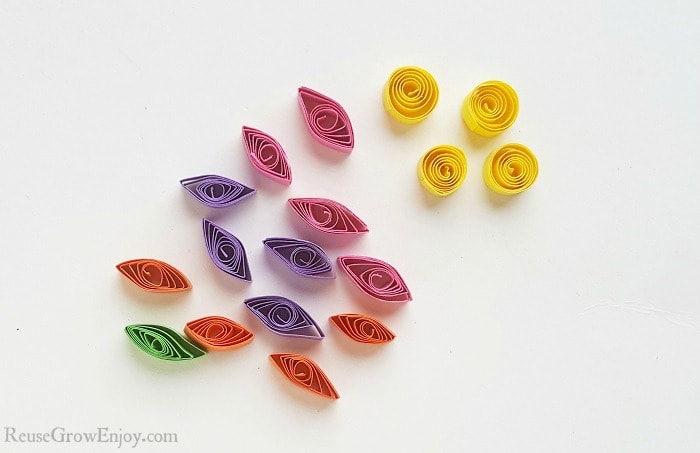
To quill the flowers we will basically need 2 shapes. The basic eye pattern and loose coil.
Use different colored paper strips to create the eye shape. Then use green colored strips to create eye shapes for the leaves and use yellow colored strips to make the loose coils. Depending on how long your paper is you may need to cut it. You only need the paper to be about 6 inches long.
To make these, place one end of the paper into the slot on the quilling tool. Then keep wrapping the paper around the end of the tool making to sure to keep the paper even. When you get to the end, carefully remove it from the tool.
Then allow it to expand. After expended, put a small dab of craft glue to glue the end in place. That will finish the loose coils. You do the same for the eye or leaf-shaped ones however after glued, you will pinch them slightly with your fingers to form that eye shape.
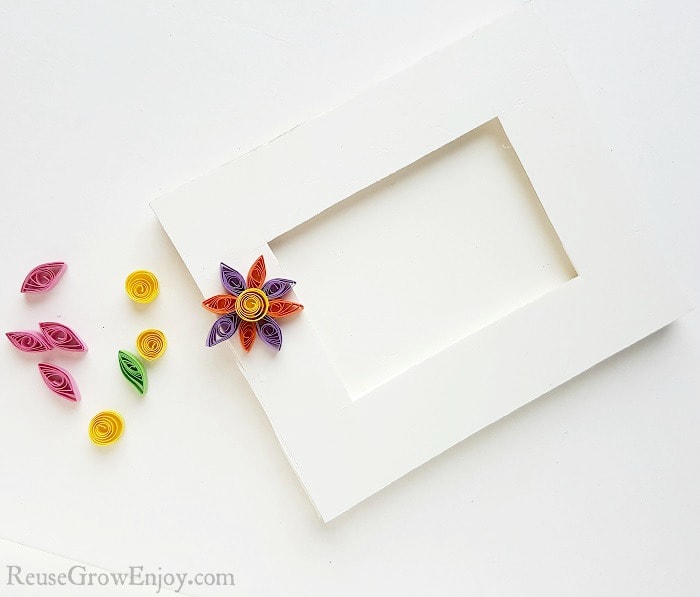
Once you’re done preparing the shapes you can start decorating the frame. Start from a side or corner. Use 8 eye shapes for each flower pattern. Simply glue the shapes on the front of the frame using craft glue.
After you have the flower pattern glued in place you can glue a yellow loose coil on the center of the flower pattern.
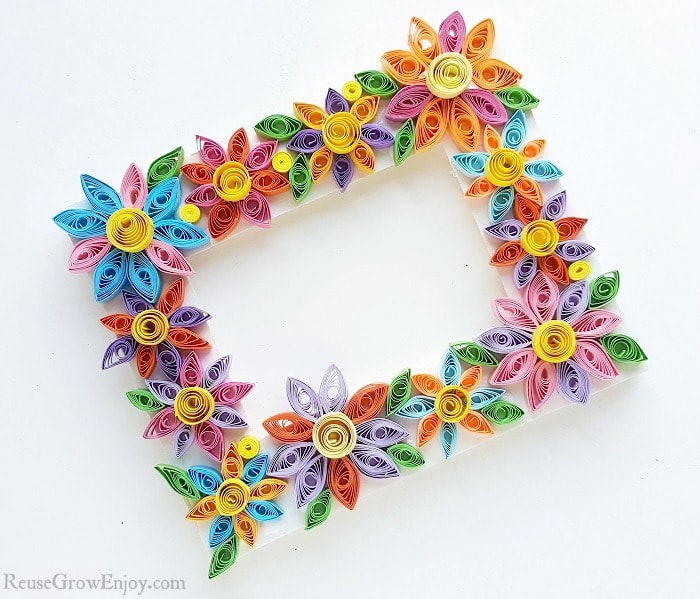
Continue to add the quilled shapes on the frame until the entire frame is covered. Create the flower patterns first and then fill in with the leaves or even other coils if you want.
Attaching The Stand:
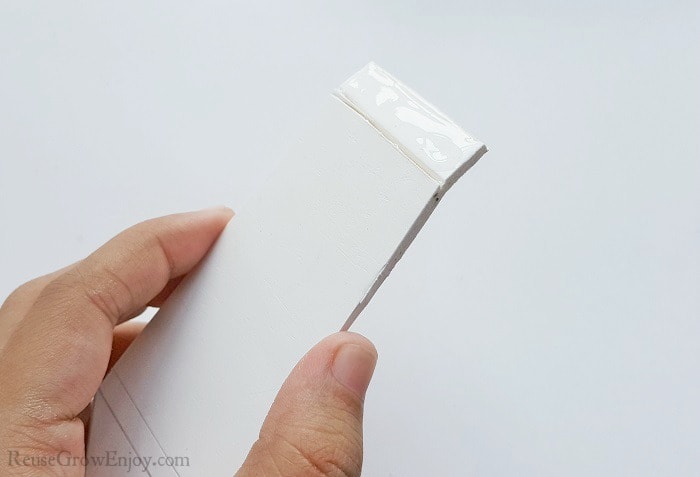
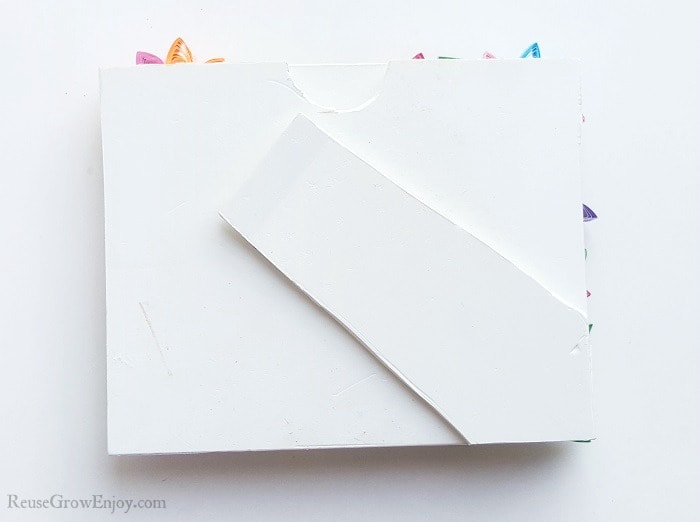
Take the stand piece and make a small half cut (don’t cut all the way through the foam), about 1cm below the straight part of the stand. Apply glue along the 1 cm part, above the half cut. This will give us that bend in the stand to be able to open it.
Match the pointy bottom part of the stand with any one side of the frame’s bottom corners and attach the glued part with the frame. Allow the glue to dry and the frame will be ready.



Leave a Reply