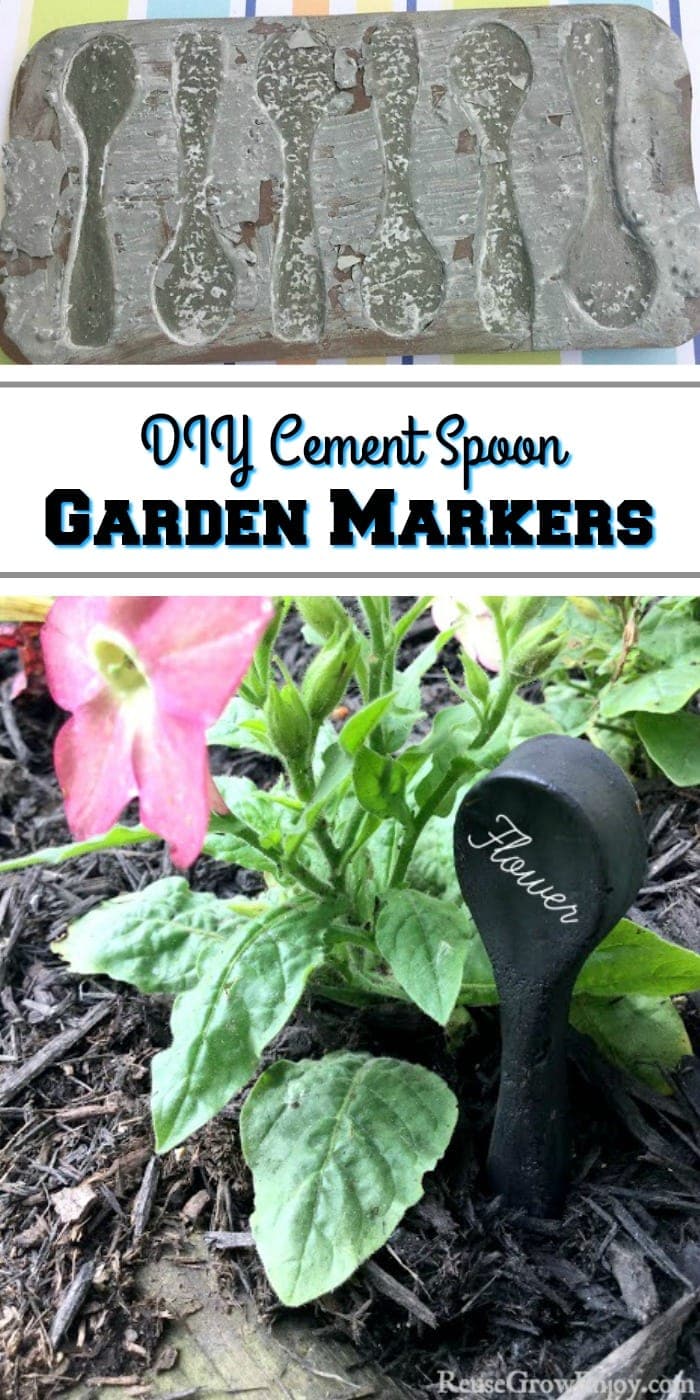
Making your own DIY cement spoon garden markers is easy to do. Not only are they cute, they are handy for marking flowers, herbs, and many other plants!
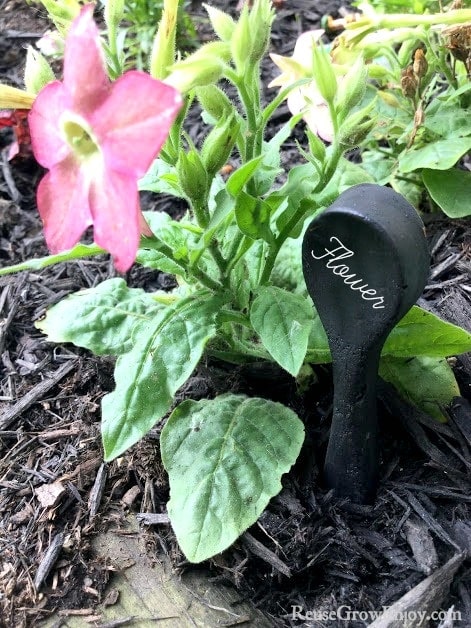
DIY Cement Spoon Garden Markers
Ever plant something and then forget what it was that you planted or where? If it is a common plant you may be able to just figure it out after it has grown a little. But if it is still under the soil or something you are not familiar with it is easy to lose track. That is when things like these DIY cement spoon garden markers come in handy.
There are many different ways you can make garden markers, but these just add an extra cute touch to the garden. You could also use the same steps to make other silicone mold shapes.
You could also reuse other containers to pour the cement into. Just make sure that whatever you use it is not overly large. The larger it is, the more cement you will need and the more space it will take up in the garden.
Garden Markers Supplies:
- A small piece of scrap cardboard
- 1 cup Portland cement
- Black Chalkboard Paint
- Marker
- ⅓ cup Water
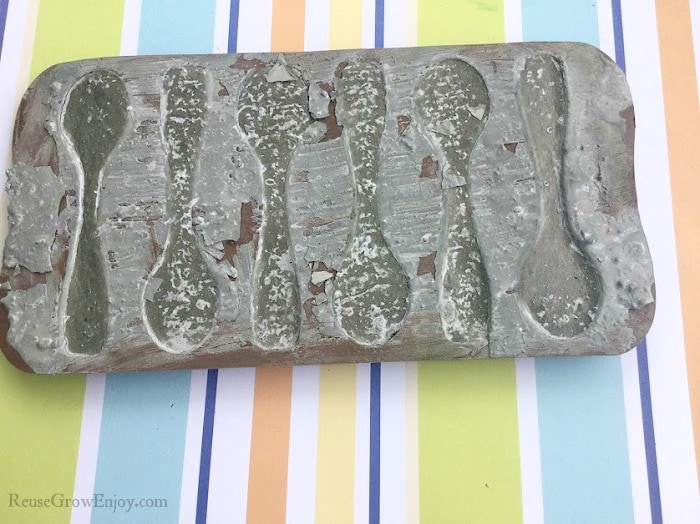
- Silicone Spoon Mold
Directions:
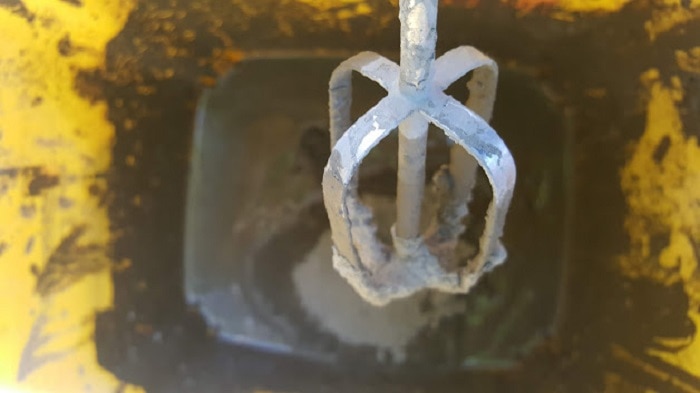
The first thing you need to do is mix 1 cup of portland cement with ⅓ cup of water. You can mix by hand, use a cement mixer that attaches to a drill or use an old beater from a mixer and attached it to a drill. Using a drill to mix makes blending the cement effortless.
Your cement should be the consistency of pudding when it is fully mixed and ready to use. If it is a little too thick, you can add a little more water if needed. Just be careful not to use too much water or you will have issues with your cement will cracking when it drys.
Fill the spoon molds with the mixed cement. Pick up the mold and gently drop it several times to release air bubbles and to help smooth the cement out. It does not need to be a high drop, just an inch or two off the surface and then drop.
After you have all the air bubbles out from the gentle dropping of the mold, use a scrap of cardboard or a flat edged scraping tool to scrape excess cement off.
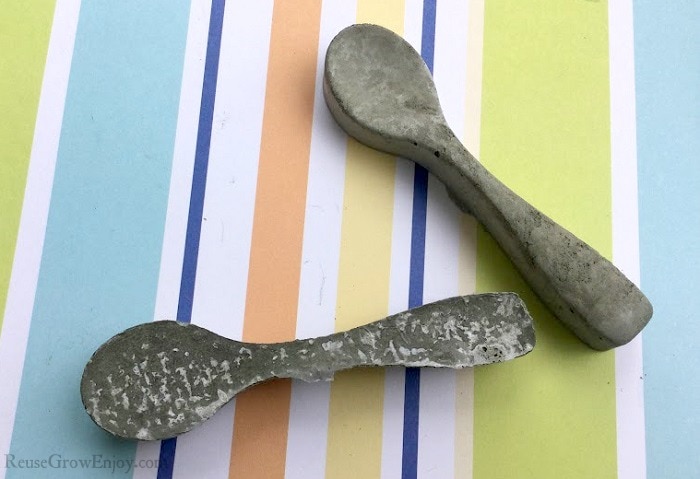
Allow the mold to dry for 4 to 6 hours in the sun. After the cement has dried, you can simply push the spoons out of the mold.
You can leave them as is if you like the plan cement look. Or you can use the black chalkboard paint to make them black (or color of your choice). Then allow the paint to dry.
Now use a paint pen or marker to label the spoons with the flowers and vegetables found in your garden.
You can seal the spoons if you want to, or leave them unsealed.
If you like this DIY Cement Spoon Garden Markers, here are some other posts to check out.
- DIY Concrete Mushroom
- Cement DIY Garden Stone
- DIY Wine Cork Plant Markers
- DIY Concrete Planters Using Recycled Carton


Leave a Reply