Apple cider vinegar is so handy to keep on hand. It has amazing benefits. Did you know that you can make DIY homemade apple cider vinegar super easy at home??

DIY Homemade Apple Cider Vinegar
If you have never tried making your own Homemade Apple Cider Vinegar it is a worthwhile simple recipe. It is easily made from leftover apple pieces like the core, stem, and peelings. It can be used in so many recipes like salad dressing, many people drink it for weight loss or digestion, and it makes a great natural hair rinse. You can keep a batch going and add to it as you go along.
Homemade Apple Cider Vinegar Supplies Needed:
- Quart Mason Jar
- Rubber band
- Organic Apple Pieces- peels and cores (can use non-organic but I recommend organic)
- Filtered water
- Lid and Ring (to store it after it is made)
- Cheesecloth (or nut cloth, flour sack or another light cloth)
Directions:
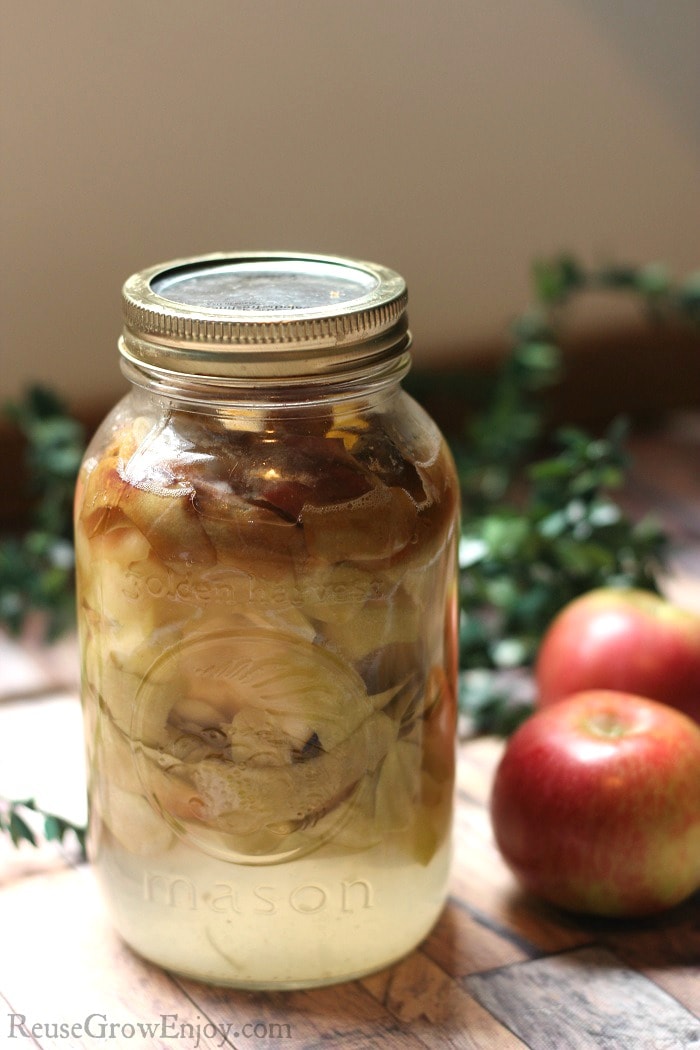
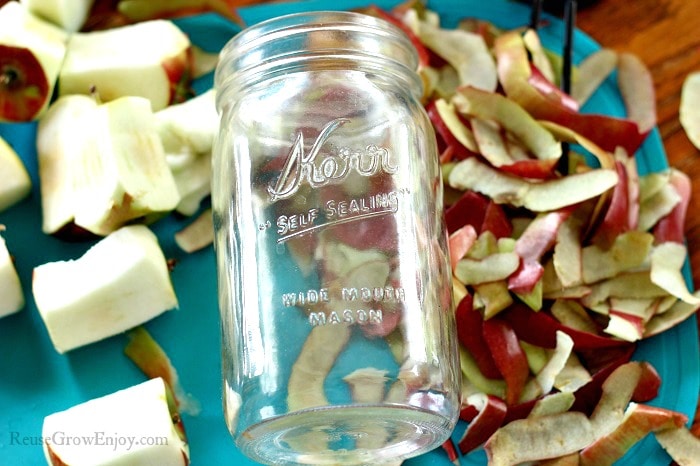
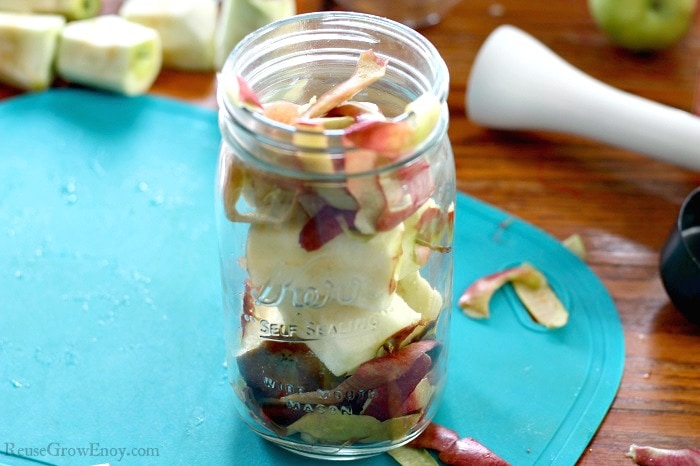
Start by filling a mason jar (wide mouth works best) with apple peels, cores, and pieces. If you only have a couple use them and add more apple skins and cores as you get them.
Cover apple pieces completely with filtered water, adding more water as you add apple bits.
Next, add 1 Tablespoon granulated sugar to the jar and stir.
Keep your apple pieces completely submerged, add something to weight them down. A smaller size jar like a jelly jar will work just fine. Or you can also use a fermentation weight. It is very important that the apples stay submerged to keep from molding.
Cover the top of your jar with a cheesecloth or another light cloth to allow it to breathe and also keep pests out. Place the rubber band around the cloth to hold it in place. If the cloth is super thin, you may be able to use the ring to hold it. Then set the jar in a room-temperature dark place.
Stir once every few days with a wooden or plastic spoon making sure the apples stay submerged. You also want to check and see if you see any mold (you do not want to see mold as then you would need to start over). The apples will eventually settle closer to the bottom and then you no longer need to stir the mixture.
After a few days, you might notice your mixture is bubbling, and this is a good sign it means your apple cider is processing.
In about a week the “mother” will form- a whitish foam on top. The vinegar is fermenting properly. Once it ferments you don’t want to add any more scraps, just start a new jar.
After 3 weeks after you started it your vinegar will smell sweet, you need to strain out the pieces of apple. Put the liquid back in the jar. When removing the scraps, it is okay to leave some of the mother in your jar. Place the cloth back over the liquid jar and place it back in a dark area for another 3 to 4 weeks until it has the tartness you like.
When you taste it and it has the tartness you like, remove the cloth and place the ring and lid on the jar and start using it.
If you want to jumpstart your next batch, you can skim a little of the mother from the last batch and place it in the next jar you start.
If you found this post on homemade apple cider vinegar helpful, here are some uses and benefits of vinegar to check out.
- Apple Cider Vinegar Uses
- Recipe For Candied Jalapenos (aka Cowboy Candy)
- Squash Cucumber Tomato Garden Salad
- Homemade Natural Poison Ivy Relief – Also Works For Poison Oak
- How to Pickle Cactus Nopales


Anonymous says
Hi
I have a question. My first Apple Cider batch is brewing but I don’t think something is right. It is week two and it doesn’t smell sweet. It smells really yeasty. What went wrong and what do I do next time? I used 6 organic apples, and a tsp of sugar per apple and covered them with water and a stone weight. I am using my crock I’ve used for sauerkraut. Covered with a breathable cloth and this is week two but it smells really yeasty. What do you recommend I do? Thank you for your time.
Reuse Grow Enjoy says
Sorry, I have never made just regular Apple Cider so I am no help. The directions in this post are for Apple Cider Vinegar.
Carla O. says
can you reuse the apples from the old batch of apple cider vinegar for another batch and if so how do you do that . thanks
Reuse Grow Enjoy says
No reusing the apples from another batch of vinegar does not work well.
Liz says
I’m doing that right now, and it’s working! I just put some sugar in the water, and let it do its thing!