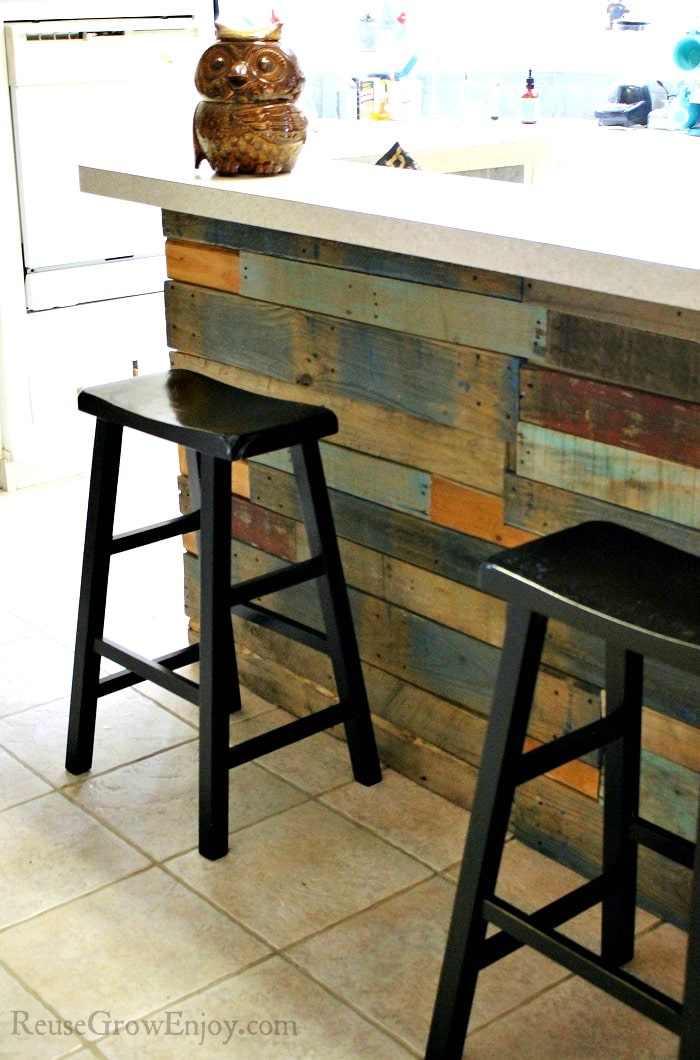
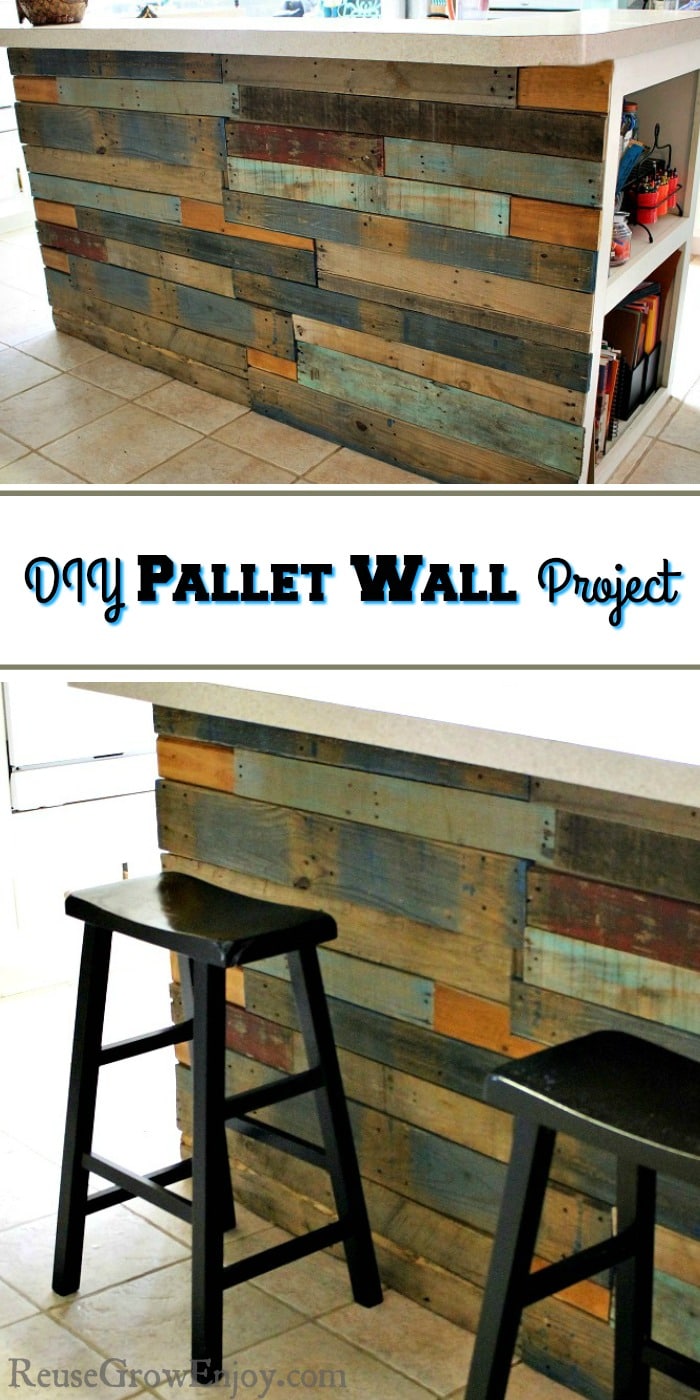
Pallet walls give a great rustic look and are inexpensive, if not free to do. If you are wanting to make your own DIY pallet wall, then this post is for you!
DIY Pallet Wall Project
Using pallet wood has become a very trendy thing to do in our homes over the past few years. You will it see in small stores, coffee shops and on walls in many places. It is a great way to add a little style and rustic look to any room. I am going to share with you just how you can make your own DIY pallet wall too.
There are many ways you can make a DIY pallet wall as far as the actual wood and the coloring you choose, or the finish. So prior to starting a wall, you will need to decide that part of it. Then, start looking out for used pallets that you can recycle. Many places have them and throw them away. Now days even people at yard sales will have them, knowing they are being utilized like this.
When collecting the wood for this small wall it was intended to have some color added to the wood by painting on it. But a couple of the pieces that had been collected already had some red and some blue on them. So it helped a lot.
If the paint is already there, it tends to have a more worn look and go better with the wood and the style. So if that is what you’re wanting, try to save any solid pieces that are colored.
Choose Your Style:
You also will need to decide if you want a cleaner, more streamlined shape to the wood, by using all the same size and color pieces. Or blending different types like this project was done. When mixing them it looks more rustic but not as clean of a finish.
If you are going to mix it up, then be sure to save all the pieces of wood until you are done with the project. Because you never know if you may need a piece you weren’t counting on.
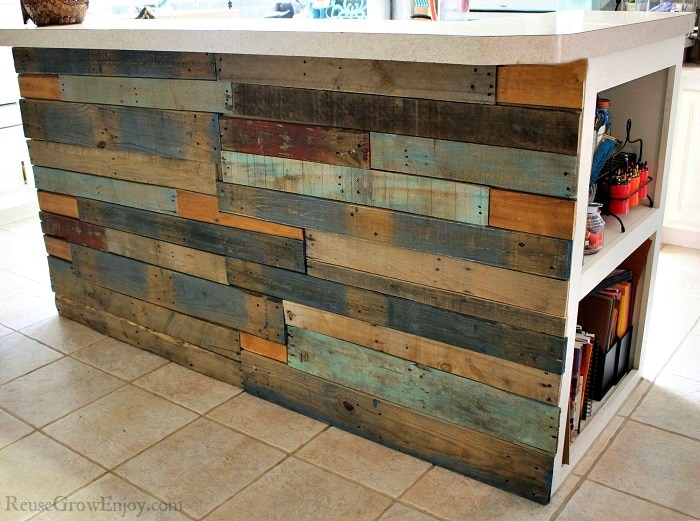
The larger pieces used that are blue in color were bottom base pieces for one pallet. They are a bit thicker than the other wood, but I loved the way they looked so we used them and just worked around them, making sure they weren’t all in one area on the wall.
Making Your DIY Pallet Wall:
So here are directions for doing a small wall in the way this project was made. If you want yours to be all one size wood you will not have quite as much work with the layout of it, because it is just about making rows of wood and cutting them to fit. But otherwise, you can follow these directions just as easily.
You will need a Sawzall (aka Reciprocating Saw) to cut the pallets down. Cutting the pallets is so much easier than pulling the nails out! If you try to do it that way it ends up splitting the wood and you will lose some valuable pieces. If you have to do it this way, use a hammer to remove the nails carefully.
With the Sawzall, cut the wood just inside of the nail line, going down the pallet in a straight line cutting the boards one by one. You want to be as close to the nails as possible when you cut down the wood, so you can have as much wood as you can to use. Most of the end pieces are normally split and breaking on older pallets anyway. So those pieces you would likely not want to use.
Measure & Cut Plywood:
Measure out the wall area you want to cover. Then, you will need to buy a thin piece of plywood to cover it with. For this wall, a ¼” thick size piece of wood was used.
This allows you to place all the pallet boards on that, outside the house, laying them out and attaching them prior to actually putting it on the wall. You could add all the pieces right to the wall, but this way is much easier. Just be sure your measurements are accurate before you cut the plywood.
Now, once you cut the plywood to fit, test it out to be sure it’s correct. The last thing you want is to attach and do all the work and then find it’s not quite right! With this piece of wood, there was just a small gap at each edge but the pallet wood hangs slightly over the edge so that you don’t see the plywood when it is all done.
Lay Plywood Down & Gather Supplies:
Lay the plywood out on a work surface, wherever is good for you, near the saw, tools, and wood. You will also need a saw to cut the pieces to the right size. Use a circular or miter saw or both.
You will also need sandpaper, cleaning solution and a rag to wipe down the wood and kill any mold or bacteria, a sharpie marker, and a couple of tubes of liquid nails to attach the wood and glue it on. Or you could also use short nails to attach them. You just want to make sure if using nails that they do not come through the plywood.
Arranging Boards On The Plywood:
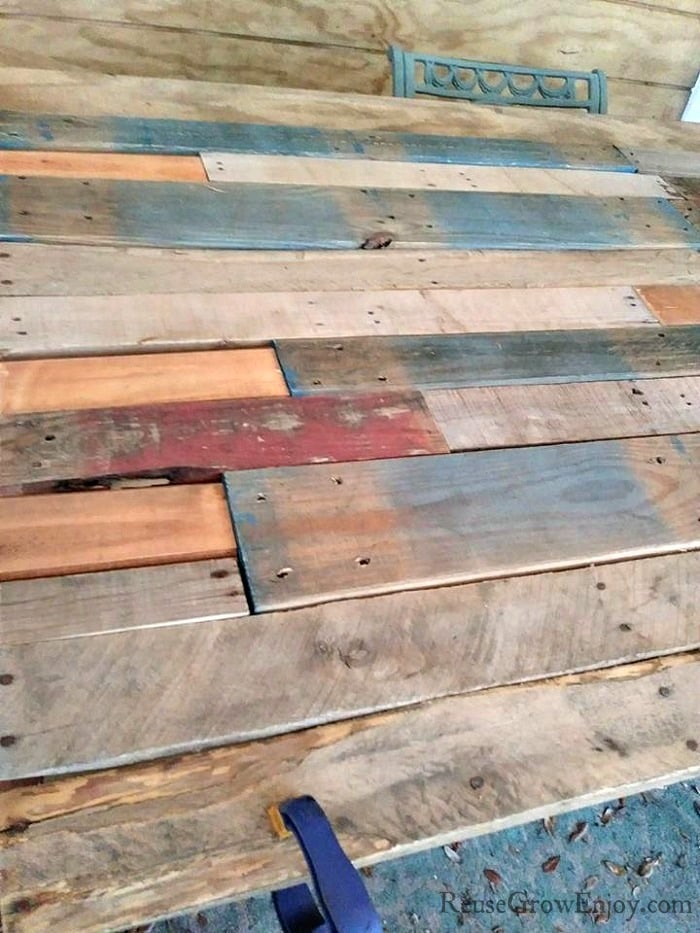
Do a mock-up of the wall by laying the pallet pieces out on the plywood. We found this is the best way to really get the sizes right and know what is needed to cut down or leave how it was. Start with the thicker, wider pieces of wood and try to balance them on the wall first, so they don’t end up too close together. Then, work in the other pieces between them, like putting a puzzle together in a way.
If you have colored pieces, be sure to spread those out evenly also, so none of the same colors are too close together, leaving it off balance. I think some of this is personal preference, but to me, you don’t want it perfectly balanced, just don’t put all of one type to one side or one corner…etc.
Use the larger pieces of wood first on your DIY pallet wall, then see where you need to fill in. For this project, there were gaps here and there where we knew we would have to cut down a piece to make it fit.
One tip – don’t put the same size pieces in the rows in the same manner, or you will end up with a seam going down the wall in a line. You want them to be more random feeling so that none of the ends are in the same spot in the following row if you can avoid it.
Clean Boards, Number & Cut To Fit:
Once we had the DIY pallet wall lined up the way we liked it, I went through the whole wall, one piece at a time and cleaned each piece of wood well, and then used a sharpie to number them on the back, so that when we started pulling them off and cutting them, they went back in the right order.
It takes a lot of time to lay them out and get them the way you want them. So you don’t want to have to do it all over again. I numbered mine starting at the top left, then went across to the right and then to the next row. I ended up with about 25 pieces of wood I believe.
Once the numbering was done start with #1 and if it needed to be cut, it was marked it where it was to be cut. Then cut it and put it back on the board. Then repeated that all the way down the wall.
There were a few pieces that had to be cut down into two places that ended up splitting. I wanted red in more than one spot, so we had to figure for that. Mostly we left the pieces in the sizes they were, other than needing to cut off an end here and there and a few we made smaller to make the row lines balance out better.
Now that all the pieces were cut to fit and we double checked the gaps between and made sure the ends were all lined up well. I went back in with sandpaper and sanded the edges and ends of each piece. I removed all rough spots, especially on the ends since ours is in a place people can bump into it with their legs.
Attaching Boards To Plywood:
Next, we applied the liquid nails under them, one piece at a time. Go through all the numbers in order and pressing the wood down. Hold for a minute each time before moving on to the next piece. Then, we used large clamps to hold down the edges along the wall.
The glue we used needed to cure for 24 hours. We gave it an extra 12 or so and it was solid. We double checked each piece and tried to wiggle them, but none really moved at all. This also lets them fully dry out from where I had sprayed them with cleaner. After sanding them and gluing them, I also wiped the whole thing down well again to remove dust and debris.
The last step was removing the clamps and standing it up. It feels good when you get to this point and see that your work paid off.
After taking inside to the wall it was getting mounted on, it was secured it in place. We put screws along the edges in 3 places on each side and then at the top.
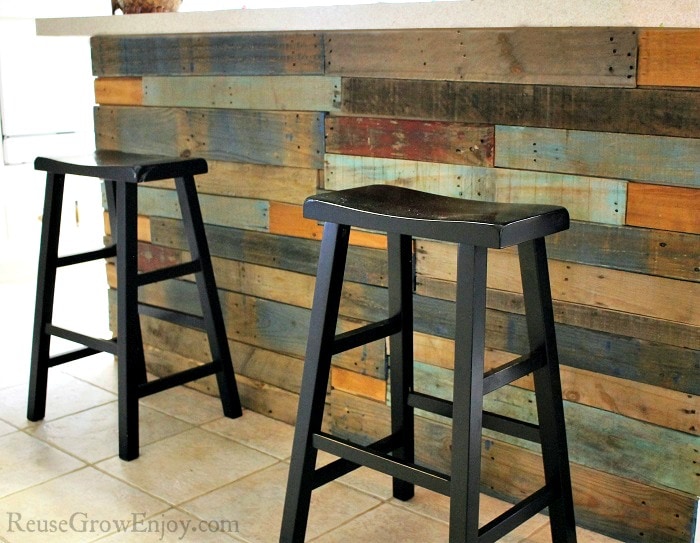
Once the DIY pallet wall was in the room, I knew it needed a bit of a teal and aqua shades of paint. I didn’t want to make that paint look new against the old paint. So I mixed my acrylic paint with water and applied it that way. I dipped my brush in water, just a bit, then into the paint each time I brushed it on.
Then, I applied it to a few random boards to make it all blend in. It worked perfectly and blends really well. You can’t really tell which had been freshly painted. Thinning the paint with water also made it dry faster.


Leave a Reply