When it comes time to wrap gifts and tag them, do you hate having to make all the gift tags?
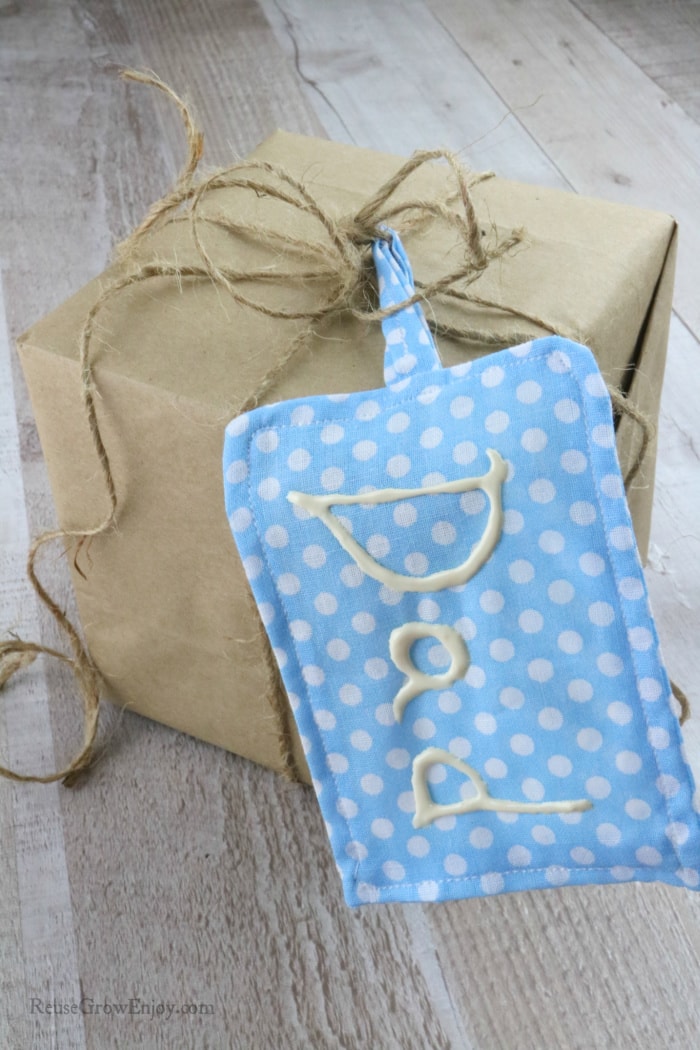
Fabric Gift Tags Sewing Tutorial
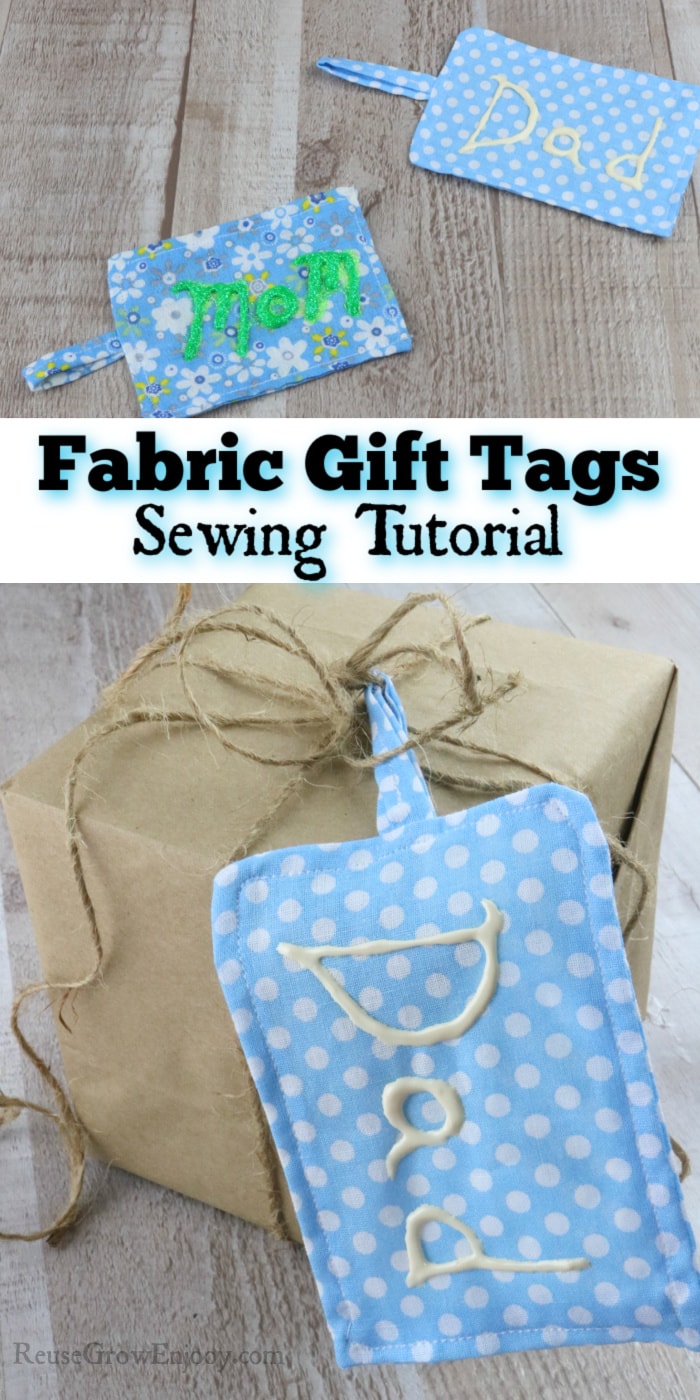
That is when it is handy to make them one time and reuse them year after year. I will show you step by step how to make these fabric gift tags.
These are super easy and even if you are just learning to sew, you will still be able to make these. Plus you can customize them to fit the person.
Such as using their favorite colors or fabric with something they like such as Disney, owls, tools, and so on.
I just used 3D paint to make the names on the tags. You could also use a fabric marker. Or dress it up even more and sprinkle glitter over the paint if you wanted.
If you are looking for other sewing projects, here are a few to check out.
- DIY Baby Blanket – Minky Dot With Flannel
- Easy Sewing Project – Upcycled Pillowcase Bag
- DIY Upcycled Jean Pouch
- Homemade Coasters – Buffalo Plaid Flannel
- DIY Dress Upcycle Into A Skirt
Makes: 1 Tag
Time: 10 minutes + drying time
Skill: Easy
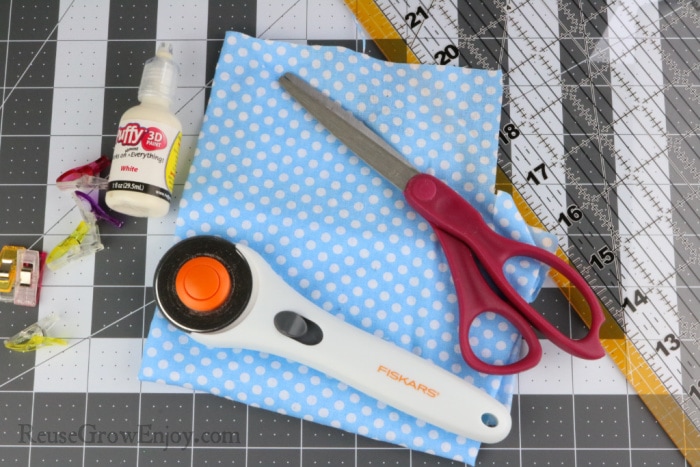
Supplies Needed:
- 3D Fabric Paint (could also use fabric markers)
- Scissors
- Sewing Machine
- Thread (match fabric color)
- Fabric
- Rotary Cutter & Mat
- Pins or Clips
How To Make These Tags:
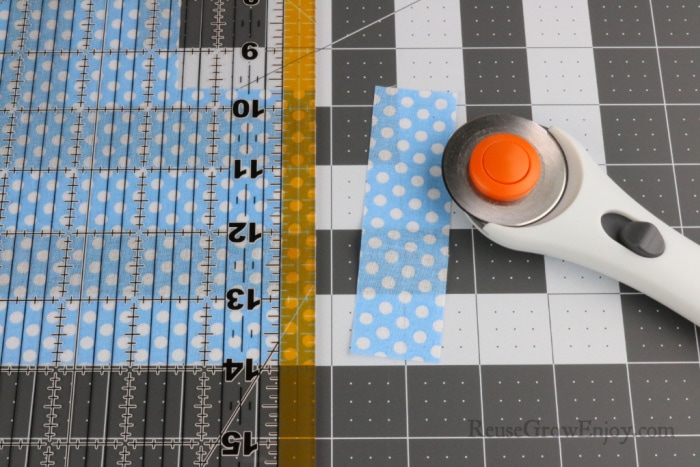
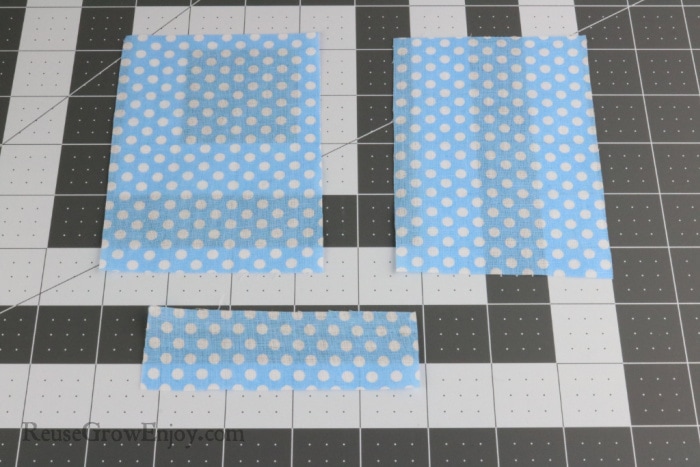
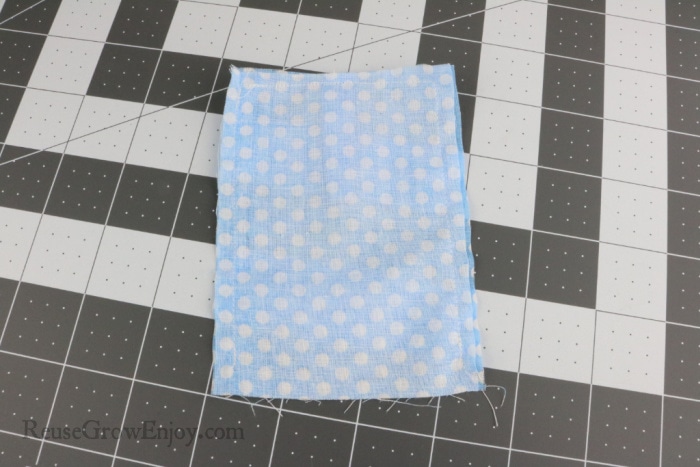
Start by cutting the fabric.
You will need two pieces that are 4 3/4″ x 3 1/2″ You will also need one piece that is 4″ x 1 1/4″. If the fabric is wrinkled, be sure to iron it before you start.
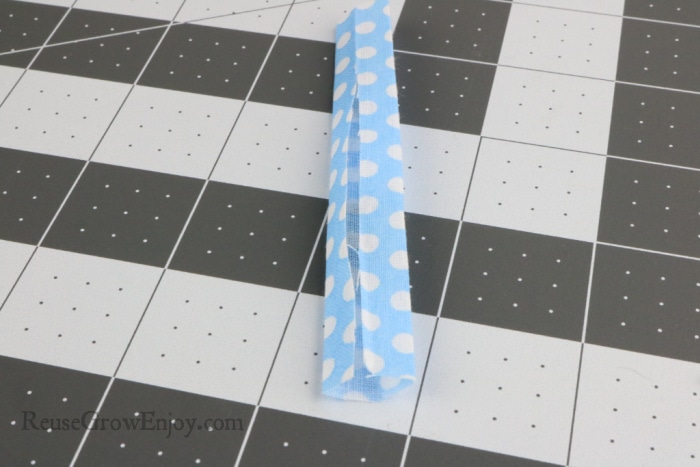
Starting with a 1 1/4 inch piece, fold it in half on the long side. Then unfold it. Now fold each of those sides in so they touch that center crease you made from the first fold.
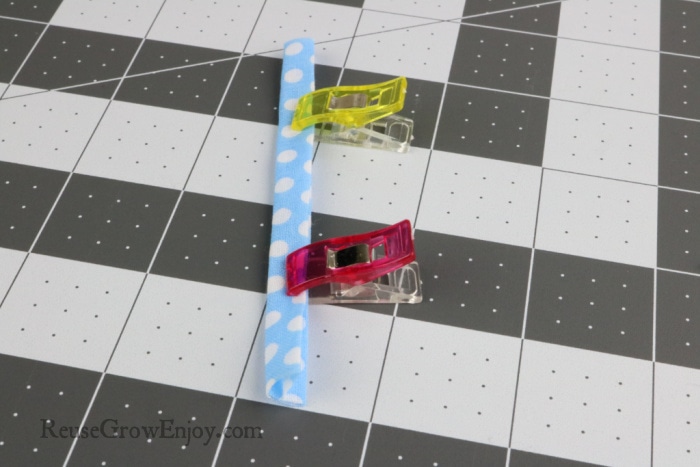
Then fold it over again so both those folds are on top of each other. Pin or clip it in place.
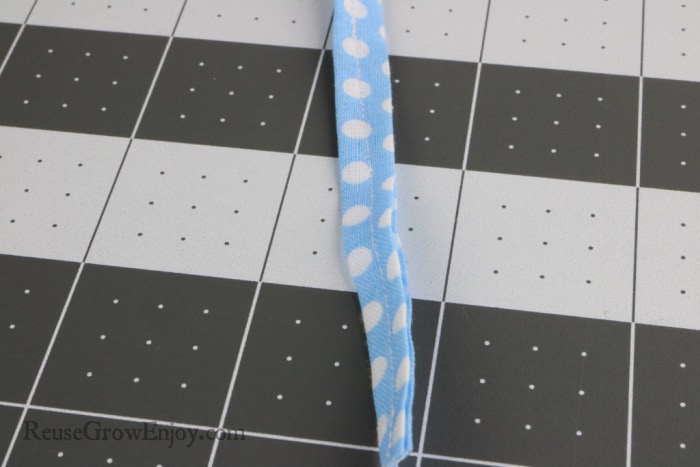
Sew right down the center of that piece. Be sure to do a backstitch at the start and finish.
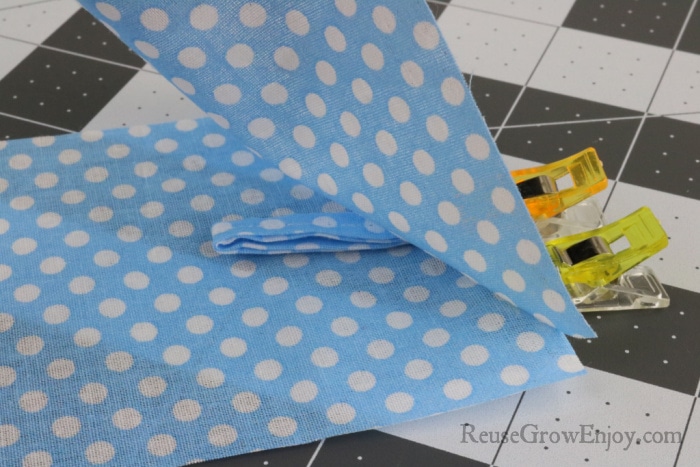
Now lay one of the other pieces face up. Fold the stitched piece in half. Then line the raw edge end at one end (3 1/2 inch end) of the face-up piece.
Try to get as centered as you can on the edge. Next, lay the other piece of fabric face down on top of those pieces making sure to line the edges up. Pin or clip it in place.
Sewing Together & Adding Names:
Using about 1/4 seam allowance, sew them together. When you get to where the loop is under the fabric, go over that spot a few times then keep going till you get to the corner.
To turn the corner, make sure the needle is down, and then lift the foot to spin the fabric so you can sew down one side. On that side stop about 1/4 inch from the end. Be sure to do a backstitch at the start and end of your sewing.
Now lift the foot and cut the thread. Sew the other side the same making sure to stop 1/4 inch from the end. We want that end piece to stay open.
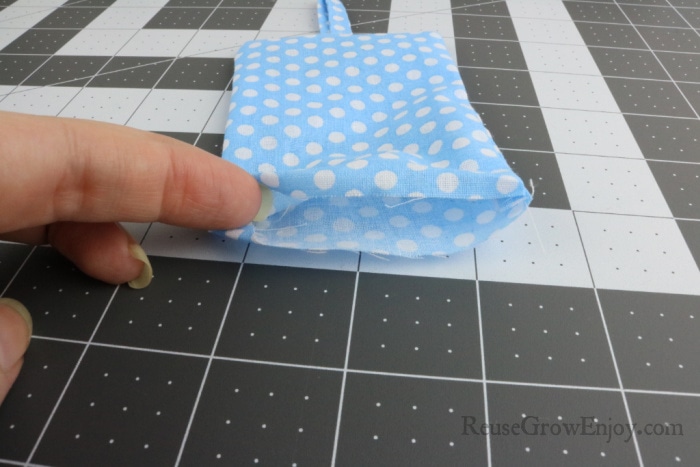
Through that open end, turn it right side out. Use your fingers to make sure the corners are pushed out.
Now on that open end, fold the raw edges inside by about 1/4 inch. Make sure it is even and pin or clip it in place.
Using about a 3/16 seam allowance, sew that end closed making sure to do a backstitch at the start. However this time we will not only be sewing the end closed, but we will also be sewing all the way around this time.
To turn the corners, just be sure to have the needle down and then spin the fabric. Also, do a backstitch at the end.
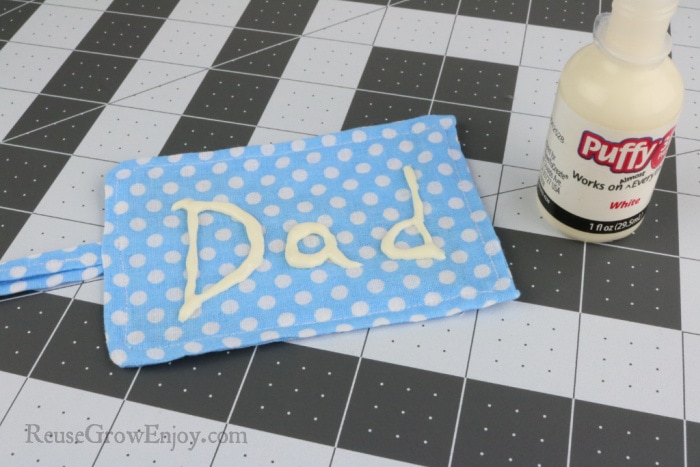
The last step we need to do is to add the name. Simply give the paint a good shake and then hold it upside down and squeeze as you write out the name.
With the dad one, I left it with just paint. The other mom one in the pictures, I covered the paint in a little glitter. You could also use a fabric marker if you wanted.
Allow the paint to fully dry before using.


Leave a Reply